PRO K-3375 - Sink KOHLER - Free user manual and instructions
Find the device manual for free PRO K-3375 KOHLER in PDF.

User questions about PRO K-3375 KOHLER
0 question about this device. Answer the ones you know or ask your own.
Ask a new question about this device
Download the instructions for your Sink in PDF format for free! Find your manual PRO K-3375 - KOHLER and take your electronic device back in hand. On this page are published all the documents necessary for the use of your device. PRO K-3375 by KOHLER.
USER MANUAL PRO K-3375 KOHLER
natural_image
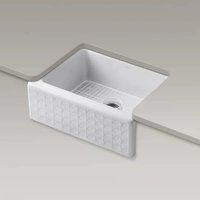
Line drawing of a rectangular kitchen sink with two internal compartments and three horizontal strips (no text or symbols)K-3328

natural_image
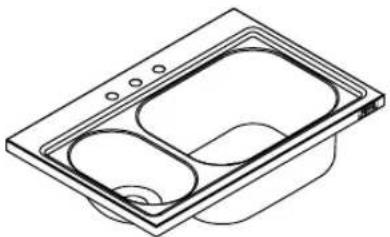
Isometric line drawing of a rectangular sink with two internal compartments (no text or symbols)K-3374
natural_image
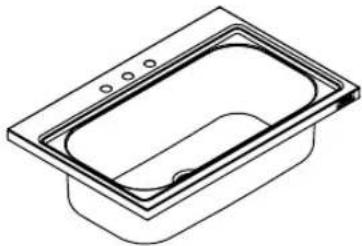
Line drawing of a dual-gay appliance with two recessed compartments (no text or symbols)K-3375
natural_image
Isometric line drawing of a rectangular basin with a recessed trough (no text or symbols)Français, Page6
Español, Página10
THE BOLD LOOK
OF KOHLER®
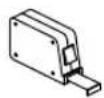
ToolsandMaterials
Penciland Marker
MeasuringTape
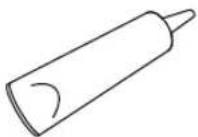
Sealant
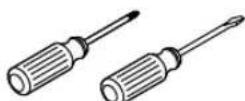
Assorted Screwdrivers
ThankYouForChoosingKohlerCompany
WeappreciateyourcommitmenttoKohlerquality.Pleasetakeafew minutestoreviewthismanualbeforeyoustartinstallation.Ifyou encounteranyinstallationorperformanceproblems,pleasedon't hesitatetocontactus.Ourphonenumber sandwebsitearelistedon thebackcover.ThanksagainforchoosingKohlerCompany.
BeforeYouBegin
☐RefertotheHomeownersGuidetodetermineallnecessary componentsforyourinstallation.
☐ Thissinkisnotintendedforundercounterinstallation.
Removethesinkfromitscartonandinspectfordamage.
☐Installthissinkdirectlytothecabinet.Donotinstalltothe countertop.
□Observealllocalplumbingandbuildingcodes.
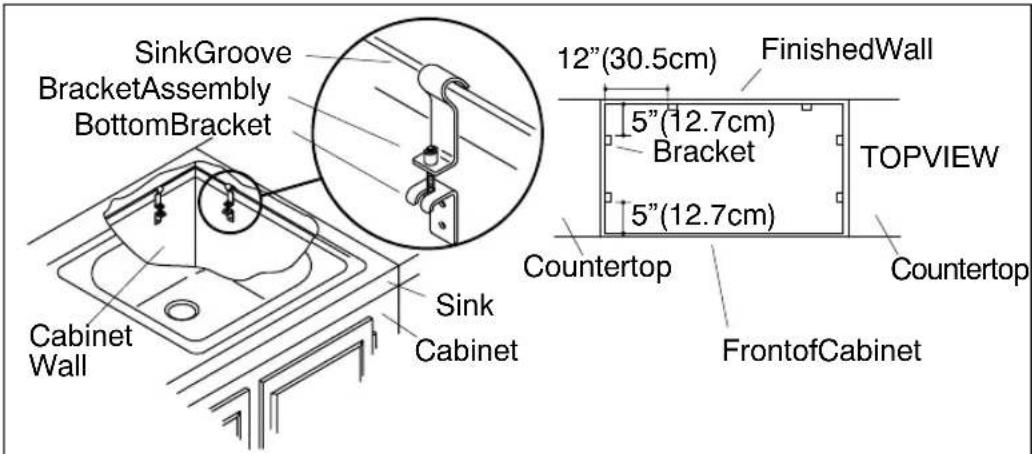
1.MarktheBracketLocations

CAUTION: Riskofpersonalinjuryorproductdamage. Largesinks areveryheavy. Gethelpliftingthesink.
☐Positionthesinkdirectlyonthecabinet.Verifythecabinetsizeand sinkfit-thesideedgesofthesinkshouldlineupwiththeedgesof thecabinet.
☐ Assemble the brackets with the screws provided. Thread the screws onlyhalfwayintoeachbracket.
□Hangtwobracketassembliesfromeachofthesideandbacksink grooves,andpositionthemasshown.Makesurethebottomofthe sinkrimtouchesthetopofthecabinet.
□Holdthebottombracketsectionsagainstthe3/4"(2cm)thickcabinet walls,andmarktheholelocations.
□Removeanddisassemblethebrackets.
□Removethesinkfromthecabinet.
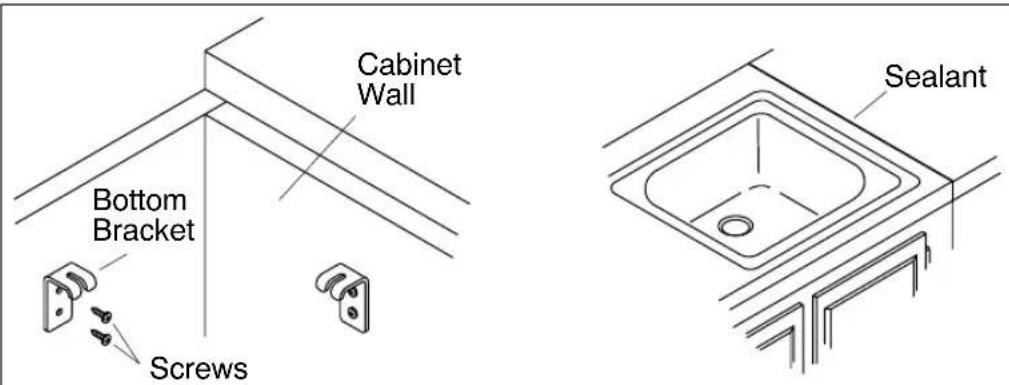
2. InstalltheBottomBrackets
☐Lineupthebottombracketsectionswiththemarksonthecabinet walls(minimum3/4" (2cm)thick),andsecuretothewallswith woodscrews.
□Securelytightenthescrews,butdonotovertighten.
□Installthefaucetandstrainersatthistimeaccordingtothe manufacturer'sinstructions.
3.ApplytheSealant
□Cleanallresiduefromthetoprimofthecountertop.
□Applyagenerousbeadofsiliconeorlatexsealanttothebottomoftherimofthesink.
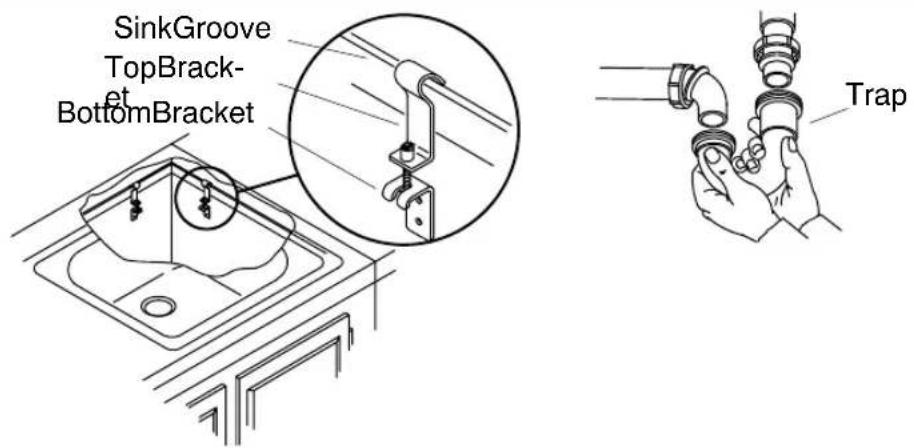
4. InstalltheTopBrackets
□Setthesinkonthecabinetsotheedgeslineupwiththecabinetsides andback.
□Hangthetopbracketsectionsfromthesideandbackgroovesofthe sink,andpositionthemoverthebottombracketsections.
□Looselyassemblethebracketsectionswiththescrews.
□Makesurethesinkhasnotmovedoutofposition.Carefullythread thescrewstotightenthebracketsandsecurethesinkinplace.Do notovertighten.
5. ConnecttheSupplies
□ Connect the strainers to the trap and drain assemblies. Follow the strainermanufacturer's instructions.
☐ Connectthefaucetsupplylinesandcompletethefaucetinstallation. Besuretofollowwallinstructionspackedwiththefaucet.
□Inspectforleaks.
6.CleanUp
□Donotuseabrasivesonthisproduct,astheywillscratchandruin thesurfacefinish.
☐Removestubbornstains, paint, ortarwithturpentineorpaint thinner.
Guided'Installation
2.Installezlessupports
☐ Alignerlessectionsdelatigedefixationinférieureaveclesmarques surlesparoiesdumeuble(épaisseurminimalede3/4" (2cm)et fixezaumuràl'aidedesvisàbois.
□Nepastropserrerlesvis.
□Installezlerobinetetlacrépineconformémentàlanoticedu fabricant.