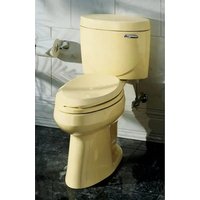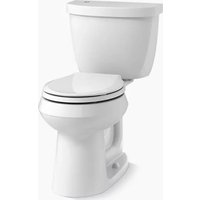
Highline K-4413 - Toilet KOHLER - Free user manual and instructions
Find the device manual for free Highline K-4413 KOHLER in PDF.


User questions about Highline K-4413 KOHLER
0 question about this device. Answer the ones you know or ask your own.
Ask a new question about this device
Download the instructions for your Toilet in PDF format for free! Find your manual Highline K-4413 - KOHLER and take your electronic device back in hand. On this page are published all the documents necessary for the use of your device. Highline K-4413 by KOHLER.
USER MANUAL Highline K-4413 KOHLER
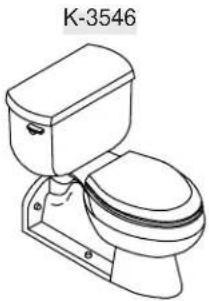
Pressure Assisted Toilet
natural_image
Line drawing of a toilet with a side panel and top handle (no text or symbols)M product numbers are for Mexico (i.e. K-12345M)
10" Adjustable Wrench

Supply Shut-Off Valve

Tape Measure
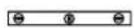
Level

Sponge
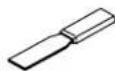
Putty Knife
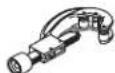
Tubing Cutter

Wax Seal

Safety Glasses
Plus:
- 5/16" T-Bolts with Nuts and Washers
- Metal File
- Toilet Supply Tubing
- Hacksaw
- Screwdriver
Thank You For Choosing Kohler Company
We appreciate your commitment to Kohler quality. Please take a few minutes to review this manual before you start installation. If you encounter any installation or performance problems, please don't hesitate to contact us. Our phone numbers and website are listed on the back cover. Thanks again for choosing Kohler Company.
Before You Begin

WARNING: Risk of personal injury or water damage. Contents of the vessel are under pressure and can cause severe injury. Do not open or service before reading these installation instructions or service instructions. Turn off the water supply and flush the unit to release pressure before attempting any service.

WARNING: Risk of personal injury or product damage. Handle with care. Vitreous china can break or chip if the bolts and nuts are overtightened, or if the product is handled carelessly.

CAUTION: Risk of product damage. Do not use any oils or lubricants on or in the pressure system.
□ Observe all local plumbing and building codes.
□ Carefully inspect the new toilet for damage.
☐ If the existing toilet does not have a supply shut-off valve below the tank, install one before installing the new toilet.
text_image
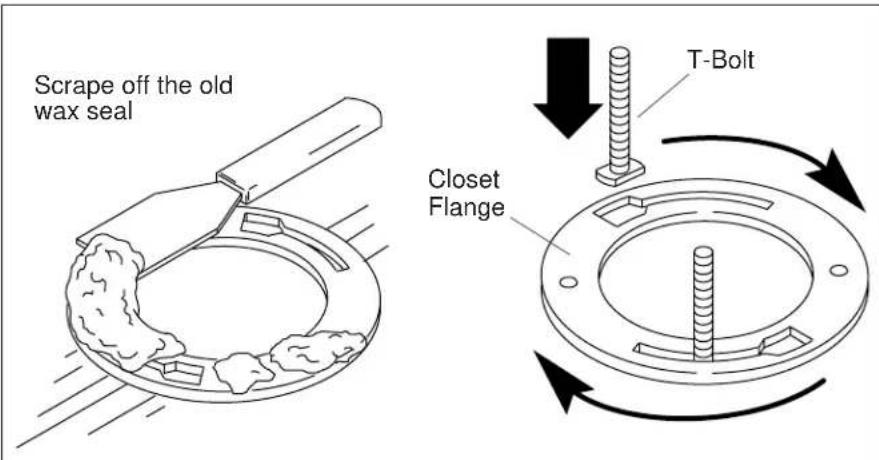
Scrape off the old wax seal Closet Flange T-Bolt1. Remove the Existing Toilet

CAUTION: Risk of hazardous gases. If the new toilet is not installed immediately, temporarily place a rag in the closet flange.
□ Turn off the water supply.
□ Flush the toilet.
☐ Sponge out all remaining water from the tank.
□ Disconnect the supply shut-off valve, if present.
□ Remove the old toilet.
□ Remove the old wax seal from the floor with a putty knife.
☐ Replace the old T-bolts with the new 5/16" diameter T-bolts.
text_image
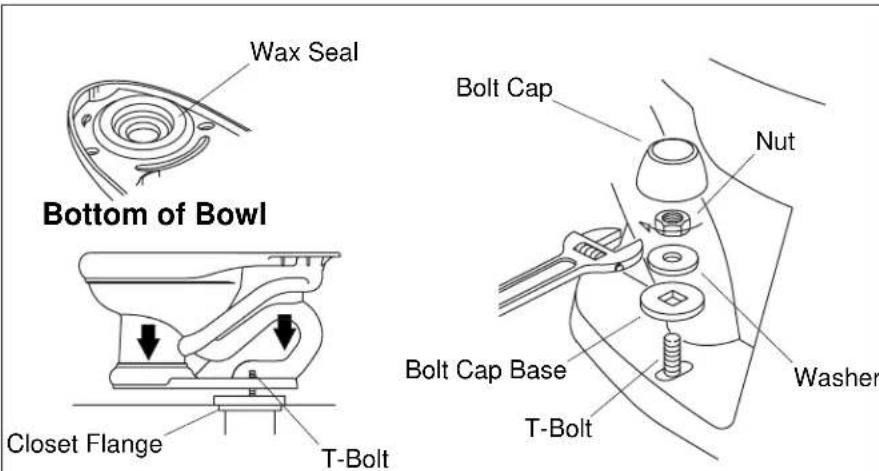
Wax Seal Bottom of Bowl Closet Flange T-Bolt Bolt Cap Nut Bolt Cap Base T-Bolt Washer2. Install the New Toilet

CAUTION: Risk of trap seal loss in back-to-back installations. To prevent a trap seal loss, back-to-back toilet installations must be connected to a vertical stack using one of the following three fittings: double fixture, double combination wye and 1/8 bends, or double wye and 1/8 bends.

CAUTION: Risk of external leakage. Do not lift or rock the bowl after placement. If you break the watertight seal, you must install a new wax seal.

CAUTION: Risk of product damage. Overtightening may cause breakage or chipping of vitreous china.
☐ Install or relocate the supply and outlet as necessary to conform to the roughing-in dimensions.
□ Install a supply shut-off valve.
□ Record the model number in the Homeowners Guide.
□ Lay the toilet down onto a padded surface.
□ From the bottom of the toilet, firmly press a new wax seal around the toilet outlet.
☐ Remove the temporary rag (if used) from the toilet flange hole.
□ Align and lower the toilet over the flange and T-bolts.
□ Apply your full body weight around the toilet to set the seal.
□ Carefully tighten the nuts.
1007284-2-D 4 Kohler Co.
text_image
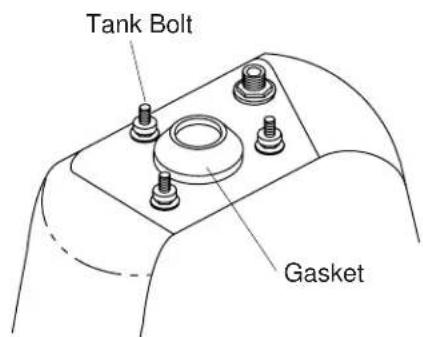
Tank Bolt Gasket3. Install the Tank

CAUTION: Risk of product damage. Overtightening the bolts may cause breakage or chipping of the vitreous china.
NOTE: The tank bolts come preassembled to the bottom of the tank, do not remove them. The nuts and washers for securing the tank to the bowl are packaged separately.
☐ Position the tank on the bowl by centering the gasket on the bowl inlet.
□ Assemble the washers and nuts to the tank bolts.
□ Tighten the nuts until snug.
□ Verify that the tank is level both left to right and front to back.
□ Make sure the nuts are tight enough to achieve a watertight seal.
text_image
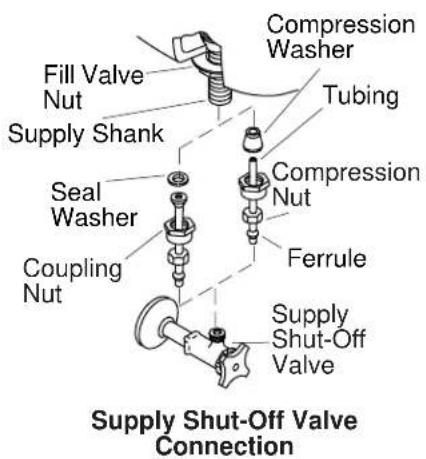
Fill Valve Nut Supply Shank Seal Washer Coupling Nut Compression Washer Tubing Compression Nut Ferrule Supply Shut-Off Valve Supply Shut-Off Valve Connection4. Complete the Installation
□ Install the trip lever if one is not already installed. Follow the instructions packed with the trip lever.
□ Connect the supply shut-off valve to the toilet supply shank.
☐ Open the supply shut-off valve slowly to check for leaks. If the connections have been properly assembled, a slight tightening of the nuts should stop leakage.
□ Allow approximately one minute to bring the system to its operating pressure.
□ Install the toilet seat according to the packed instructions.
□ Carefully set the cover onto the tank.
☐ Flush and repressurize the toilet three times to stabilize the system.
☐ Flush the toilet several times and check all connections for leaks.
☐ Periodically check for leaks for several days following the installation.
natural_image
Technical line drawing of a mechanical component with no visible text or symbolsGap Adjustment 1/16" (2 mm)
text_image
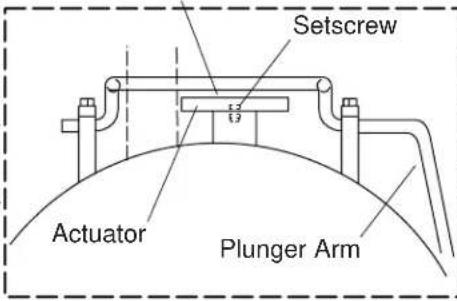
Setscrew Actuator Plunger Arm5. Gap Clearance
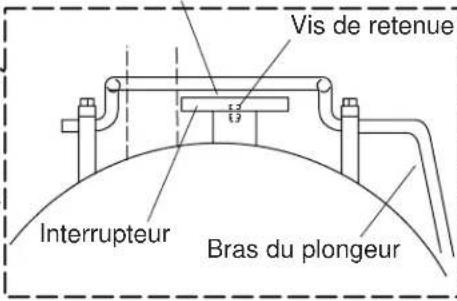
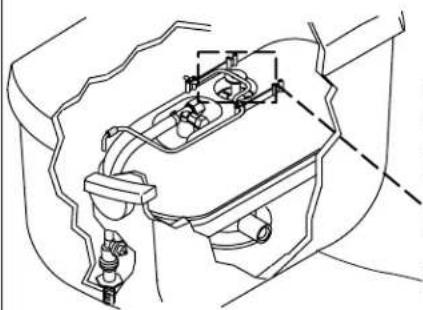
☐ If the toilet does not activate, the gap between the actuator and the plunger arm may need to be reset. Make sure the trip lever handle is installed, and the trip lever nut is tight. This is a left-hand thread; turn counterclockwise to tighten.
□ Make sure the water supply is on, and the supply line water has stopped flowing into the toilet.
☐ Loosen the setscrew. Turn the actuator until there is a 1/16" (2 mm) - 3/32" (2.4 mm) gap between the actuator and the plunger arm. Turn the actuator clockwise to increase the gap.
☐ Tighten the setscrew after the gap is properly adjusted.
NOTE: Loss of gap clearance adjustment could cause leakage into the toilet bowl due to the plunger not sealing properly. This condition could cause a continual flow of water. If the problem is not corrected after adjustment, refer to the troubleshooting chart in the Homeowners Guide.
natural_image
Technical line drawing of a mechanical component with no visible text or symbolsEspacement de 1/16"(2 mm)