Delancey 7052207 - Faucets American Standard - Free user manual and instructions
Find the device manual for free Delancey 7052207 American Standard in PDF.


User questions about Delancey 7052207 American Standard
0 question about this device. Answer the ones you know or ask your own.
Ask a new question about this device
Download the instructions for your Faucets in PDF format for free! Find your manual Delancey 7052207 - American Standard and take your electronic device back in hand. On this page are published all the documents necessary for the use of your device. Delancey 7052207 by American Standard.
USER MANUAL Delancey 7052207 American Standard
natural_image
Line drawing of a vintage-style showerhead with two funnels and a curved handle (no text or symbols)Certified to comply with ANSI A112.18.1M
Delancey®
Centerset Lavatory Faucet
Thank you for selecting American Standard... the benchmark of fine quality for over 140 years.
To ensure that your installation proceeds smoothly-please read these instructions carefully before you begin.
RECOMMENDED TOOLS

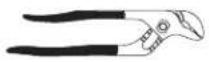
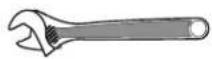
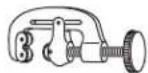
Adjustable Wrench Screwdriver Channel Looking Cutter
1
INSTALL FAUCET
CAUTION
Turn off hot and cold water supplies before beginning.
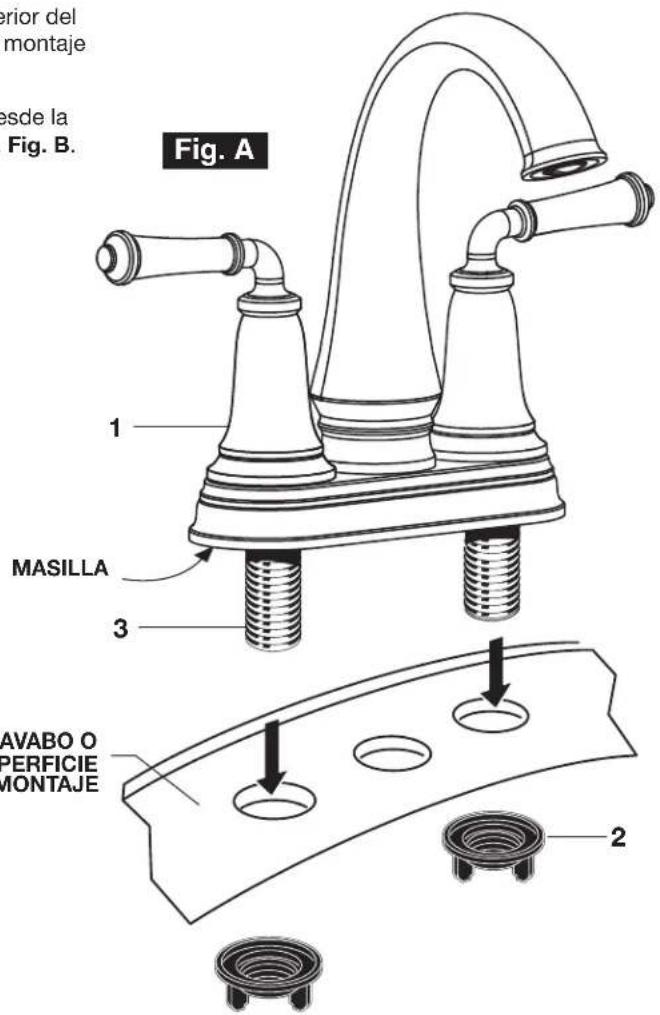
- Apply a bead of PUTTY along the edge of the underside of the BODY. Insert FAUCET (1) through mounting holes of Sink or mounting surface. Fig. A.
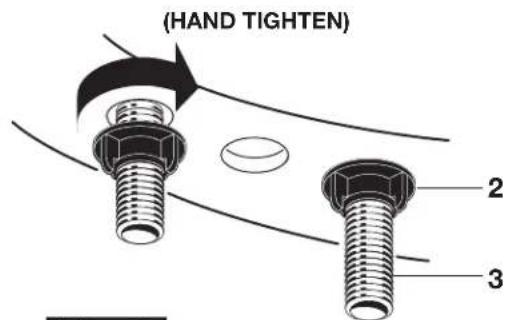
- Assemble LOCKNUTS (2) onto SHANKS (3) from under side of Sink. Hand tighten firmly. Fig. B.
text_image
(HAND TIGHTEN) 2 3Fig. B.

text_image
Fig. A. 1 PUTTY 3 SINK OR MOUNTING SURFACE 2PART OF LIXIL
HOT LINE FOR HELP
For toll-free information and answers to your questions, call: 1 (800) 442-1902
Mon. - Fri. 8:00 a.m. to 8:00 p.m. EST Saturday 10:00 a.m. to 4:00 p.m. EST
IN CANADA 1-800-387-0369
(TORONTO 1-905-306-1093)
Weekdays 8:00 a.m. to 7:00 p.m. EST
IN MEXICO 01-800-839-1200

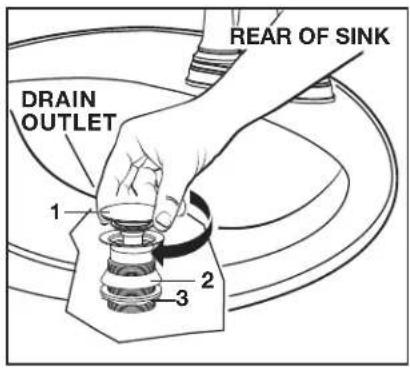
2 INSTALL DRAIN FROM BELOW FIXTURE
text_image
DRAIN OUTLET 1 2 3 REAR OF SINK• Install DRAIN (1) by dropping it from the top of the sink.
- From under side of SINK install GASKET (2) and MOUNTING NUT (3).
Note: Plumber's putty or caulk is recommended.
text_image
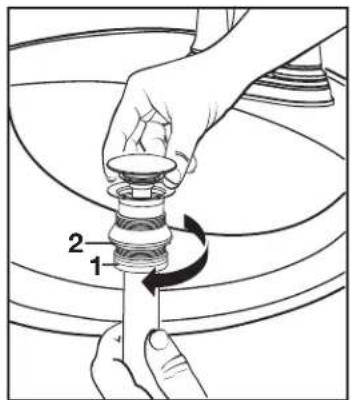
2 1- Thread TAIL PIECE NUT (1) clockwise onto DRAIN BODY (2).
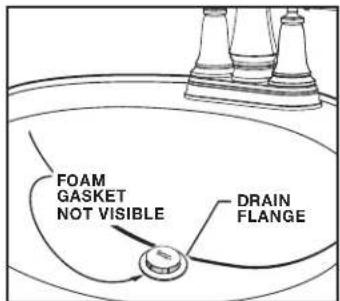
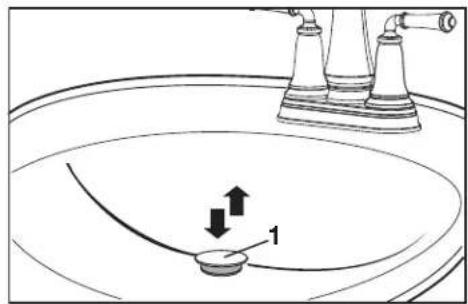
4 FLANGE GASKET AND POP-UP KNOB CHECK OPERATION OF POP-UP
text_image
FOAM GASKET NOT VISIBLE DRAIN FLANGE- Check DRAIN FLANGE in SINK to ensure that FOAM GASKET is fully compressed and not visible.
text_image
Diagram showing a water level with a submerged object labeled '1' and an upward arrow, alongside a shower pump device.- Operate DRAIN STOPPER (1) to verify that it opens and closes.
6 MAKE WATER SUPPLY AND WASTE CONNECTIONS
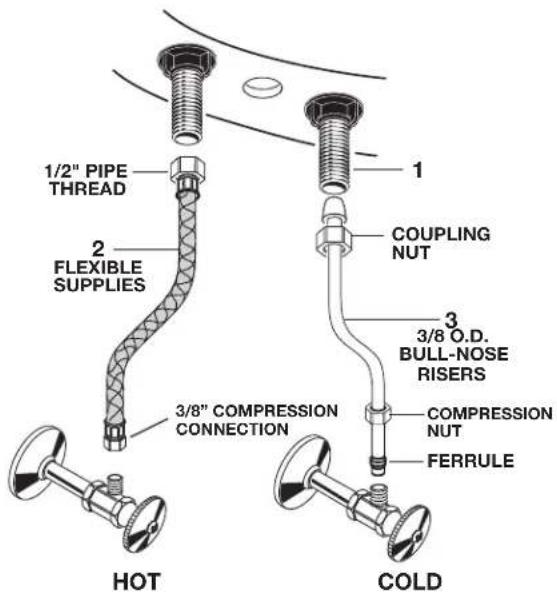
NOTE: FLEXIBLE SUPPLIES OR BULL-NOSE RISERS MUST BE PURCHASED SEPARATELY.
- Connect water supply to FAUCET (1) with 1/2" IPS FLEXIBLE SUPPLIES (2) or 3/8" O.D. BULL-NOSE RISERS (3).
- Use adjustable wrench to tighten connections. Do not over tighten. Be careful not to kink copper supply when bending. Use tubing cutter to cut to proper length.
- Connect 1-1/4" O.D. tailpiece on POP-UP DRAIN to waste outlet.
text_image
1/2" PIPE THREAD 2 FLEXIBLE SUPPLIES 3/8" COMPRESSION CONNECTION HOT 1 COUPLING NUT 3 3/8 O.D. BULL-NOSE RISERS COMPRESSION NUT FERRULE COLD7 TEST INSTALLED FITTING
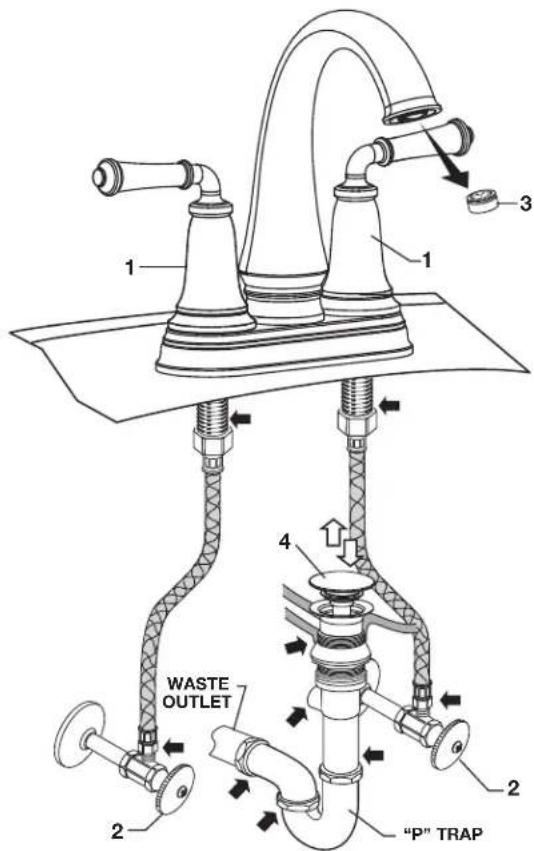
- WithHANDLES (1) in OFF position, turn on WATER SUPPLIES (2) and check all connections for leaks.
- Remove AERATOR (3).
- Operate both HANDLES (1) to flush water lines thoroughly.
- Replace AERATOR (3).
CHECK DRAIN CONNECTIONS
- Fill lavatory with water. Check that DRAIN STOPPER (4) makes a good seal and retains water in SINK.
- Check all drain connections and "P" trap for leaks. Tighten if necessary.
text_image
1 2 3 4 WASTE OUTLET 2 "P" TRAP8 SERVICE CAUTION Turn off hot and cold water supplies before beginning.
If Faucet Drips, Proceed As Follows:
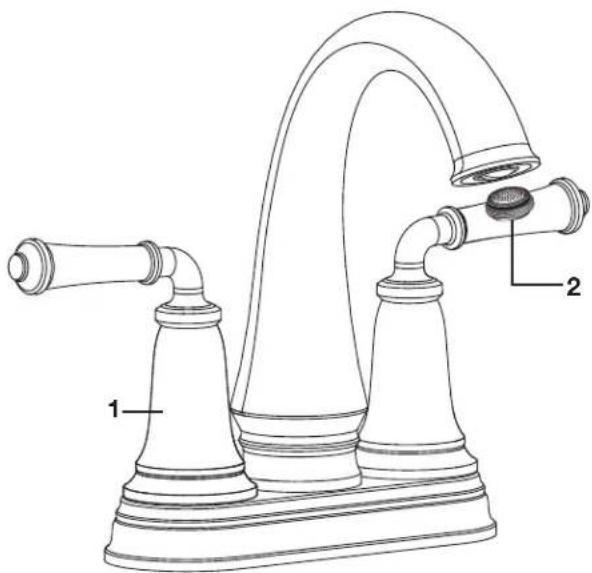
- Turn HANDLES (1) to OFF position.
- If spout drips, operate HANDLES (1) several times from OFF to ON position. Do not force HANDLES they turn only 90°.
- AERATOR (2) may accumulate dirt causing distorted and reduced water flow. Remove AERATOR 2) and clean before reinstalling.
text_image
Technical line drawing of a shower faucet with labeled parts 1 and 29 CARE INSTRUCTIONS:
DO: SIMPLY RINSE THE PRODUCT CLEAN WITH CLEAR WATER. DRY WITH A SOFT COTTON FLANNEL CLOTH. DO NOT: DO NOT CLEAN THE PRODUCT WITH SOAPS, ACID, POLISH, ABRASIVES, HARSH CLEANERS, OR A CLOTH WITH A COARSE SURFACE.
American Standard
INSTRUCTIONS D'INSTALLATION 7052207
natural_image
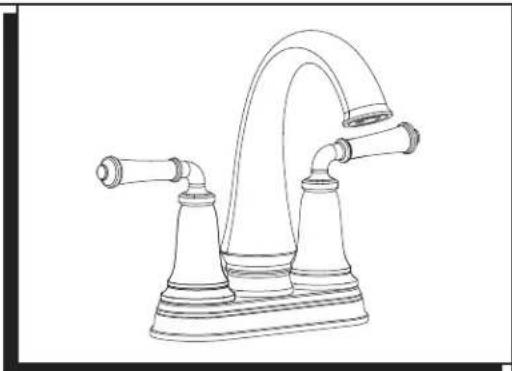
Line drawing of a classic bathroom sink with faucet and shower (no text or symbols)text_image
Diagram showing a water level with a pipe outlet and directional arrows, labeled '1' indicating flow or movement.natural_image
Line drawing of a vintage-style showerhead with two funnels and a curved handle (no text or symbols)text_image
(APRIETE CON LA MANO) 2 3Fig. B.
text_image
Fig. A 1 MASILLA 3 2 AVABO O PERFICIE MONTAJELunes a Viernes 8:00 a.m. a 6:00 p.m.
Sabado 10:00 a.m. a 4:00 p.m.