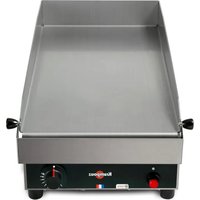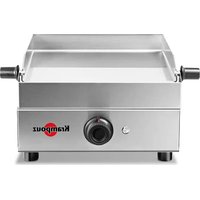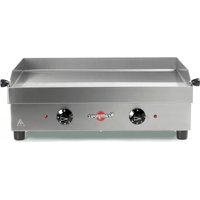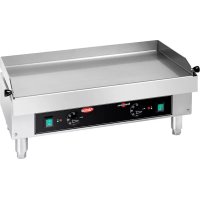
Club PFCB2MA - Grill plate KRAMPOUZ - Free user manual and instructions
Find the device manual for free Club PFCB2MA KRAMPOUZ in PDF.


User questions about Club PFCB2MA KRAMPOUZ
0 question about this device. Answer the ones you know or ask your own.
Ask a new question about this device
Download the instructions for your Grill plate in PDF format for free! Find your manual Club PFCB2MA - KRAMPOUZ and take your electronic device back in hand. On this page are published all the documents necessary for the use of your device. Club PFCB2MA by KRAMPOUZ.
USER MANUAL Club PFCB2MA KRAMPOUZ
Instructions for use 18
ES Plancha de gas
natural_image
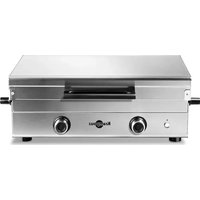
Exterior view of a Krampouz stainless steel grater with two side control knobs (no visible text or symbols on the device body)PFCB2MA
natural_image
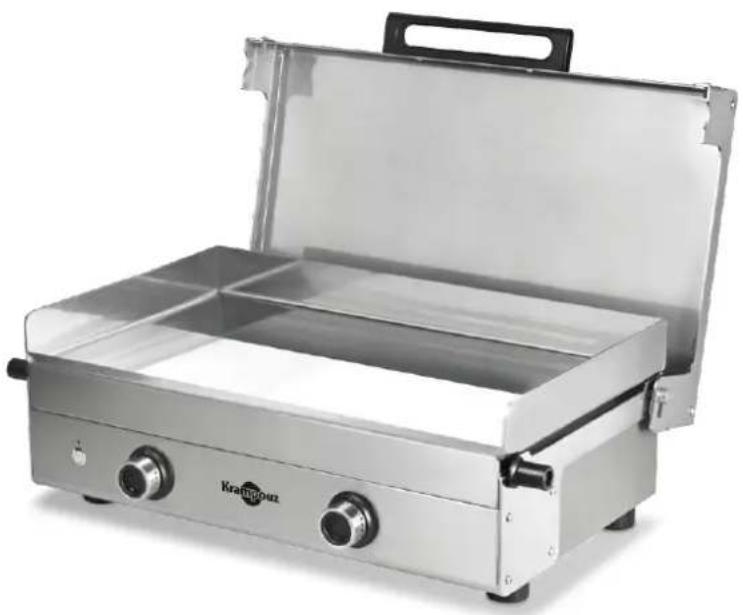
Exterior view of a stainless steel Krafalpuz cooktop appliance with open lid and side buttons (no text or symbols on body)Set accessoires Plancha Set accessories for plancha
natural_image
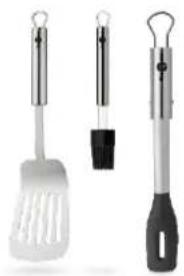
Three kitchen utensils: a spatula, a handle, and a black tool (no text or symbols visible)Chariot plein air
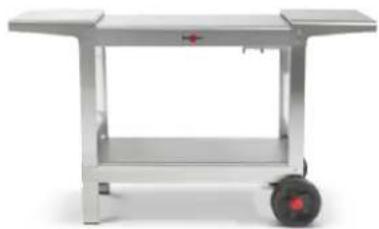
Plein air cart
natural_image
Exterior view of a stainless steel industrial cart with a wheels (no text or symbols visible)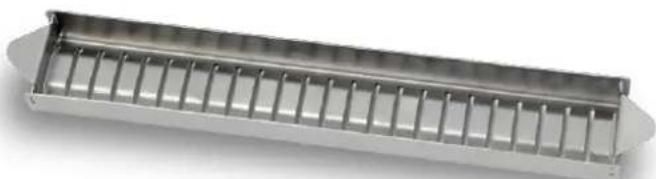
natural_image
Metallic rectangular metal grate with evenly spaced slots, no text or symbols visiblenatural_image
Technical line drawing showing a mechanical assembly with a cylindrical component and a rod-like structure, no text or symbols present.natural_image
Technical line drawing of a portable kitchen grater with attached arm and side panel (no text or symbols)natural_image
Metallic industrial cart with wheels and a flat top (no visible text or symbols)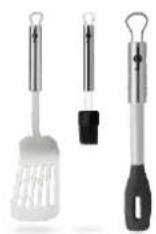
Set plancha (Ref. ASP2)
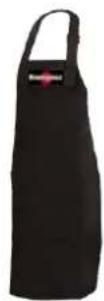
Tablier (Ref. ATC1)
PROTEGER
text_image
Krampouz C.100000000 2014/03/2015Thank you for purchasing one of our products. Although it is very simple to use, we advise you to read these instructions carefully, as they provide installation and operating information allowing you to achieve the best results.
RECEIPT AND UNPACKING
Any damage due to shipping must be reported to the carrier by registered letter with AR, within 24 hours of receipt. You must also mention your reservations on the carrier receipt and describe the precise nature of the damage observed upon delivery.
General requirements for gas equipment
When using gas appliances, always take basic safety precautions. Read all instructions carefully.
Refer to the instructions before use
■ Only to be used outdoors.
■ This appliance has been designed for use by adults; ensure that children do not touch it or treat is as a toy.
■ The appliance must never be left unattended when in use.
- Keep this appliance away from flammable materials during use.
■ CAUTION : accessible parts can become very hot. Keep out of reach of young children.
■ Do not modify the appliance.
■ Before use, wash the cooking plate with warm, soapy water.
■ Parts protected by the manufacturer must not be handled by the user.
■ Do not touch hot surfaces.
- Do not use the appliance for any purpose besides its intended one.
■ Do not move the appliance during use.
■ Use protective gloves when handling particularly hot components.
■ Close the valve of the gas cylinder after use.
■ Using accessories not recommended by the appliance's manufacturer may cause accidents. - In order to allow proper air flow to the burner, do not obstruct the appliance’s ventilation inlets.
■ Caution: Do not insert aluminium foil or any other material or object between the plate and the frame (ventilation zone).
■ If you smell gas, close all valves. Never use a leaky appliance.
■ Do not use an adjustable pressure regulator. - In the event of failure, inspection and repairs must be performed by an approved technician.
■ Any maintenance operations must be performed by an approved technician.
■ Warning: do not use this appliance with charcoal or any other power source than the one it is intended for (gas power).
■ We recommend that you keep the original packaging for storing the appliance.
■ Place the appliance on a stable, horizontal, dry surface coated with a non-flammable material, slightly away
from the edge and at least 1m away from any wall and any heat-sensitive element.
■ Shelter this product from wind when in use.
■ Never switch on the appliance when there is a strong wind and never place it in a draught.
KEEP THESE INSTRUCTIONS
Technical description
CHARACTERISTICS
– Stainless steel frame and cooking plate
- Food-grade certified plate
- Edges on the 4 sides
- Removable filter and drip tray.
– Electronic ignition (AA battery)
- Butane/propane gas supply
- Two heating zones
- 2 burners
- 2 thermostatic valves with safety thermocouple (gas flow will automatically close off if there is no flame)
This appliance complies with the CE European Directives.
SPECIFICATIONS
The appliance category by destination country is displayed on the information plate affixed to the appliance.
| Countries | Category |
| BE, CH, CZ, ES, FR, GB, IE, IT, SI | I3+ (28-30/37 mbar) |
| DK, FI, IT, NL, NO, RO, SE, SI | I3B/P (30 mbar) |
| Category | Usable gas types | Mark on injector | Mark on bypass | Service pressure | Venturi opening |
| I3 + (28-30/37mbar) | Butane (G30) | 75 | 50 | 28-30 mbar | 4 ±0.5 mm |
| Propane (G31) | 75 | 50 | 37 mbar | 4 ±0.5 mm | |
| I3 B/P (30) | Butane (G30) Propane (G31) | 75 | 50 | 30 mbar | 4 ±0.5 mm |
Information
The plancha is a Spanish cooking method which involves grilling food on a plate made from cast iron, steel, aluminium or stainless steel.
This cooking method was devised by pilgrims in the 19 ^th century. During pilgrimage celebrations, large plates were laid on embers. This method was used to cook all types of food in very large quantities.
Over time, cooking on a plancha became more sophisticated and popular. It is now widely used in restaurants and tapas bars to cook lots of different food in a way that is both tasty and healthy. This method of cooking offers great benefits as it seals in the flavour of the food being cooked. The plancha is easy to use. Just heat up the appliance for 10 minutes before cooking.
The intense heat sears food and grills it, keeping the flesh, juices and aromas intact.
With its fun, laid back and relaxed feel, the plancha's natural home is outdoors.
It is very simple to use and does not require any particular skills. You just need a few utensils, such as tongs and broad spatulas to flip the food.
INSTALLATION
Before first use, remove the PVC film from the cooking plate and drip tray and clean the plate with soapy water.
Set the plancha on a horizontal, non-flammable surface (e.g. tiles, firebrick, stainless steel, etc.). Make sure there is a distance of at least 10 cm between the plancha and any adjacent walls.
If this appliance must be placed in close proximity to a wall, partition, kitchen furniture, decorative borders, etc., they should be of non-flammable material. If not, they should be covered by appropriate heat insulating, non-combustible material, with particular attention paid to fire prevention regulations.
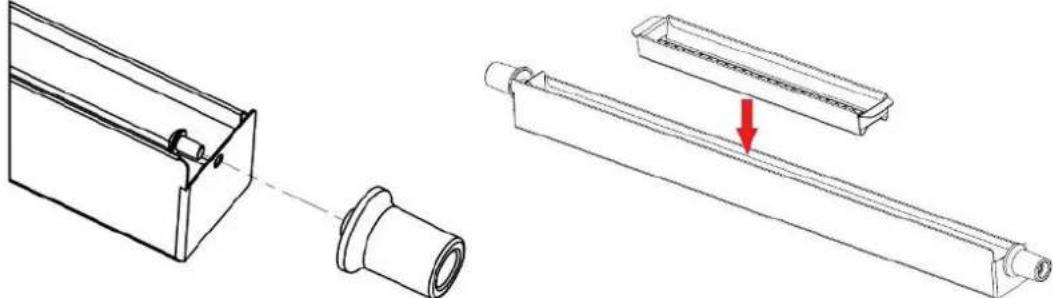
Assemble the drip tray handles as shown in the diagram below :
natural_image
Technical line drawing showing a mechanical assembly with a cylindrical component and a rectangular component, no text or symbols present.Place the filter in the drip tray to capture cooking run-off.
PROTECTIVE LID
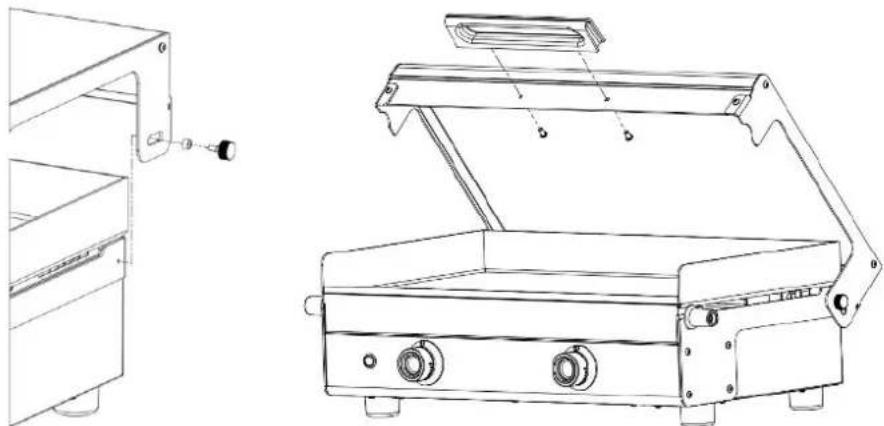
Assemble the protective lid as shown in the diagram below :
natural_image
Technical line drawing of a portable kitchen appliance with handle and control panel (no text or symbols)Set the plancha in a sheltered location, away from wind and draughts.
The lid will protect your appliance from the elements. Ensure the lid is open before using the plancha. Do not close the lid during cooking.
After the appliance has been switched off, wait for it to cool completely before cleaning and closing the lid.
Hold the lid handle securely when closing the lid and check nothing is trapped between the lid and the plate and/or outer casing of the appliance.
We recommend storing the appliance with the lid closed.
We recommend the use of commercial 6 kg or 13 kg butane or propane gas cylinders with an appropriate pressure regulator.
Keep the gas cylinder as far away as possible from any heat source. Place it on the ground, next to or behind the plancha.
Keep the gas cylinder at least 0.5 metres away from the plancha or any other heat source.
CONNECTION
Check that the temperature control knobs are set to "Off".
Ensure that the connection complies with the regulations in the country of use.
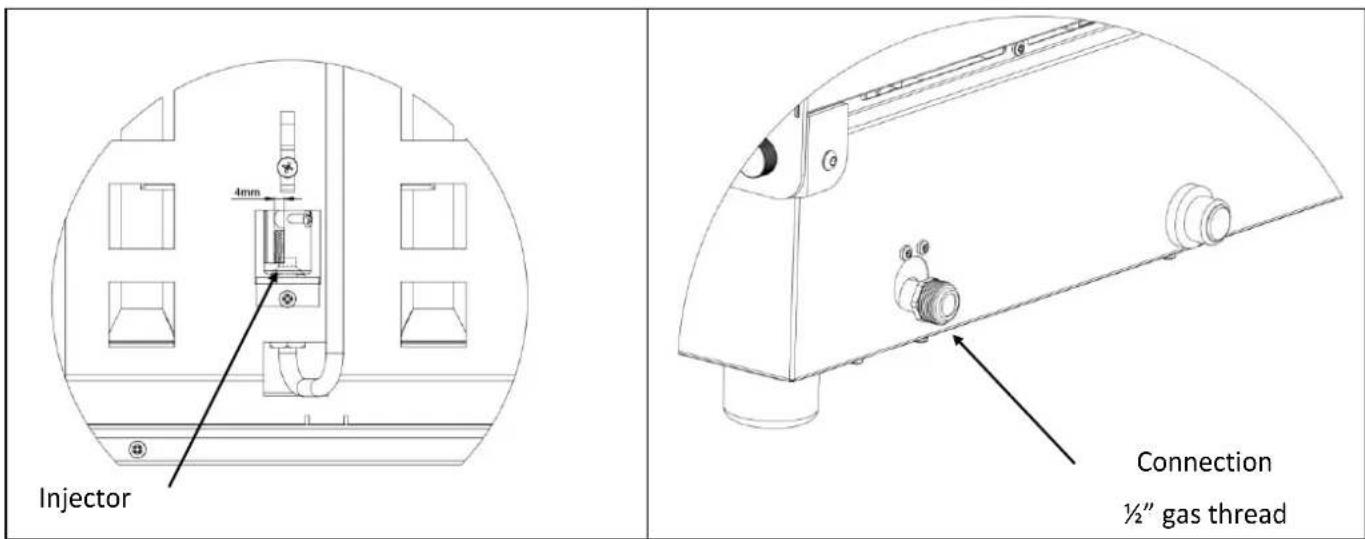
The plancha must be connected via a hose and connector, located at the back of the appliance (see Figure 3). To connect it, remove the yellow protective cap on the 12 " gas connector and keep it for storing.
For example, for France: NF hose for 3^rd family gases butane/propane:
- NF D36-125 metallic hose with unlimited lifespan.
– NF D36-112 hose with a lifespan of 10 years
The hose should be a suitable length, up to 1.5 m, and must be visible over its entire length.
Check that the hose is in good condition and replace it if it appears cracked or damaged. The hose must lie naturally with no twists or pulling. Ensure it does not come into contact with any hot parts of the appliance. After connecting the hose to the appliance, connect the pressure regulator to the hose and gas cylinder as per the instructions supplied with the pressure regulator and hose. Then, perform a leak-tightness test as follows:
- Check leak-tightness by using soapy water away from any heat source (cigarettes, electrical appliances, etc.).
- Never test leak-tightness using a flame.
- Put soapy water on all connections, open the gas inlet and then check for the formation of bubbles.
- If any bubbles form, then there is a leak. Close the gas cylinder and tighten the connections, then perform another leak-tightness test.
- If the leak persists or comes from a different part, stop using your plancha and contact your dealer.
Never use an appliance that leaks gas.
CHANGING THE GAS CYLINDER
Always turn off the control knobs and gas cylinder valve before changing the gas cylinder.
Change the gas cylinder in a well-ventilated location away from any heat source (cigarettes, electrical appliance, etc.).
Whenever you change the gas cylinder, perform a leak-tightness test.
Use
SWITCHING ON
- The appliance is ready for use.
- Open the valve on the gas cylinder.
- Open the plancha valve by turning the knob to the high flame position (image on the ring around the knob).
- Once in this position, push in the knob and press the igniter switch to light the burner. Check that the burner is completely lit by looking through the openings on the side of the appliance.
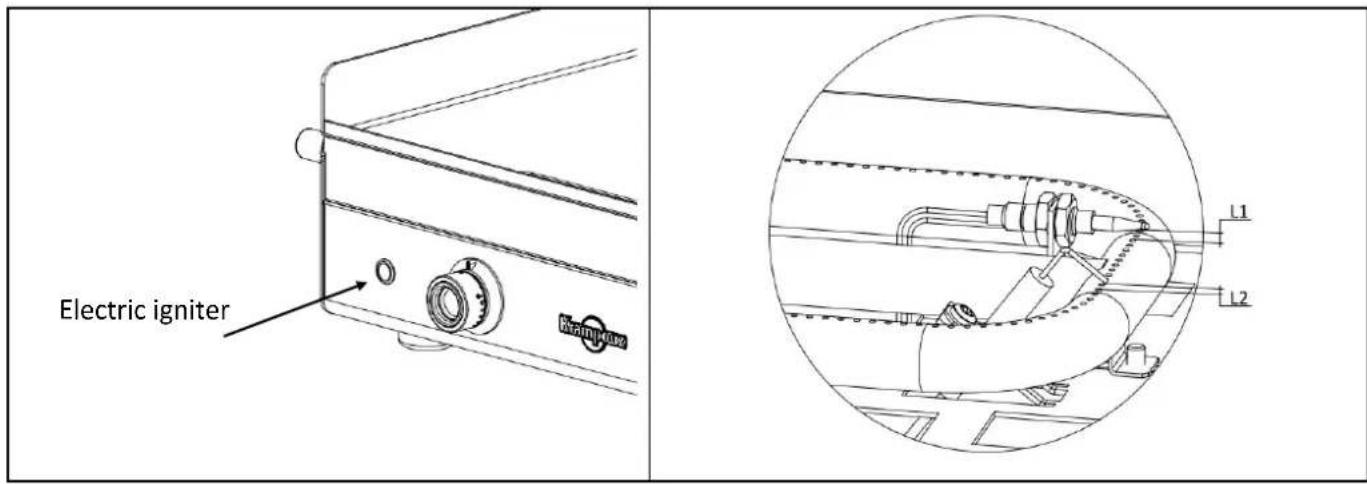
- Keep the knob pressed in for 5 - 10 seconds to engage the thermocouple safety system (see Figure 5).
- Then release the knob and wait for the burner to heat the cooking plate to the required temperature.
- Preheat the plancha by setting the control knob to the high flame position for 5 to 10 minutes, then turn it to the low flame position.
- Your appliance is ready for use.
NOTES
The first time you use your plancha, you may notice some smoke and an odour from the appliance. This is normal.
SWITCHING OFF
- After use, switch off the appliance by turning both knobs to the vertical position, pointing to the image of a circle.
- Close the valve on the gas cylinder.
- Disconnect the supply hose from the appliance and store it in a dry, well-ventilated location. The gas cylinder must also be stored in a dry, well-ventilated location, away from sources of heat.
COOKING
With its two separate heating areas, this model allows two different types of food to be cooked simultaneously, such as meat or fish on one side and vegetables on the other.
Preheat the plancha by setting the control knob to the high flame position for 5 to 10 minutes, then turn it to the low flame position.
Choose the cooking temperature according to the food (see cooking chart).
If necessary, coat the plate evenly with oil using a pad or brush.
Place the food on the plate and cook by adjusting the size of the flames manually as required.
With practice you will get to know the temperatures that are best suited to the foods being cooked, according to their thickness, texture and your taste. The times indicated below are for information only.
| FOOD | COOKING TIME | |
| FISH AND SEAFOOD | Fish kebabs | 15 min |
| King prawns | 15 min | |
| Scallops | 15 min | |
| Salmon | 15 min | |
| Monkfish or cod cheek | 15 min | |
| Coquilles St Jacques | 15 min | |
| Cuttlefish, squid or octopus | 15 min | |
| MEAT AND POULTRY | Rare T-bone steak | about 5 min on each side |
| Medium T-bone steak | about 15 min on each side | |
| Rare steak | about 1 min on each side | |
| Medium steak | about 3 min on each side | |
| Shredded pork or veal | 20 min | |
| Shredded rabbit or chicken | 30 min | |
| Duck fillets | 1 to 3 min on each side | |
| VEGETABLES | Mushrooms / Onions / Courgettes / Carrots / Tomatoes / Vegetable kebabs / Peppers, etc. | 2/3 of the power |
| FRUIT | Bananas / Apples / Pears / Peaches / Oranges / Pineapples, etc. | 2/3 of the power |
CONSEILS
In order to avoid making deep scratches on the plate, do not cut your food directly on it.
Do not leave kitchen utensils on the plancha, such as cutlery, wooden spoons, plastic utensils, etc.
Do not cook at too high a temperature as this may char the plate and make it difficult to clean. The plancha can be used for keeping food warm at the end of cooking by adjusting the lever to the low flame.
For all our recommendations for use and recipes, go to our website at www.krampouz.com.
Maintenance and cleaning
THE PLATE
Scratches and black spots appear soon during the normal course of use of the appliance. This will not impair cooking in any way.
Upon delivery, the ferritic stainless steel plate of the plancha will have a matte appearance.
It is easier if the plancha is still lukewarm. Beware risks of burns.
Use a rigid spatula to remove the bulk of the juices adhering to the cooking plate by pushing them towards the removable tray for collecting cooking residues.
Then thoroughly moisten the cooking plate to water down the remaining juices (using a sponge filled with water or by dropping ice cubes on it). Leave for a few minutes.
Use the rigid spatula to remove the remaining watered down juices by pushing them towards the removable tray for collecting cooking residues.
Finish cleaning with an abrasive then a soft sponge.
Pour white vinegar onto the plate to remove odours and residual flavours.
After cooking salty preparations, the cooking plate must be cleaned promptly (risk of the plate being corroded by the salt). Do not use cleaning products that contain chlorine on stainless steel, as they may cause corrosion.
THE FRAME
Clean the ferritic stainless steel outer casing with a damp sponge. Do not use an abrasive sponge, scourer or brush. Ensure the appliance is cold before cleaning.
DRIP TRAY AND FILTER
The drip tray and filter collect cooking run-off. Wait until the appliance is cool, then empty and clean them before next use. The filter is dishwasher safe.
BURNERS
From time to time, check the condition of the flame holes on the burners and the venturis which may become obstructed by insect nests, cobwebs or dirt.
If the flame holes are clogged, use a hard bristle brush to clear them. We strongly recommend that you do not use metallic objects to clean the venturis, as they are likely to modify the technical specifications of the burners.
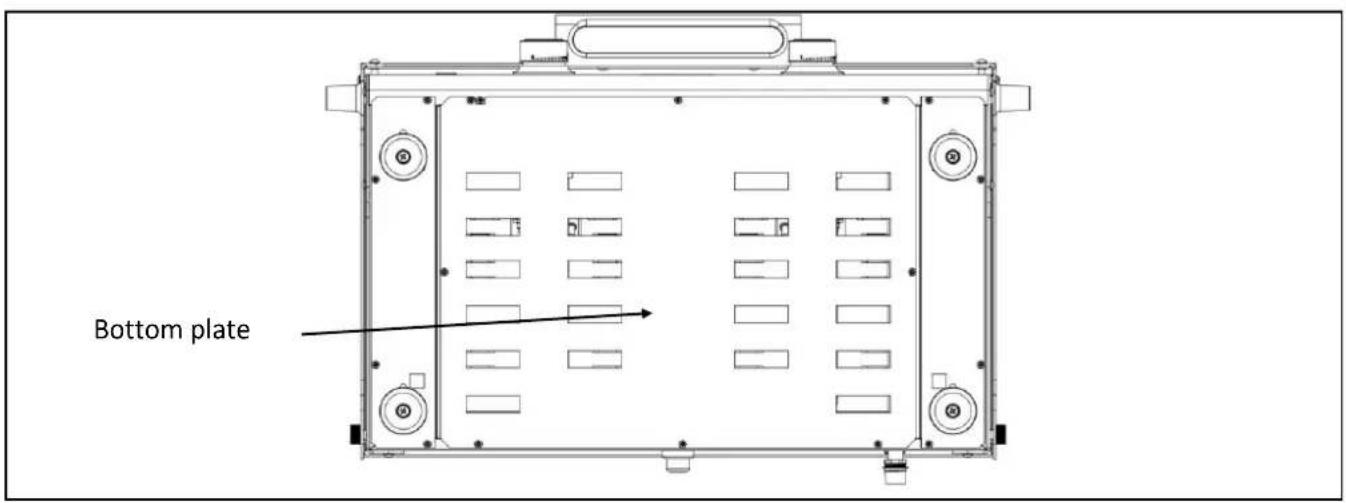
We therefore recommend that you blow inside the venturi. Access the burners and venturis by removing the bottom plate from the appliance (see Figure 1 and Figure 2).
ELECTRONIC IGNITER
The appliance is supplied with an AAA battery (1.5 Volts). To change the battery, refer to the diagram below.

text_image
Electric igniter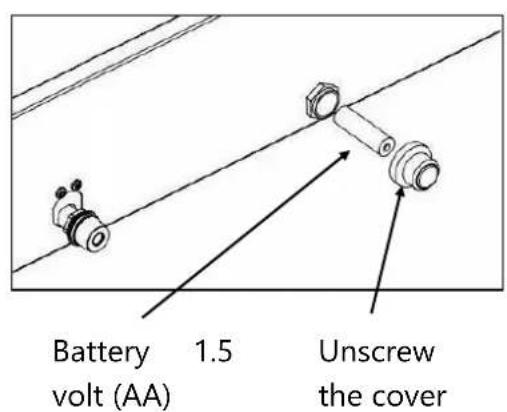
text_image
Battery 1.5 Unscrew volt (AA) the coverSTORAGE
Store your plancha in a dry and safe location where it will not be damaged. Before storing away for the winter, clean your plancha thoroughly and apply a stainless steel
protector. Replace the cap on the connector to protect the gas circuit from insects and dust.
Our maintenance advice is available at www.krampouz.com

Schemas
FIGURE 1 – VIEW OF UNDERSIDE
To clean the vents
text_image
Bottom plateFIGURE 2 – OPENING THE VENTURI FIGURE 3 – VIEW OF CONNECTION
text_image
Injector 4mm Connection ½" gas threadFIGURE 4 – ELECTRIC IGNITER
FIGURE 5 – THERMOCOUPLE SAFETY SYSTEM
text_image
Electric igniter L1 L2The thermocouple safety system is vertically aligned with one of the burner's holes. L1 is 2 mm 0+2mm and L2 is 4 mm 0+2mm.
Accessories
Discover below the indispensable accessories for your plancha. For more information on these accessories, go to www.krampouz.com
INSTALL
natural_image
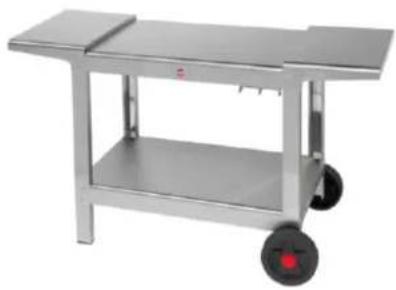
Metallic industrial cart with wheels and a flat top (no visible text or symbols)Plein air cart (Ref. KHEA05)*
COOKING
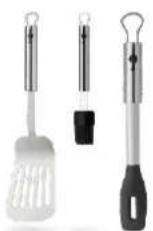
Plancha set (Ref. ASP2)
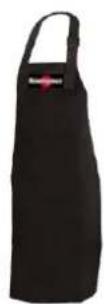
Apron (Ref. ATC1)
PROTECTING
text_image
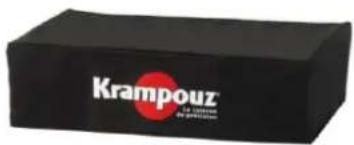
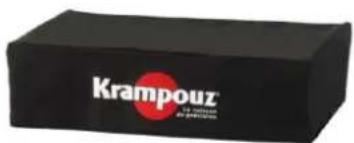
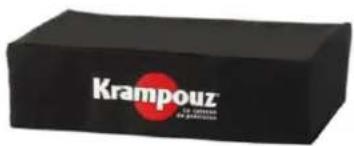
Krampouz Kl. 1000000 and 2000000Cover for plancha (Ref. AHP5)

natural_image
Black rectangular object with 'Krampouz' logo and red circular mark, no visible text or symbols on bodyCover for Plein air cart (Ref. AHC1)**
* The plancha is sold separately.
** The PLEIN AIR cart is sold separately.
This appliance is guaranteed for two years, for spare parts. The cooking plate is guaranteed for 10 years in terms of cooking capacity.
We do our very best to ensure that our appliances reach you in perfect operating condition. If you find a fault when unpacking, report this to the shop within 48 hours.
If during this period, you observe a malfunction, refer to your retailer.
The following is excluded from the guarantee:
- Normal wear of the product not impairing the operation of the appliance (scratches, the beginnings of superficial corrosion, black spots, impacts, colour changes, etc.)
- Damage resulting from an abnormal event or use, a modification of the product or non compliance with the indications provided in the operating instructions.
- Damage resulting from a professional, industrial or collective use.
- Damage resulting from a fall or impact.
Krampouz may not be held liable for damage caused to objects or persons resulting from improper installation or use of the appliance.
By ensuring that this product is indeed scrapped appropriately, you will help to prevent potential negative consequences for the environment and human health. Material recycling will help to preserve natural resources. For any additional information about the recycling of this product, call your local authorities, your drop-off centre or the store where you purchased the product.
Please send us your suggestions.
Estimado cliente:
natural_image
Technical line drawing showing a mechanical assembly with a cylindrical component and a rectangular component, no text or symbols present.natural_image
Technical line drawing of a portable kitchen appliance with handle and control panel (no text or symbols)natural_image
Metallic industrial cart with wheels and a flat top (no visible text or symbols)Carro Plein Air (Ref. KHEA05)*
COCINAR
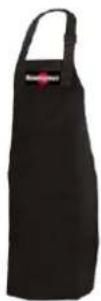
Delantal (Ref. ATC1)
PROTEGER
text_image
Krampouz Kl - 100 gm 200 gm 200 gmFunda para la plancha (Ref. AHP5)

natural_image
Black rectangular device with Krampouz logo and red circular mark, no visible text or symbols on bodyFunda para carro Plein Air (Ref. AHC1)**
natural_image
Technical line drawing showing a mechanical assembly with a cylindrical component and a rectangular component, no text or symbols present.natural_image
Technical line drawing of a mechanical assembly with no visible text or symbols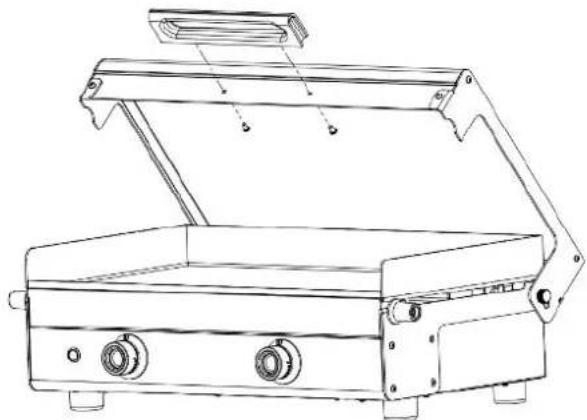
natural_image
Line drawing of a portable grater with open lid and side-mounted buttons (no text or symbols)natural_image
Metallic industrial cart with wheels and a flat top (no visible text or symbols)Wagen Plein Air (Ref. KHEA05)*
ZUBEREITEN
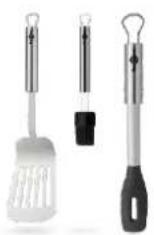
Plancha set (Ref. ASP2)
Schürze (Ref. ATC1)
SCHÜTZEN
text_image
Krampouz © 2018-04-20 © 2018-04-20Original instructions
Manuel origina
Originalanleitung
Krampouz SAS
Z.A. Bel Air - 29700 Pluguffan - France
Tel. +33 (0)2.98.53.92.92
www.krampouz.com
contact@krampouz.com