YMXT-XC40-6 - Sliding door hardware Vevor - Free user manual and instructions

Find the device manual for free YMXT-XC40-6 Vevor in PDF.
Vevor YMXT-XC40-6 - Sliding door hardware
📄 64 pages English EN Download 💬 AI Question 10 questions ⚙️ Specs
Notice Vevor YMXT-XC40-6 - page 1
Pick your language and provide your email: we'll send you a specifically translated version.
Product Type Sliding Door Hardware
Model YMXT-XC40-6
Brand Vevor
Material Steel
Compatible Door Thickness 35 mm and 45 mm
Maximum Load per Door 150 lb (68 kg)
Number of Doors 2
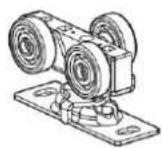
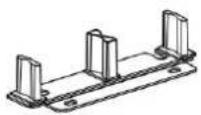
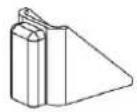
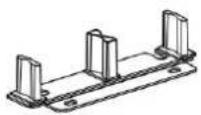
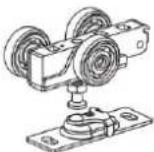
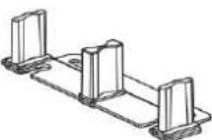
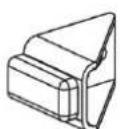
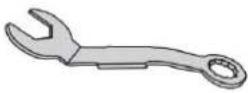
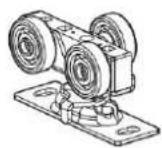
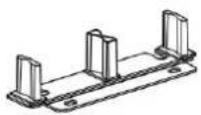
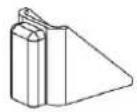
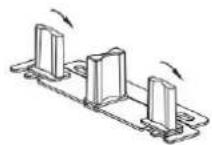
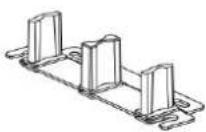
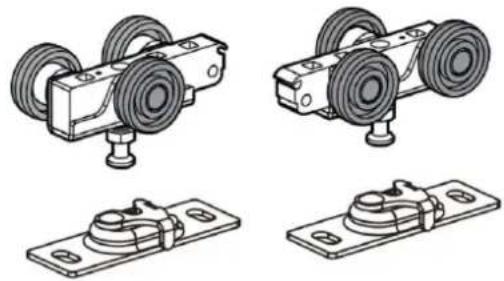
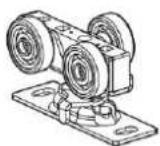
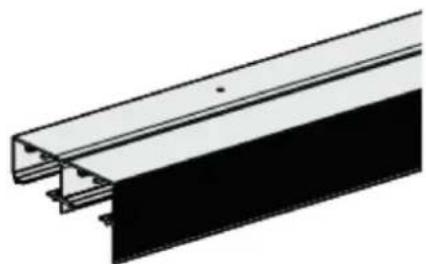
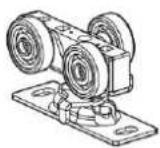
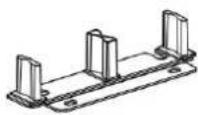
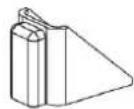
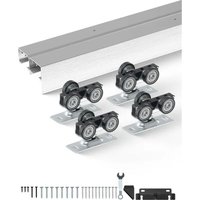
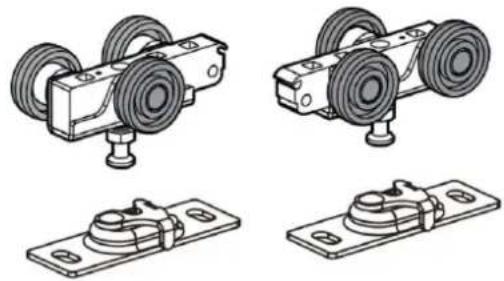
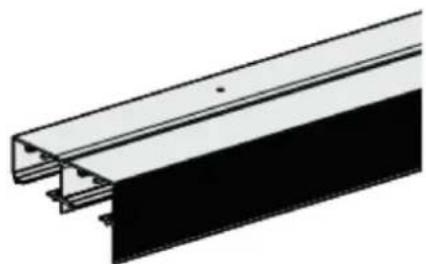
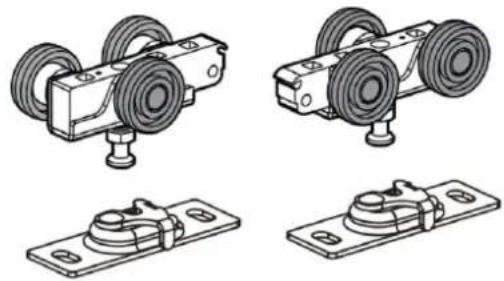
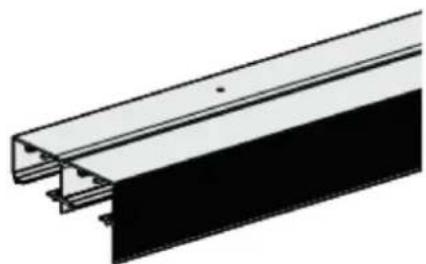
Included Components Rail, hangers, suspension plates, floor guide, stopper, screws
Rail Attachment On header with 32 mm #8 screws
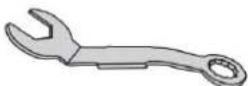
Height Adjustment By wrench on hangers
Usage Interior sliding wooden doors
Safety Instructions Wearing safety glasses and gloves recommended
Maintenance Clean regularly, avoid prolonged sun exposure
Repairability Spare parts available via Vevor customer service
Technical Support www.vevor.com/support
Warranty Electronic warranty certificate on Vevor website
Origin Made in China, imported by Sanven Technology Ltd. (USA)
Rail Dimensions (approx.) To be cut according to opening, typical length 2 m

Frequently Asked Questions - YMXT-XC40-6 Vevor

What is the maximum compatible door thickness?
This set is designed for wood doors with thickness of 35 mm and 45 mm.
What is the maximum weight per door?
Each door can weigh up to 150 lb (approx. 68 kg).
How to install the rail?
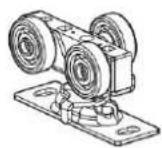
Cut the rail to the length of the opening, insert the hangers, then attach it to the header with 32 mm #8 screws.
How to adjust the door height?
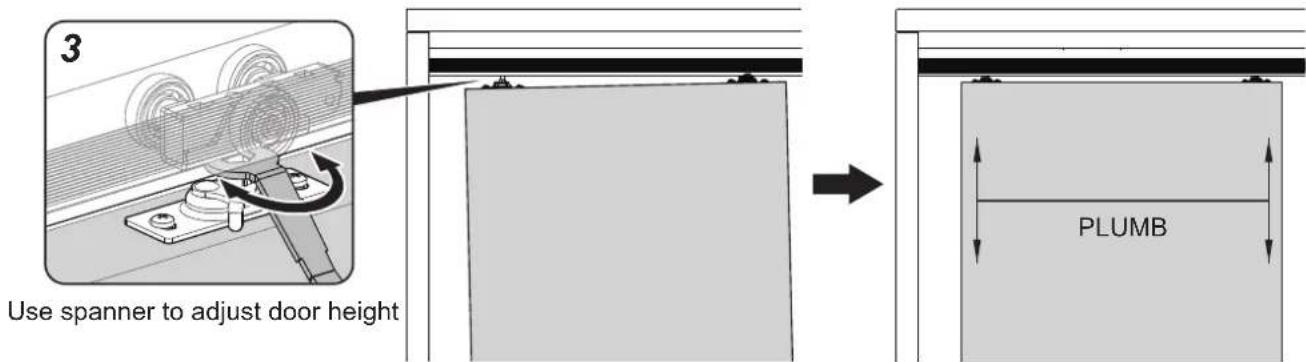
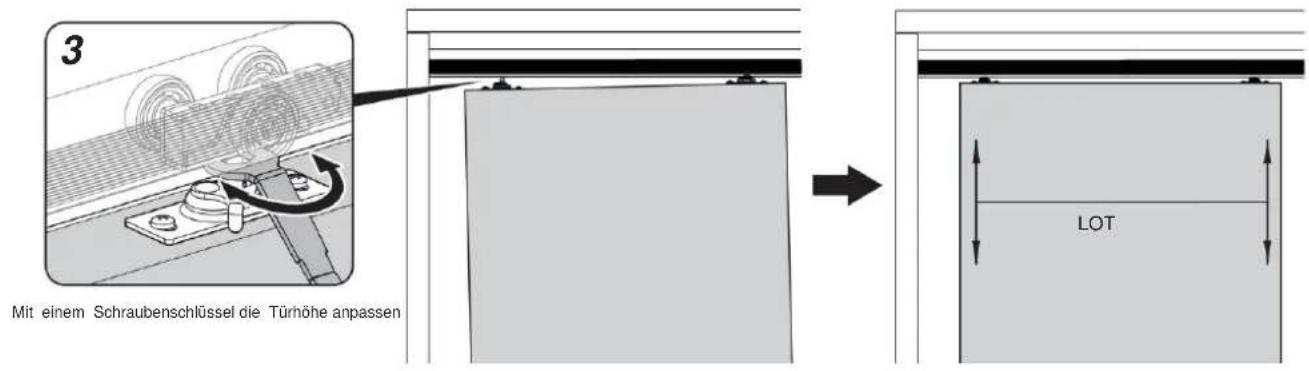
Use a wrench to adjust the height at the hangers, after hanging the doors on the rail.
Is the floor guide adjustable?
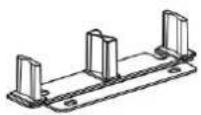
Yes, the floor guide can be positioned according to the door thickness. For a 35 mm door, follow the specific instructions provided.
How to install the stopper?
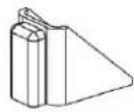
Attach the stopper to the back of the front door, 38 mm from the edge and 13 mm from the top (or 1000 mm from the bottom for solid core doors).
What tools are needed for installation?
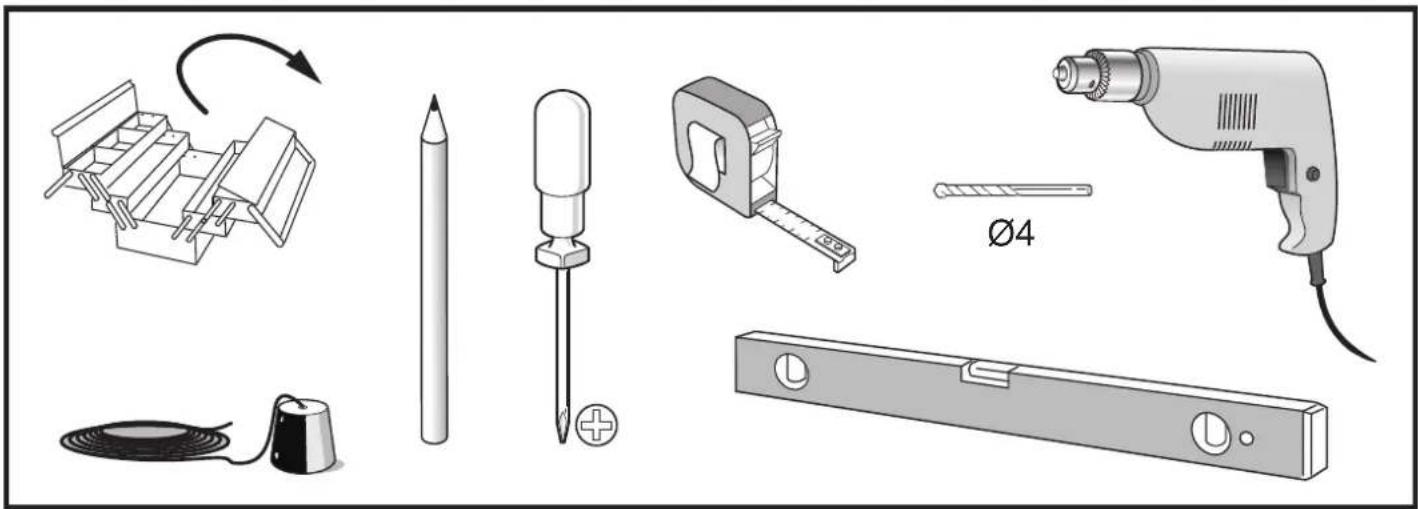
You will need a tape measure, a level, a screwdriver, a drill, and a wrench for adjustment.
How to maintain the hardware?
Clean the rails and hangers regularly with a soft cloth. Avoid prolonged sun exposure to prevent premature aging.
Where to find spare parts?
Contact Vevor customer service at www.vevor.com/support to order spare parts or get technical assistance.
Is the product under warranty?
Yes, an electronic warranty certificate is available on the Vevor website. Keep your proof of purchase.

User questions about YMXT-XC40-6 Vevor

0 question about this device. Answer the ones you know or ask your own.

Ask a new question about this device

Your email remains private: it is only used to notify you if someone answers your question.

No questions yet. Be the first to ask one.

Download the instructions for your Sliding door hardware in PDF format for free! Find your manual YMXT-XC40-6 - Vevor and take your electronic device back in hand. On this page are published all the documents necessary for the use of your device. YMXT-XC40-6 by Vevor.

USER MANUAL YMXT-XC40-6 Vevor

Technical Support and E-Warranty Certificate www.vevor.com/support

Sliding Door Set

Model: YMXT-XC40-6

We continue to be committed to providing you with tools at competitive prices. "Save Half", "Half Price", or any other similar expressions used by us only represent an estimate of savings you might benefit from buying certain tools with us compared to the major top brands and do not necessarily mean to cover all categories of tools offered by us. You are kindly reminded to verify carefully when placing an order with us if you are actually saving half in comparison with the top major brands.

VEVOR®

TOUGH TOOLS, HALF PRICE

Sliding Door Set

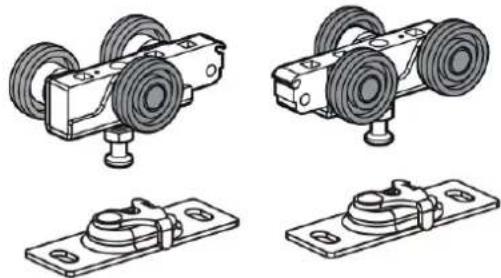
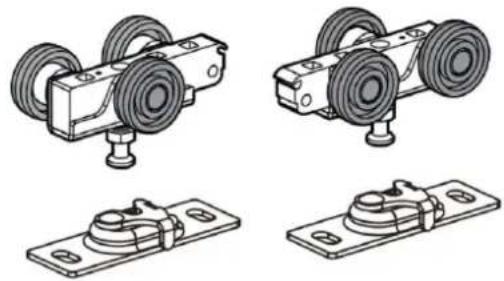
Model: YMXT-XC40-6Technical line drawings of two mechanical components with wheels and mounting brackets (no text or symbols).

Technical line drawings of three different mechanical components: a two-hinged roller, a flat plate with a bolt, and a rectangular housing (no text or symbols present).

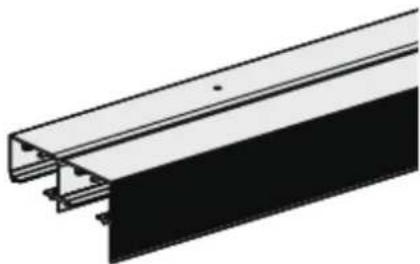
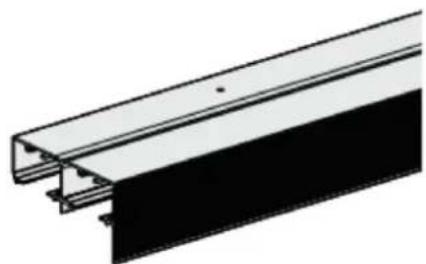
Pure technical line drawing of a structural beam or panel (no text or symbols).

NEED HELP? CONTACT US!

Have product questions? Need technical support? Please feel free to contact us:

Technical Support and E-Warranty Certificate

www.vevor.com/support

This is the original instruction. Please read all manual instructions carefully before operating. VEVOR reserves a clear interpretation of our user manual. The appearance of the product shall be subject to the product you received. Please forgive us that we won't inform you again if there are any technology or software updates on our product.

INSTRUCTIONS

Thank you very much for choosing this Sliding Door Set.

- Please read all of the instructions before using it. The information will help you achieve the best possible results.

The products carried in this catalog may be different in color than the actual item.

SAVE THESE INSTRUCTIONS

WARNING:

Ensure Health and Safety, local authority and general workshop practice

regulations are adhered to when using tools.

* DO NOT use tools if damaged. * Maintain tools in good and clean condition for best and safest performance. * Wear suitable clothing to avoid snagging. Do not wear loose jewellery and tie back long hair. * Account for all tools and parts being used. * If working off the vehicle, ensure that the workplace is secure and stable. * Do Not use these tools if you are tired or under the influence of alcohol, drugs or intoxicating medication. * PERSONAL SAFETY WARNING!

Always Wear personal protective equipment.

*PERSONAL PROTECTIVE EQUIPMENT

  1. Always wear impact safety goggles that provide front and side protection for the eyes. Eye protection equipment should comply with CSA Z94.3-07 or ANSI Z87.1 standards based on the type of work performed.
  2. Wear gloves that provide protection based on the work materials or to reduce the effects of tool vibration.

Assembly and Use

PRE INSTALLATION-

TOOLS REQUIREDIllustration of various electrical components including a screwdriver, a power tool, and a battery plate (no text or symbols).
HARDWARE INCLUDED

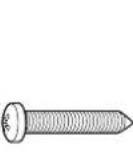
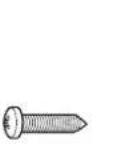
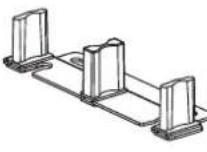
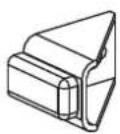
Vevor YMXT-XC40-6 - PRE INSTALLATION- - 2 (x1)ST4.2x32(x1)(x4) ST5.5x32 (x8) (x1)ST4.2x19 (x2)Vevor YMXT-XC40-6 - PRE INSTALLATION- - 3 Vevor YMXT-XC40-6 - PRE INSTALLATION- - 4Vevor YMXT-XC40-6 - PRE INSTALLATION- - 5 Vevor YMXT-XC40-6 - PRE INSTALLATION- - 6
Vevor YMXT-XC40-6 - PRE INSTALLATION- - 7 Vevor YMXT-XC40-6 - PRE INSTALLATION- - 8 (x1) ST4.2x19 (x3) (x1)Vevor YMXT-XC40-6 - PRE INSTALLATION- - 9

INSTRUCTIONS

SLIDING DOOR HARDWARE

Fits 35 and 45mm thick wood door, each door max weight 150lbs.

PREPARE OPENING CAREFULLY: MAKE SURE CORNERS ARE SQUARE, HEADER IS LEVEL AND JAMBS ARE STRAIGHT.Vevor YMXT-XC40-6 - SLIDING DOOR HARDWARE - 1
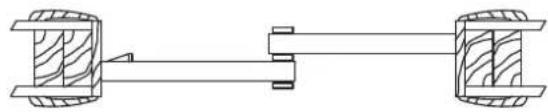
2 Door: 2x Door width - 1"Technical line drawing of a mechanical assembly with two shafts and housing (no text or symbols).

Vevor YMXT-XC40-6 - SLIDING DOOR HARDWARE - 3

Vevor YMXT-XC40-6 - SLIDING DOOR HARDWARE - 4

Vevor YMXT-XC40-6 - SLIDING DOOR HARDWARE - 5

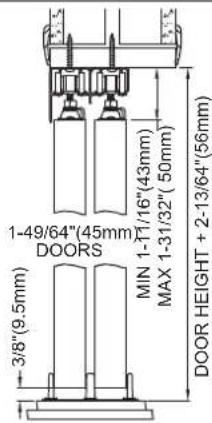
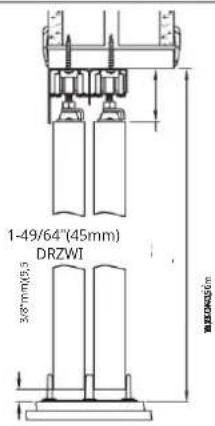
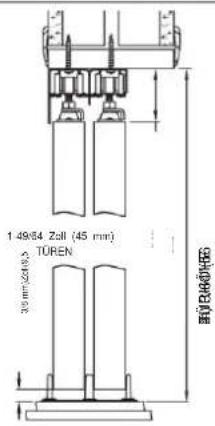
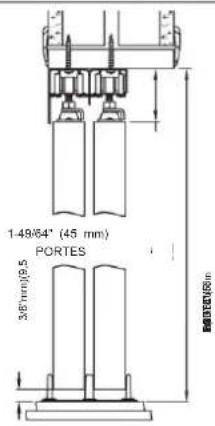
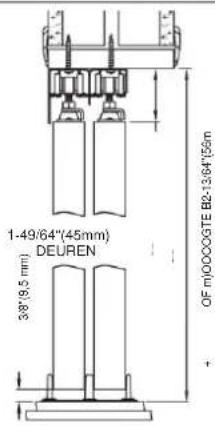
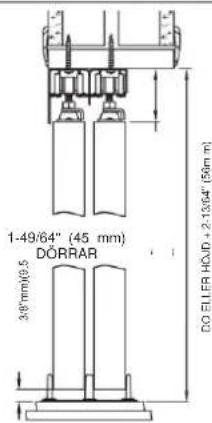
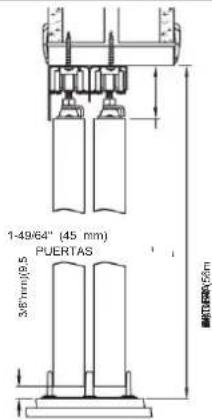
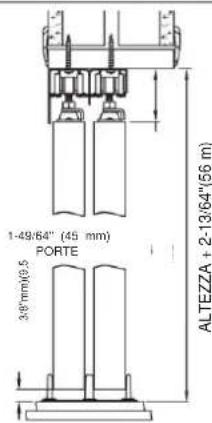
1-49/64" (45mm) DOORS MIN 1-11/16" (43mm) MAX 1-31/32" (50mm) 3/8" (9.5mm) DOOR HEIGHT + 2-13/64" (56mm)

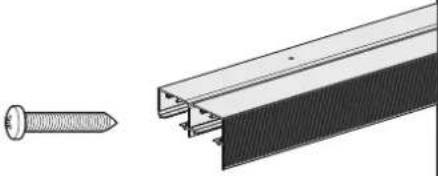
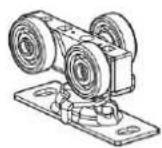
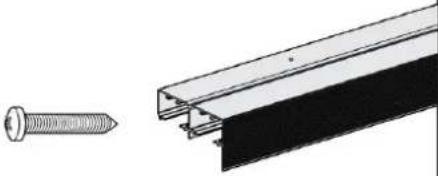
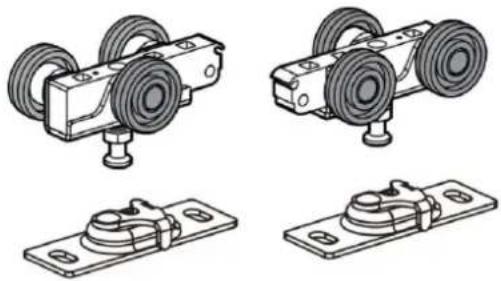
1 Mount Track to Header: Cut track to fit opening. Insert hangers into track and mount to header with 1-1/4" (32mm) #8 pan head screws.graph TD A["Input"] --> B{Decision Point} B -->|Yes| C["Process Step 1"] B -->|No| D["Process Step 2"] C --> E["Output"] D --> F["Feedback Loop"] F --> C

NOTE: Alternate hanger wheel assemblies in track to provide even pressure.

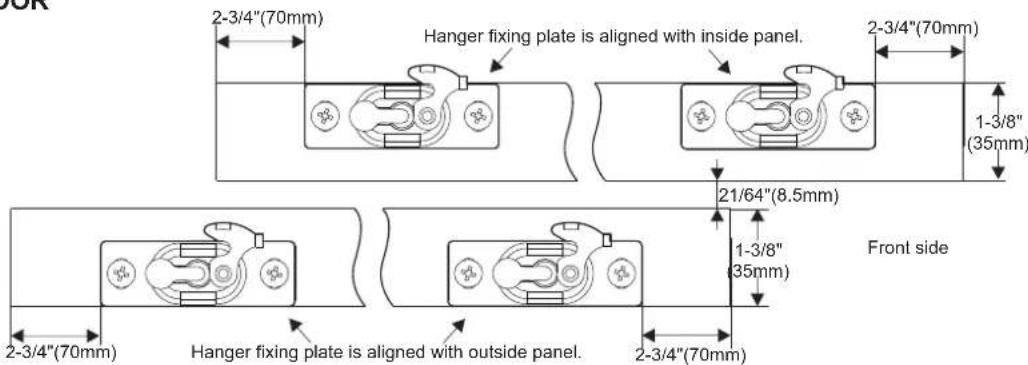
2 Mount Hanger Plates to Door: Fasten door plates to top of door, 2-3/4" (70mm) from each edge. 45mm DOOR7/8" (22.5mm) 2-3/4" (70mm) 21/64" (8.5mm) 2-3/4" (70mm) 7/8" (22.5mm) 2-3/4" (70mm) Front side 2-3/4" (70mm)
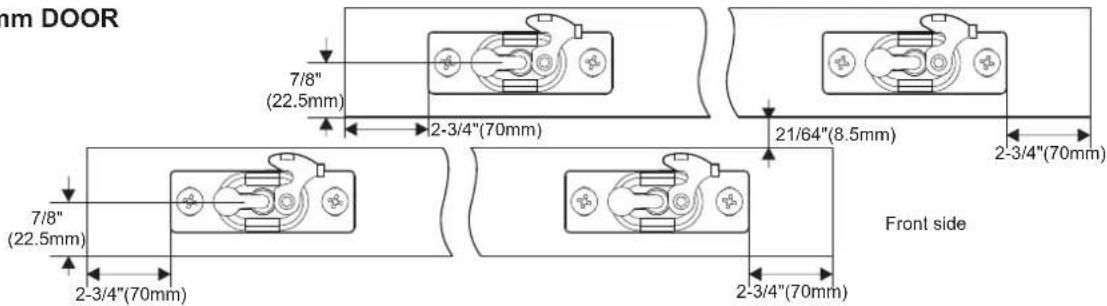
35mm DOOR2-3/4" (70mm) Hanger fixing plate is aligned with inside panel. 2-3/4" (70mm) 1-3/8" (35mm) 21/64" (8.5mm) 1-3/8" (35mm) Front side 2-3/4" (70mm) Hanger fixing plate is aligned with outside panel. 2-3/4" (70mm)

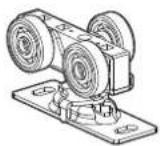
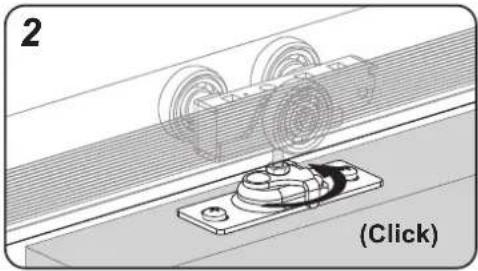
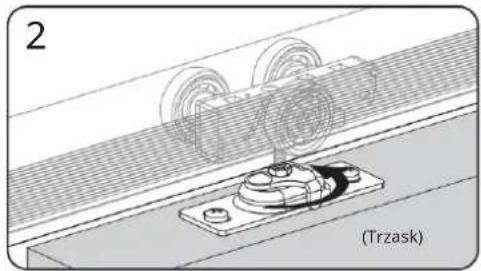
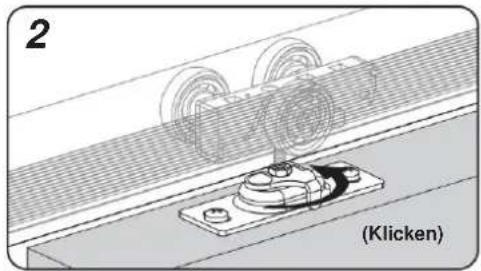
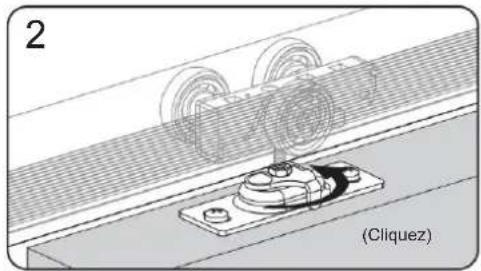
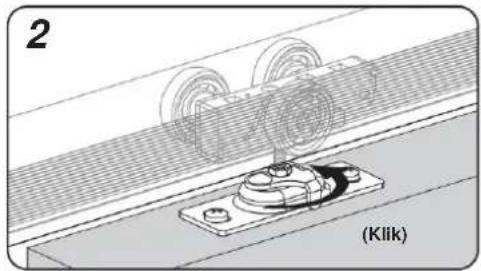
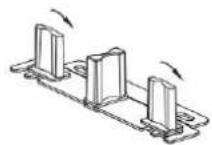
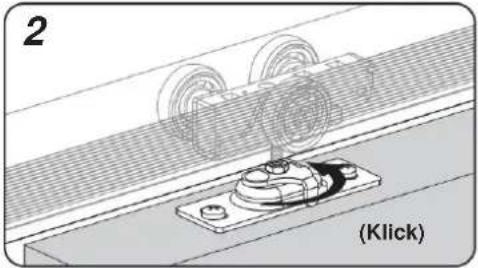
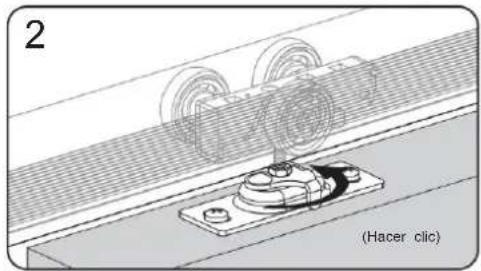
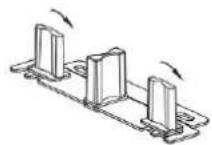
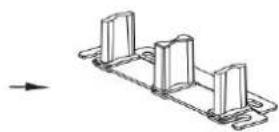
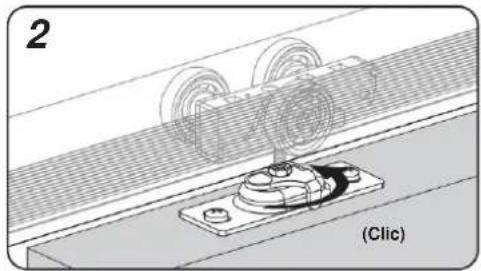
3 Hang Door on front leg of track first. Slide pivot pin of hanger into socket and lock into place with clip. Check for smooth travel.

Repeat with rear door.
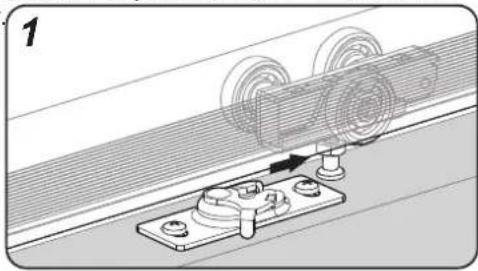
Mechanical assembly diagram showing a sliding mechanism with pulleys and mounting base (no text or symbols).

Mechanical assembly diagram showing a sliding mechanism with pulleys and a button labeled "Click" (no text or symbols present).

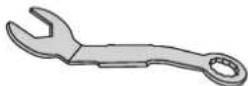
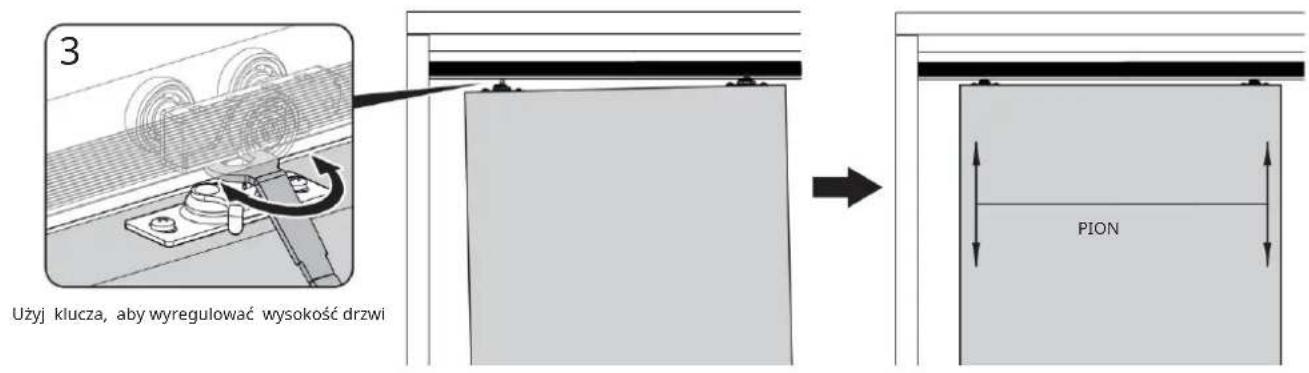
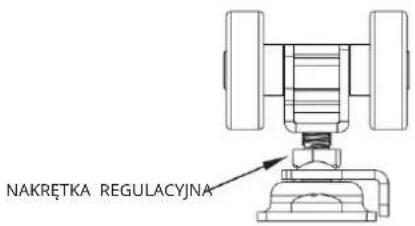
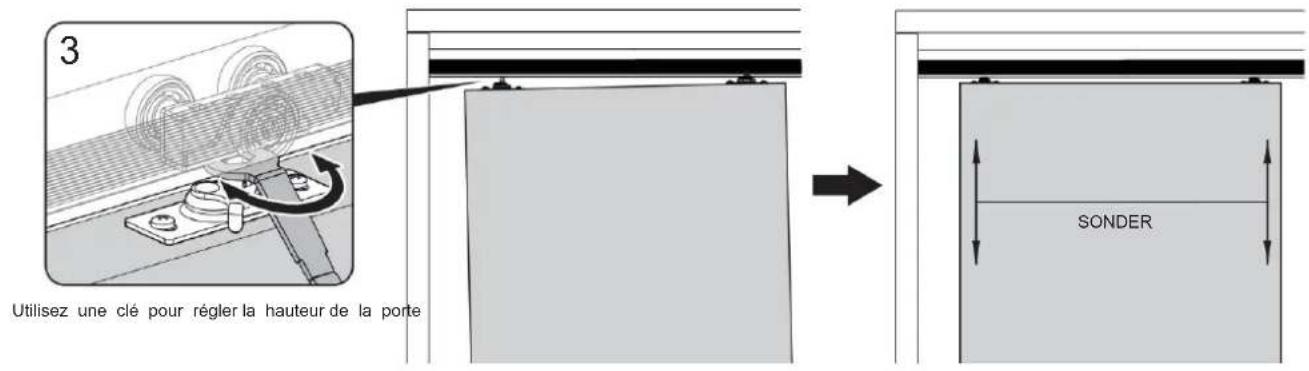
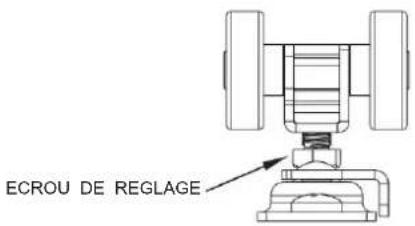
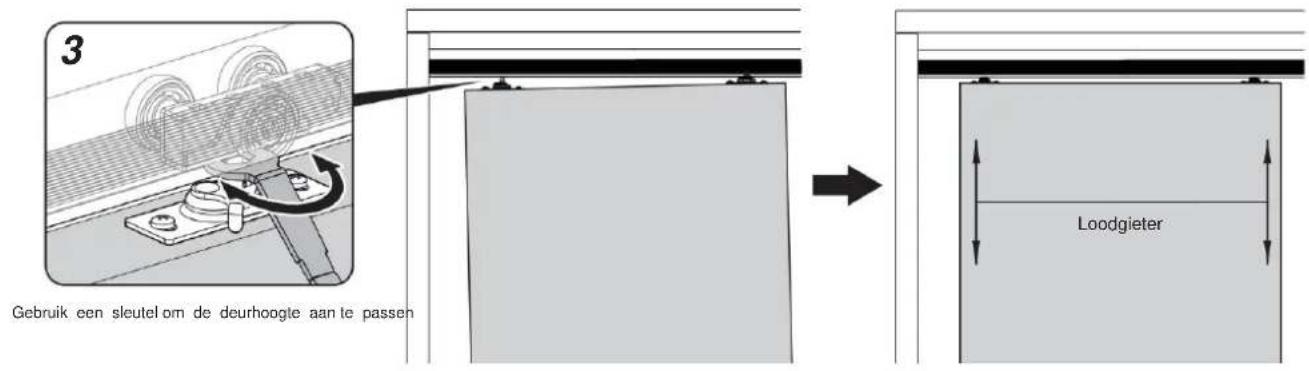
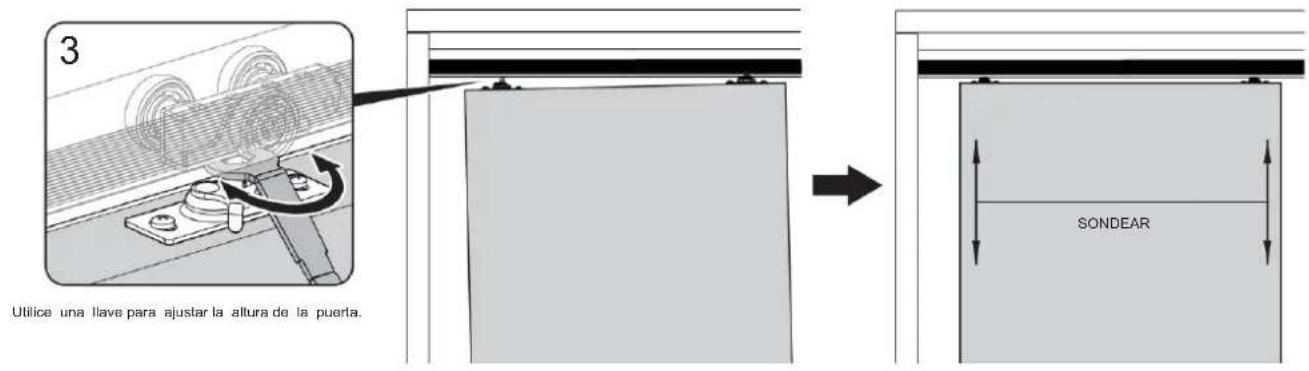
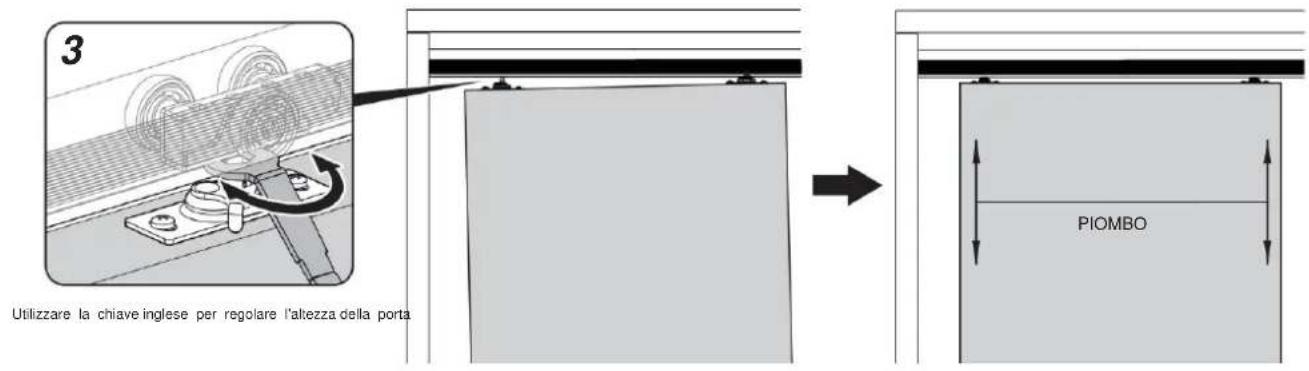
3 Use spanner to adjust door height PLUMB

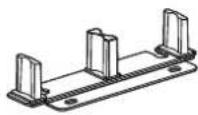
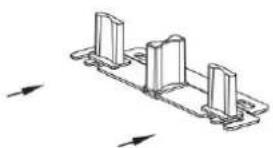
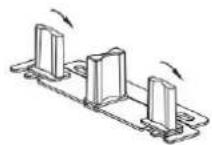
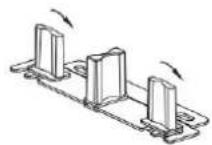
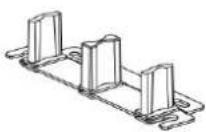
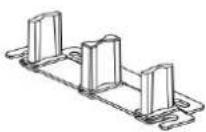
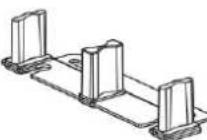
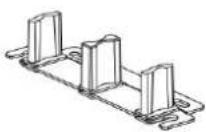
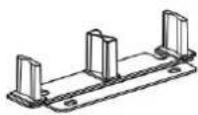
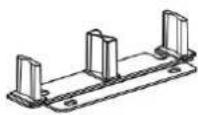
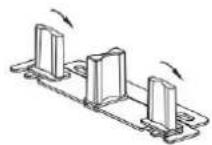
4 Install Bottom Guide: Slide both doors to side jamb. Place guide between doors and position to plumb, fasten to floor with screws.
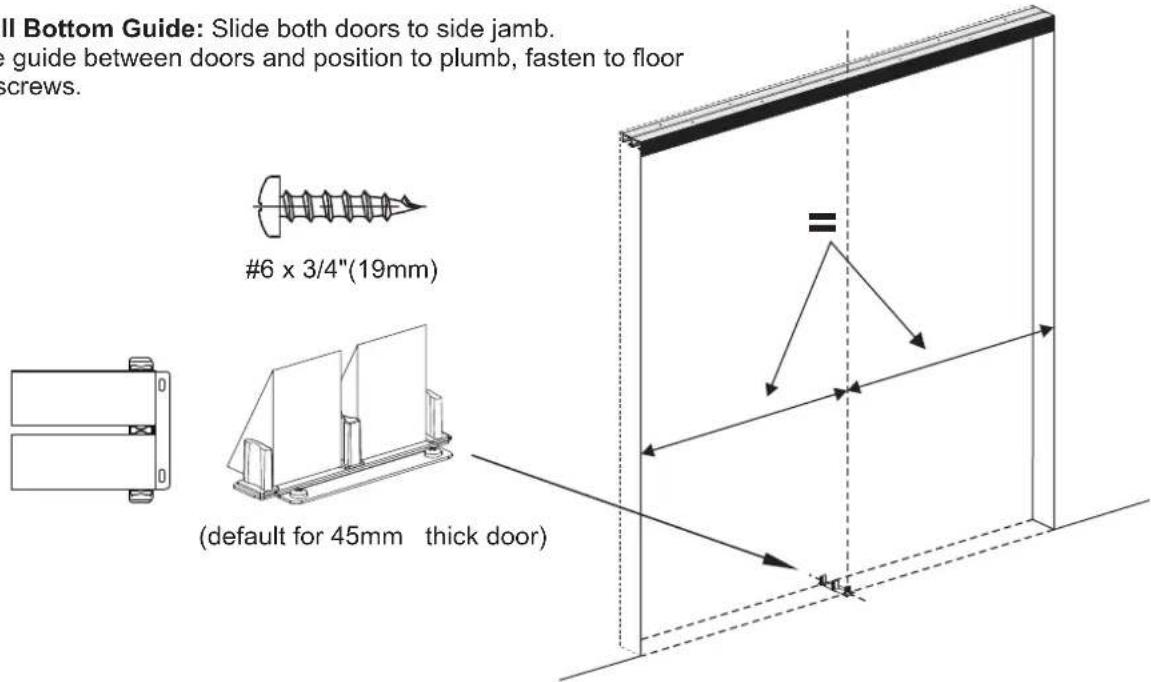
II Bottom Guide: Slide both doors to side jamb. Place guide between doors and position to plumb, fasten to floor with screws. #6 x 3/4" (19mm) (default for 45mm thick door)

Floor guide installation instruction for 35mm thick wood door:

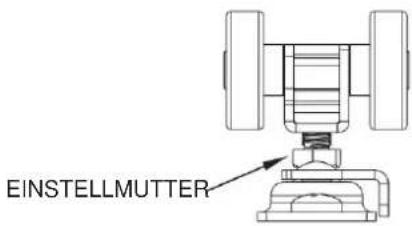
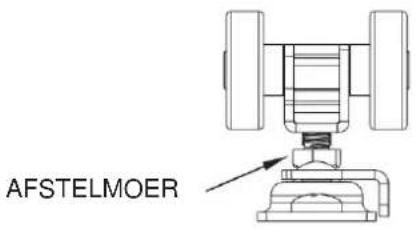
5 Adjust Hangers, if necessary, to plumb doors with jambs.
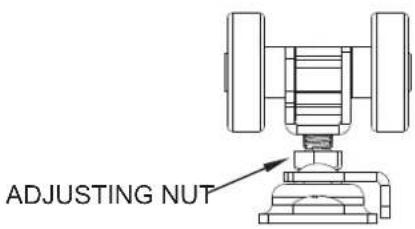
ADJUSTING NUT

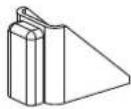
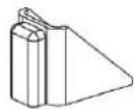
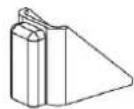
6 Install Stop: Attach Stop on rear of front door 1-1/2" (38mm) from door edge, 1/2" (13mm) from top (Hollow Core) or 40" (1000mm) from bottom (Solid Core) doors.
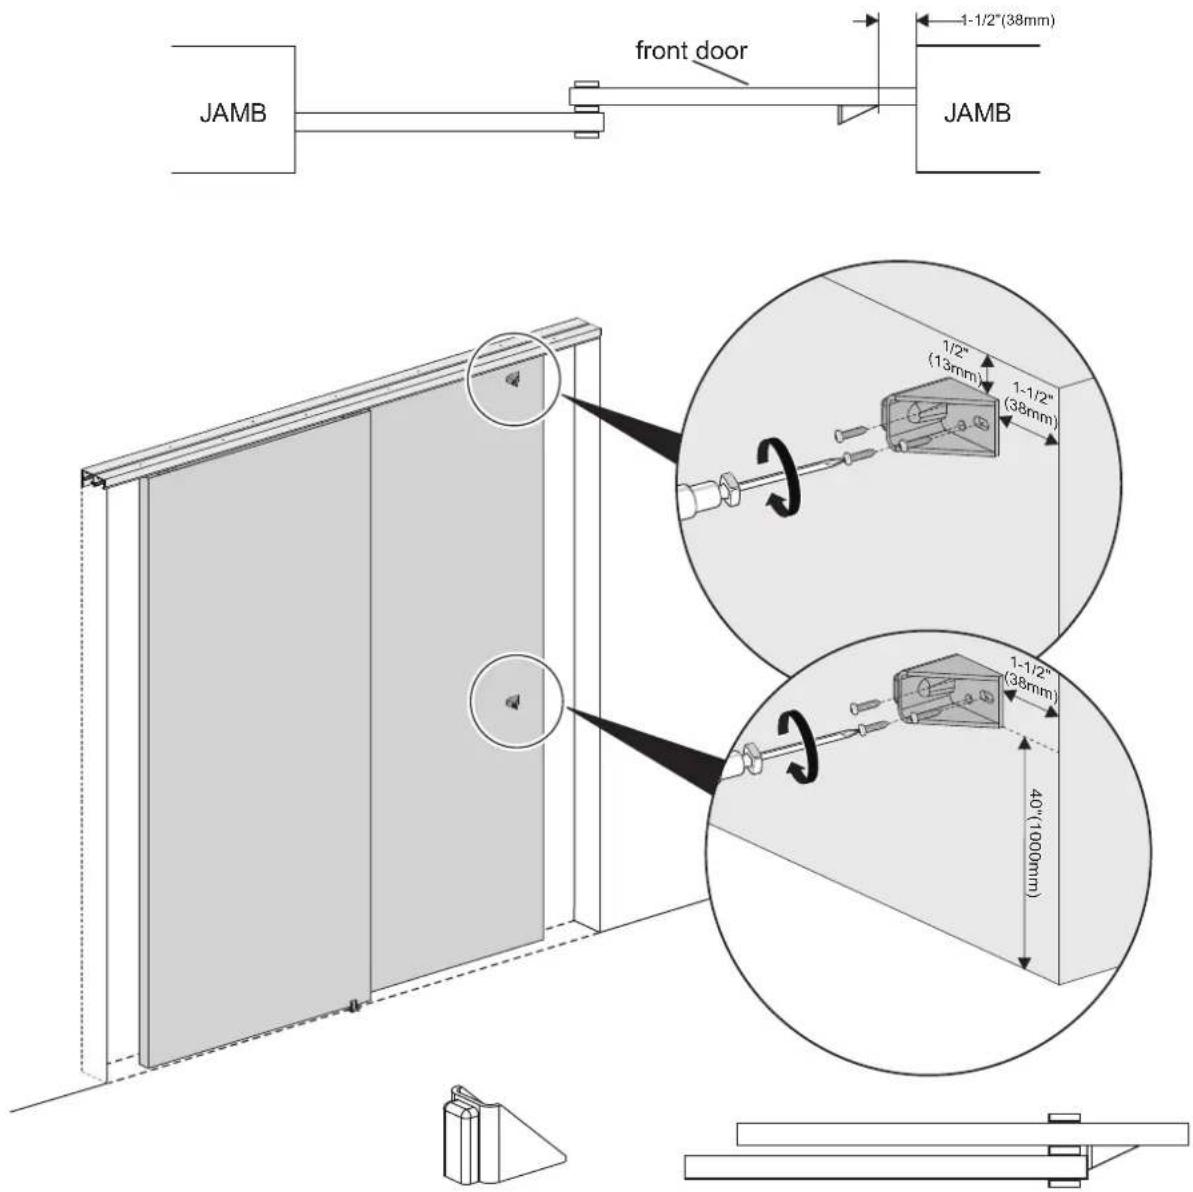
JAMB front door 1-1/2" (38mm) JAMB 1/2" (13mm) 1-1/2" (38mm) 1-1/2" (38mm) 40" (1000mm)

Maintenance

  1. Avoid prolonged exposure to the sun to avoid aging.

Manufacturer: Shanghai Muxin Muye Youxian Gongsi

Address: Shuangcheng Lu 803 Nong 11 Hao 1602A-1609 Shi, Baoshan Qu, Shanghai 200000 CN.

Imported to AUS: SIHAO PTY LTD. 1 ROKEVA STREET EASTWOOD NSW 2122 Australia Imported to USA: Sanven Technology Ltd. Suite 250, 9166 Anaheim Place, Rancho

Cucamonga, CA 91730
Vevor YMXT-XC40-6 - Maintenance - 1

E-CrossStu GmbH

Mainzer Landstr. 69, 60329 Frankfurt am Main.

Vevor YMXT-XC40-6 - Maintenance - 2

YH CONSULTING LIMITED.

C/O YH Consulting Limited Office 147, Centurion House,

London Road, Staines-upon-Thames, Surrey, TW18 4AX

VEVOR®

TOUGH TOOLS, HALF PRICE

Technical Support and E-Warranty Certificate

www.vevor.com/support

VEVOR®

TOUGH TOOLS, HALF PRICE
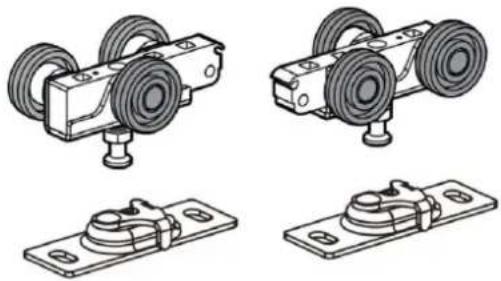
Technical line drawings of four different mechanical components: a sliding contactor, a mounting bracket, a roller-mounted housing, and a flat plate (no text or symbols present).

Pure technical line drawing of a structural beam or panel (no text or symbols).

NEED HELP? CONTACT US!

PACKAGE CONTENTS

Vevor YMXT-XC40-6 - TOUGH TOOLS, HALF PRICE - 3

Vevor YMXT-XC40-6 - TOUGH TOOLS, HALF PRICE - 4

Vevor YMXT-XC40-6 - TOUGH TOOLS, HALF PRICE - 5

1-49/64" (45mm) DRZWI 368mm (3.5)

Mechanical assembly diagram showing a rotating wheel and base plate (no text or symbols).

Pure mechanical assembly diagram showing three components connected by rods (no text or symbols).

3

Pure technical line drawing of a mechanical bracket assembly without any text, numbers, or symbols.

4

Vevor YMXT-XC40-6 - TOUGH TOOLS, HALF PRICE - 10

Vevor YMXT-XC40-6 - TOUGH TOOLS, HALF PRICE - 11

NAKRETKA REGULACYJNA

Maintenance

C/O YH Consulting Limited Office 147, Centurion House, London Road, Staines-upon-Thames, Surrey, TW18 4AX

VEVOR®

TOUGH TOOLS, HALF PRICE

www.vevor.com/support

HARDWARE INCLUDED

(x1) ST5,5x32 (x8)(x4)ST4.2x32(x11)ST4.2x19 (x2) (x1)
(x1) (x1)ST4.2x19 (x3)

INSTRUCTIONS

1.49/64 inches (45 mm) TUREN 30 mm (240.0)

Vevor YMXT-XC40-6 - INSTRUCTIONS - 2

Vevor YMXT-XC40-6 - INSTRUCTIONS - 3

Mechanical assembly diagram showing a rotating component mounted on a base plate (no text or symbols visible).

Mechanical assembly diagram showing a sliding mechanism with pulleys and a labeled component (Klicken), no readable text or symbols beyond label.

Pure technical line drawing of a mechanical bracket assembly without any text, numbers, or symbols.

4Vevor YMXT-XC40-6 - INSTRUCTIONS - 7

Vevor YMXT-XC40-6 - INSTRUCTIONS - 8

Vevor YMXT-XC40-6 - INSTRUCTIONS - 9

EINSTELLMUTTER

Maintenance

C/O YH Consulting Limited Office 147, Centurion House,

London Road, Staines-upon-Thames, Surrey, TW18 4AX

VEVOR®

TOUGH TOOLS, HALF PRICE

www.vevor.com/support

VEVOR®

TOUGH TOOLS, HALF PRICE
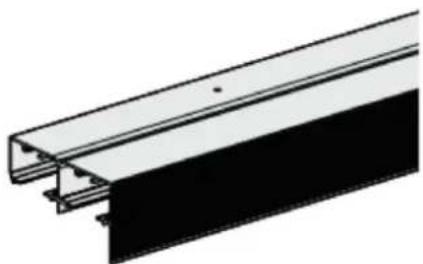
Technical line drawings of four different mechanical components with no visible text or symbols.

Pure technical line drawing of a structural beam or panel (no text or symbols).

NEED HELP? CONTACT US!

HARDWARE INCLUDED

Vevor YMXT-XC40-6 - NEED HELP? CONTACT US! - 1Vevor YMXT-XC40-6 - NEED HELP? CONTACT US! - 2 Vevor YMXT-XC40-6 - NEED HELP? CONTACT US! - 3(x4) ST5.5x32 (x8)(x1)ST4.2x32(x11)Vevor YMXT-XC40-6 - NEED HELP? CONTACT US! - 4 Vevor YMXT-XC40-6 - NEED HELP? CONTACT US! - 5ST4.2x19 (x2) (x1)
Vevor YMXT-XC40-6 - NEED HELP? CONTACT US! - 6 Vevor YMXT-XC40-6 - NEED HELP? CONTACT US! - 7(x1) (x1) ST4.2x19 (x3)Vevor YMXT-XC40-6 - NEED HELP? CONTACT US! - 8

INSTRUCTIONS

Vevor YMXT-XC40-6 - INSTRUCTIONS - 1

Vevor YMXT-XC40-6 - INSTRUCTIONS - 2

Vevor YMXT-XC40-6 - INSTRUCTIONS - 3

1-49/64" (45 mm) PORTES 3/8 mm (9.5)

Mechanical assembly diagram showing a rotating component mounted on a base plate, labeled (Cliquez), with no readable text or symbols.

Pure mechanical assembly diagram showing three components connected by rods (no text or symbols).

3

Pure technical line drawing of a mechanical bracket assembly without any text, numbers, or symbols.

4

Vevor YMXT-XC40-6 - INSTRUCTIONS - 8

Vevor YMXT-XC40-6 - INSTRUCTIONS - 9

Vevor YMXT-XC40-6 - INSTRUCTIONS - 10

Adjusting nut

Maintenance

A/S YH Consulting Limited Bureau 147, Centurion House, London

Road, Staines-upon-Thames, Surrey, TW18 4AX

VEVOR®

TOUGH TOOLS, HALF PRICE

Technical line drawings of four different mechanical components with no visible text or symbols.

Pure technical line drawing of a structural beam or panel (no text or symbols).

NEED HELP? CONTACT US!

INCLUDED HARDWARE

Vevor YMXT-XC40-6 - Maintenance - 3Vevor YMXT-XC40-6 - Maintenance - 4 Vevor YMXT-XC40-6 - Maintenance - 5(x4) ST5.5x32 (x8)(x1)ST4.2x32(x11)Vevor YMXT-XC40-6 - Maintenance - 6 Vevor YMXT-XC40-6 - Maintenance - 7ST4.2x19 (x2) (x1)
Vevor YMXT-XC40-6 - Maintenance - 8 Vevor YMXT-XC40-6 - Maintenance - 9(x1) ST4.2x19 (x3)Vevor YMXT-XC40-6 - Maintenance - 10(x1)

INSTRUCTIONS

SLIDING DOOR HARDWARE Fits wooden doors 35 and 45 mm thick, each door max weight 150 lbs

PREPARE THE OPENING CAREFULLY: MAKE SURE THE CORNERS ARE SQUARE, THE TOP IS LEVEL, AND THE STILES ARE STRAIGHT.

Technical line drawing of a mechanical assembly with two symmetrical components connected by a shaft (no text or symbols).

Vevor YMXT-XC40-6 - INSTRUCTIONS - 2

Vevor YMXT-XC40-6 - INSTRUCTIONS - 3

Vevor YMXT-XC40-6 - INSTRUCTIONS - 4

1-49/64" (45 mm) doors 3/8" (9.5 mm) of module B2-13-64" 15m

Mechanical assembly diagram showing a rotating component mounted on a base plate, labeled "Klik", with no readable text or symbols.

Pure technical line drawing of a mechanical bracket assembly without any text, numbers, or symbols.

4Vevor YMXT-XC40-6 - INSTRUCTIONS - 8

Vevor YMXT-XC40-6 - INSTRUCTIONS - 9

Adjusting nut

Maintenance

Rancho Cucamonga, CA 91730

Vevor YMXT-XC40-6 - Maintenance - 1

E-CrossStu GmbH

Mainzer Landstr.69, 60329 Frankfurt am Main.

Vevor YMXT-XC40-6 - Maintenance - 2

YH CONSULTING LIMITED.

C/O YH Consulting Limited Kantoor 147, Centurion House,

London Road, Staines-upon-Thames, Surrey, TW18 4AX

VEVOR®

TOUGH TOOLS, HALF PRICE

www.vevor.com/support

VEVOR®

TOUGH TOOLS, HALF PRICE
Technical line drawings of four different mechanical components with no visible text or symbols.

Pure technical line drawing of a structural beam or panel (no text or symbols).

NEED HELP? CONTACT US!

HARDWARE INCLUDED

Vevor YMXT-XC40-6 - NEED HELP? CONTACT US! - 1Vevor YMXT-XC40-6 - NEED HELP? CONTACT US! - 2 Vevor YMXT-XC40-6 - NEED HELP? CONTACT US! - 3(x4) ST5,5x32 (x8)(x1)ST4,2x32(x11)Vevor YMXT-XC40-6 - NEED HELP? CONTACT US! - 4 Vevor YMXT-XC40-6 - NEED HELP? CONTACT US! - 5ST4,2x19 (x2) (x1)
Vevor YMXT-XC40-6 - NEED HELP? CONTACT US! - 6 Vevor YMXT-XC40-6 - NEED HELP? CONTACT US! - 7(x1) ST4,2x19 (x3)Vevor YMXT-XC40-6 - NEED HELP? CONTACT US! - 8(x1)

INSTRUCTIONS

Vevor YMXT-XC40-6 - INSTRUCTIONS - 1

Vevor YMXT-XC40-6 - INSTRUCTIONS - 2

Vevor YMXT-XC40-6 - INSTRUCTIONS - 3

1-49/64" (45 mm) DÖRRAR 3-8"mm(0.5) DO ELLER HOLD + 2-13/4" (5in m)

Mechanical assembly diagram showing a rotating component mounted on a base plate, labeled (Klick), with no readable text or symbols.

Pure technical line drawing of a mechanical bracket assembly without any text, numbers, or symbols.

4Vevor YMXT-XC40-6 - INSTRUCTIONS - 7

Technical diagram showing assembly of a wall-mounted panel with dimensional annotations and component views.

Maintenance

C/O YH Consulting Limited Office 147, Centurion House,

London Road, Staines-upon-Thames, Surrey, TW18 4AX

VEVOR®

TOUGH TOOLS, HALF PRICE

www.vevor.com/support

VEVOR®

TOUGH TOOLS, HALF PRICE
Technical line drawings of four different mechanical components with no visible text or symbols.

Pure technical line drawing of a structural beam or panel (no text or symbols).

HARDWARE INCLUDED

Vevor YMXT-XC40-6 - TOUGH TOOLS, HALF PRICE - 3Vevor YMXT-XC40-6 - TOUGH TOOLS, HALF PRICE - 4 Vevor YMXT-XC40-6 - TOUGH TOOLS, HALF PRICE - 5(x4) ST5.5x32 (x8)(x1)ST4.2x32(x11)Vevor YMXT-XC40-6 - TOUGH TOOLS, HALF PRICE - 6 Vevor YMXT-XC40-6 - TOUGH TOOLS, HALF PRICE - 7ST4.2x19 (x2) (x1)
Vevor YMXT-XC40-6 - TOUGH TOOLS, HALF PRICE - 8 Vevor YMXT-XC40-6 - TOUGH TOOLS, HALF PRICE - 9(x1) ST4.2x19 (x3)Vevor YMXT-XC40-6 - TOUGH TOOLS, HALF PRICE - 10(x1)

INSTRUCTIONS

Vevor YMXT-XC40-6 - INSTRUCTIONS - 1

Vevor YMXT-XC40-6 - INSTRUCTIONS - 2

Vevor YMXT-XC40-6 - INSTRUCTIONS - 3

1-49/64" (45 mm) DOORS 3/8" (9.5 mm) MMT0820 (25 mm)

Mechanical assembly diagram showing a roller support mechanism with pulleys and a labeled component (Click), no readable text or symbols beyond label.

Pure technical line drawing of a mechanical bracket assembly without any text, numbers, or symbols

4

Vevor YMXT-XC40-6 - INSTRUCTIONS - 7

Vevor YMXT-XC40-6 - INSTRUCTIONS - 8

ADJUSTMENT NUT

Maintenance

C/O YH Consulting Limited Office 147, Centurion House,

London Road, Staines-upon-Thames, Surrey, TW18 4AX

VEVOR®

TOUGH TOOLS, HALF PRICE
Technical line drawings of four different mechanical components: a sliding contactor, a mounting bracket, a roller-mounted housing, and a flat plate (no text or symbols present)

Pure technical line drawing of a structural beam or panel (no text or symbols)

HARDWARE INCLUDED

Vevor YMXT-XC40-6 - Maintenance - 3Vevor YMXT-XC40-6 - Maintenance - 4 Vevor YMXT-XC40-6 - Maintenance - 5(x4) (x1)(x1)ST4.2x32(x11)Vevor YMXT-XC40-6 - Maintenance - 6 Vevor YMXT-XC40-6 - Maintenance - 7ST4.2x19 (x2)ST5.5x32 (x8)
Vevor YMXT-XC40-6 - Maintenance - 8 Vevor YMXT-XC40-6 - Maintenance - 9(x1) ST4.2x19 (x3)Vevor YMXT-XC40-6 - Maintenance - 10(x1)

INSTRUCTIONS

Vevor YMXT-XC40-6 - INSTRUCTIONS - 1

Vevor YMXT-XC40-6 - INSTRUCTIONS - 2

Vevor YMXT-XC40-6 - INSTRUCTIONS - 3

1-49/64" (45 mm) DOOR 3-6" mm (0.5) HEIGHT + 2-13/64" (56 m)

Mechanical assembly diagram showing a rotating component mounted on a base plate, labeled (Click), with no readable text or symbols.

Pure technical line drawing of a mechanical bracket assembly without any text, numbers, or symbols

4Vevor YMXT-XC40-6 - INSTRUCTIONS - 7

Technical diagram showing assembly of a wall-mounted panel with dimensional annotations and component views

Maintenance

C/O YH Consulting Limited Office 147, Centurion House, London Road, Staines-upon-Thames, Surrey, TW18 4AX

VEVOR®

TOUGH TOOLS, HALF PRICE
Manual assistant
Powered by Anthropic
Waiting for your message
Product information

Brand : Vevor

Model : YMXT-XC40-6

Category : Sliding door hardware