HJ-RB514A-120X100CM - Storage shelf Vevor - Free user manual and instructions
Find the device manual for free HJ-RB514A-120X100CM Vevor in PDF.

User questions about HJ-RB514A-120X100CM Vevor
0 question about this device. Answer the ones you know or ask your own.
Ask a new question about this device
Download the instructions for your Storage shelf in PDF format for free! Find your manual HJ-RB514A-120X100CM - Vevor and take your electronic device back in hand. On this page are published all the documents necessary for the use of your device. HJ-RB514A-120X100CM by Vevor.
USER MANUAL HJ-RB514A-120X100CM Vevor
Affordable. Reliable. Home Improvement.
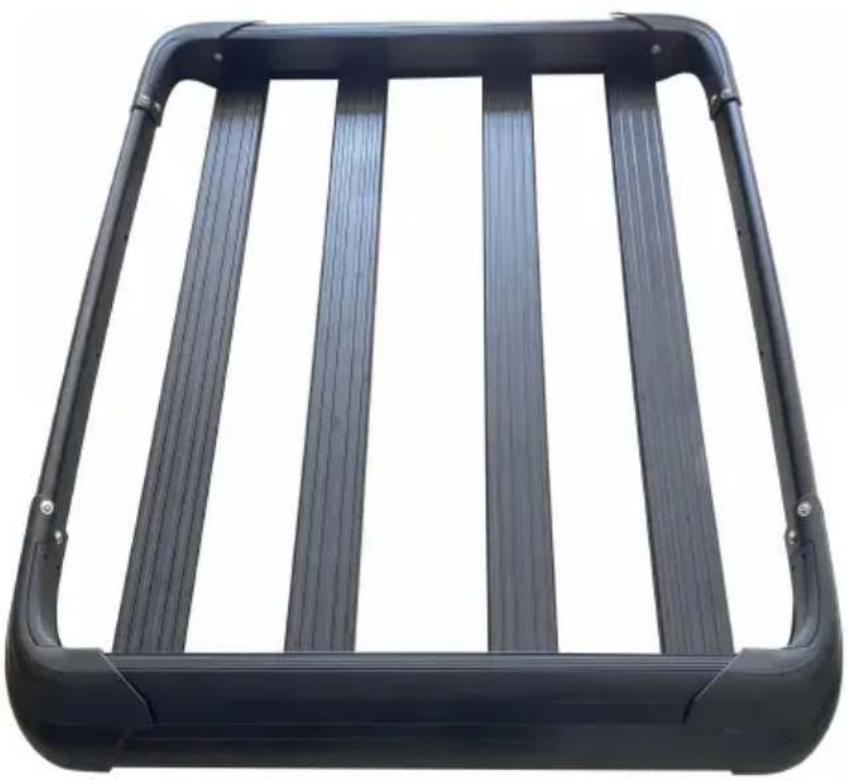
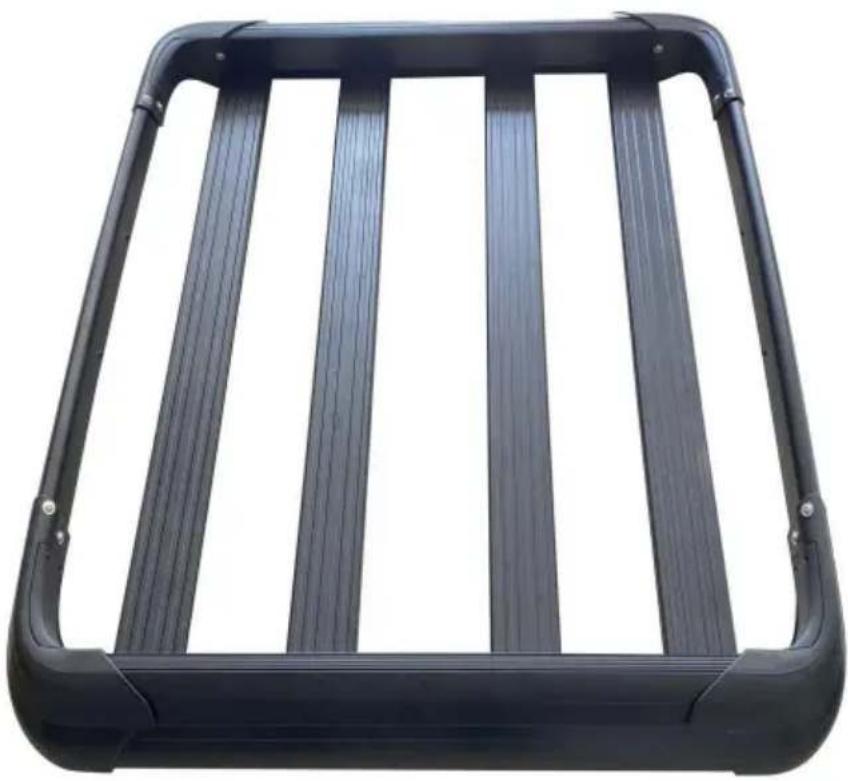
Cargo Rack
MODEL: HJ-RB514A-120X100CM
Technical Support and E-Warranty Certificate www.vevor.com/support
MODEL: HJ-RB514A-120X100CM
natural_image
Black metal truss structure with vertical slats, no text or symbols visibleThis is the original instruction, please read all manual instructions carefully before operating. VEVOR reserves a clear interpretation of o user manual. The appearance of the product shall be subject to the product you received. Please forgive us that we won't inform you ag there are any technology or software updates on our product.
WARNING
- Read and understand this entire manual before assembling, installing, operating, or servicing this product. Failure to follow these warnings and instructions can cause death, personal injury or damage to valuable proper
- Adhere to all Department of Transportation (D.O.T.) requirements when using this product. Use ropes and tie downs to securely hold all cargo in place
- Do not overload the Roof Rack. Never exceed the maximum weight capaci
- Make sure the vehicle is in a safe place for loading ladders and other car. Make sure the vehicle's engine is OFF, with parking brake set, before lock or unloading the Roof Rack.
- Do not use to hold or restrain human or animal weight in any manner.
- Before and after each use, check to make sure that all hardware is tightly secured. Regularly inspect for damage. If fraying or distortion is found, immediately discontinue use.
- Use common sense when working. Stay alert and concentrate when setting up and using the Roof Rack. Never work while under the influence of a drugs or medications.
● While assembling and using the Roof Rack keep work area clean and well-lighted. Keep spectators and children out of the work area. - ① To ensure the safe use of the product, the speed is limited to 80 ~km / h .
- ② To ensure the safe use of the product, there are limitations on the conditions: if items such as kayaks are carried as consignments, windproc covers and other items must be installed before use.
PRODUCT DESCRIPTION
The roof luggage rack is a roof-mounted additional device designed to expand vehicle's cargo-carrying capacity. It has wide compatibility with various vehicle models, supports quick installation and removal, and offers different load-bearin capacities. It is applicable to multiple scenarios such as long-distance travel, f outings and outdoor activities.
PRODUCT PARAMETER TABLE
| Model Series | HJ-RB514A-120X100CM |
| Maximum Load Capacity | 150 (lbs) |
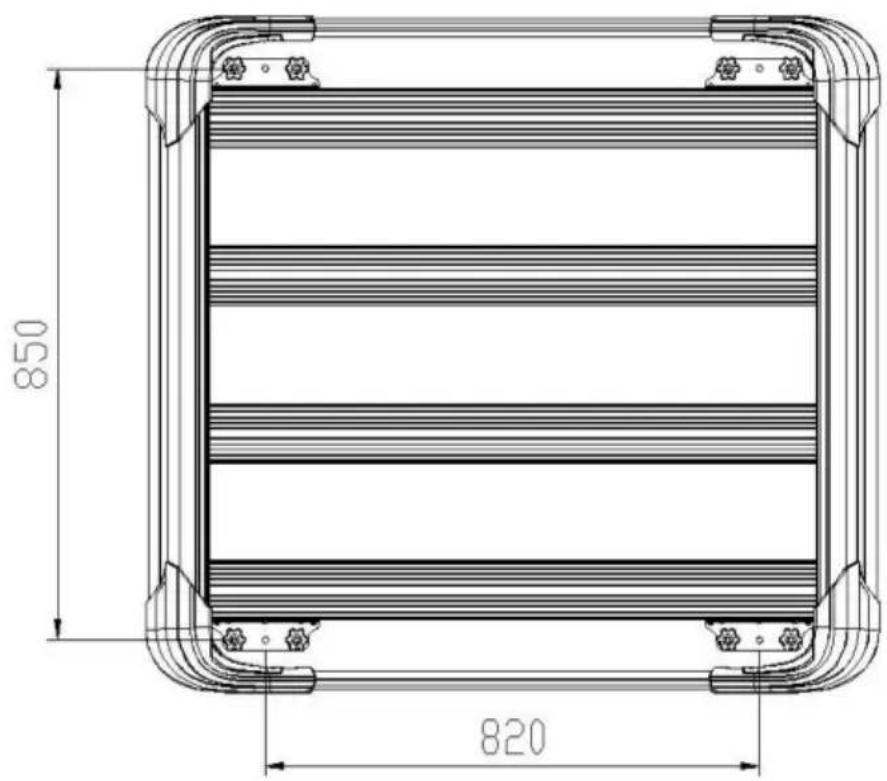
| Cargo Basket Dimensions | 1216×1020×142mm |
| Inner dimensions of the cargo basket | 1000×950×110mm |
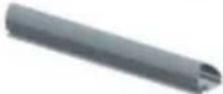
PARTS LIST AND ASSEMBLY DIAGRAM
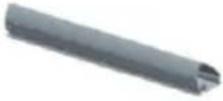 1 1 | 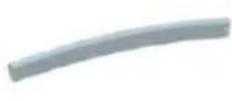 2 2 | 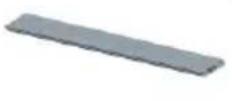 3 3 |  4 4 |  5 5 |
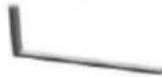
| Front & Rear bar 2pcs | Left & Right bar 2pcs | Down boards 4pcs | Left side plastic connector 2pcs | Right side plastic connector 2pcs |
 6 6 | 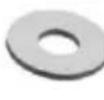 7 7 | 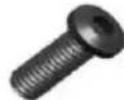 8 8 | 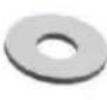 9 9 |  10 10 |
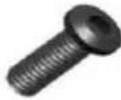
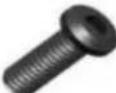
| Socket head cap screw M6X16-16pcs | M6X16X1 spacer 16pcs | Socket head cap screw M5X12-8pcs | M5X12X1 spacer 8pcs | M4 Allen Key -1pcs |
 11 11 | ||||
M3 Allen Key -1pcs 12 12 | 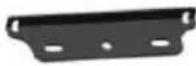 13 13 |   14 15 14 15 |   16 17 16 17 |   18 18 |
| U shape M8 screw 4pcs | Clamp board 4pcs | Plastic knobs & M8 nut 8pcs | Socket head cap screw M6X10 & M6X16X1 spacer-8pcs | M6 Square Nuts 8pcs |
PRODUCT DESCRIPTION
text_image
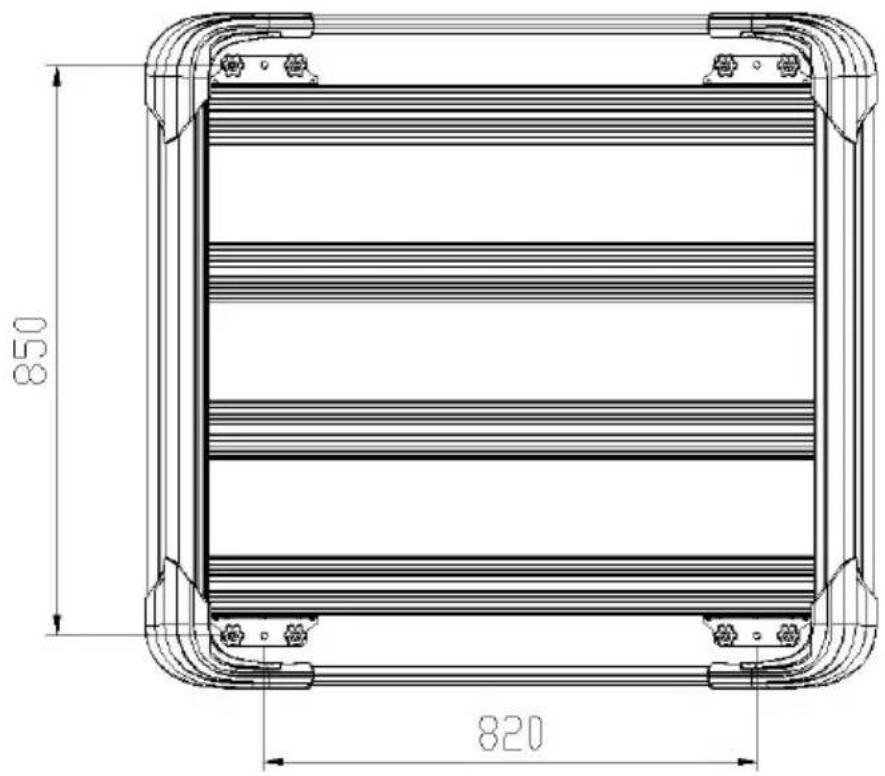
850 820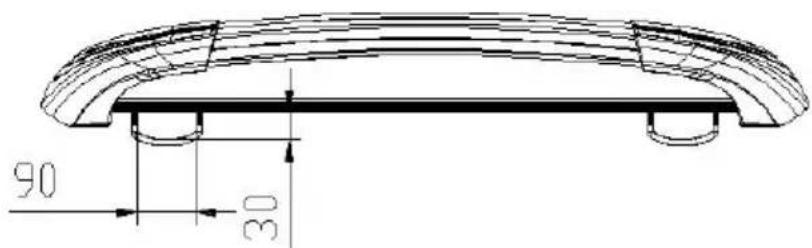
text_image
90 30U-clamp maximum width for fixing the cross bar : 90x30mm
text_image
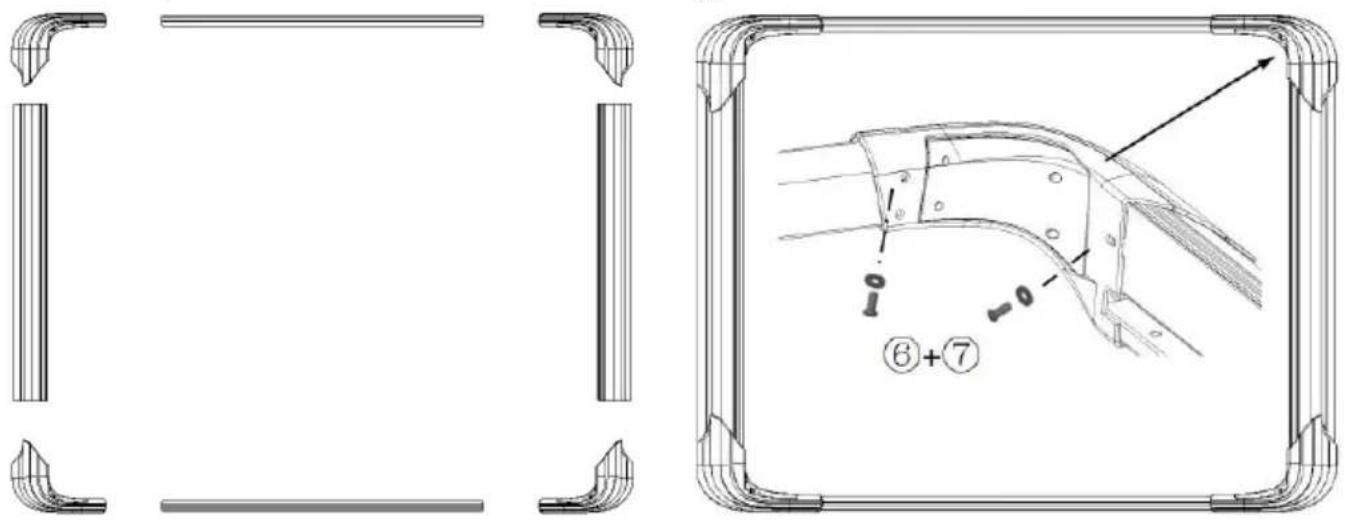
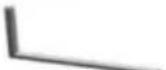
⑥+⑦Installation step 1:
- Install the front and rear rods and the left and right curved rods together left and right plastic connecting seats respectively, and lock them in place with M6X16 hexagonal screws (⑥) and M6X16 spacers (⑦).
Note: Do not tighten the screws too much! (As shown in the picture)
text_image
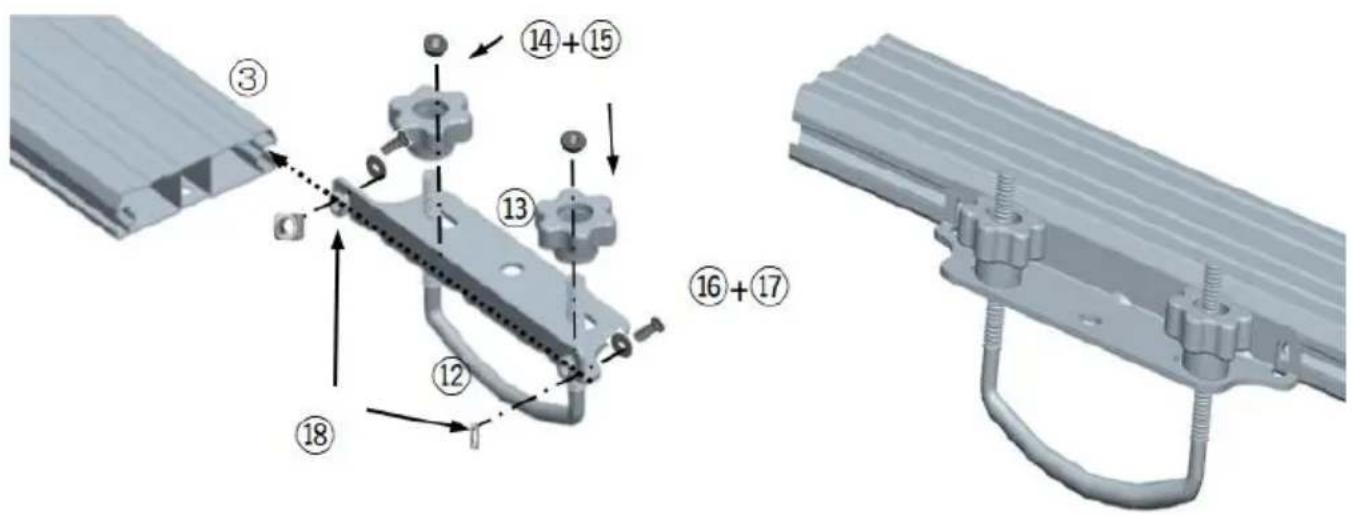
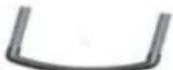
Technical diagram showing assembly steps of a mechanical component with numbered parts and directional arrows indicating assembly direction.Installation step 2:
- Installation of U-clamp: use M6X10 screws (⑯), M6x16 spacers (⑰) and M6 square nuts (⑱) and U-clamp combination to install together, and then U-clan screws (⑲) and knobs + M8 nut (⑳ + ⑮) combination fixed in the holes of U-clamp clipboard, and finally install the M6 square nuts into the left and rig panels of both sides slots on both sides and lock the screws tightly. (As shown in the picture)
text_image
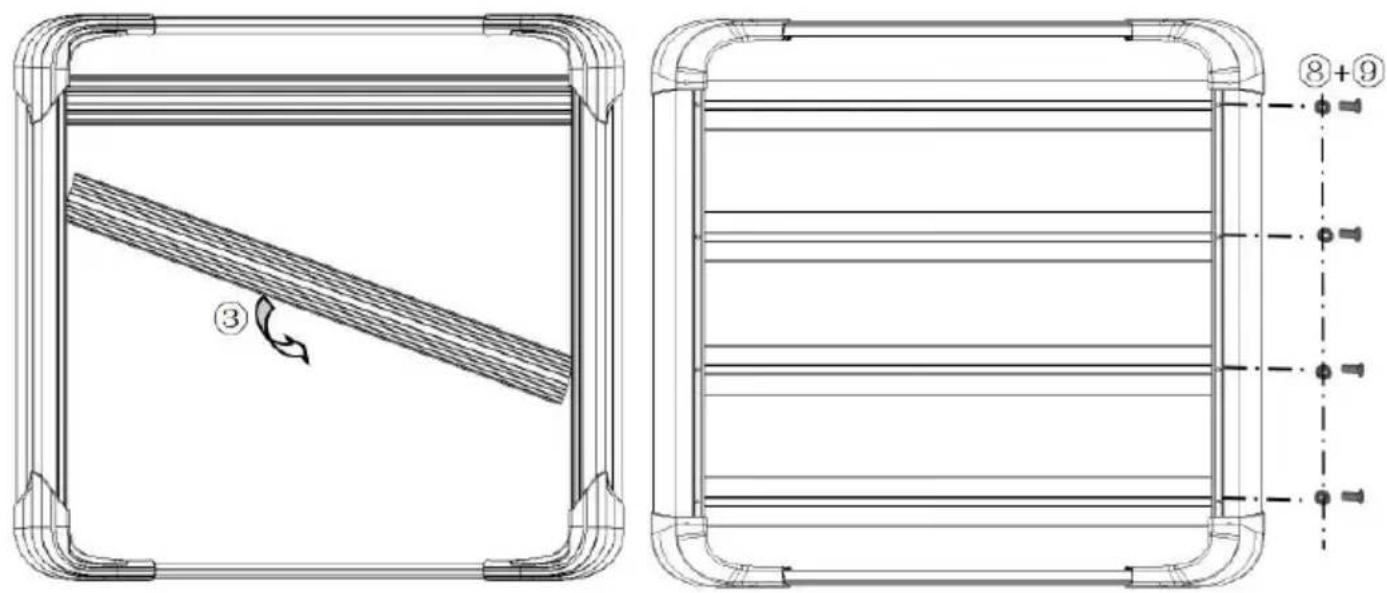
Technical drawing showing a structural component with labeled section ③ and dimension annotations including 8+9 and numbered features.Installation step 3:
- Install and fix the panels in the slots of the front and rear rods respective install the panels in the slots of the front and rear rods at an angle.
- Place the 4 panels respectively in the front and rear of the rod slot and the corresponding screw hole position and use screws M5X12 (⑧) and M5X1 spacer (⑨) locking fixed.
- Finally, tighten all the screws to fix. (As shown in the picture)
natural_image
Front view of a white car roof-mounted rack-mounted vehicle (no visible text or symbols)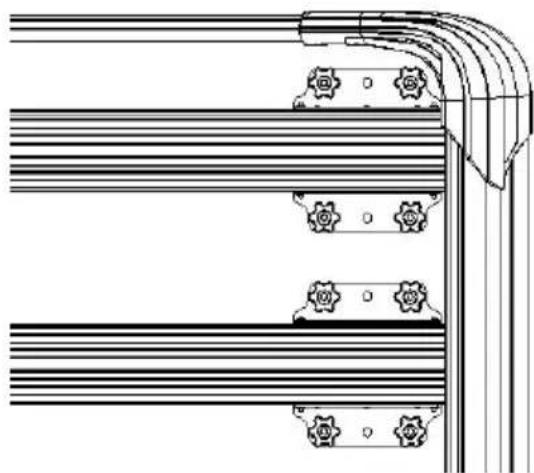
natural_image
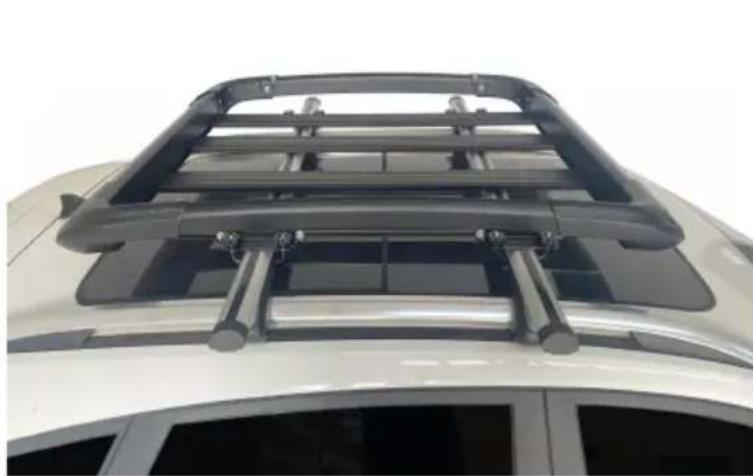
Pure technical line drawing of a mechanical or electrical component with no text, numbers, or symbolsInstallation Step 4:
- Install the aluminum roof rack basket onto the roof cross bar using the L method: Place the U-shaped M8 screw (⑫) into the long holes on both side bracket clamp and secure it with the U-shaped screw, knob, and M8 nut (⑭+⑮).
Tips: Install the U-clip according to the length of the cross bar, and the pos be installed on the inner/outer side of each base plate. (As shown in the pi
Product usage limitations:

Technical Support and E-Warranty Certificate www.vevor.com/support
VEVOR
Affordable. Reliable. Home Improvement.
Porte-bagages
MODÈLE : HJ-RB514A-120X100CM
Affordable. Reliable. Home Improvement.
Porte-bagages
MODÈLE : HJ-RB514A-120X100CM

natural_image
Black rectangular metal frame with vertical slats, no text or symbols visibletext_image
Technical diagram showing assembly steps of a mechanical component with numbered parts and directional arrows indicating motion or assembly.natural_image
Technical line drawing of a rectangular frame with diagonal striped pattern and a numbered arrow indicating rotation (no text or symbols)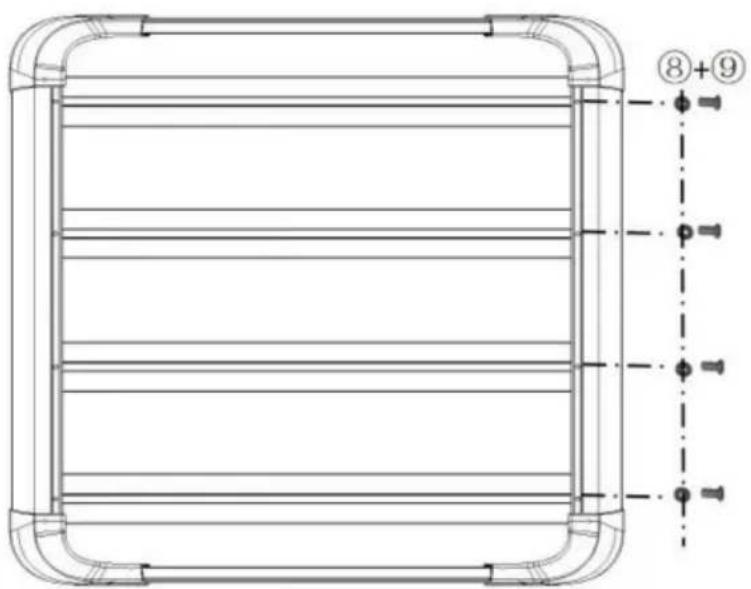
text_image
⑧+⑨natural_image
Front view of a white car roof-mounted rack-mounted vehicle (no visible text or symbols)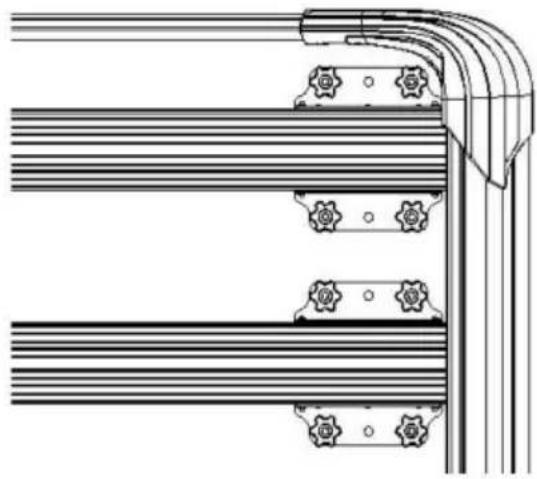
natural_image
Pure technical line drawing of a mechanical assembly with no text, numbers, or symbolsAffordable. Reliable. Home Improvement.
Gepäckträger
MODELL: HJ-RB514A-120X100CM
Affordable. Reliable. Home Improvement.
Gepäckträger
MODELL: HJ-RB514A-120X100CM

natural_image
Black rectangular metal frame with vertical slats, no text or symbols visibletext_image
Technical diagram showing assembly steps of a mechanical component with numbered parts and directional arrows indicating motion or assembly.text_image
Technical drawing showing a mechanical component with labeled parts and a numbered section viewnatural_image
Top-down view of a car roof-mounted rack-mounted vehicle (no visible text or symbols)
natural_image
Pure technical diagram of a mechanical assembly with parallel lines and gear symbols (no text or labels)Affordable. Reliable. Home Improvement.
Portapacchi
MODELLO: HJ-RB514A-120X100CM
Affordable. Reliable. Home Improvement.
Portapacchi
MODELLO: HJ-RB514A-120X100CM

natural_image
Black rectangular metal frame with vertical slats, no text or symbols visibletext_image
Technical diagram showing assembly steps of a mechanical component with numbered parts and directional arrows indicating assembly direction.text_image
Technical drawing showing a structural component with labeled parts and a numbered reference linenatural_image
Front view of a car roof-mounted rack-mounted vehicle (no visible text or symbols)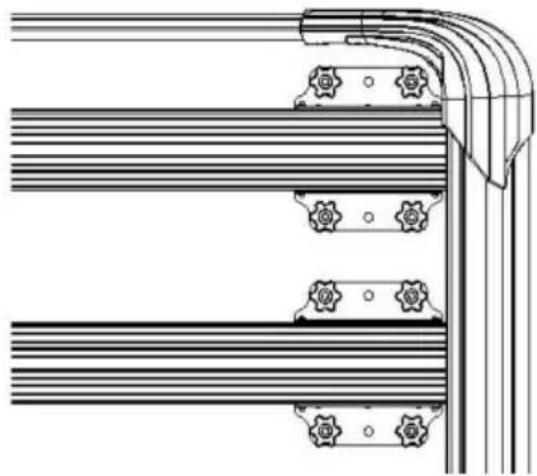
natural_image
Pure technical line drawing of a mechanical assembly with no text, numbers, or symbolsAffordable. Reliable. Home Improvement.
Portaequipaje
MODELO: HJ-RB514A-120X100CM
Affordable. Reliable. Home Improvement.
Portaequipaje
MODELO: HJ-RB514A-120X100CM

natural_image
Black rectangular metal frame with vertical slats, no text or symbols visibletext_image
Technical diagram showing assembly steps of a mechanical component with numbered parts and directional arrows indicating assembly direction.natural_image
Technical line drawing of a rectangular frame with diagonal striped pattern and a numbered arrow indicating rotation (no text or symbols)
text_image
⑧+⑨natural_image
Top-down view of a car roof-mounted rack-mounted vehicle (no visible text or symbols)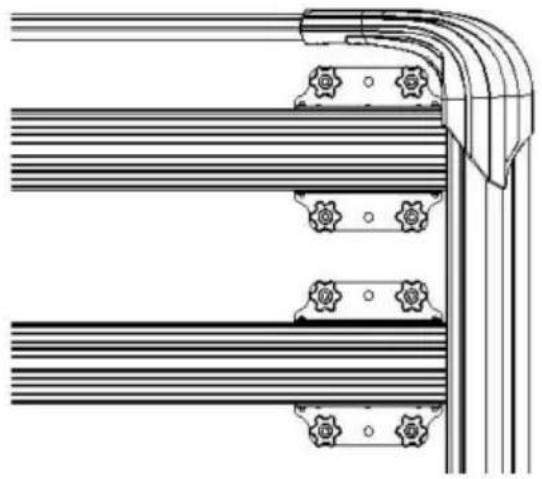
natural_image
Pure technical diagram of a mechanical assembly with parallel lines and gear symbols (no text or labels)Affordable. Reliable. Home Improvement.
Bagažnik
MODEL: HJ-RB514A-120X100CM
Affordable. Reliable. Home Improvement.
Bagažnik
MODEL: HJ-RB514A-120X100CM

natural_image
Black rectangular metal frame with vertical slats, no text or symbols visibletext_image
Technical diagram showing assembly steps of a mechanical component with numbered parts and directional arrows indicating assembly direction.text_image
Technical drawing showing a structural component with labeled section ③ and dimension annotations including ⑧+⑨ and numbered features.Krok 3 montażu: 1.
natural_image
Technical illustration of a car roof structure with structural brackets and mounting points (no text or symbols)Krok 4 montażu: 1.
Affordable. Reliable. Home Improvement.
Vrachtrek
MODEL: HJ-RB514A-120X100CM
Technische ondersteuning en e- garantiecertificaat www.vevor.com/support
VEVOR
Affordable. Reliable. Home Improvement.
Vrachtrek
MODEL: HJ-RB514A-120X100CM

natural_image
Black rectangular metal frame with vertical slats, no text or symbols visibletext_image
Technical diagram showing assembly steps of a mechanical component with numbered parts and directional arrows indicating assembly direction.Installatiestap 2: 1.
text_image
Technical drawing showing a mechanical component with labeled parts and a numbered section viewnatural_image
Top-down view of a car roof-mounted rack-mounted vehicle (no visible text or symbols)
natural_image
Pure technical line drawing of a mechanical assembly with no text, numbers, or symbolsInstallatie Stap 4: 1.
Affordable. Reliable. Home Improvement.
Lastställ
MODELL: HJ-RB514A-120X100CM
Affordable. Reliable. Home Improvement.
Lastställ
MODELL: HJ-RB514A-120X100CM
natural_image
Black rectangular metal frame with vertical slats, no text or symbols visiblePRODUKTPARAMETERTABELL
| Modellserie | HJ-RB514A-120X100CM |
| Maximal lastkapacitet | 150 (lbs) |
| Lastkorgsmått | 1216×1020×142mm |
| Innermått på lastkorgen | 1000×950×110 mm |
DELLISTA OCH MONTERINGSDIAGRAM
 1 1 | 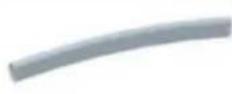 2 2 | 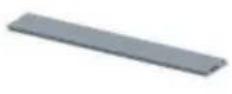 3 3 |  4 4 | 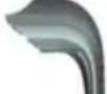 5 5 |
| Front & Rear bar 2pcs | Left & Right bar 2pcs | Down boards 4pcs | Left side plastic connector 2pcs | Right side plastic connector 2pcs |
 6 6 | 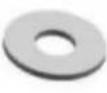 7 7 | 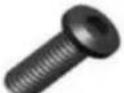 8 8 |  9 9 | 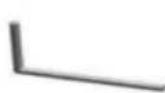 10 10 |
| Socket head cap screw M6X16-16pcs | M6X16X1 spacer 16pcs | Socket head cap screw M5X12-8pcs | M5X12X1 spacer 8pcs | M4 Allen Key -1pcs |
 11 11 | ||||
| M3 Allen Key -1pcs | ||||
 12 12 | 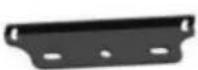 13 13 |  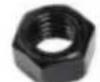 14 15 14 15 |   16 17 16 17 | 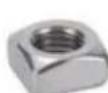  18 18 |
| U shape M8 screw 4pcs | Clamp board 4pcs | Plastic knobs & M8 nut 8pcs | Socket head cap screw M6X10 & M6X16X1 spacer-8pcs | M6 Square Nuts 8pcs |
PRODUKTBESKRIVNING
text_image
850 820
text_image
90 30text_image
Technical diagram showing assembly steps of a mechanical component with numbered parts and directional arrows indicating assembly direction.text_image
Technical drawing showing a mechanical component with labeled parts and a numbered section viewnatural_image
Front view of a car roof-mounted rack-mounted vehicle (no visible text or symbols)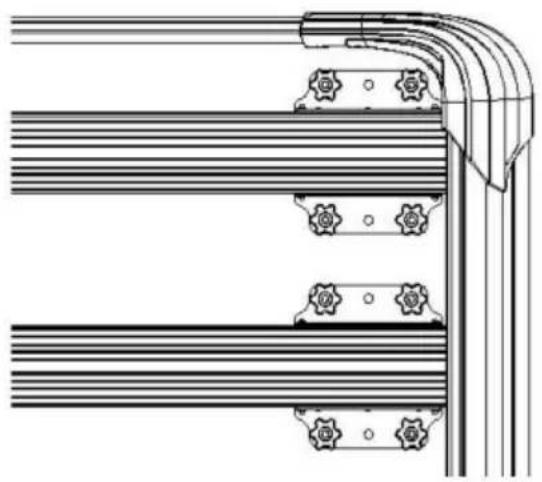
natural_image
Pure technical line drawing of a mechanical assembly with no text, numbers, or symbolsInstallation Steg 4: 1.
www.vevor.com/support