
QD-SSG03 - Pressure washer Vevor - Free user manual and instructions
Find the device manual for free QD-SSG03 Vevor in PDF.
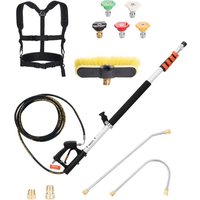


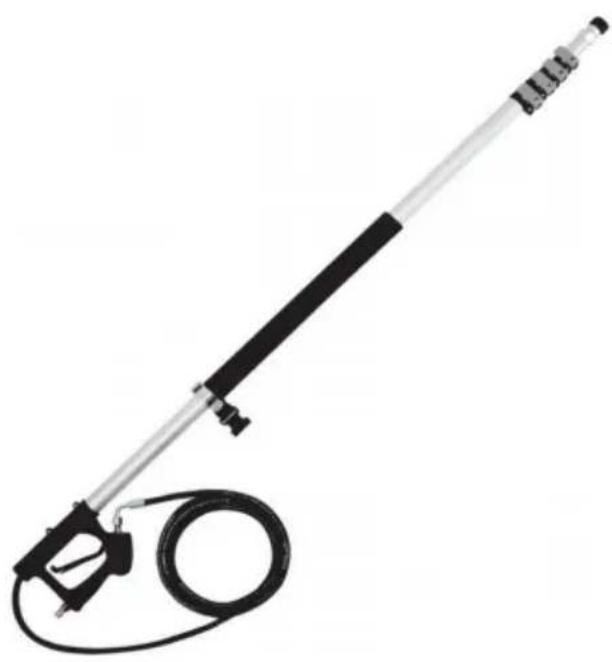
| Product Type | High-pressure washer accessory: telescopic lance |
| Brand | Vevor |
| Model | QD-SSG03 |
| Cleaning distance | 18 feet (approx. 5.5 m) |
| Maximum pressure | 4000 psi (275 bar) |
| Maximum flow rate | 6.0 GPM (23.0 L/min) |
| Maximum water temperature | 140 °F (60 °C) |
| Inlet connection | Quick connect 3/8" / M22-14 mm male / M22-15 mm male |
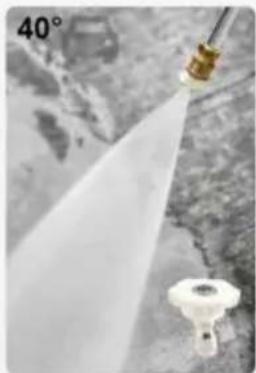
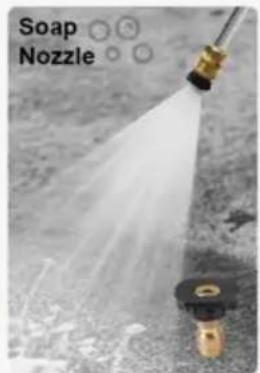
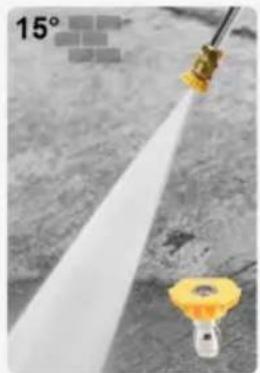
| Kit contents | Telescopic lance, 15° extension, 90° extension, gutter cleaner, brush head (with rubber seal), inlet adapters A and B, 5-nozzle kit (0° red, 15° yellow, 25° green, 40° white, black foam), nylon tape, clamps, needle, hex key |
| Number of nozzles included | 5 |
| Length adjustment | Telescopic with locking clamps |
| Material | Metal and plastic |
| Weight | Approx. 1.5 kg (estimated) |
| Power source | Powered by pressure washer (not standalone) |
| Maintenance and cleaning | Clean with a cloth or sponge, rinse with tap water. Check for loose or damaged parts. Fully retract and store in a safe, dry place. |
| Safety | Do not use near power lines. Do not extend/retract under pressure. Do not change nozzles under pressure. Wear protective equipment (goggles, etc.). Keep children away. |
| Spare parts and repairability | Contact customer service via www.vevor.com/support for spare parts and repairs. |
| Warranty | Electronic warranty certificate available at www.vevor.com/support |
Frequently Asked Questions - QD-SSG03 Vevor
User questions about QD-SSG03 Vevor
0 question about this device. Answer the ones you know or ask your own.
Ask a new question about this device
Download the instructions for your Pressure washer in PDF format for free! Find your manual QD-SSG03 - Vevor and take your electronic device back in hand. On this page are published all the documents necessary for the use of your device. QD-SSG03 by Vevor.
USER MANUAL QD-SSG03 Vevor
Technical Support and E-Warranty Certificate www.vevor.com/support
PRESSURE WASHER
TELESCOPING WAND
MODEL: QD-SSG03 / QD-SSG01 / QD-SSG02
We continue to be committed to providing you with tools at competitive prices. "Save Half," "Half Price," or any other similar expressions used by us only represent an estimate of savings you might benefit from buying certain tools with us compared to the major top brands and do not necessarily mean to cover all categories of tools offered by us. You are kindly reminded to verify carefully when placing an order with us if you are actually saving half in comparison with the top major brands.
VEVOR®
TOUGH TOOLS, HALF PRICE
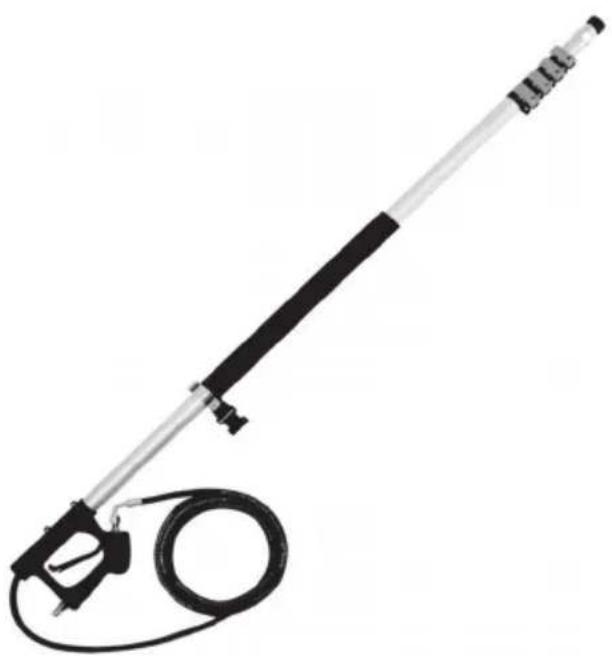
Pressure washer telescoping wand
Model: QD-SSG03 / QD-SSG01 / QD-SSG02
NEED HELP? CONTACT US!
Have product questions? Need technical support? Please feel free to contact us:
Technical Support and E-Warranty Certificate www.vevor.com/support
This is the original instruction. Please read all manual instructions carefully before operating. VEVOR reserves a clear interpretation of the user manual. The appearance of the product shall be subject to the product you received. Please forgive us that we won't inform you if there are any technology or software updates on our product.
IMPORTANT SAFETY INFORMATION
WORK AREA SAFETY
- Inspect the work area before each use. Keep the work area clean, dry, free of clutter, and well-lit. Cluttered, wet, or dark work areas can result in injury. Using the product in confined work areas may put you dangerously close to cutting tools and rotating parts.
- Do not use the product where there is a risk of causing a fire or explosion; e.g., in the presence of flammable liquids, gases, or dust. The product can create sparks, which may ignite the flammable liquids, gases, or dust.
- Do not allow the product to come into contact with an electrical source. The tool is not insulated and contact will cause electrical shock.
- Keep children and bystanders away from the work area while operating the tool. Do not allow children to handle the product.
- Be aware of all power lines, electrical circuits, water pipes, and other mechanical hazards in your work area. Some of these hazards may be hidden from your view and may cause personal injury and/or property damage if contacted.
PERSONAL SAFETY
- Stay alert, watch what you are doing, and use common sense when operating the tool.
- Do not use the tool while you are tired or under the influence of drugs, alcohol, or medication.
3.A moment of inattention while operating the tool may result in serious personal injury.
- Dress properly. Do not wear loose clothing, dangling objects, or jewelry. Keep your hair, clothing and gloves away from moving parts. Loose clothes, jewelry, or long hair can be caught in moving parts. Air vents on the tool often cover moving parts and should be avoided.
- Wear the proper personal protective equipment when necessary. Use ANSI Z87.1 compliant safety goggles (not safety glasses) with side
shields, or when needed, a face shield. Use a dust mask in dusty work conditions. Also use non-skid safety shoes, hardhat, gloves, dust collection systems, and hearing protection when appropriate. This applies to all persons in the work area.
- Do not overreach. Keep proper footing and balance at all times.
Wand Use & Care
- Do not force the product. Products are safer and do a better job when used in the manner for which they are designed. Plan your work, and use the correct product for the job.
- Check for damaged parts before each use. Carefully check that the tool will operate properly and perform its intended function. Replace damaged or worn parts immediately. Never operate the product with a damaged
- Do not use a product with a malfunctioning switch. Any power tool that cannot be controlled with the power switch is dangerous and must be repaired by an authorized service representative before using.
- Disconnect the power/air supply from the product and place the switch in the locked or off position before making any adjustments, changing accessories, or storing the tool.
- Such preventive safety measures reduce the risk of starting the tool accidentally.
- Store the product when it is not in use. Store it in a dry, secure place out of the reach of children.
- Inspect the tool for good working condition prior to storage and before use.
- Keep guards in place and in working order. Never operate the product without the guards in place.
- Do not leave the tool running unattended.
Operation warning
- DO NOT exceed the rated PSI capacity. · Never use near power lines.
- Never extend or retract the wand while spraying or while under pressure. Stop the equipment and relieve pressure before making any adjustments to the wand.
adjustments to the wand.
- Never change nozzles or accessories while under pressure. Stop the equipment and relieve pressure before making any changes.
- Never use while on ladders or scaffolding. · Never use with unapproved accessories.
- Never exceed rated pressure or volume.
- Never use high-pressure to clean persons or animals.
- Never remove or alter warning labels or identification tags.
- Never use wand if damaged.
- Always read, understand, and follow operation instructions.
- Always maintain proper balance and control of extension wand.
- Connect the outlet of your pressure washer to the inlet port of the gun of the wand using appropriate quick couplers or fittings rated to high pressure.
- Connect the appropriate extension wands (Items 2/3/4) to the outlet fitting of the telescoping wand. The extension wand quick-connects to the intended spray nozzle tip.
- Ensure all fittings are tight. If there is leakage, use Teflon tape.
Operating Instructions
To Extend the Wand
Lift the lever lock rings and pull the wand out to the desired length. Lock firmly to hold the wand at the desired length.
To Retract the Wand
Lift the lever locks and slide the extension segment into the wand until the desired length is reached. Clip the locks firmly to hold the extension segments in place.
To Begin Spraying
Start the pressure washer. Raise the wand and keep the nozzle at least two feet away from the surface to be cleaned. Squeeze the trigger to begin spraying. Maintain stable footing and move the wand toward the surface to be cleaned.
To Stop Spraying
Before releasing the trigger gun, move the nozzle at least ten feet away from the surface being cleaned and make sure you have solid footing. The wand will rebound when the
trigger is released or if pressure is lost. When you are clear of the surface and in a safe area, release the trigger.
After Each Use
- Relieve pressure before disconnecting the gun from the pressure washer. Perform the following inspections after each use to clean the wand and ready it for the next use.
- Clean out any dirt or foreign material from the top. If necessary, use a cloth or sponge to wash the telescoping wand and rinse it with tap water.
- Check for loose parts and any damage.
- Fully retract, and store in safe place.
PARAMETER LIST
| Model | QD-SSG03 | QD-SSG01 | QD-SSG02 |
| Clean the distance | 18ft | 24ft | 24ft |
| Max Pressure | 4,000 psi/275 bar | ||
| Max Flow Rate | 6.0 GPM/23.0 L/min | ||
| Max Temperature | 140 F/60°C | ||
| Inlet Fitting | 3/8"Quick Plug/M22-14 mm Male/M22-15 mn Male | ||
Parts list for Model QD-SSG01
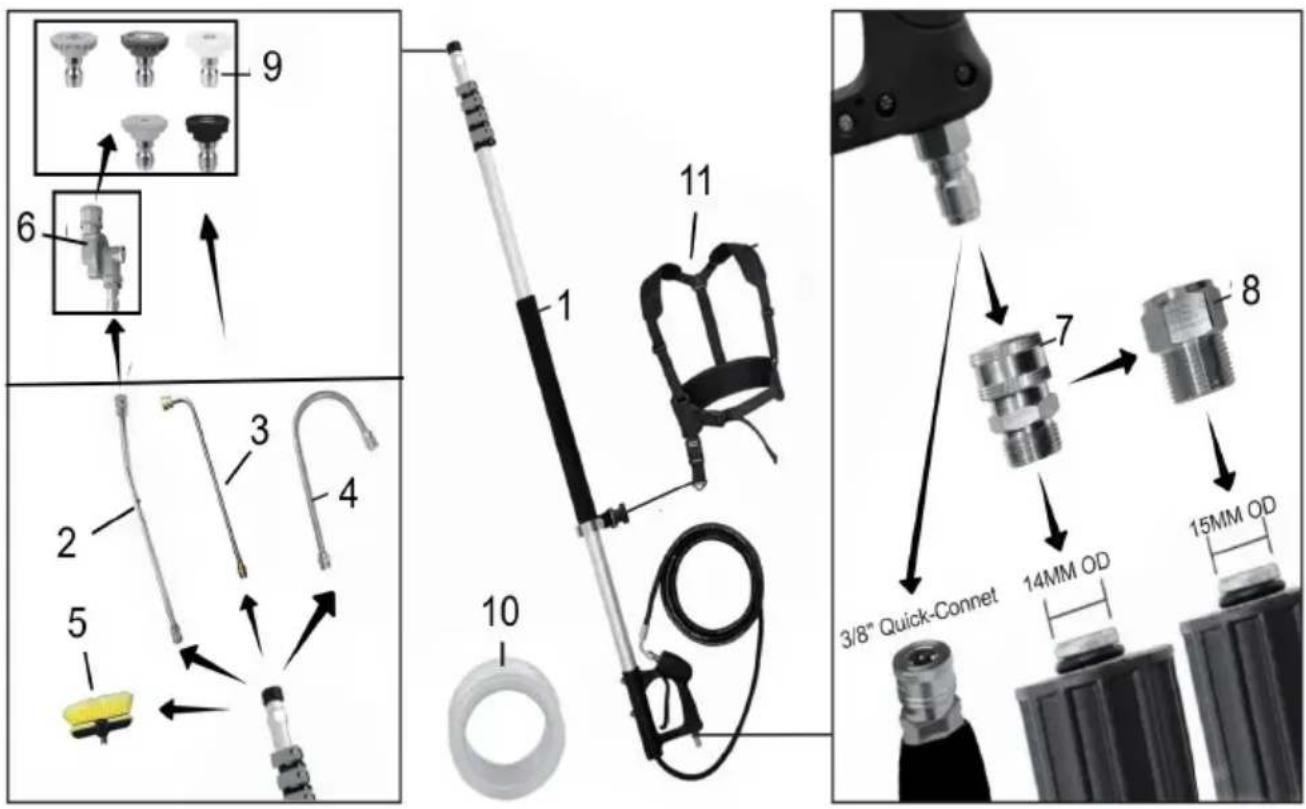
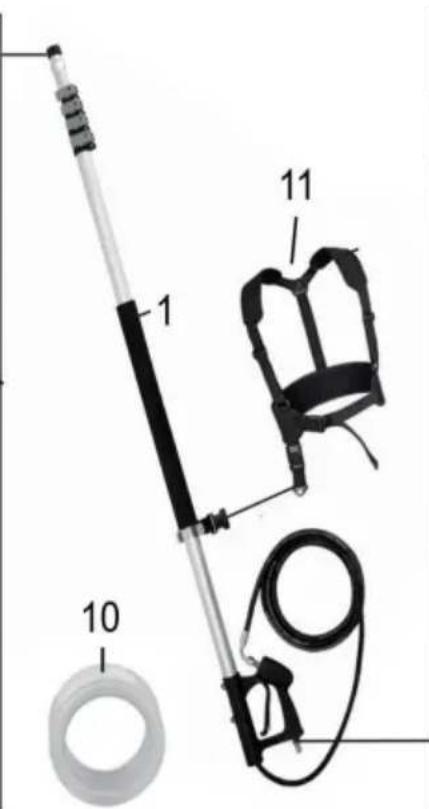
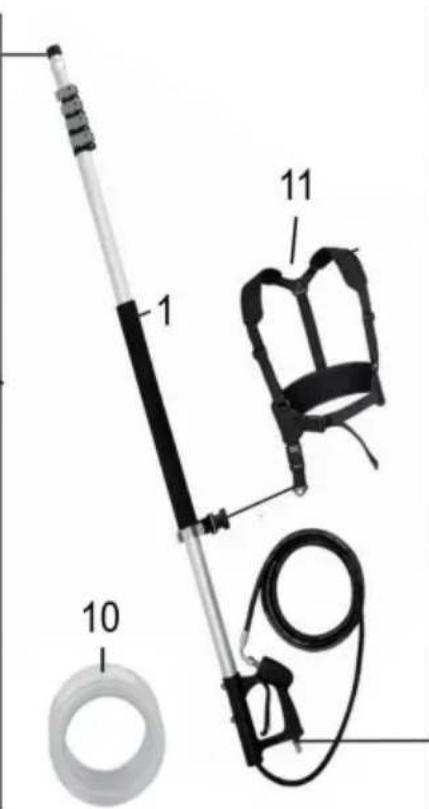
 1:Telescoping Wand× 1p 1:Telescoping Wand× 1p | 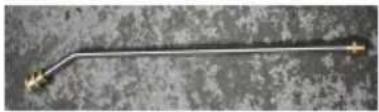 2:15 Degree Extensio Wand× 1pc 2:15 Degree Extensio Wand× 1pc | 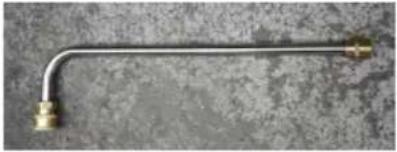 3: 90 Degree Extension Wand× 1pc 3: 90 Degree Extension Wand× 1pc |
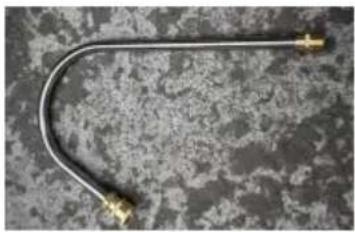 4:Gutter Cleaner Attachment×1pc 4:Gutter Cleaner Attachment×1pc | 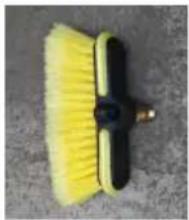 5: brush head attachment×1pc 5: brush head attachment×1pc | 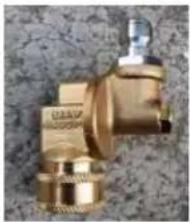 6: Pivoting Coupler×1pc 6: Pivoting Coupler×1pc |
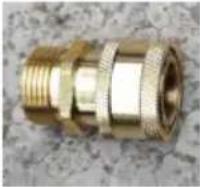 7: Inlet Adapter A×1pc 7: Inlet Adapter A×1pc | 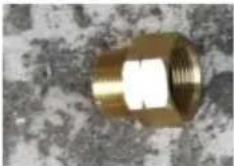 8:Inlet Adapter B×1p 8:Inlet Adapter B×1p | 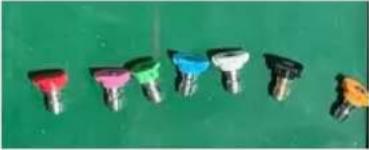 9.Spray Nozzle kit×1pc 9.Spray Nozzle kit×1pc |
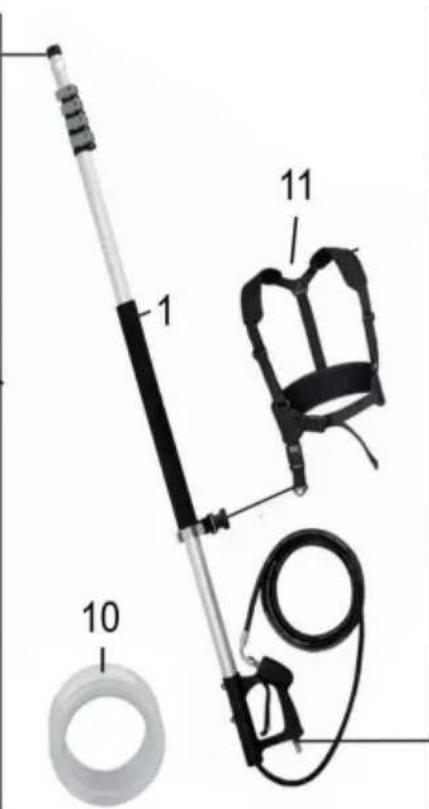
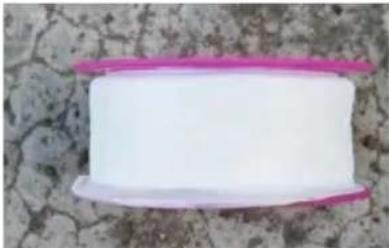 10: nylon tape×1pc 10: nylon tape×1pc | 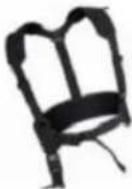 11: braces ×1pcs 11: braces ×1pcs | 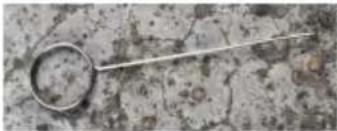 12:hole needle×1pc 12:hole needle×1pc |
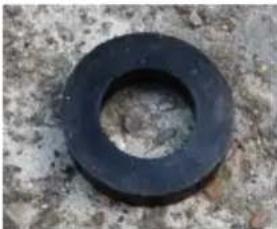 13:rubber gasket ×1pc 13:rubber gasket ×1pc | 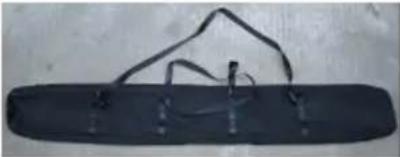 14: storage bag×1pc 14: storage bag×1pc | 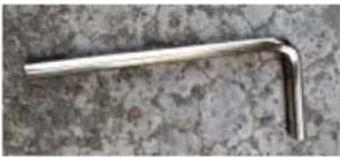 15: hexagon spanner×1pc 15: hexagon spanner×1pc |
Inlet Adapter A is 3/8" QC x M22-14 Male:
Inlet Adapter B is M22-14 Female to male M22-15
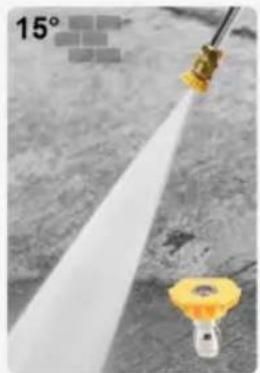
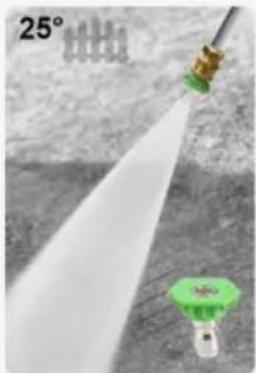
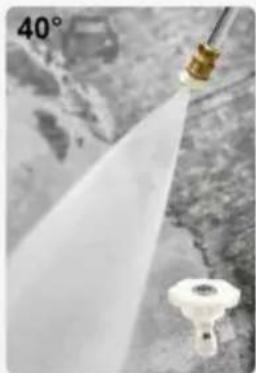
Note: Spray Nozzle kit includes red 0 degree nozzle, pink 0 degree nozzle, blue 0 degree nozzle, yellow 15 degree nozzle, green 25 degree nozzle, white 40 degree nozzle, black foam nozzle. If you buy a QD-SSG03, it lacks pink 0 degree nozzle and blue 0 degree nozzle.
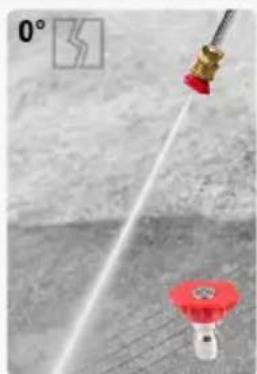
Powerful Blasting
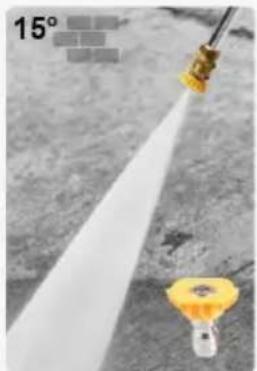
Heavy-duty Power
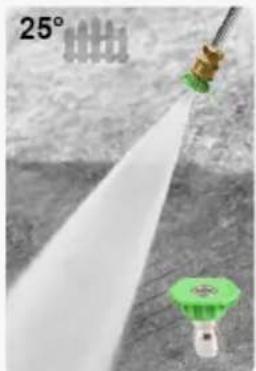
General Cleaning
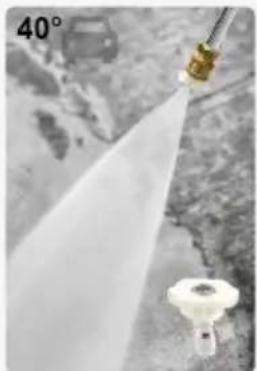
Gentle Spraying
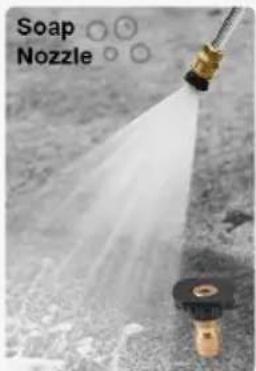
Foaming Suds
If you buy a model QD-SSG02, there is no brush head attachment and silicone gasket.
Model QD-SSG03 and QD-SSG02 are available with no storage packs. Model QD-SSG03 does not have Pivoting Coupler.
Installation Guide
CAUTION!
Ensure all parts are present before assembling, installing, or operating the product. Compare the components to the package control list. If any part is lost or damaged, do not attempt to assemble, install, or operate the product.
Estimated Assembly Time: 10 minutes
Tools Required for Assembly: 1 in. Adjustable Wrench and pipe thread tape (not included)
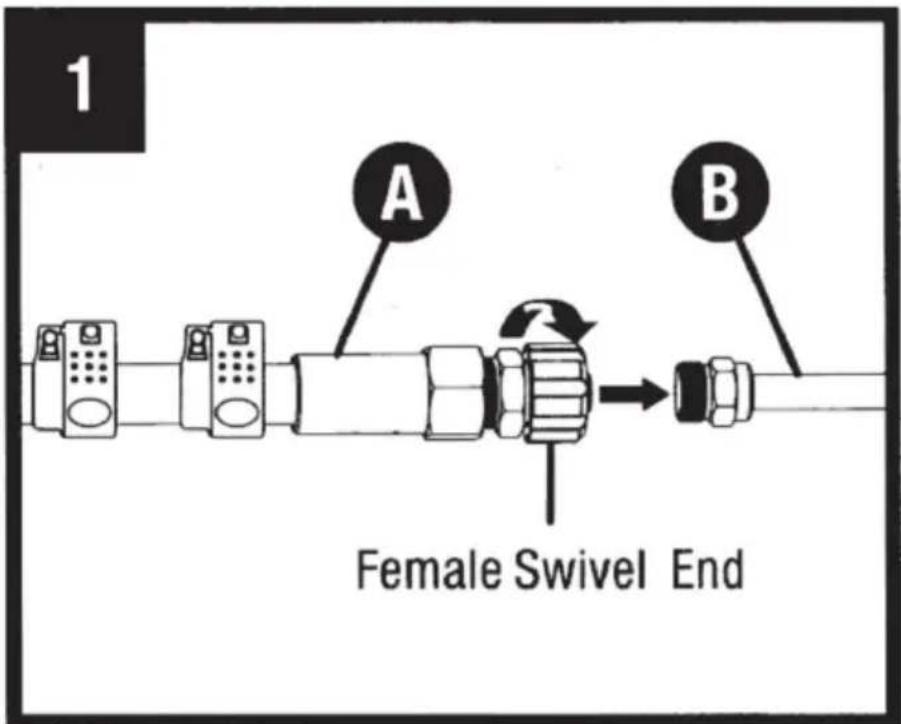
1. WAND & EXTENSION WAND CONNECTION.
Screw the female end of the telescoping wand (A) onto the male end of the extension wand (B) and hand tighten.
Note: If there is water seepage at the thread, wrap nylon tape around the thread.
Models QD-SSG03 and QD-SSG01 come with brush head accessories and a rubber gasket; if you want to use the brush head accessories, first place the rubber gasket in the hole of the brush head fitting, before installing the brush head fitting into the telescoping wand (A).
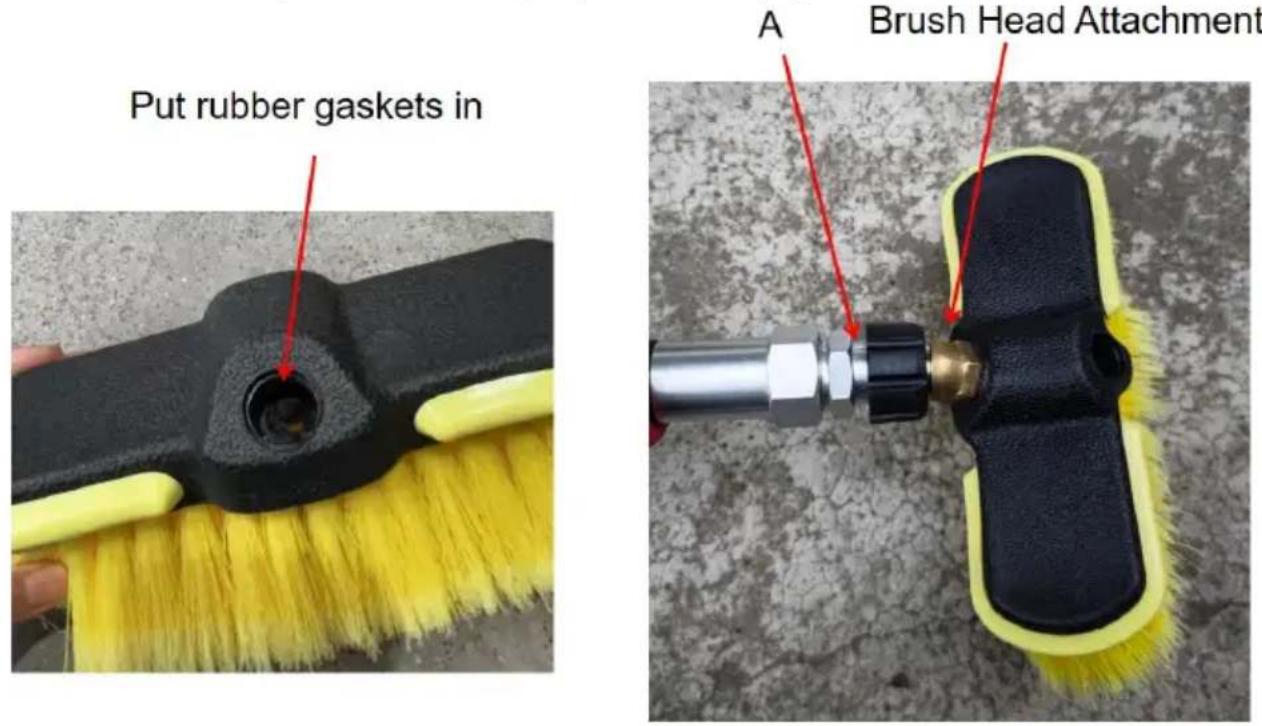
2. QUICK DISCONNECT SPRAY TIP CONNECTION
Pull back on the socket collar on the extension wand (B) and insert the spray tip (included), or pull out to remove, then release the collar.
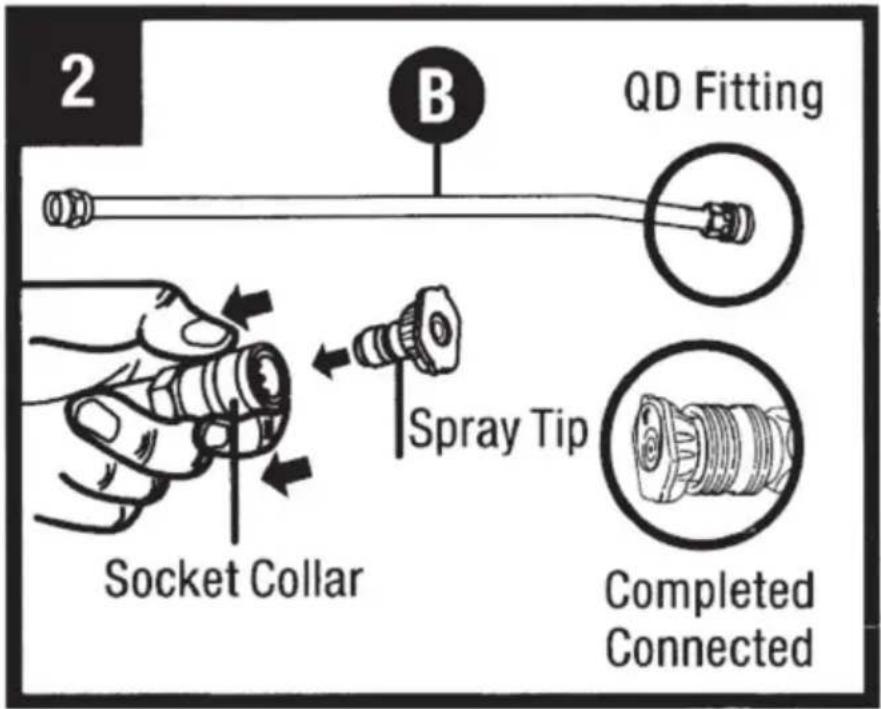
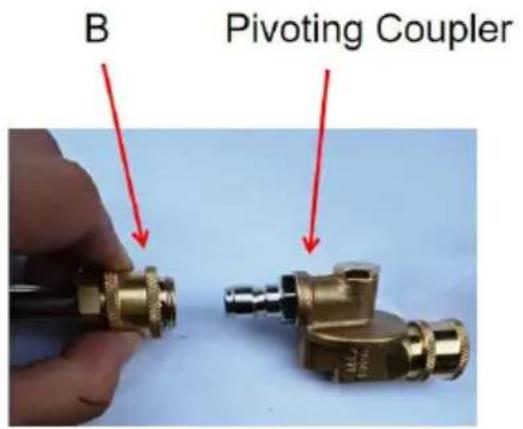
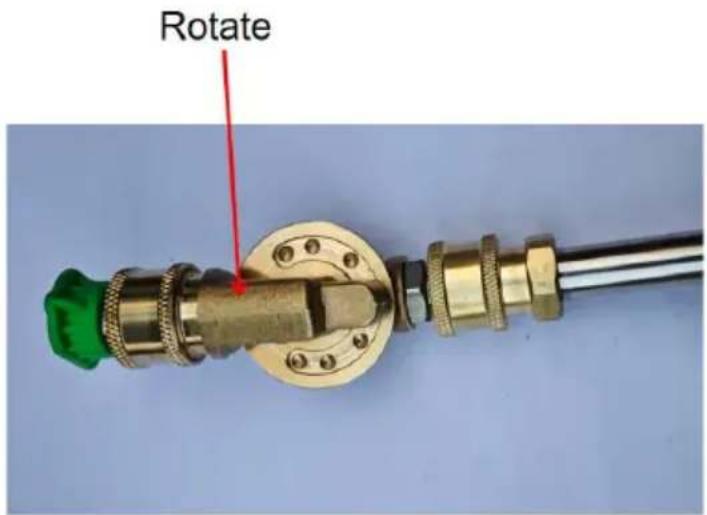
If your product has a Pivoting Coupler, pull back on the socket collar on the extension wand (B) and insert the Pivoting Coupler, or pull out to remove, then release the collar.
After that, pull back on the socket collar on the Pivoting Coupler and insert the spray tip, or pull out to remove, then release the collar.
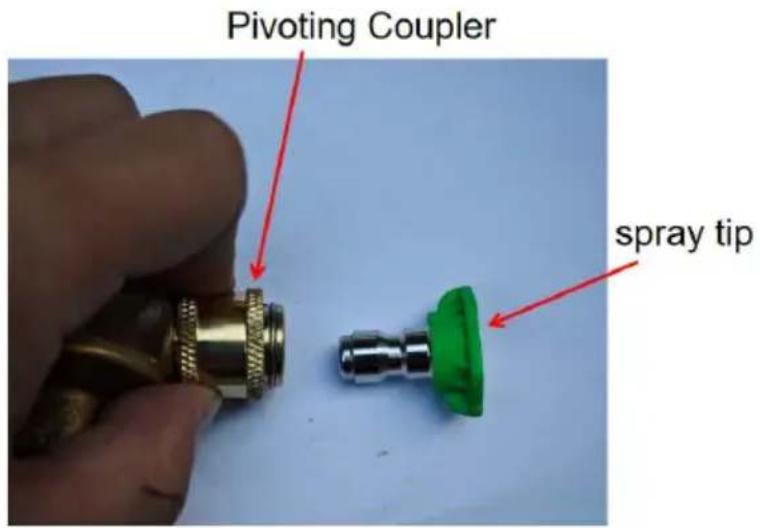
Rotate the Pivoting Coupler to adjust the direction of the spray tip.
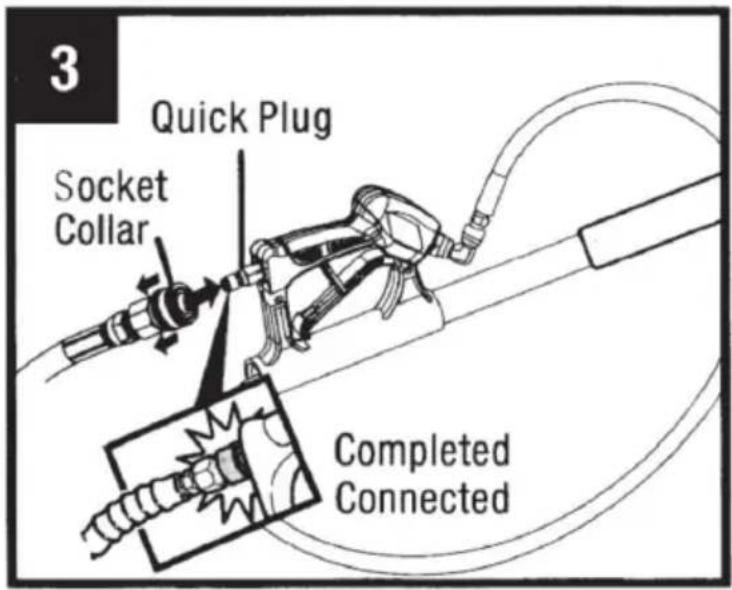
3. GUN & QUICK DISCONNECT HOSE CONNECTION (If applicable)
Pull back on the socket collar on the hose (not included) and insert the quick plug, or pull out to remove, then release the collar.
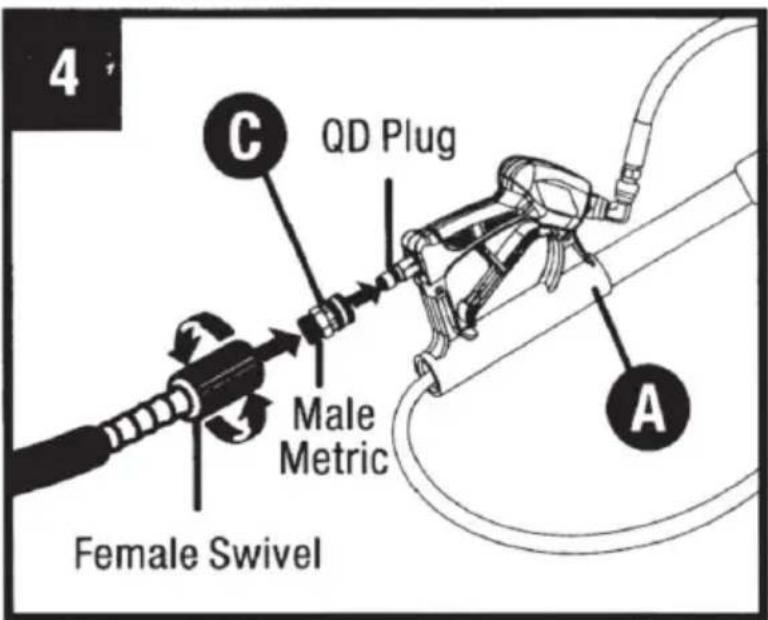
4. GUN & METRIC HOSE CONNECTION (If applicable)
Attach the adapter (C) to the telescoping wand (A). Attach the hose (not included) to the adapter (C).
5. ADJUST WAND LENGTH
5.1 Extend the Wand: Twist the grey knobs on the telescoping wand (A) to the LOOSEN position, then pull to extend to the desired length. Turn the knobs in the opposite direction to FASTEN. NOTE: When fully extended, each section should have approximately 6"-8" remaining for support into the next section of the pole.
5.2 Retracting the Wand: LOOSEN the knobs and slide the extension segment into the wand until the desired length, then FASTEN the knob to hold in place.
IMPORTANT: Over-tightening the knobs can cause damage.
![graph LR A["LOOSEN"] --> B["FASTEN"] B --> C["PULL"] style A fill:#f9f,stroke:#333 style B fill:#ccf,stroke:#333 style C fill:#cfc,stroke:#333](/content/2026/04/736202/images/bd268da94f0cd14686d85122abf6bc40af9230d755f0fa781b1a723dae29d7a8.jpg)
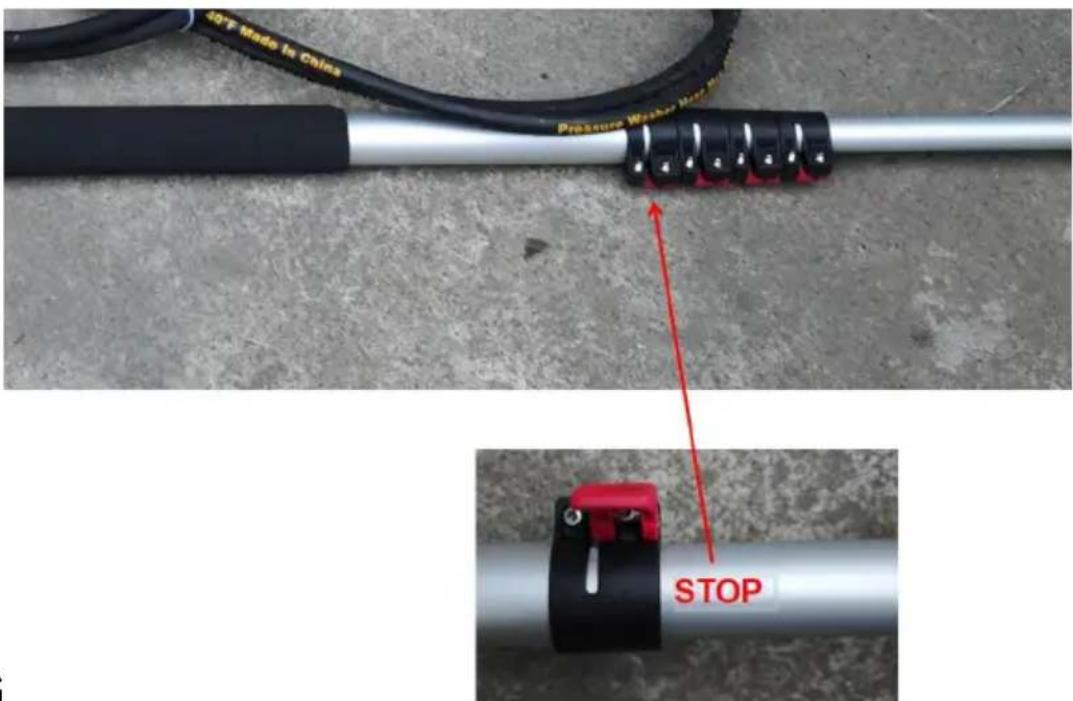
When stretching the telescopic rod closest to the handle, if a STOP appears on the expansion rod, do not stretch again, otherwise it will cause damage to the machine.
6. START SPRAYING
6.1 Start the pressure washer. 6.2 Raise the wand and keep the nozzle at least ten feet away from the surface to be cleaned. Keep the extension wand clear of power lines. 6.3 Squeeze the trigger to begin spraying, maintain stable footing, and move the wand in a sweeping motion over the surface to be cleaned.
7. STOP SPRAYING
Before releasing the trigger gun, move the nozzle at least ten feet away from the surface being cleaned and make sure you have solid footing. The wand will rebound when the trigger is released or if pressure is reduced. Use caution when working on or near fragile surfaces, as there may be enough force to damage surfaces or break windows. Keep clear of power lines.
Maintenance
Maintain the product by adopting a program of conscientious repair and maintenance. It is recommended that the general condition of any tool be examined before it is used. Keep your wand in good repair. Keep hands dry, clean, and free from oil and grease.
Troubleshooting
| PROBLEM | PROBABLE CAUSE | CORRECTIVE ACTION |
| The clamp is broken | The wand extends too much | Contact our Customer Service for help |
| The hose leaks | There is over pressurization | |
| The hose is loose at the fittings | Tighten the hose | |
| The gun leaks | This is normal wear and | Rebuild the gun |
| There is over-pressurization | Replace the gun | |
| Unit won't spray | Unit is clogged | Reverse flush unit with water |
Manufacturer: Shanghaimuxinmuyeyouxiangongsi
Address: Shuangchenglu 803nong11hao1602A-1609shi, baoshanqu, shanghai 200000 CN.
Imported to AUS: SIHAO PTY LTD. 1 ROKEVA STREETEASTWOOD NSW 2122 Australia
Imported to USA: Sanven Technology Ltd. Suite 250, 9166 Anaheim Place, Rancho Cucamonga, CA 91730
| UK | REP |
YH CONSULTING LIMITED. C/O YH Consultin Limited Office 147, Centurion House, London Road, Staines-upon-Thames, Surrey, TW18 4A>
| EC | REP |
Technical Support and E-Warranty Certificate www.vevor.com/support
VEVOR®
TOUGH TOOLS, HALF PRICE
NEED HELP? CONTACT US!
Powerful Blasting
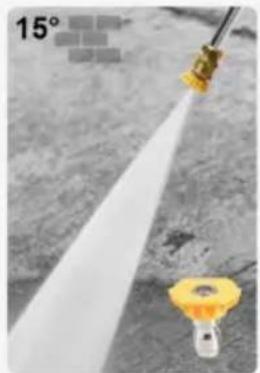
Heavy-duty Power
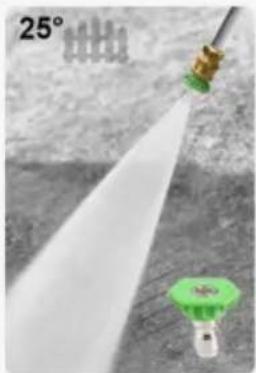
General Cleaning
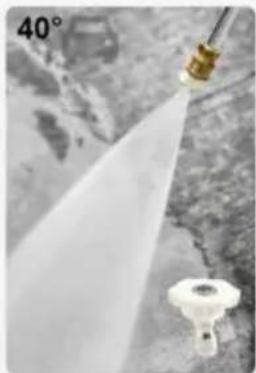
Gentle Spraying
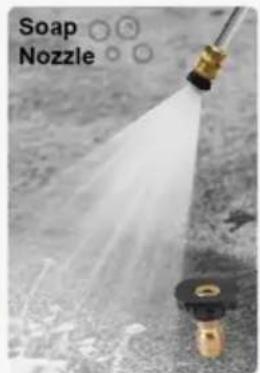
Foaming Suds
2. CONNECTING THE SPRAY NOZZLE TO DISCONNECT
- ADJUST THE LENGTH OF THE
RG
6. START SPRAYING
YH CONSULTING LIMITED. C/O YH Consulting Limited Office 147, Centurion House, London Road, Staines-upon-Thames, Surrey, TW18 4AX
E-CrossStu GmbH
Mainzer Landstr.69,
![graph TD A["3/8" Quick-Connet"] --> B["7"] B --> C["14MM OD"] C --> D["8"] D --> E["15MM OD"]](/content/2026/04/736202/images/35d24428a44a942ede2978849d5014a7ff809dc5f9db6b1b5bdaf36e62d7a48b.jpg)
Powerful Blasting
Heavy-duty Power
General Cleaning
Gentle Spraying
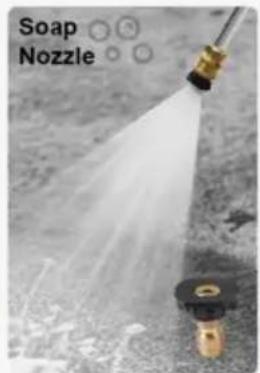
Foaming Suds
Installation Manual
CAUTION!
RG
6. START SPRAYING
YH CONSULTING LIMITED. C/O YH Consulting Limited Office 147, Centurion House, London Road, Staines-upon-Thames, Surrey, TW18 4AX
Powerful Blasting
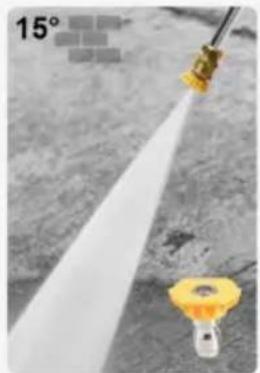
Heavy-duty Power
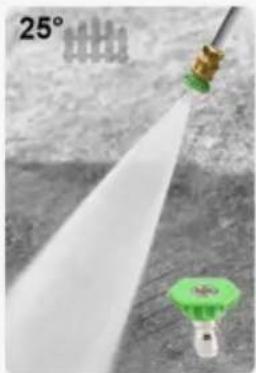
General Cleaning
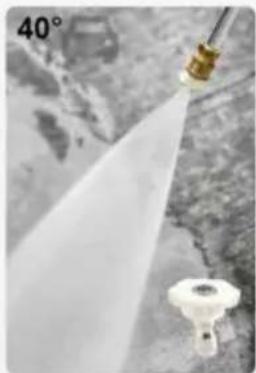
Gentle Spraying
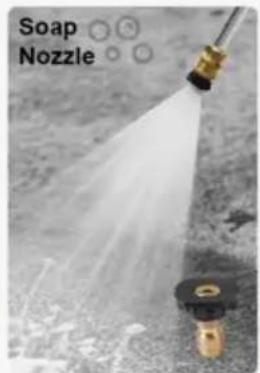
Foaming Suds
2. QUICK CONNECTION OF THE SPRAY NOZZLE Pull
4. CONNECTING THE GUN AND METRIC HOSE (if applicable)
5. ADJUST THE LENGTH
RG
6. START SPRAYING
Imported into AUS: SIHAO PTY LTD. 1 ROKEVA STREET EASTWOOD NSW 2122 Australia
Imported into the USA: Sanven Technology Ltd. Suite 250, 9166 Anaheim Place, Rancho Cucamonga, CA 91730
| RAPPRESENTANZA DEL REGNO UNITO |
YH CONSULTING LIMITED. C/O YH Consulting Limited Office 147, Centurion House, London Road, Staines-upon-Thames, Surrey, TW18 4AX
E-CrossStu GmbH
Mainzer Landstr.69,
www.vevor.com/support
Powerful Blasting
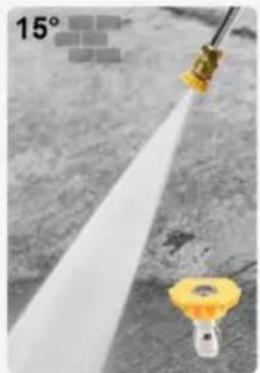
Heavy-duty Power
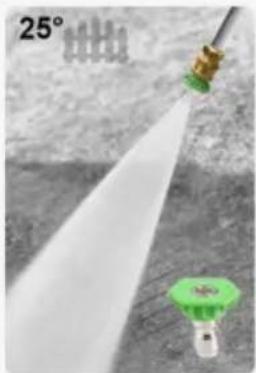
General Cleaning
Gentle Spraying
Foaming Suds
- ADJUST THE LENGTH OF THE
RG
6. START SPRAYING
Limited Oficina 147, Centurion House, London Road, Staines-
upon-Thames, Surrey, TW18 4AX
E-CrossStu GmbH
Mainzer Landstr.69, 60329
Frankfurt am Main.
VEVOR®
TOUGH TOOLS, HALF PRICE
MODEL: QD-SSG03/QD-SSG01/QD-SSG02
Model: QD-SSG03/QD-SSG01/QD-SSG02
NEED HELP? CONTACT US!
WORKPLACE SAFETY
Powerful Blasting
Heavy-duty Power
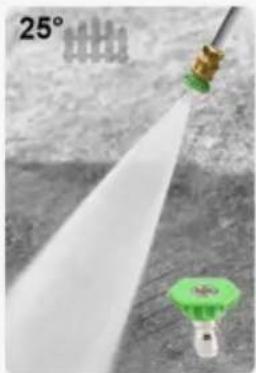
General Cleaning
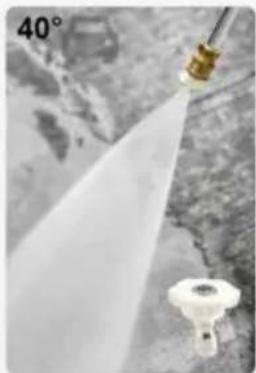
Gentle Spraying
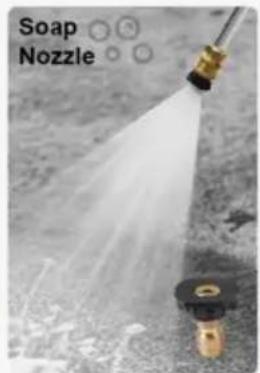
Foaming Suds
RG
- START SPRAYING
YH CONSULTING LIMITED. C/O YH Consulting Limited Office 147, Centurion House, London Road, Staines-upon-Thames, Surrey, TW18 4AX
E-CrossStu GmbH
Mainzer Landstr.69,
60329 Frankfurt am Main.
VEVOR®
TOUGH TOOLS, HALF PRICE
NEED HELP? CONTACT US!
![graph TD A["3/8" Quick-Connet"] --> B["7"] B --> C["14MM OD"] C --> D["8"] D --> E["15MM OD"]](/content/2026/04/736202/images/9e981407d41d221af734b5227a975f6a51bf4a23b6e32902e0fcfb2617ecdc55.jpg)
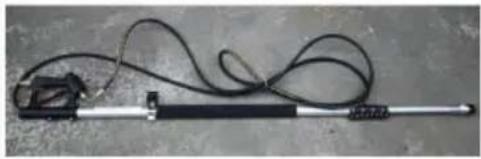 1: Telescopische staf × 1 st. 1: Telescopische staf × 1 st. | 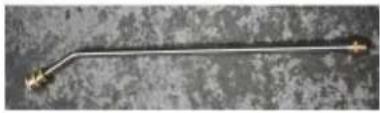 2:15 graden verlengingToverstaf× 1st 2:15 graden verlengingToverstaf× 1st | 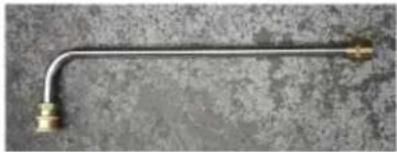 3: 90 gradenVerlengstuk×1 stuk 3: 90 gradenVerlengstuk×1 stuk |
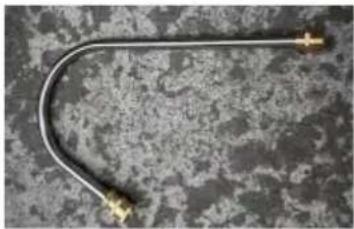 4: DakgootreinigerBijlage×1st 4: DakgootreinigerBijlage×1st | 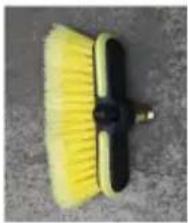 5: borstelkopbijlage×1st 5: borstelkopbijlage×1st | 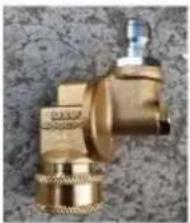 6: DraaienKoppelstuk×1st 6: DraaienKoppelstuk×1st |
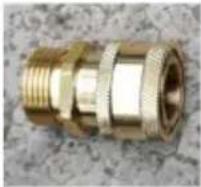 7: Inlaatadapter A×1st 7: Inlaatadapter A×1st | 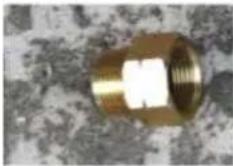 8: Inlaatadapter B×1st 8: Inlaatadapter B×1st | 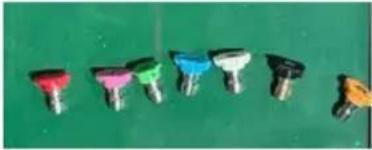 9. Spuitmondset × 1 st. 9. Spuitmondset × 1 st. |
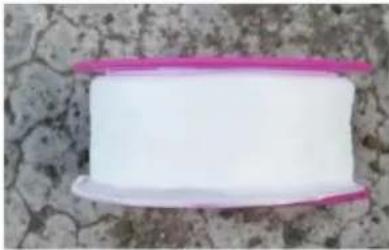 10: nylontape×1st 10: nylontape×1st |  11: beugels ×1st 11: beugels ×1st |  12:gatnaald×1st 12:gatnaald×1st |
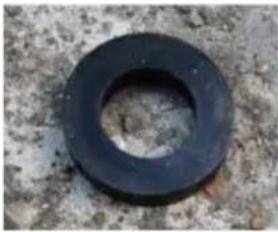 13: rubberen pakking ×1st 13: rubberen pakking ×1st | 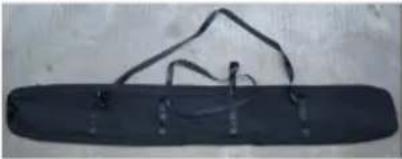 14: opbergzak×1st 14: opbergzak×1st | 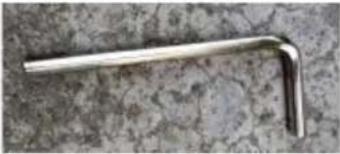 15: inbussleutel×1st 15: inbussleutel×1st |
Powerful Blasting
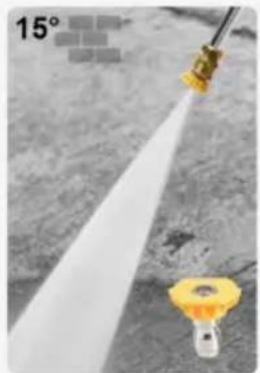
Heavy-duty Power
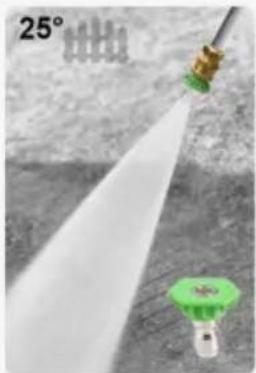
General Cleaning
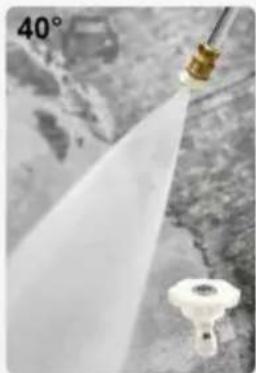
Gentle Spraying
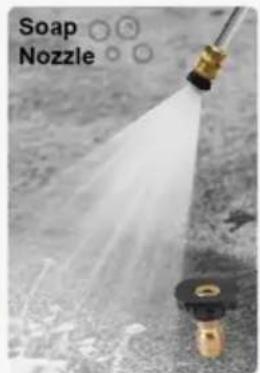
Foaming Suds
2. QUICK COUPLING OF THE SPRAY TIP Pull the
4. CONNECTION OF THE GUN AND THE METRIC HOSE (if applicable)
5. ADJUSTING THE LENGTH OF THE ROD
RG
6. START SPRAYING
YH CONSULTING LIMITED. C/O YH Consulting Limited Kantoor 147, Centurion House, London Road, Staines- upon-Thames, Surrey, TW18 4AX
| EC-REP |
warranty certificate www.vevor.com/support
VEVOR®
TOUGH TOOLS, HALF PRICE
MODEL: QD-SSG03 / QD-SSG01 / QD-SSG02
NEED HELP? CONTACT US!
![graph TD A["3/8" Quick-Connet"] --> B["7"] B --> C["14MM OD"] C --> D["8"] D --> E["15MM OD"]](/content/2026/04/736202/images/0b5901c0ef89124b5ded0c0520d996a1f3f3c0f4f876faa1b123b29bd1a3854e.jpg)
Powerful Blasting
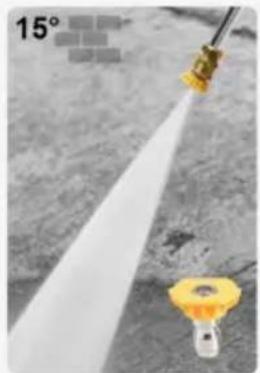
Heavy-duty Power
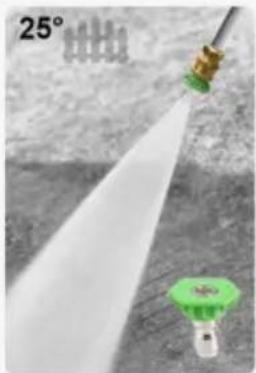
General Cleaning
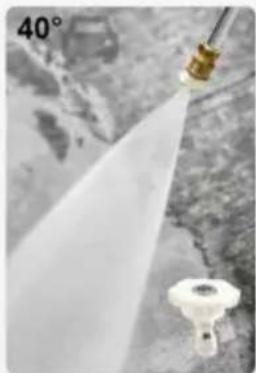
Gentle Spraying
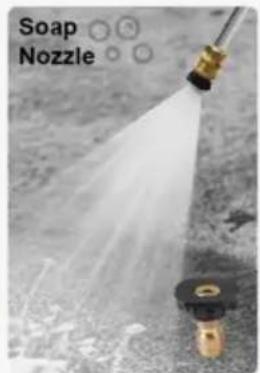
Foaming Suds
2. QUICK COUPLING CONNECTION OF THE SPRAY TIP: Pull
4. GUN & METRIC HOSE CONNECTION (if applicable)
RG
6. START SPRAYING
YH CONSULTING LIMITED. C/O YH Consulting Limited Office 147, Centurion House, London Road, Staines-upon-Thames, Surrey, TW18 4AX
E-CrossStu GmbH
Mainzer Landstr.69,
60329 Frankfurt am Main.
VEVOR®
TOUGH TOOLS, HALF PRICE
- PRESSURE WASHER
- TELESCOPING WAND
- VEVOR®
- NEED HELP? CONTACT US
- TECHNICAL SUPPORT AND E-WARRANTY CERTIFICATE WWW.VEVOR.COM/SUPPORT
- IMPORTANT SAFETY INFORMATION
- WORK AREA SAFETY
- PERSONAL SAFETY
- WAND USE & CARE
- OPERATION WARNING
- OPERATING INSTRUCTIONS
- TO EXTEND THE WAND
- TO RETRACT THE WAND
- TO BEGIN SPRAYING
- TO STOP SPRAYING
- AFTER EACH USE
- PARTS LIST FOR MODEL QD-SSG
- INLET ADAPTER A IS 3/8" QC X M22-14 MALE
- INSTALLATION GUIDE
- CAUTION
- WAND & EXTENSION WAND CONNECTION
- QUICK DISCONNECT SPRAY TIP CONNECTION
- GUN & QUICK DISCONNECT HOSE CONNECTION (IF APPLICABLE)
- GUN & METRIC HOSE CONNECTION (IF APPLICABLE)
- ADJUST WAND LENGTH
- START SPRAYING
- STOP SPRAYING
- MAINTENANCE
- TOUGH TOOLS, HALF PRICE
- CONNECTING THE SPRAY NOZZLE TO DISCONNECT
- INSTALLATION MANUAL
- QUICK CONNECTION OF THE SPRAY NOZZLE PULL
- CONNECTING THE GUN AND METRIC HOSE (IF APPLICABLE)
- ADJUST THE LENGTH
- WORKPLACE SAFETY
- QUICK COUPLING OF THE SPRAY TIP PULL THE
- CONNECTION OF THE GUN AND THE METRIC HOSE (IF APPLICABLE)
- ADJUSTING THE LENGTH OF THE ROD
- MODEL: QD-SSG03 / QD-SSG01 / QD-SSG
- QUICK COUPLING CONNECTION OF THE SPRAY TIP: PULL
Brand : Vevor
Model : QD-SSG03
Category : Pressure washer