
FY-05 - Refrigerator Vevor - Free user manual and instructions
Find the device manual for free FY-05 Vevor in PDF.



| Product type | Glass froster (glass chiller) |
| Brand | Vevor |
| Model | FY-05 |
| Dimensions (L x W x H) | 195 x 195 x 190 mm |
| Net weight | 3.6 kg |
| Power supply | 220-240 V / 50 Hz or 110-120 V / 60 Hz |
| Power | 20 W |
| Operating pressure | 3.5 - 4.5 MPa |
| Refrigerant | CO2 (liquid carbon dioxide) |
| Recommended ambient temperature | Below 21°C |
| Compatible glass type | Standard, large or irregular glasses |
| Lighting | Integrated LED (on/off button) |
| LED power supply | 3 AA batteries (not included) |
| Main functions | Quick glass frosting, fog effect, cooling to approximately 5°C |
| Usage | Indoor only, commercial use |
| Maintenance | Clean after each use with a soft damp cloth; do not use caustic detergents. |
| Safety | Do not immerse; unplug before cleaning; use on a flat, ventilated surface; do not expose to water. |
| Spare parts | CO2 bottle connector, nuts, gaskets, hose, adjusting wrench |
| Warranty | Technical support via www.vevor.com/support |
Frequently Asked Questions - FY-05 Vevor
User questions about FY-05 Vevor
0 question about this device. Answer the ones you know or ask your own.
Ask a new question about this device
Download the instructions for your Refrigerator in PDF format for free! Find your manual FY-05 - Vevor and take your electronic device back in hand. On this page are published all the documents necessary for the use of your device. FY-05 by Vevor.
USER MANUAL FY-05 Vevor
Technical Support and E-Warranty Certificate www.vevor.com/support
GLASS FROSTER
MODEL: FY-04/FY-05
We continue to be committed to providing you with tools at competitive prices. "Save Half", "Half Price", or any other similar expressions used by us only represent an estimate of savings you might benefit from buying certain tools with us compared to the major top brands and do not necessarily mean to cover all categories of tools offered by us. You are kindly reminded to verify carefully when placing an order with us if you are actually saving half in comparison with the top major brands.
MODEL: FY-04/FY-05

NEED HELP? CONTACT US!
Have product questions? Need technical support? Please feel free to contact us:
Technical Support and E-Warranty Certificate www.vevor.com/support
This is the original instruction. Please read all manual instructions carefully before operating. VEVOR reserves a clear interpretation of the user manual. The appearance of the product shall be subject to the product you received. Please forgive us that we won't inform you if there are any technology or software updates on our product.
 | Warning - To reduce the risk of injury, user must instructions manual carefully. |
 | Indoor Use Only |
 | CORRECT DISPOSALThis product is subject to the provision of european D 2012/19/EU. The symbol showing a wheelie bin cros through indicates that the product requires separate re collection in the European Union. This applies to the and all accessories marked with this symbol. Products as such may not be discarded with normal domestic w must be taken to acollection point for recycling electric electronic devices. |
IMPORTANT SAFETY INFORMATION
When using electrical appliances, basic safety precautions should always be followed, including the following:
- READ ALL INFORMATION BEFORE USE.
- For commercial use only.
3. Do not touch the jet cover with your hand.
- Protect against electrical shock by keeping all cords, plugs, and other electrical components away from water or other liquids.
- Unplug this unit when not in use and before cleaning.
- Allow the unit to cool before putting on or taking off parts.
- Do not operate this or any appliance with a damaged electrical core plug.
- Do not operate this or any appliance after it has malfunctioned or been damaged in any way.
- Do not use outdoors.
- Do not place on or near a hot gas or electric burner.
- Disconnect the unit by removing the electrical plug from the wall outlet.
- Do not use the appliance for any application other than its intended use.
- Do not allow this glass froster to touch or be covered by flammable material, such as curtains, draperies, walls, etc., when in operation.
- Do not clean with metal scouring pads, as pieces can break off and touch electrical components, heightening the risk of electrical shock.
- Do not place sharp or sharp-cornered objects around the product to avoid scratching the surface.
- Turn the appliance off by removing the plug.
- Note that the use of accessories not recommended by the manufacturer may result in injury.
- Children must be supervised when using this product.
- This appliance can be used by children aged from 8 years old and above and persons with reduced physical, sensory or mental capabilities lack of experience and knowledge if they have been given supervision instruction concerning use of the appliance in a safe way and unders the hazards involved. Children shall not play with the appliance. Clear and user maintenance shall not be made by children without supervisi
- When using the appliance in shops, snack bars, hotels etc., check voltage and outlet to make sure the appliance is correctly connected power.
- Place unit on a flat surface that is well ventilated.
SAVE THESE INSTRUCTIONS
IDENTIFICATION OF KEY PARTS
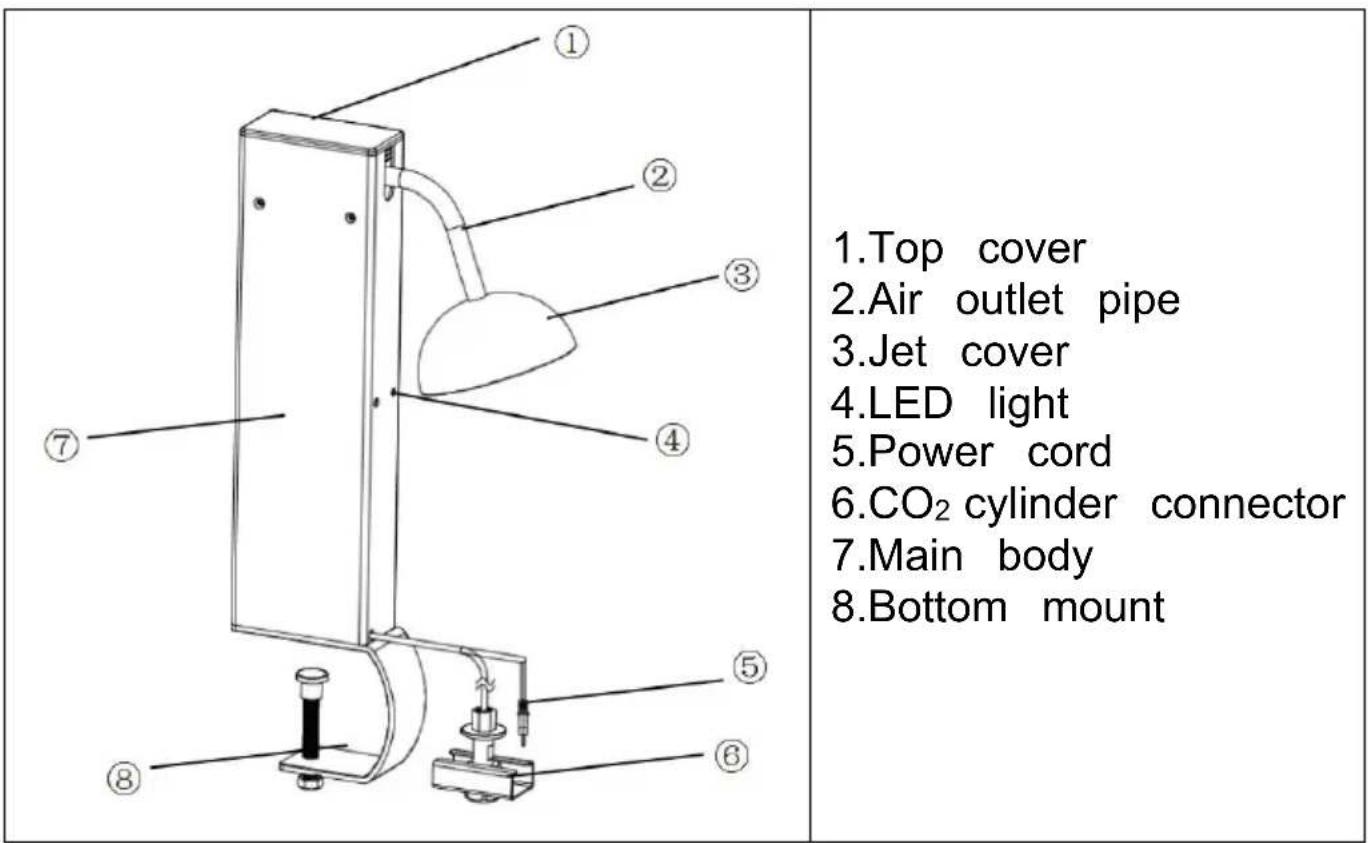
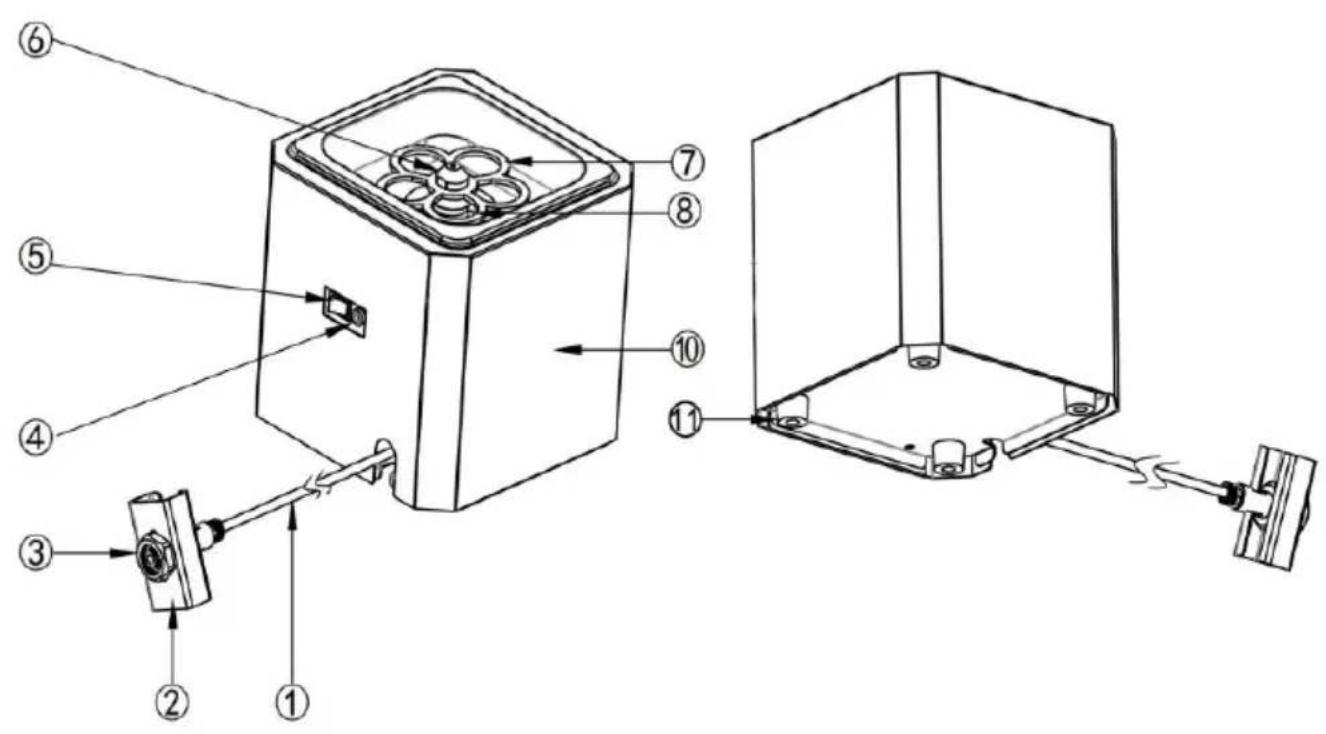
| 1.Piezometric tube2.Small square wrench3.Copper nut4.Power outlet5.Power switch6.Nozzle | 7.Plum tray8.LED light10.Housing11.Rubber foot |
CIRCUIT DIAGRAM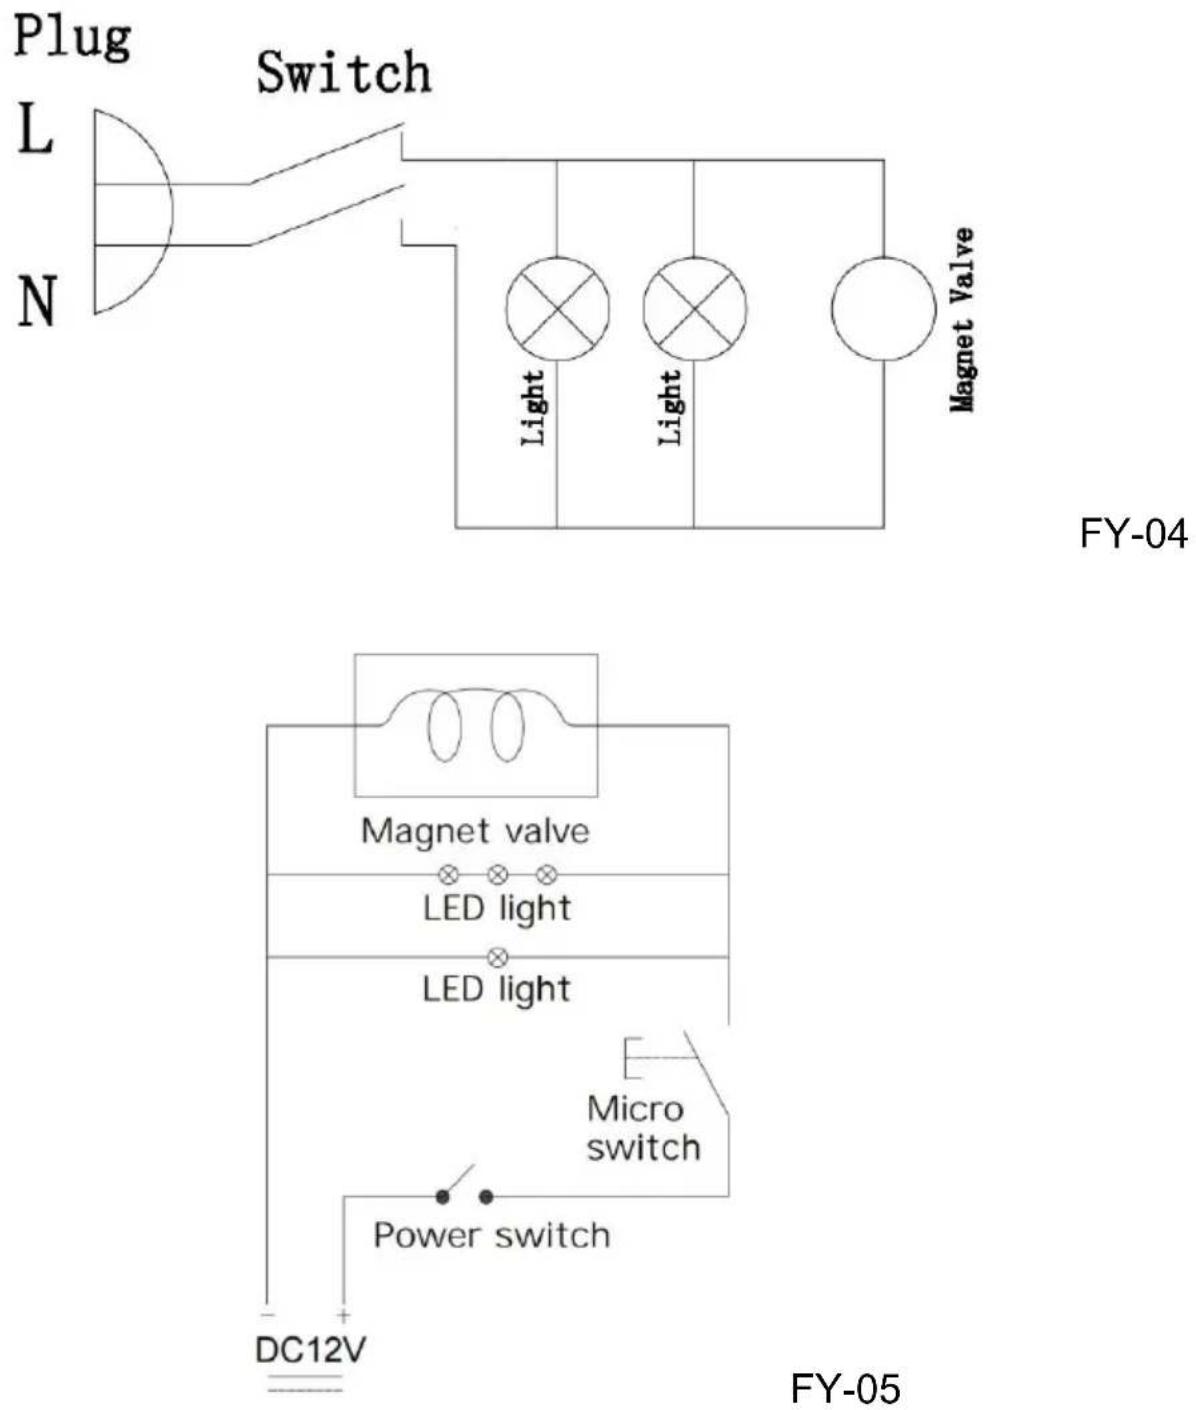
SPECIFICATIONS
| Model | Voltage / Frequency | Product size (mm) | W. (Kg) | Product power (W) | Working Pressure (Mpa) | Refrigerant Type |
| FY-04 | 110-120V 60Hz | 120x280 x530 | 5.2 | 20 | 3.5-4.5 | CO2 |
| FY-05 | 220-240V /50Hz 110-120V /60Hz | 195x195 x190 | 3.6 | 20 | 3.5-4.5 | CO2 |
PREPARE BEFORE USING YOUR MACHINE
Before using your glass froster, please follow these simple instructions. Failing to do so may cause injury to the user and damage the mack
Step 1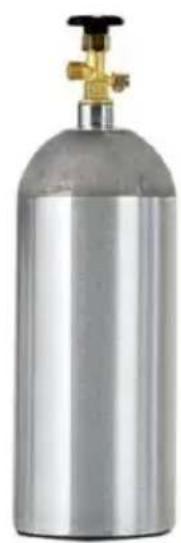
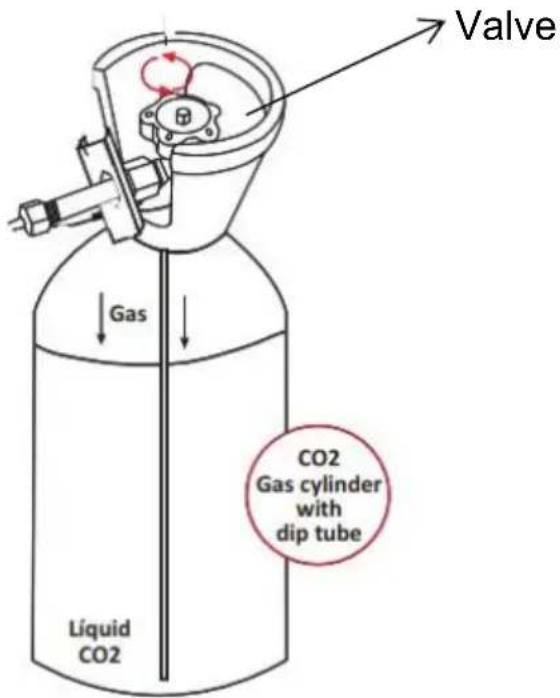
Prepare the CO2 tank to gain perfect chiller performance
Step 2 for FY-04
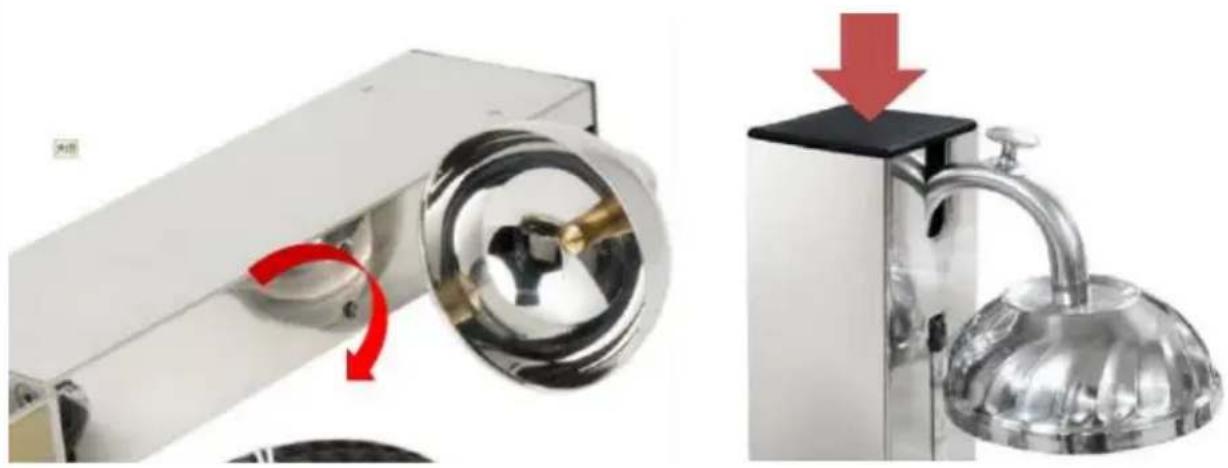
Find the hood in the accessories bag and twist it onto the machine.
Open the black cover and install 3 AA batteries for the LED light for better working.
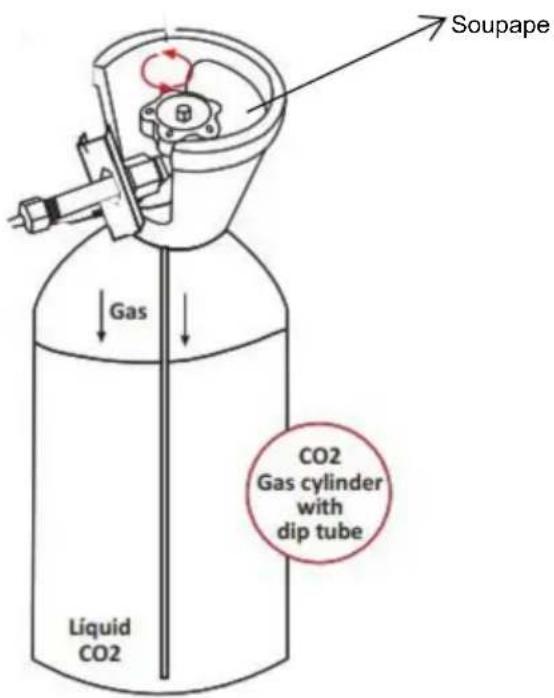
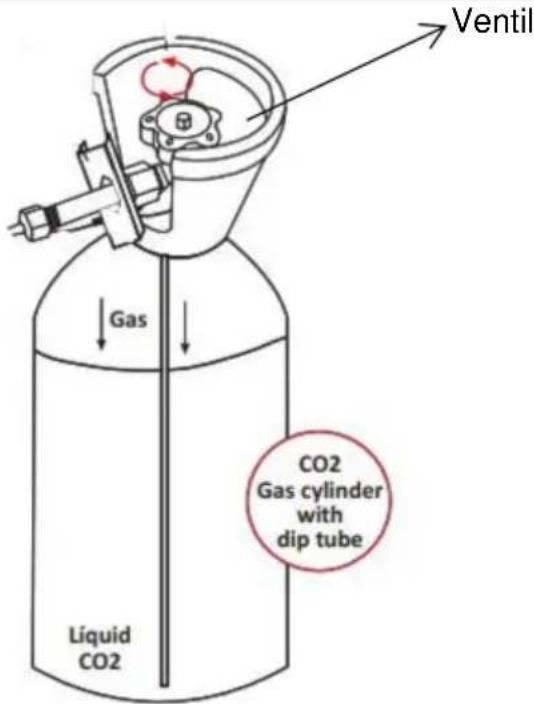
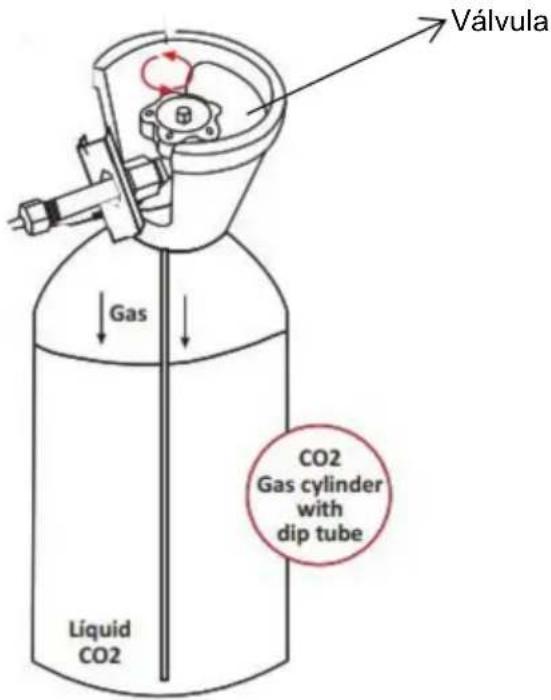
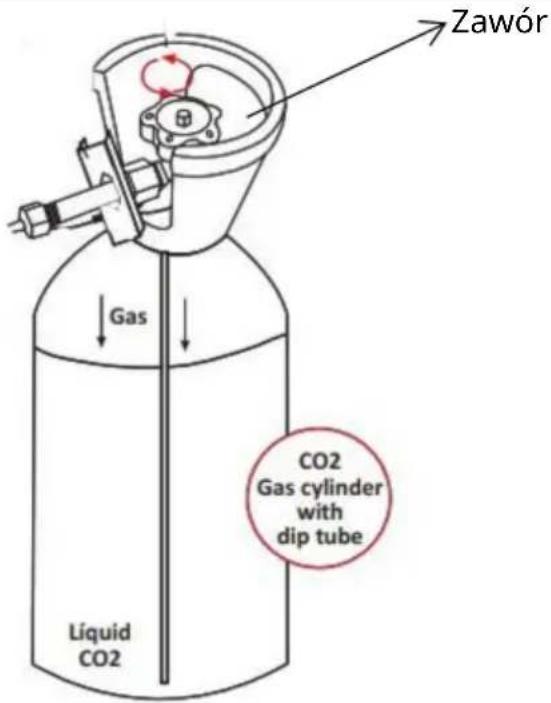
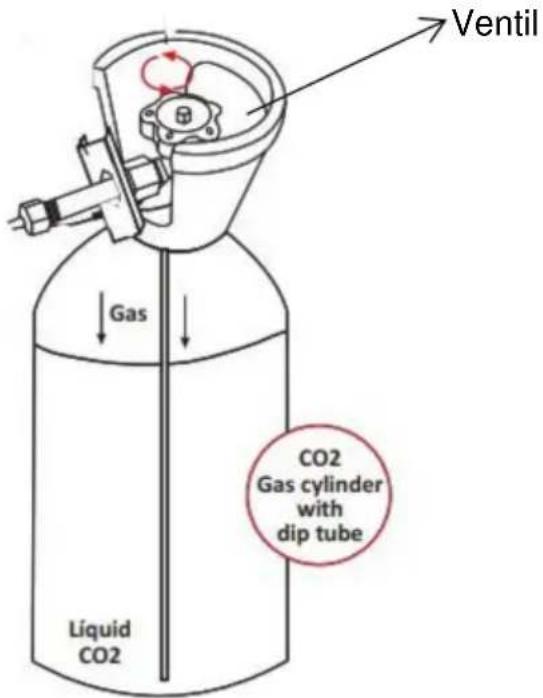
WARNING: This product works with liquid CO2 only. Never connect other compressed gas cylinders with high pressure. A liquid CO2 cylinder with siphon tube is preferred to deliver liquid CO2. If a standard gas cylinder is used, the cylinder must be placed upside down to deliver liquid CO2. Install this product in a well-ventilated area; otherwise, a high level of CO2 may accumulate.
WARNING: DO NOT release the gas pipe nut without having closed the gas entry of the bottle and emptied the pressure, being empty in this way!
WARNING: DO NOT put the machine near fire, ovens, and other ignition points!
INSTALLATION AND USE OF YOUR MACHINE
Step 1
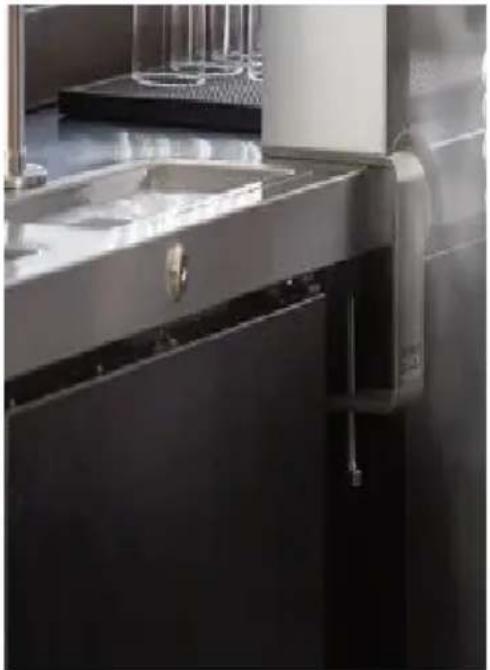
FY-04: Put the machine on a flat and fixed surface. Hold the screw on the bottom side until it is fixed to the base. Plug in. FY-05: Put the machine on a flat and fixed surface.
Step 2
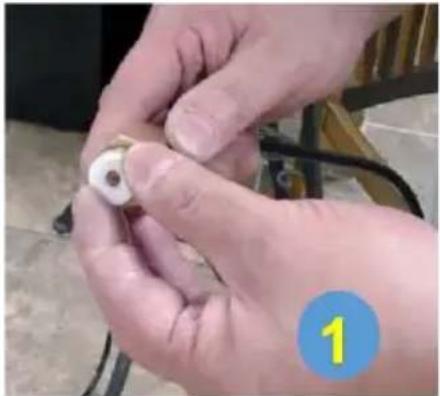
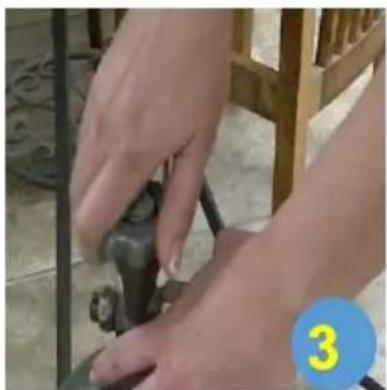
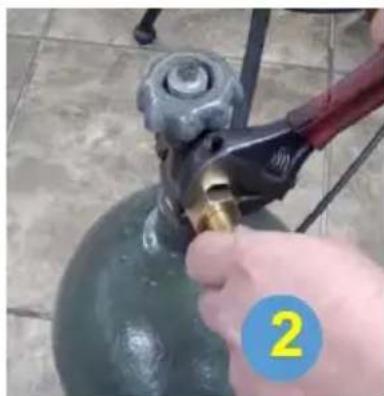
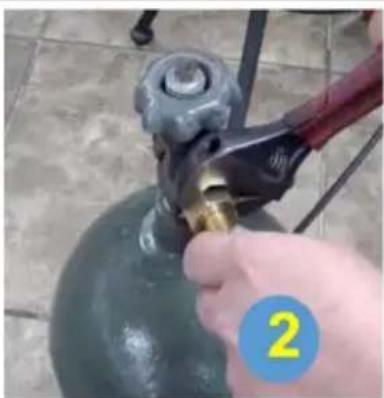
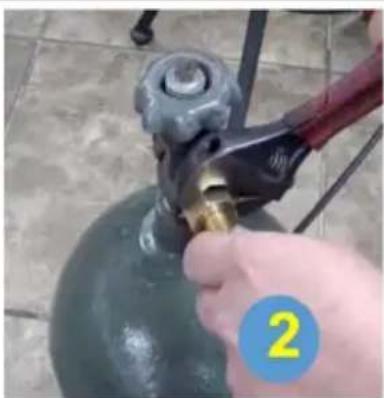
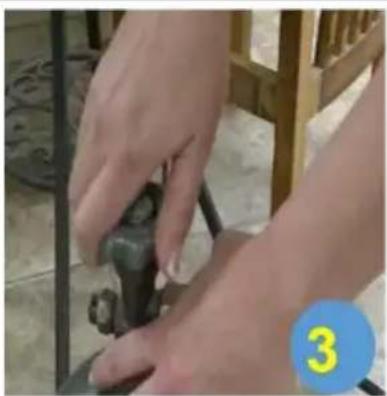
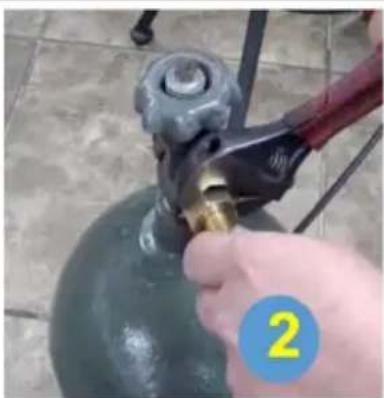
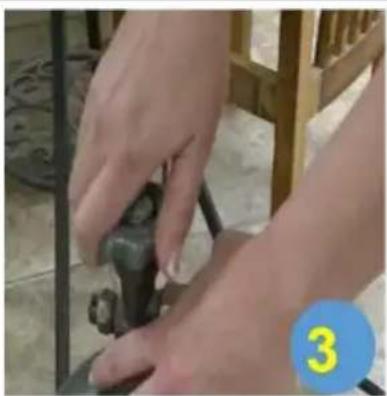
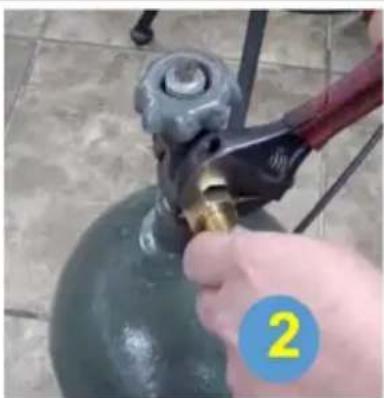
Connect the CO2 valve. Keep the valve closed, and the steel wire valve for safety.
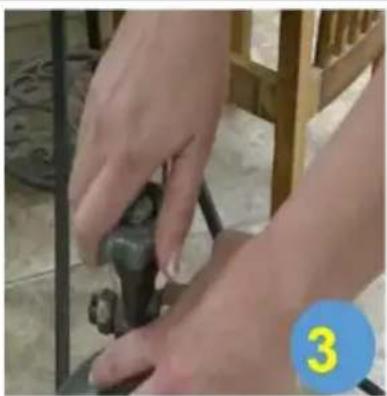
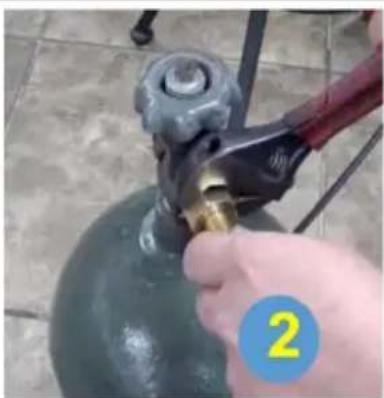
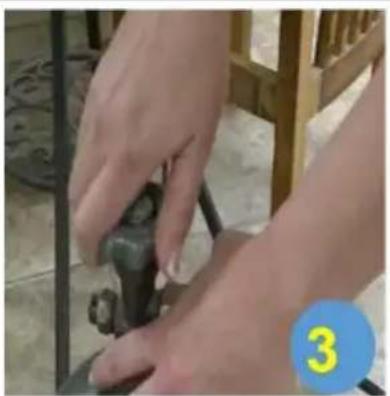
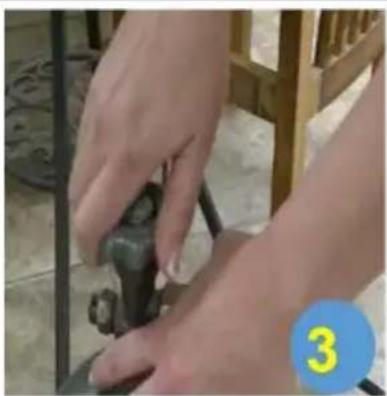
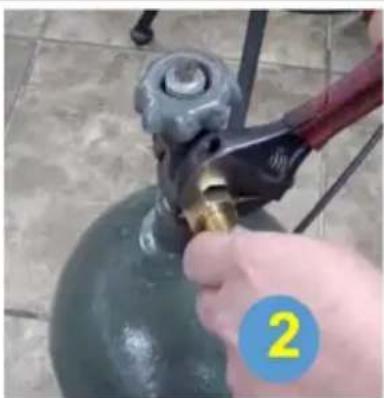
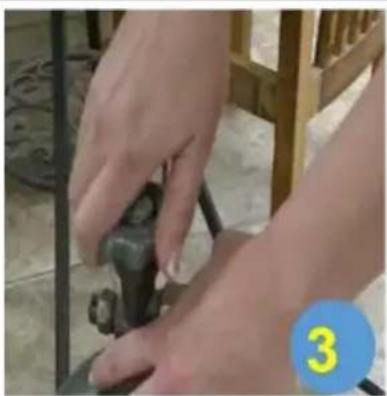
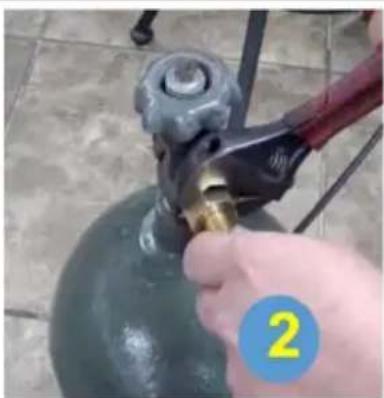
- Put the rubber seal rings in the nut and use your fingers to set until it is completely fixed.
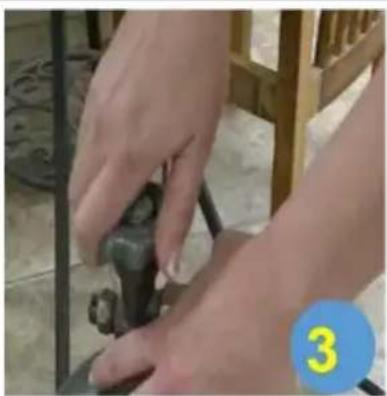
- After that, use the wrench to reinforce the nut and valve. 3. Open the valve, please ensure the cylinder remains upside down. PS: Please stand aside when opening the valve, and open to max.
Step 3

FY-04: Press the air outlet pipe of the machine until the gas comes out. Then, take the glass under the jet and hold it for 5-6 seconds in order to be frozen.
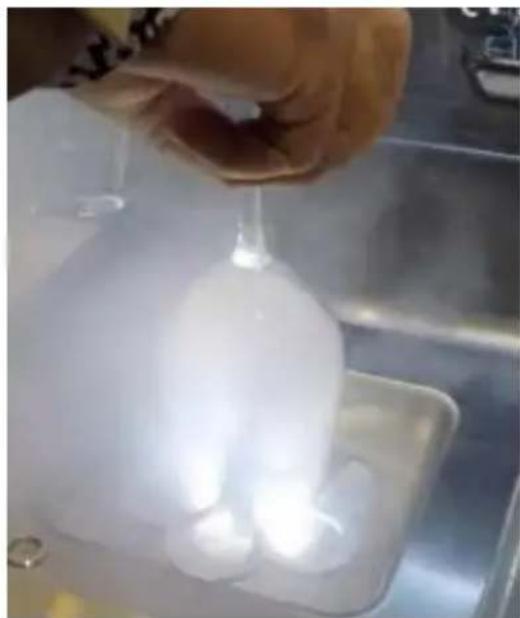
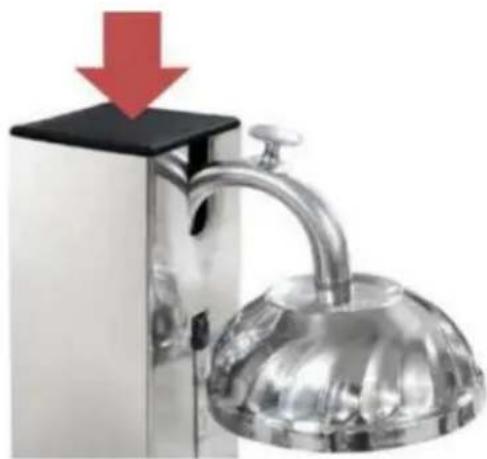
FY-05: Turn down the glass and press it onto the plum tray until it comes out.
Under 21°C ambient temperature, just press 3 times with every second, the glass will cool to around 5°C. If you need to reach a lower temperature, just press more times. If the glass is irregular or big, suggest pressing more times to reach the ideal cooking effect.
At the end of the day, or whenever the machine is not going to be used for more than 1 hour, it is compulsory to close the key of the gas cylinder.
cylinder.
WARNING: Plug the unit into grounded outlets only that match the voltage and frequency listed on the motor!
WARNING: Check the electric cord and plug to make sure it is clean and dry before using!
WARNING: The SWITCH must NOT contact the water, keep it dry!
When the frosting time exceeds 15 seconds, this is an indication that it is time to change the cylinder. Please follow these instructions carefully.
- Close the key of the bottle.
- Press down the semi-spherical part of the machine until the pressure is off, and the circuit is completely empty.
- Release the nut of the pipe that connects the tube and the gas through the adapter.
- To finish the process, we will connect the machine again to the next starting, repeating all the process.
SAFETY TIPS FOR CO2 CYLINDERS
- The carbon dioxide gas cylinder is a high-pressure gas cylinder, please pay attention to its safety.
- Do not destroy or violently treat gas cylinders, and do not remove warnings and labels from gas cylinders.
- Check the gas cylinder carefully before use to ensure that the gas knob and the matching protective cover are complete and reliable.
- Open the air valve only when you need to use it.
- Do not roll or drop gas cylinders directly, or allow gas cylinders to bump each other. Prevent the temperature of the cylinder from becoming too high. Cylinders should be stored in a ventilated, cool, dry place away from heat sources (such as sunlight, heating, furnace fire), and should not be rolled, to prevent the temperature of liquid CO2 from rising, the v
expansion and the formation of high-pressure gas, resulting in an explosion hazard.
- Larger cylinders need to be secured with chains or straps at the third of the cylinder height.
- Before connecting the gas cylinder, carefully clean the gas valve and dust at the connector to ensure the safety of the connection.
- When opening the air valve, try to stand on the side, do not face the valve, to avoid air leakage and injury.
- When opening the air valve, turn it smoothly and slowly, and do not do it violently.
- When returning the cylinder, close the valve and replace the protective cover.
- Empty gas cylinders should be marked "empty".
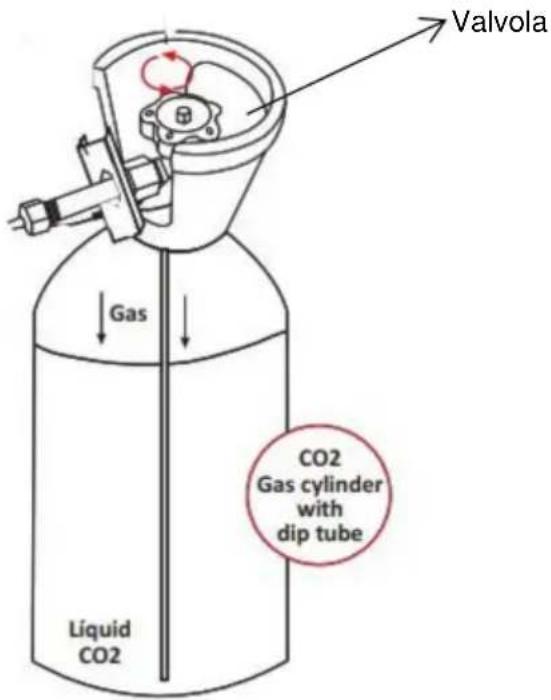
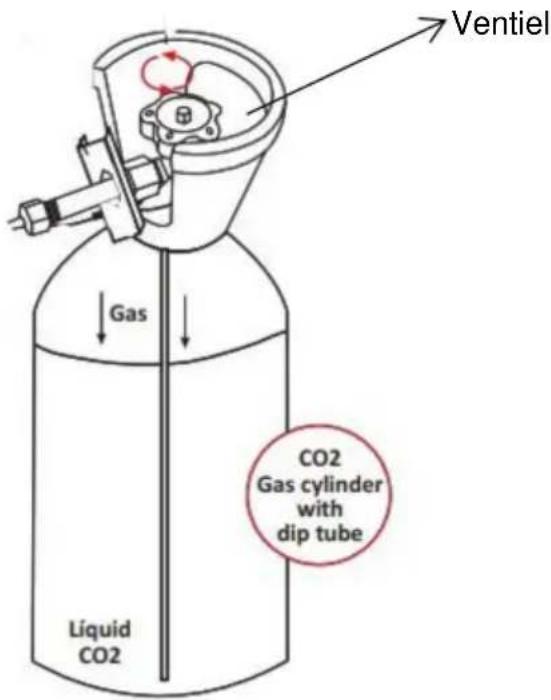
• Note: The valve of the CO2 cylinder is at the top, and the liquid is at the bottom of the cylinder and then circulates to the top to volatilize. Cylinders must not lie down. If the cylinder is placed horizontally and the pressure reducing valve is opened, the CO2 liquid that is flushed out quickly vaporizes, which is prone to accidents such as airway burst and a large amount of CO2 leakage.
WARNING:
- Do not loosen the gas cylinder connector until the gas valve is closed to completely release the residual carbon dioxide in the machine.
- If there is leakage, close the air valve and contact the after-sales service.
CLEANING & MAINTAINING YOUR MACHINE
Before cleaning or performing any repair work, ensure the glass froster is OFF and unplug the cord from the outlet. You should close the key of the bottle and press the semi-spherical part of the equipment to release all the gas.
It is forbidden to use caustic detergents, and avoid water getting into the ma
Clean the machine after using it. Clean the cover of the machine with a wet piece of cloth. If needed, use a non-abrasive cleaning product.
VEVOR®
TOUGH TOOLS, HALF PRICE
Technical Support and E-Warranty Certificate www.vevor.com/support
VEVOR®
TOUGH TOOLS, HALF PRICE
NEED HELP? CONTACT US!
- Cover
www.vevor.com/support
GLASS FROSTER
MODEL: GJ-04/GJ-05
- Upper
Cover 2.
Air outlet pipe
3.
Nozzle cover
electronics www.vevor.com/support
GLASS GRINDER
MODEL: FY-04/FY-05
- Cover
SPECIFICATIONS
www.vevor.com/support
- Cover
BUDGET
NEED HELP? CONTACT US!
www.vevor.com/support
GLASS GRINDER
MODEL: FY-04/FY-05
NEED HELP? CONTACT US!
- Top cover 2. Air outlet pipe
- Jet cover
- LED light 5.
Power cord 6. CO2 cylinder connector
Warranty certificate www.vevor.com/support
VEVOR®
TOUGH TOOLS, HALF PRICE
www.vevor.com/support
GLASS FROSTER
MODEL: FY-04/FY-05
NEED HELP? CONTACT US!


- GLASS FROSTER
- MODEL: FY-04/FY
- NEED HELP? CONTACT US
- TECHNICAL SUPPORT AND E-WARRANTY CERTIFICATE WWW.VEVOR.COM/SUPPORT
- IMPORTANT SAFETY INFORMATION
- SAVE THESE INSTRUCTIONS
- IDENTIFICATION OF KEY PARTS
- SPECIFICATIONS
- PREPARE BEFORE USING YOUR MACHINE
- STEP 2 FOR FY
- INSTALLATION AND USE OF YOUR MACHINE
- STEP
- SAFETY TIPS FOR CO2 CYLINDERS
- WARNING
- CLEANING & MAINTAINING YOUR MACHINE
- VEVOR®
- TOUGH TOOLS, HALF PRICE
- GLASS GRINDER
Brand : Vevor
Model : FY-05
Category : Refrigerator