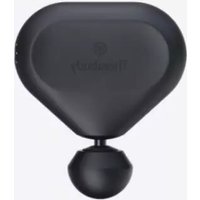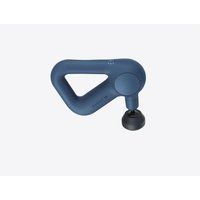
Theragun Relief - Massage device THERABODY - Free user manual and instructions
Find the device manual for free Theragun Relief THERABODY in PDF.


User questions about Theragun Relief THERABODY
0 question about this device. Answer the ones you know or ask your own.
Ask a new question about this device
Download the instructions for your Massage device in PDF format for free! Find your manual Theragun Relief - THERABODY and take your electronic device back in hand. On this page are published all the documents necessary for the use of your device. Theragun Relief by THERABODY.
USER MANUAL Theragun Relief THERABODY
Comfortable, everyday massage for everybody.
Feel better throughout the day with the Theragun Relief, our easy-to-use percussive massage therapy device scientifically proven to relieve daily aches and pains and reduce stress, muscle tension and knots. With simple, one button control and a patented multi-grip handle so you can comfortably reach your entire body without strain, a Theragun Relief is an easy addition to your daily routine.
Intended Use
The Theragun Relief's percussive massage therapy is intended to relieve daily aches and pains, reduce muscle tension, tightness and stress, and ease painful knots. Choose from 3 attachments that provide a soothing full body massage, comfortable relief for sensitive areas, or target painful trigger points.

EN
2. What's in the box
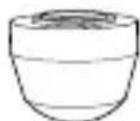
8
C
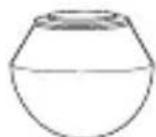
0


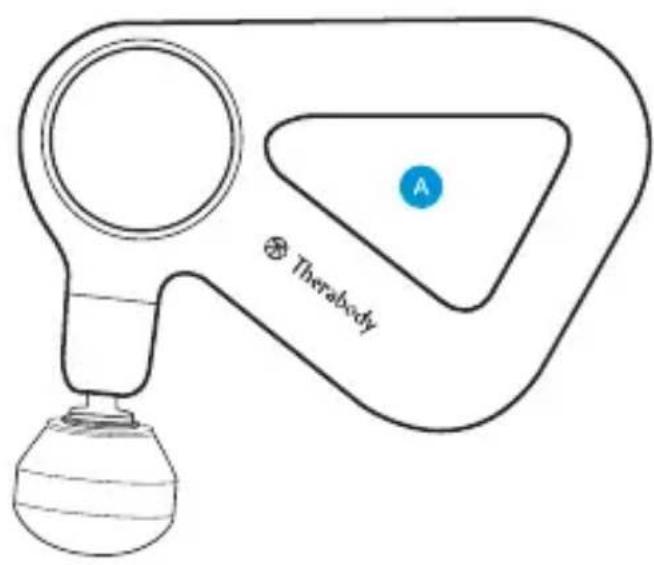
Theragund device
Three attachments

Dampener

Thumb

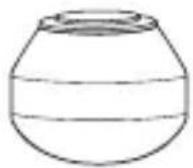
Standard Ball

USB-C charging cable
3. Getting To Know Your Theragun Relief
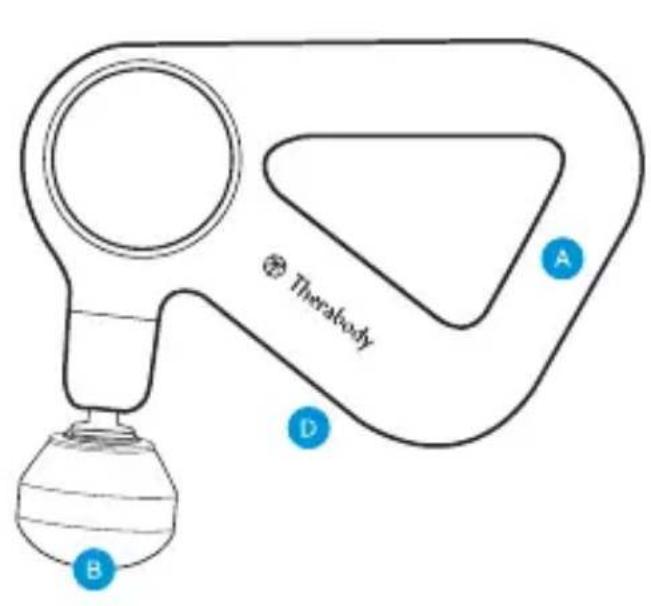
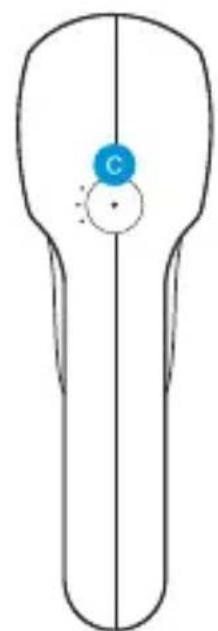

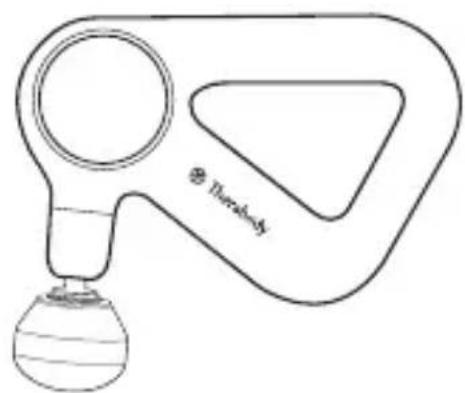
Patented triangle multi-grip handle

Interchangeable percussive attachments

Button USB-C Port
4. Getting started
Step 1
Pick up and hold the device.
Slide your hand into the ergonomically designed Theragun Triangle handle. Our patented Theragun Triangle handle design is three-sided, so you can hold the Theragun Relief from any side in a variety of ways, making it easier than ever to treat hard-to-reach areas like your back without strain on your hands, wrists, and forearms.
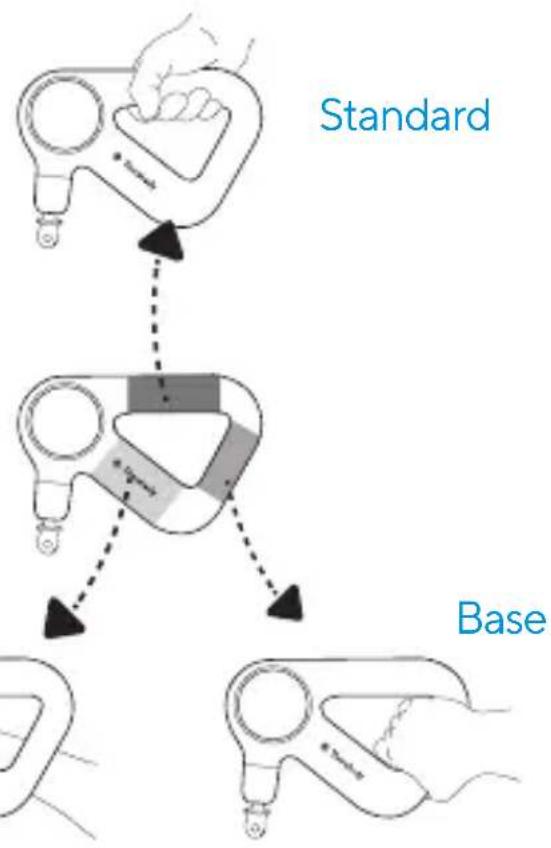
Reverse
Step 2 Turn on and try the device.
Firmly long press the button to turn on the device. Move the device back and forth across your intended treatment areas. Apply light to moderate pressure as needed. Never apply excessive pressure or any level of pressure that causes pain, discomfort, or impedes normal function of the device. Do not start by putting pressure directly on an area of discomfort. Instead, work slowly around the area to reduce tension.
Step 3 Download the Therabody app
Search for the Therabody app in the App Store or Play Store and download the app to your phone. We'll guide you through a stress-free setup, including creating a Therabody account for further information about the Theragun Relief. The Therabody app can help you discover routines that help you get the most out of your Theragun Relief.
Scan the QR code to get started.
Step 4 Feel the difference. Every day
Whether you use your Theragun Relief for a soothing massage or a more pointed treatment for pain relief, the Theragun Relief is the perfect addition to your daily wellness routine.

EN
5. Using the Theragun Relief
- To power on the Theragun Relief, long press the button on the device.
- Move the device across the areas in need of treatment, gradually applying light-to-moderate pressure as needed. Spend approximately 15-20 seconds on each treatment area before gliding the device to the next treatment area.
- Short press the button to toggle between the three speeds (low, medium, and high) based on your preferences.
- Warning: The device does not automatically shut off. To turn off your Theragun Relief, firmly long press the button until the device powers off.
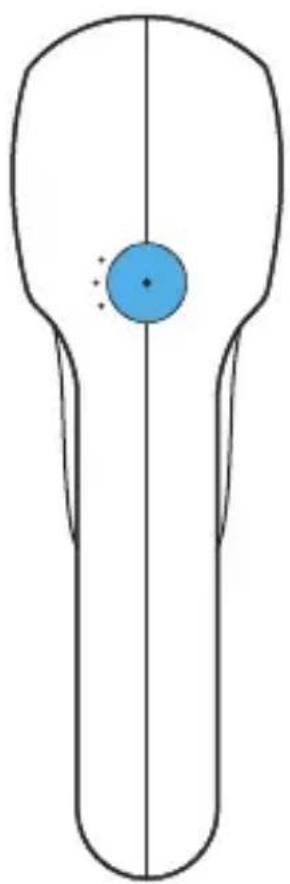
6. Connecting the Attachments
- Ensure that the device is powered off before connecting or removing any attachments.
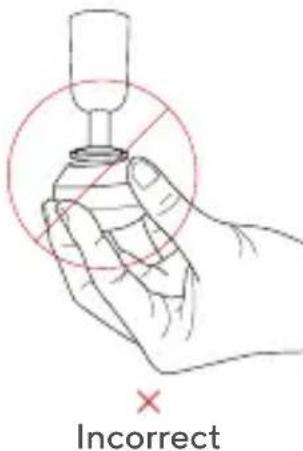
- Align the attachment with the tip of the arm and push to connect.
- To remove the attachment, hold the triangle grip with one hand, and the attachment with the other hand. Place one finger on each side of the plastic connector and firmly pull off the attachment.
- Warning: Do not place your finger between the attachment and the end of the arm, as this may cause pinching and injury.
- Note: The device's piston (metal rod) may become warm after use; this is normal.
It is recommended that you swap out the attachments if you start to notice signs of wear.
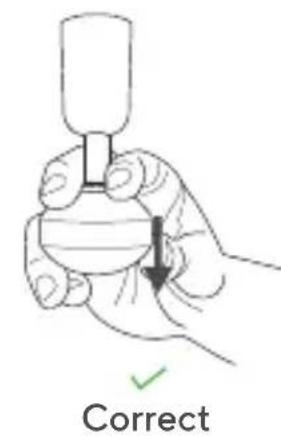
Using the Attachments
The Theragun Relief has three targeted, high-quality attachments designed for a more personalized treatment. The Dampener, Standard Ball, and Thumb attachments are comfortable and hygienic without absorbing sweat, lotion, or oils.
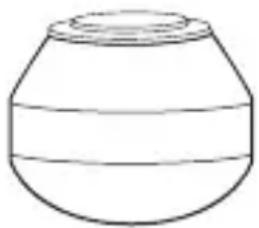
Dampener
For tender or sensitive areas and overall use.
Use the Dampener attachment for a firm yet softer, soothing
full-body massage. The Dampener attachment is specifically designed for general use and a low-impact treatment around tender, sensitive or bony areas. Do not directly contact bones (i.e., spine, knee cap) using this device. Its wide base maximizes surface area for greater, more efficient contact with the body.
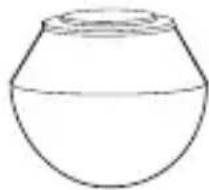
Standard Ball
For large and small muscle groups
Use the Standard Ball attachment for a full-body massage. The Standard Ball attachment is specifically designed for overall use on both large and small muscle groups. With a smaller shape and higher impact level than the Dampener, it is a firmer option for overall use and is your go-to attachment for tension.
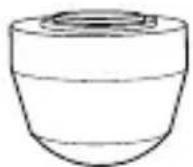
Thumb
For trigger points and the lower back.
Relieve pain with the high pressure point Thumb attachment.
Specifically designed to mimic a human thumb, use this attachment for point therapy on the lower back. Use the Thumb anywhere you may have otherwise used your thumb for pain relief.
EN
EN
7. The Theragun Relief After Care & Cleaning
Device Maintenance
The following maintenance instructions are important to ensure that your device continues to work as it was designed. Failure to follow these instructions may cause your device to stop working.
Care and Cleaning
- The Theragun Relief is NOT waterproof or machine washable. Do not allow any liquid or water to enter the device.
- Ensure that the device is powered off before cleaning.
- To clean, wipe the inner surface with a disinfectant wipe to remove any residue.
- Once the device is residue-free, use a clean disinfectant wipe to thoroughly clean the device surface and attachments, wiping in a circular motion.
8. Charging
-
The battery level is continuously displayed on the LED light of the button when the device is on.
-
To view the battery level when the device is off, briefly press the button, and the LED battery light will flash to indicate the battery level.
-
Flashing orange: Low battery
- Flashing blue: Medium battery
-
Flashing green: High battery
Solid green: Full battery -
Ensure that the device is powered off before charging; the device will not power on while charging.
- The device is USB-C enabled. To charge the device, plug one end of the USB-C cable included in the package into the device and the other end into your adapter.
- The LED light on the button will flash while the device is charging.
- The LED light on the button will turn solid green when the device has a full battery.
- Unplug the USB-C cable from the Theragun Relief when charging is complete.
The battery life of the Theragun Relief is approximately 120 minutes.
**Note: If using an alternative USB-C cable, ensure that it is from a trusted source and has not suffered any structural damage. Do not try to use the device while charging.
SeeWarnings insert for important safety instructions