Mini 48 MP - Camera Berger & Schröter - Free user manual and instructions
Find the device manual for free Mini 48 MP Berger & Schröter in PDF.


User questions about Mini 48 MP Berger & Schröter
0 question about this device. Answer the ones you know or ask your own.
Ask a new question about this device
Download the instructions for your Camera in PDF format for free! Find your manual Mini 48 MP - Berger & Schröter and take your electronic device back in hand. On this page are published all the documents necessary for the use of your device. Mini 48 MP by Berger & Schröter.
USER MANUAL Mini 48 MP Berger & Schröter
natural_image
Top-down view of a mechanical device with central circular component and mounting holes (no visible text or symbols)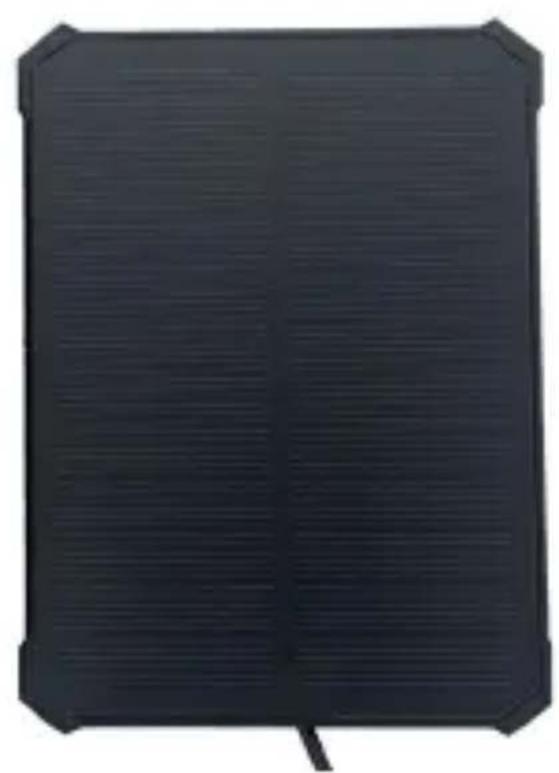
natural_image
Black rectangular electronic device with horizontal lines and a cable, no visible text or symbolsArt. Nr. 32493
Bedienungsanleitung
Operating instructions
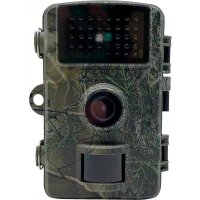
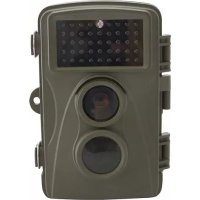
Mini 48 MP wildlife camera with solar panel
natural_image
Product photo of a smart home control device with attached cables, accessories, and a battery pack (no visible text or symbols)Technische Daten
text_image
Technical diagram of a device with labeled parts, showing internal components and structural features576
text_image
QR code image containing encoded data, no visible human-readable textAndroid iPhone
text_image
QR code image containing encoded data, no visible human-readable textnatural_image
Mechanical component diagram showing a left-hand lever and a pulley system with connecting rods (no text or symbols)natural_image
Mechanical assembly diagram showing a lever mechanism connecting a motor and a housing (no text or symbols visible)natural_image
Close-up of a mechanical component with textured surface and two mounting holes (no visible text or symbols)GB Operating instructions
Mini 48 MP wildlife camera with solar panel
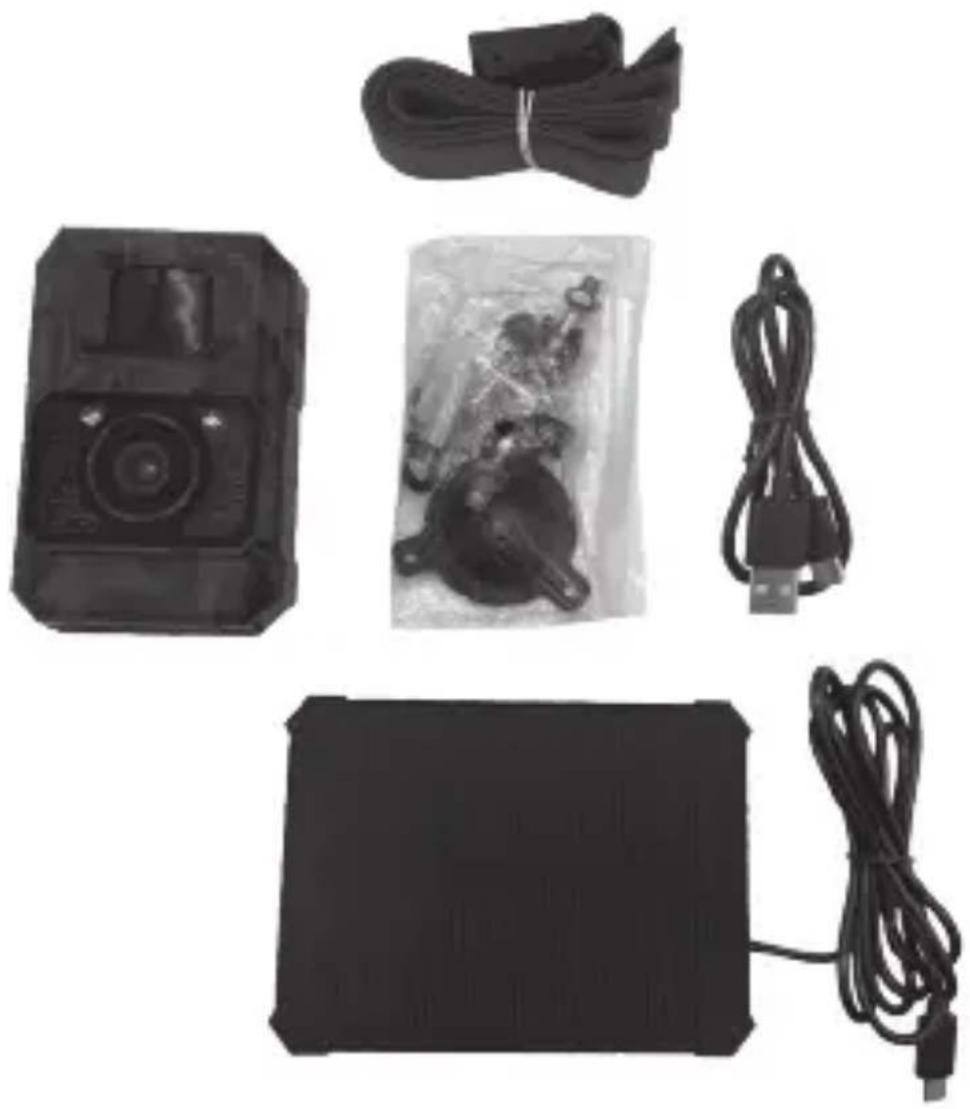
Scope of delivery
1x WiFi trail camera
1x solar panel
1x USB-C cable
1x tripod mount and tripod support
3x mounting screws + dowels
1x installation strap
1x instruction manual
natural_image
Product photo of a smart home control device with attached cables and accessories (no visible text or symbols)Technical data
| Max. Photo resolution 48 MP | |
| Video resolution 1080p Full HD 30fps | |
| File format JPEG in H.264 format | |
| External memory Micro SD memory card (max. 256 GB) | |
| Range of the IR flash=Up to 20 m at 90° viewing angle | |
| PIR sensor Sensitivity low to high, interval 5 sec. to 1 hour | |
| Operating temperature=-20°C to 60°C | |
| Detection angle 100° | |
| Trigger time 0.2 ~ 0.6 s | |
| Shutter release delay 5 sec - 60 min programmable | |
| Continuous shooting 1 to 5 photos | |
| Video length adjustable from 5 sec. - 10 min. | |
| Timestamp Temperature, date and time | |
| Working period adjustable; =0:00 =to =23:59 =or =all day | |
| Recording mode | Photo, Video, Photo+Video |
| PC interface | USB-C connection |
| Power supply | Built-in rechargeable battery 3.7V (2000mah), solar panel or via USB-C connection (5V) |
| Lens | f=6, F/NO=1.6, FOV=100°; Auto IR filter |
| Housing | weatherproof IP66 |
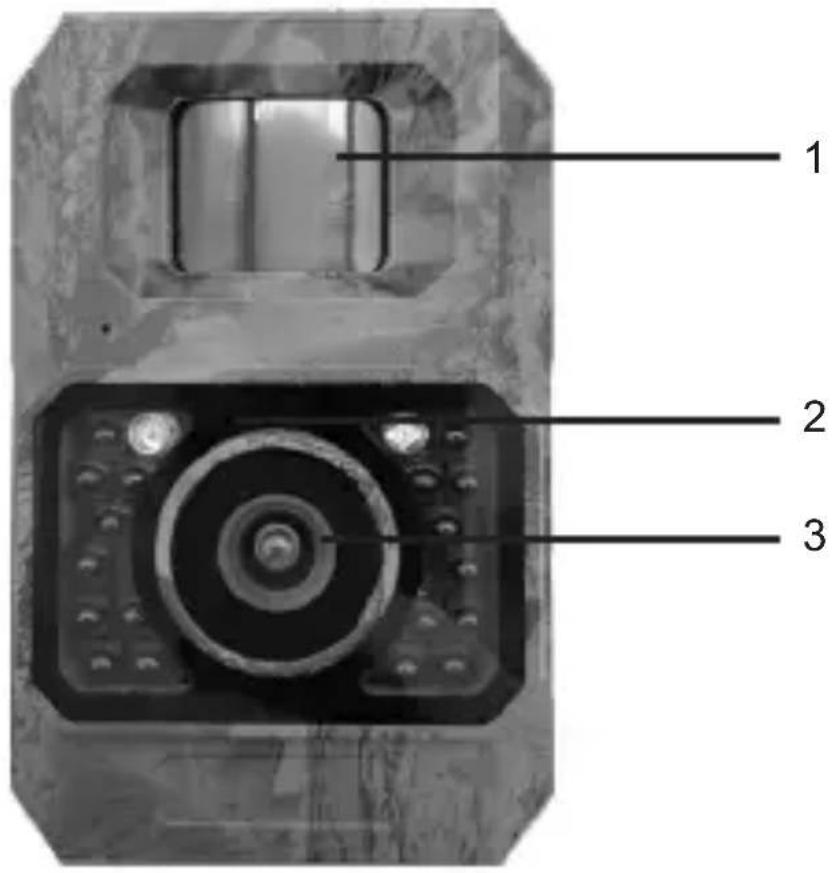
Product overview
text_image
1 2 3
text_image
Technical diagram of a device with numbered components, likely a pump or control unit576
| 1. PIR motion sensor 5. USB-C slot | |
| 2. infrared LEDs 6. on/test/off switch | |
| 3. lens | 7. connection for fixing |
| 4. micro SD card slot | |
Operating the camera
Power/mode switch
- The power/mode switch has 3 operating modes: „OFF“, „ON“ and „TEST“.
| Power/mode switch Function | |
| „OFF“ 1. camera OFF | 2. insert/remove micro SD card3. connect to an external device or power source |
| „TEST“ 1. set up camera | 2. manual shooting only3. connect the mobile phone to view the images 4. the blue light is always on. After 30 seconds, the red light switches on when motion is detected (the frequency of the red light depends on the setting). No pictures or recordings are taken. |
| „ON“ 1. working mode | 2. after the blue light lights up about 10 times, the camera starts detecting motion.3. can be connected to the mobile phone to set the camera and view images. |
About the built-in battery
• Built-in 2000MA battery; Solar input (TypeC); TypeC charging (5V)
• Standard charge: 6 hours (0.2C)
- Quick charge: 2.5-3.5 h (0.5C)
- Use a 5V 1A charging adapter to extend battery life.
About the SD card
A standard size micro SDXC/SDHC memory card (max. capacity 256 GB, class 10) is required.
Please format your SD card before using it in the camera if your SD card does not work with your camera.
Please carefully remove the protective films on the front of the camera to get the best performance, especially the protective films on the PIR motion sensor can promote the detection performance, even no recording.
WiFi connection via app
For better performance, we recommend that your phone is no further than 10 metres away from the camera. As there may be interference in the surrounding area, please gradually move closer to the camera if the signal is not good.
WiFi connection
Download TrailCam Go Mobile App
Before using the WiFi functionality, please download the „TrailCam Go“ app.
text_image
QR code image containing encoded data, no visible human-readable textAndroid iPhone
text_image
QR code image containing encoded data, no visible human-readable textAdd your camera
- Activate WiFi and Bluetooth on your mobile phone before opening the app.
- Make sure that your camera is in ON/TEST mode. To get a stable connection, you should be close to the camera and have no obstacles between you and the camera, e.g. walls, glass doors, etc. (The camera has the fastest connection speed within 1 metre)
- Open the app and tap on the „+“.
- Please tap on „Wi-Fi camera“.
- Follow the instructions in the app to connect the camera, which can take up to 30 seconds. (If the phone and camera are within 1 metre radius).
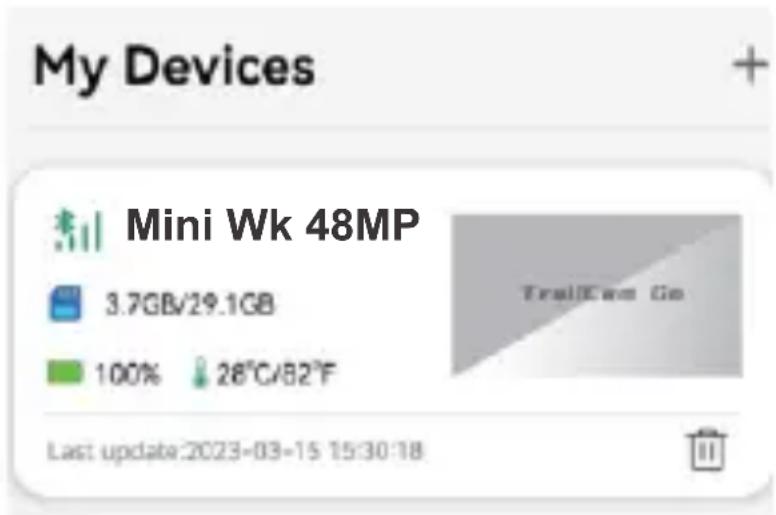
- You can name your trail camera yourself so that you can distinguish it if you have multiple cameras.
text_image
My Devices Mini Wk 48MP 3.7GB/29.1GB 100% 28°C/82°F Last update:2023-03-15 15:30:18Set location
Once you have added the camera, you can mark the location where you have placed the camera on the „MAP“. (You must authorise access to your address data for this) This function can only be used as a marking function and has no GPS function. So if your camera is removed, this will not be shown on the map.
You can also use the app to navigate to the location of the hunting camera using your mobile phone.
Set motion detection
- Under „My devices“, click on the camera for which you want to set motion detection.
- Now click on Settings and then on Motion detection.
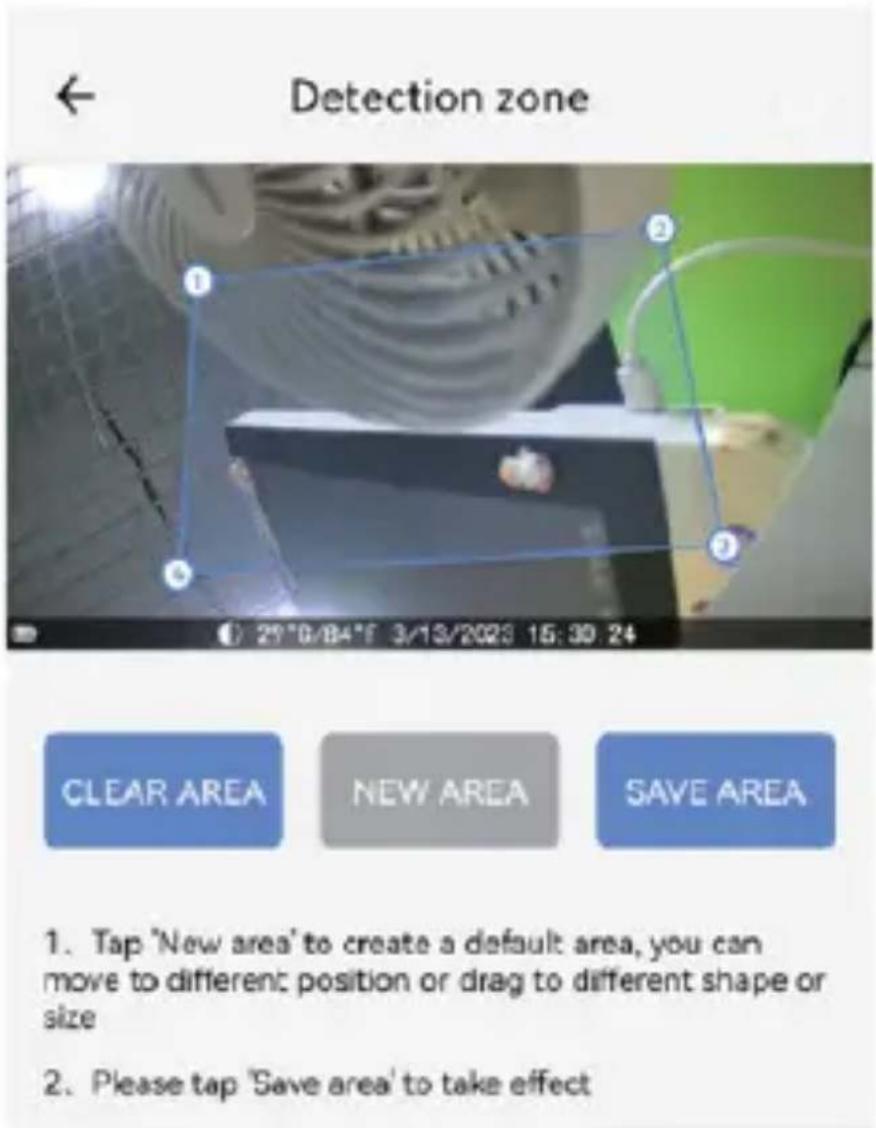
- You can now set the PIR sensitivity, the PIR interval and a motion detection filter.
4 PIR sensitivity: Low/ Medium/ High
5 PIR interval: 5 seconds - 60 minutes - Motion detection filter: Define a detection area. If motion is detected in this area, the camera triggers. (This can reduce false triggering.) Click on „New area“ and set the detection area manually. You can drag and move the square. Click on „Save area“ to save the defined detection area. You can delete and redefine your selection at any time.
text_image
Detection zone 1 2 3 0/84F 3/13/2023 15:30:24 CLEAR AREA NEW AREA SAVE AREA 1. Tap 'New area' to create a default area, you can move to different position or drag to different shape or size 2. Please tap 'Save area' to take effectFurther camera settings
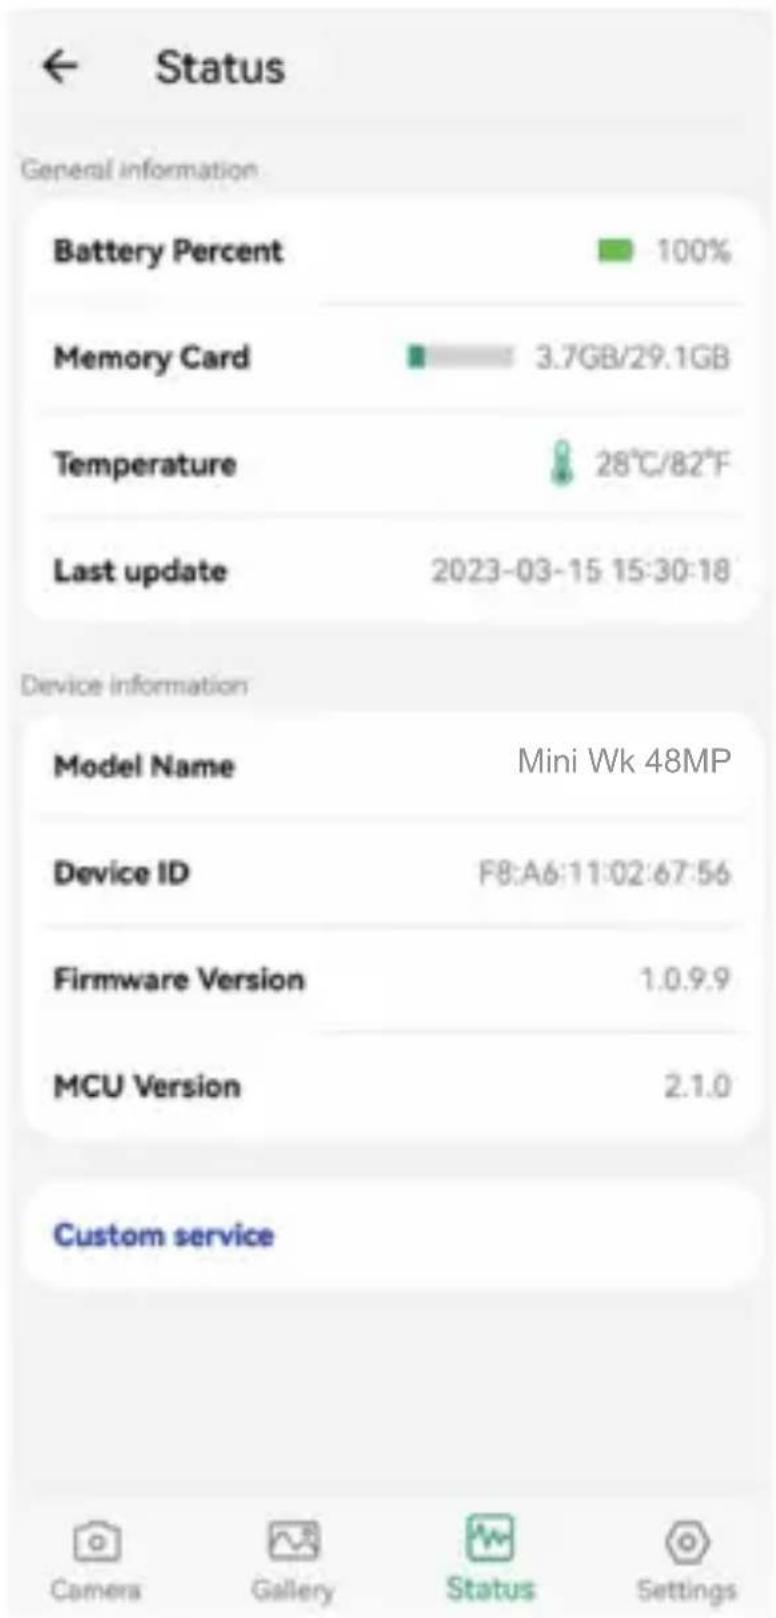
To view the status of the camera and change certain settings, click on the camera you would like more information about under „My devices“.
text_image
Status General information Battery Percent 100% Memory Card 3.7GB/29.1GB Temperature 28°C/82°F Last update 2023-03-15 15:30:18 Device information Model Name Mini Wk 48MP Device ID F8:A6:11:02:67:56 Firmware Version 1.0.9.9 MCU Version 2.1.0 Custom service Camera Gallery Status SettingsCamera
Preview of the camera perspective, manual recording of images or videos via mobile phone: To do this, you must reconnect the camera. (The camera consumes more power during the connection)
Gallery
You can view or download the pictures and videos taken by the camera.
(Viewing SD card photos requires a reconnection to the camera, viewing local photo albums does not require a reconnection). reconnection); if you want to save pictures to your phone, you must allow the app to access your photo albums.
Status
You can view general information and device information about the camera.
If you want to see the latest information about the camera, you must reconnect the camera. (After you have charged the battery and reconnected the camera, the battery will be updated).
Settings
Once you have connected the camera, you can set the camera's recording settings on your mobile phone. Display or programme camera settings, such as operating mode, image quality, working period, password protection, etc. (Requires the camera to be reconnected)
Important notes on the app/ Wi-Fi connection
- When the app is connected to the camera, the camera cannot monitor motion for recording and can only record manually. After closing the app, wait about 20 seconds and the camera will resume automatic motion detection (ON mode).
- Test mode can be used to determine whether the camera is working properly: The blue light is always on and after 20 seconds the red light flashes, indicating that the camera is detecting movement.
- The connection between the mobile phone and the camera may be impaired due to distance or obstacles. Please restart the app, restart the camera and reconnect the mobile phone to the camera while they are close to each other.
- The battery consumption of the camera depends on the settings and the duration of use. The camera consumes power more quickly when you have a phone connected.
- When you share photos, the connection to the camera is automatically interrupted. You must re-establish the connection to display the photos again after sharing.
- When you access the card, the camera is automatically disconnected and you must then reconnect.
Installation on the wall
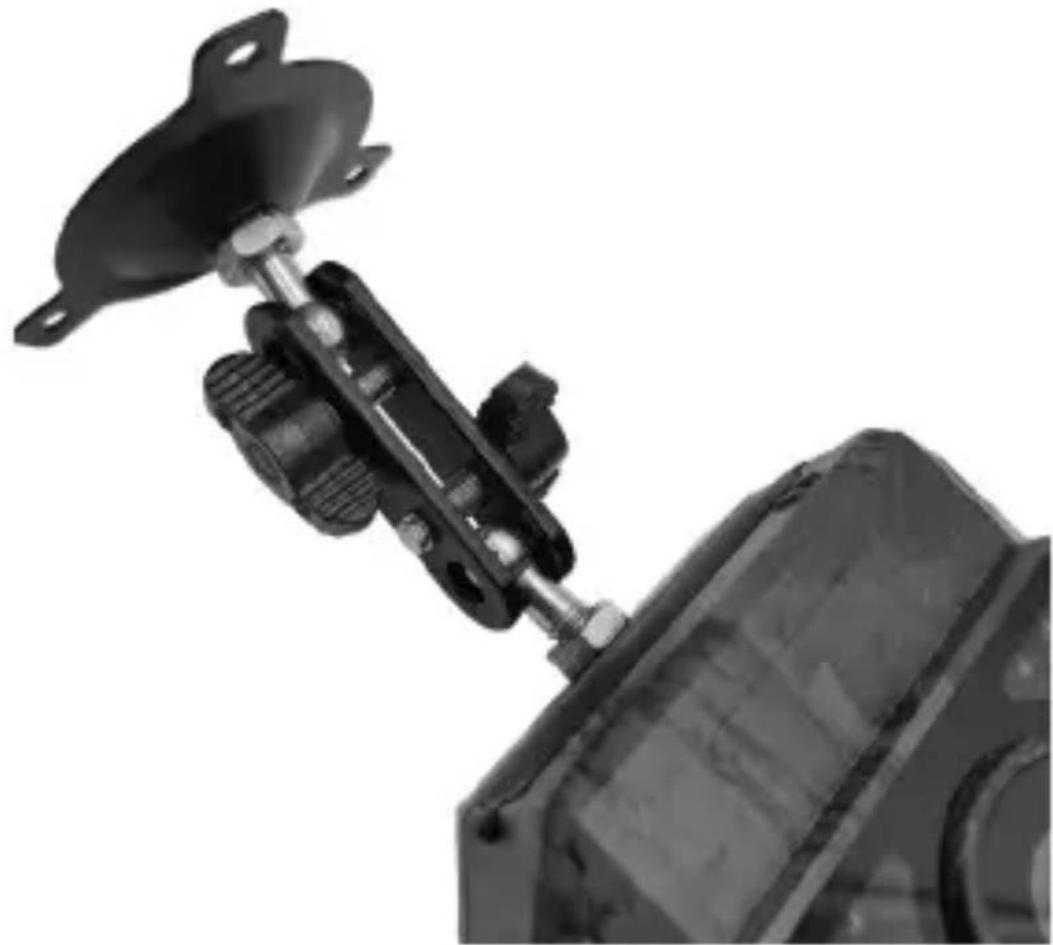
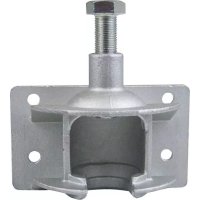
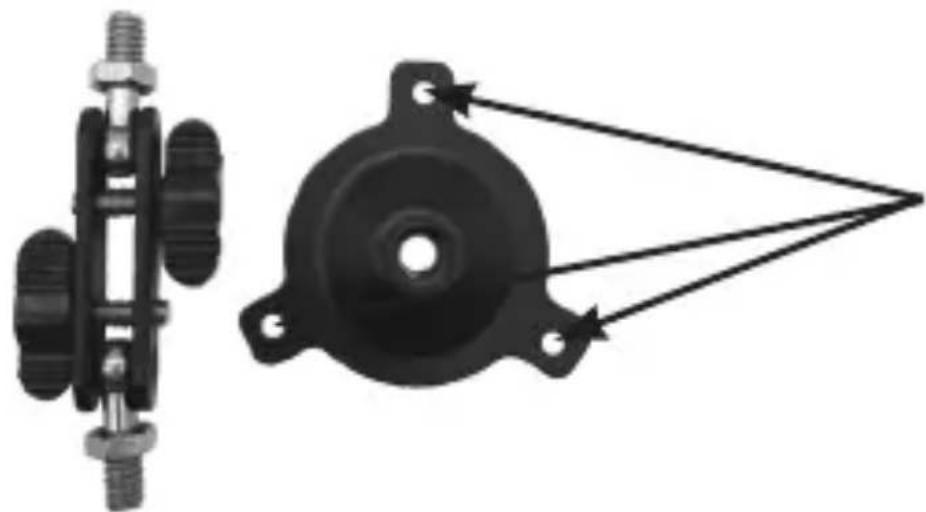
- Mark the installation position using the small metal plate (supplied) and drill holes in the wall.
- Insert the white plugs into the holes.
- Attach the fixing kit as shown in the picture.
natural_image
Mechanical component diagram showing a left-hand side and a right-hand side with pulley and connecting rods (no text or symbols)To determine the position

natural_image
Mechanical assembly diagram showing a lever mechanism with mounting flanges and housing (no text or symbols visible)- Attach the camera to the position you have chosen and secure it with screws.
Installation on a tree
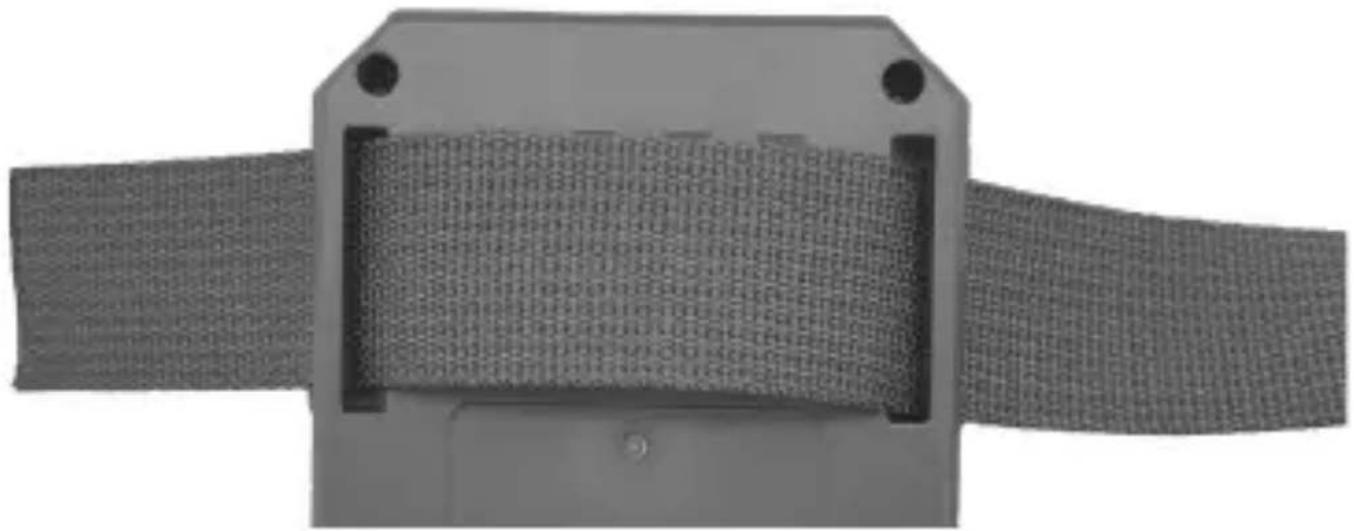
- Guide the installation strap through the bracket on the back of the camera. If the strap is too long for the tree you have chosen, there are 3 holes on each side of the bracket. You can feed the installation strap through several holes to shorten the strap.
natural_image
Close-up of a mechanical component with textured surface and two mounting holes (no visible text or symbols)- Put the camera down and move to the other side of the tree. Now guide the belt through the buckles.
- Adjust the position of the camera and tighten the belt.
- If you are concerned that the camera is hanging insecurely, you can also use the fixing kit in addition to the installation belt.
Precautions for use
Please read all safety instructions and tips before using the camera.
Safety instructions
- The device is only intended for wildlife observation, hunting and security surveillance. Do not use it for any other purpose.
- Do not immerse the camera in water.
-
Do not disassemble the camera, please contact our customer service for assistance.
-
Do not use any other type of power source than specified as this could result in fire or electric shock.
- Always disconnect the power supply during a thunderstorm/lightning.
- Never expose the camera to strong shocks. This could damage the lens, shatter glass and cause injury.
Helpful tips
- Switch off the camera before inserting or removing the micro SD card. Do not insert or remove an SD card while the power switch is set to „ON“.
- The camera only works after a micro SD card has been inserted.
FAQ
Why can't the camera be switched on?
If the camera is in TEST mode and the blue light is not illuminated, please charge the camera and restart it. In TEST mode, the blue light of the camera always lights up. This indicates that the camera has enough battery and can be switched on.
Why can't I connect to my mobile phone?
- Are the Bluetooth and WiFi functions of your mobile phone switched on?
- The connection distance should be as close as possible (10 metres) without any obstacles..
- Switch on the usage rights of the app in the settings.
- Please update the app to the latest version.
- Try restarting your phone and the camera.
- TEST/ON mode
Why are my photos completely black or overexposed at night?
Please leave the battery fully charged, connect the camera to the mobile phone and take photos and videos manually. If there is a problem with the photo or video, adjust the position and see if there is an obstacle in front of the lens, or if there is a light shining directly on the camera, or similar. After adjusting the position, the camera's recording screen can be seen through the mobile phone.
Why is my camera clicking? How can I fix this?
The camera emits a constant clicking sound due to a component called IR-CUT, which detects changes in light intensity to switch between „colour“ and „black and white“ modes. However, the camera has a light intensity threshold that can cause the camera to switch modes repeatedly when the light intensity changes. Repeatedly switch modes when it is in the critical range between light and dark. You can check whether there is an object in front of the camera that is blocking the lens or whether the environment in which the camera is located is causing the camera to switch shooting modes repeatedly.
natural_image
Product photo of a smart home control device with attached cables, accessories, and a battery pack (no visible text or symbols)Données techniques
text_image
Technical diagram of a device with numbered components, likely a pump or scanner assembly576
text_image
QR code image containing encoded data, no visible human-readable textAndroid iPhone
text_image
QR code image containing encoded data, no visible human-readable texttext_image
My Devices Mini Wk 48MP 3.7GB/29.1GB 100% 28°C/82°F Last update:2023-03-15 15:30:18text_image
Detection zone CLEAR AREA NEW AREA SAVE AREA 1. Tap 'New area' to create a default area, you can move to different position or drag to different shape or size 2. Please tap 'Save area' to take effectnatural_image
Mechanical component diagram showing a left-hand connector and a pulley system with connecting rods (no text or symbols)natural_image
Mechanical assembly diagram showing a lever mechanism with mounting flanges and housing (no text or symbols visible)natural_image
Close-up of a mechanical component with textured surface and two mounting holes (no visible text or symbols)natural_image
Product photo of a smart home control device with attached cables, accessories, and a battery pack (no visible text or symbols)Technische gegevens
text_image
Technical diagram of a device with numbered components, likely a pump or control unit576
TrailCam Go Mobile-app downloaden
text_image
QR code image containing encoded data, no visible human-readable textAndroid iPhone
text_image
QR code image containing encoded data, no visible human-readable textUw camera toevoegen
text_image
My Devices Mini Wk 48MP 3.7GB/29.1GB 100% 26°C/82°F Last: update:2023-03-15 15:30:18Locatie instellen
text_image
Detection zone CLEAR AREA NEW AREA SAVE AREA 1. Tap 'New area' to create a default area, you can move to different position or drag to different shape or size 2. Please tap 'Save area' to take effectVerdere camera-instellingen
natural_image
Mechanical component diagram showing a left-hand lever and a pulley system with connecting rods (no text or symbols)Om de positie