SOHO - Turntable GPO - Free user manual and instructions
Find the device manual for free SOHO GPO in PDF.


User questions about SOHO GPO
0 question about this device. Answer the ones you know or ask your own.
Ask a new question about this device
Download the instructions for your Turntable in PDF format for free! Find your manual SOHO - GPO and take your electronic device back in hand. On this page are published all the documents necessary for the use of your device. SOHO by GPO.
USER MANUAL SOHO GPO
text_image
GPO Soho USER MANUAL V3 | JAN 2018CONTENT
English 3
German 13
French 23
Dutch 33
Spanish 43
Italian 53
ENGLISH
Thanks for purchasing this product from ProtelX.
Please read instructions carefully before use and store in a safe place for future reference


natural_image
Color palette bar with grayscale swatches and a central crosshair symbol (no text or labels)COMPONENT IDENTIFICATION
text_image
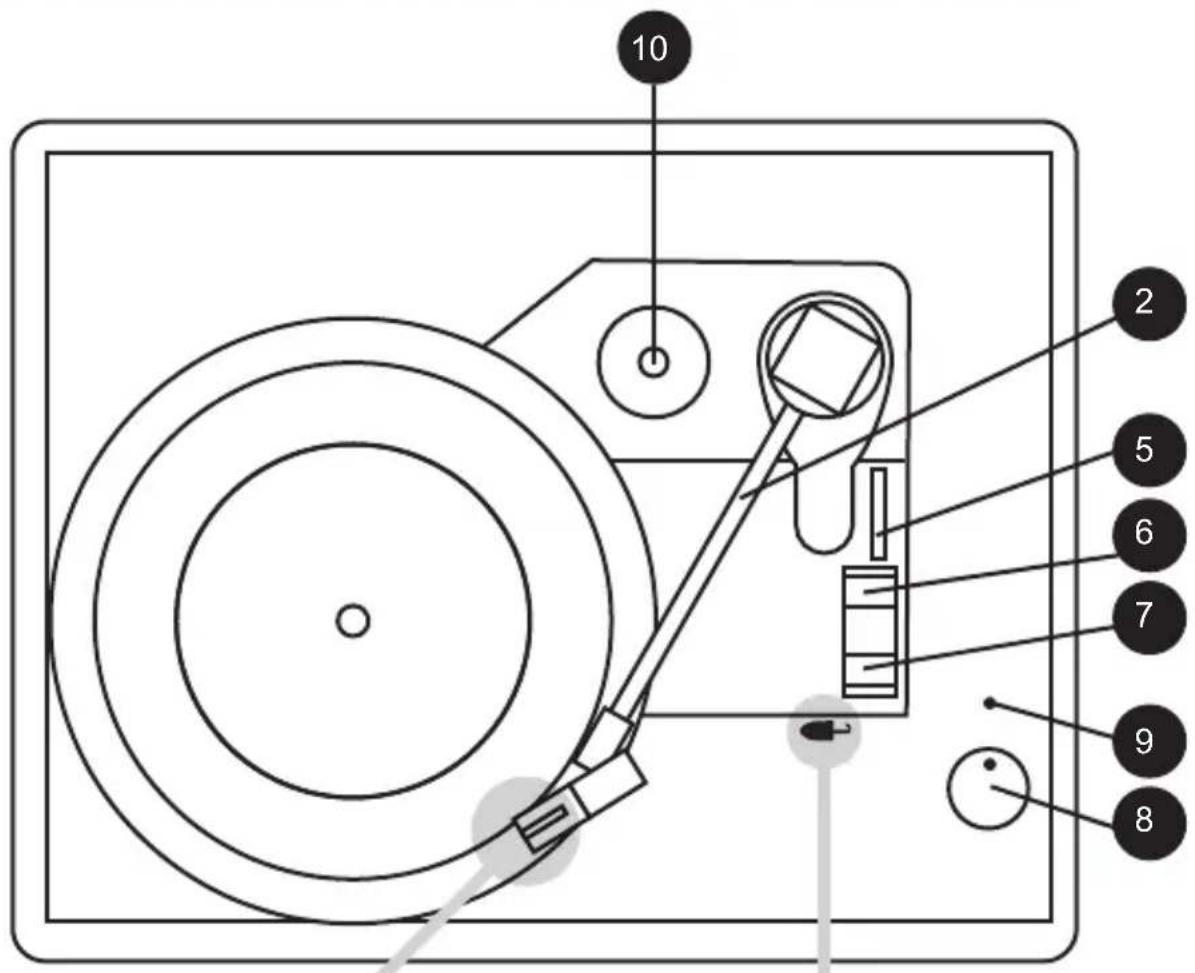
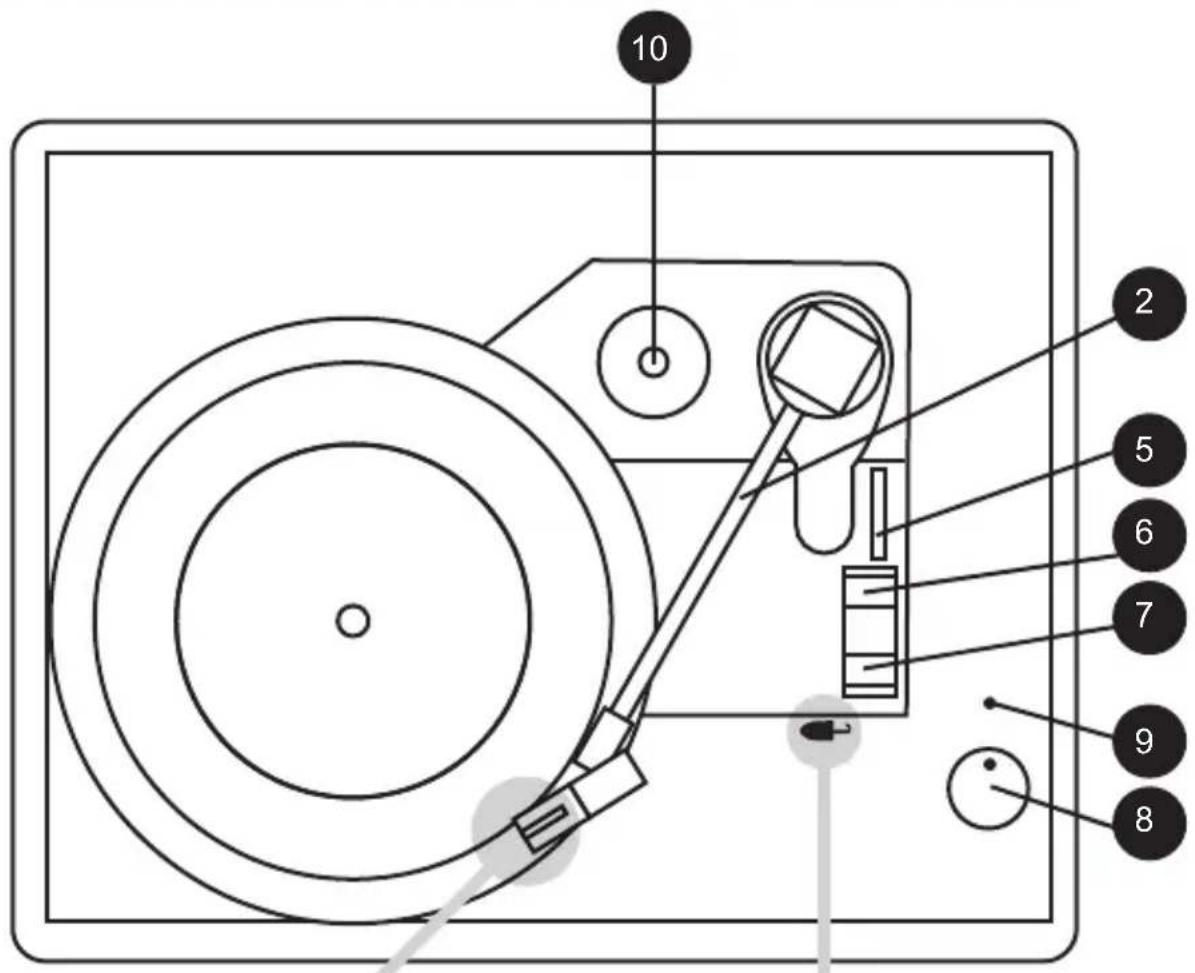
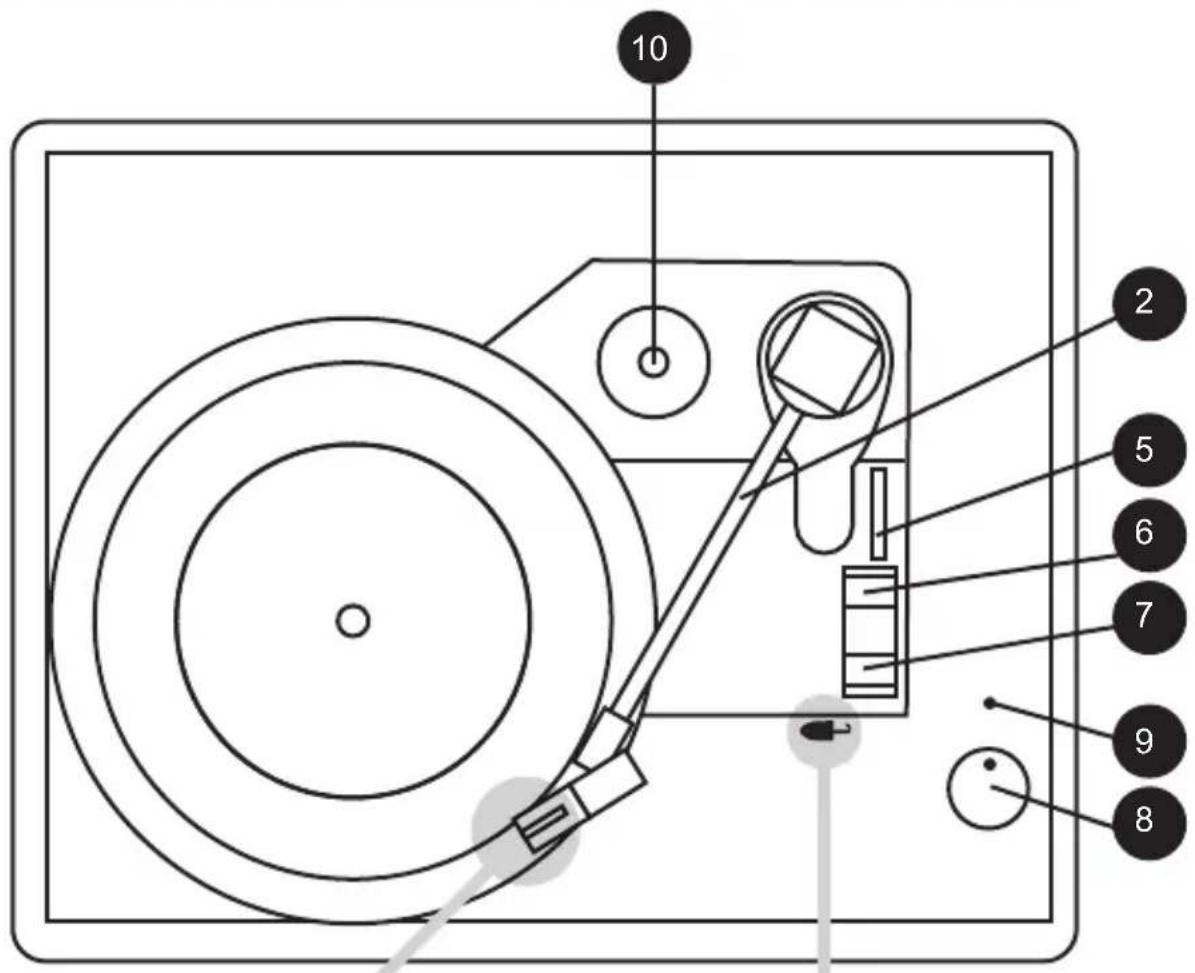
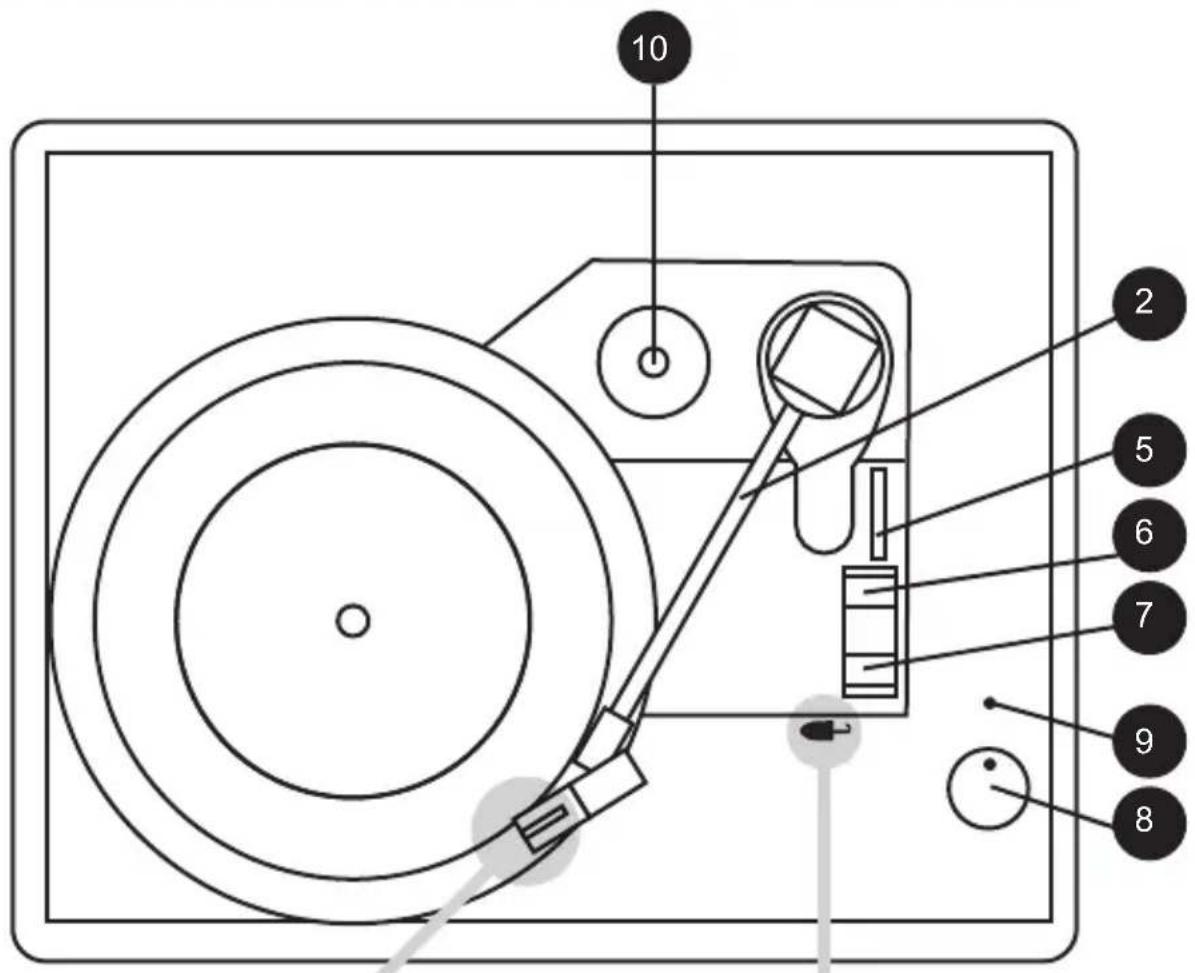
10 2 5 6 7 9 8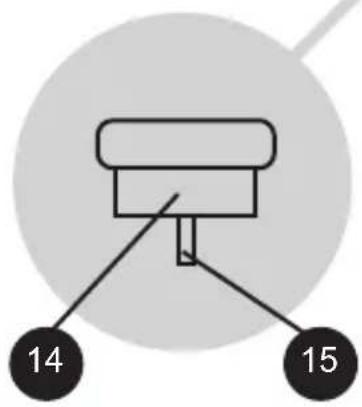
text_image
14 15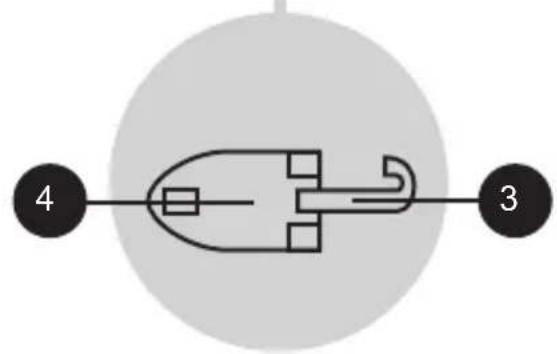
flowchart
graph TD
    A["Process Node"] --> B["Endpoint 3"]
    A --> C["Endpoint 4"]
natural_image
Simple black square with a white number '4' on its top and two horizontal lines extending from it (no text or symbols beyond the number)
natural_image
Pure electrical circuit lines without any symbols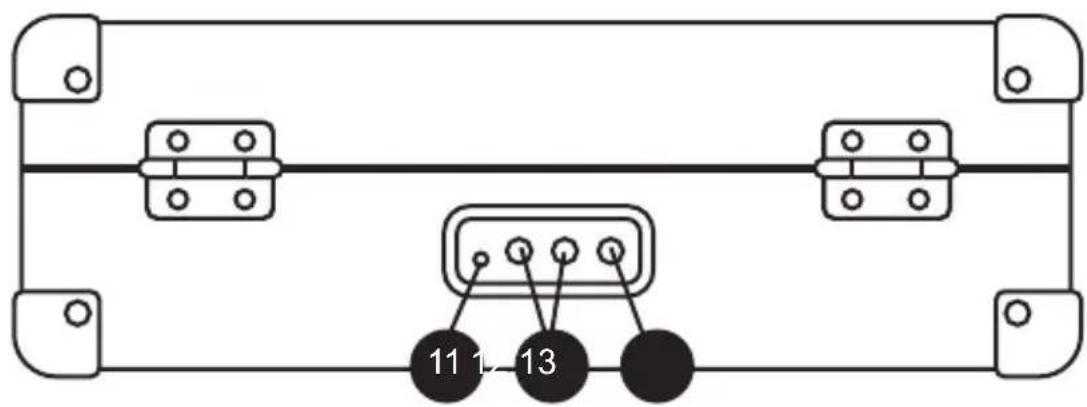
text_image
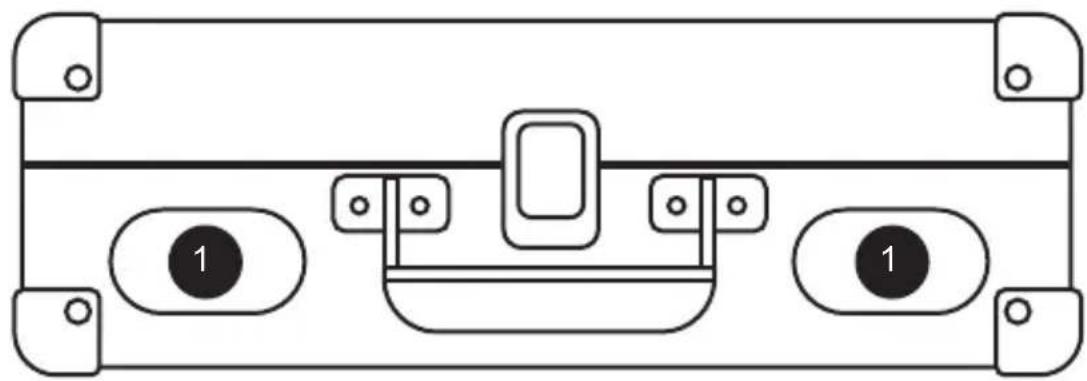
11 1-13- Speakers
- Power indicator light
- Tonearm 10.45 Rpm adapter
- Tonearm lock 11. 3.5Mm headphone jack
- Tonearm rest 12. Audio rca output
- Tonearm lever 13. Dc 5v input
- Auto stop control switch 14. Cartridge
- Speed cotrol 15. Stylus(needle)
- Power/volume knob
UNPACKING YOUR TURNTABLE
- Carefully remove the turntable and accessories from the box.
- Place the turntable on a flat, level surface and open the lid.
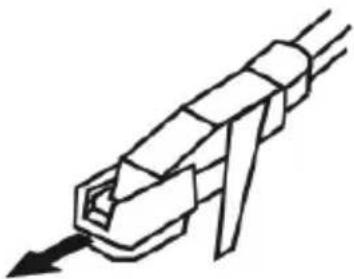
- Remove the white protective Stylus Cover as shown below.
natural_image
Line drawing of a mechanical connector or connector assembly (no text or symbols)- Carefully remove the twist-tie from the TONEARM (2).
- Release the TONEARM LOCK (3).
POWER
- Plug the supplied AC 100V\~240V, 50/60Hz to DC 5V power adapter into the DC 5V INPUT (13) located on the rear of the turntable.
- Insert the wall plug of the power adapter into an electrical wall outlet.
- Turn the turntable on by turning the POWER/VOLUME KNOB (8) clockwise.
- Turn the turntable off by turning the POWER/VOLUME KNOB (8) counterclockwise
VOLUME
The Speaker Volume is also controlled by the POWER/VOLUME KNOB (8).
- To Increase the Volume: Turn the POWER/VOLUME KNOB (8) clockwise.
- To Decrease the Volume: Turn the POWER/VOLUME KNOB (8) counterclockwise.
PLAYING A RECORD
- Set the correct speed for your record (33/45/78 RPM).
- Place the record on the turntable
- Turn the POWER/VOLUME KNOB (8) clockwise to turn the player on.
- Unlock the TONEARM LOCK (3) and the TONEARM (2) will be ready for playing.
- Lower the TONEARM (2) using the TONEARM LEVER (5) until the STYLUS (15) touches the record and begins playing your music. Make sure the TONEARM LEVER (5) is completely down.
- Adjust the Volume to the desired level by turning the POWER/VOLUME KNOB (8).
- When finished listening, use the TONEARM LEVER (5) to raise the TONEARM (2) and then place it back on the TONEARM REST (4). The record will automatically stop spinning.
- If finished using the turntable, be sure to lock the TONEARM LOCK (3).


AUTO STOP
The AUTO STOP feature allows the turntable to automatically stop playing when the STYLUS (15) reaches the end of the record.
• To turn the AUTO STOP feature ON: Set the AUTO STOP CONTROL SWITCH (6) to AUTO.
- To turn the AUTO STOP feature OFF: Set the AUTO STOP CONTROL SWITCH (6) to MANUAL.
NOTE: When using the MANUAL setting, once the record is finished, the player will continue to spin until you raise the TONEARM (2) and move it back to the TONEARM REST (4) which stops the spinning.
CONNECTING TO AN EXTERNAL SPEAKER
Use the included Red & White RCA Cables to connect the turntable to an External Speaker or Stereo system. Simply plug the Red & White ends of the RCA Cable into the corresponding Red & White AUDIO OUTPUT JACKS (12) on the rear of the player.
Then connect the other Red & White ends of the RCA Cable into the corresponding Red & White Audio Input Jacks on your External Speakers or Stereo system. The speaker requires a pre-AMP inside it.
USING HEADPHONES
To use headphones with this player, connect any headphone with a 3.5mm jack into the input on the 3.5mm HEADPHONE JACK (11) located on the rear of the player.
- NOTE: When headphones are plugged in, no sound will be heard from the built-in speakers.
REMOVING THE STYLUS (NEEDLE)
- Lock the TONEARM (2) on the TONEARM REST (4) by pushing the TONEARM LOCK (3) to the left.

natural_image
Pure line drawing of a mechanical connector or connector assembly without any text, numbers, or symbols- Remove the white protective Stylus Cover (if necessary).
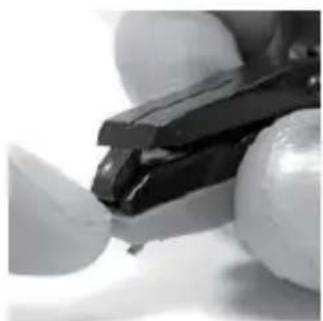
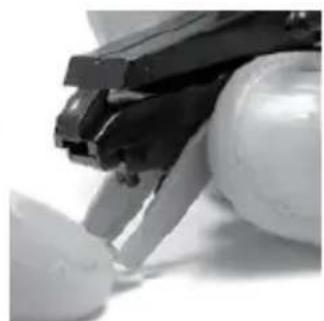
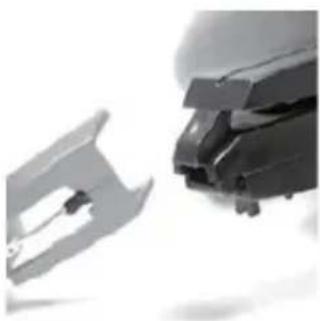
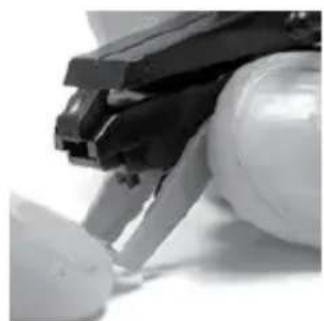
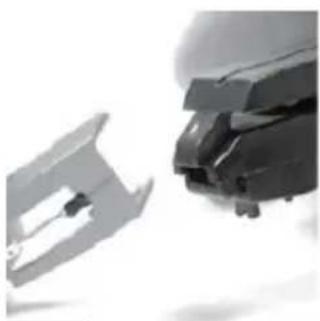
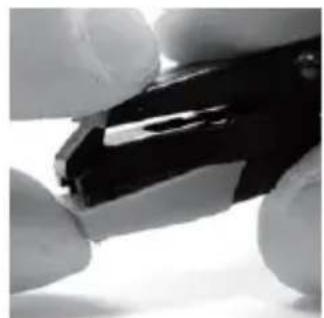
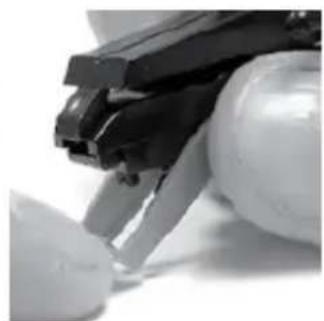
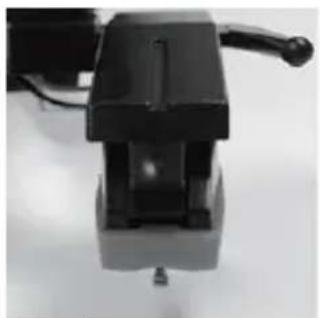
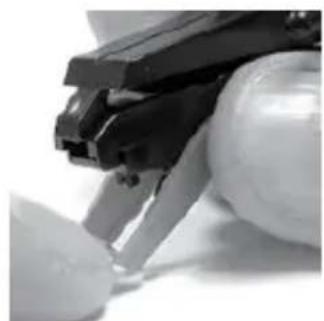
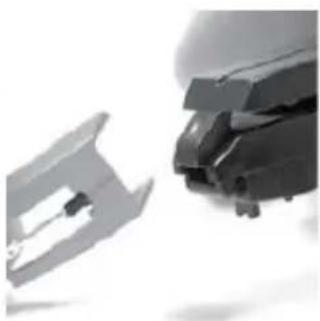
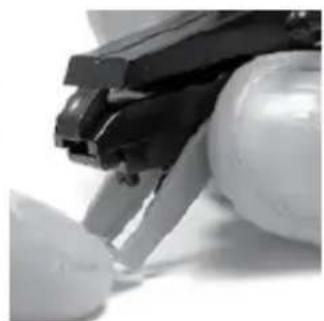
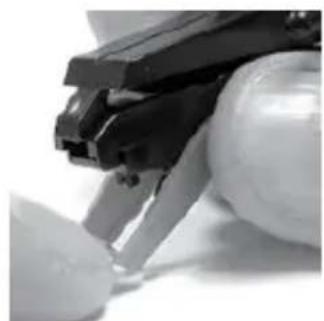
- Hold the bottom of the CARTRIDGE (14) with your thumb & index finger as shown below in Fig. 3a. With your other thumb carefully push down on the top edge of the Red Stylus Assembly (Red piece includes the needle) until the Stylus Assembly separates from the CARTRIDGE (14) as shown in Fig 3b.
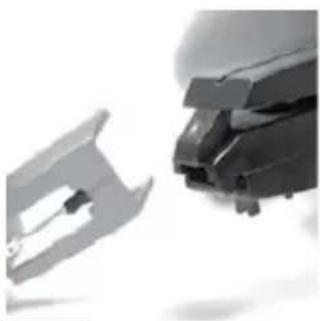
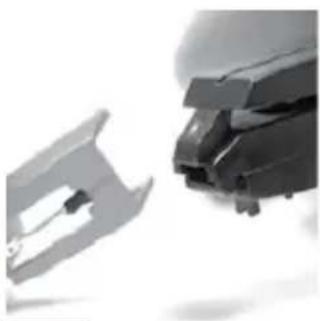
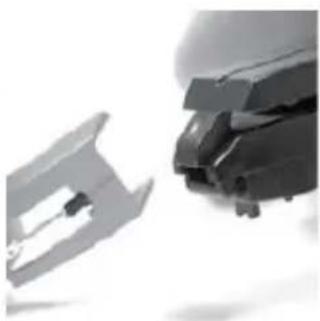
- Carefully remove the entire Stylus Assembly from the Cartridge by pulling the Stylus Assembly away from the CARTRIDGE (14) (FIG 4a).
natural_image
Close-up of a robotic arm gripping a black mechanical component, partially covered by white spherical objects (no text or symbols visible)3A 3
natural_image
Close-up of a robotic arm joint with black and white components (no visible text or symbols)
natural_image
Close-up of mechanical components and a bracket component (no visible text or symbols)
INSTALLING A THE STYLUS (NEEDLE)
NOTE: Do not directly touch the STYLUS (NEEDLE) (15) during installation, or you may cause permanent damage to the STYLUS (15).
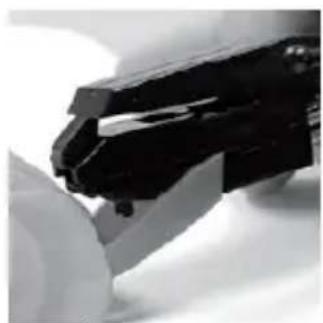
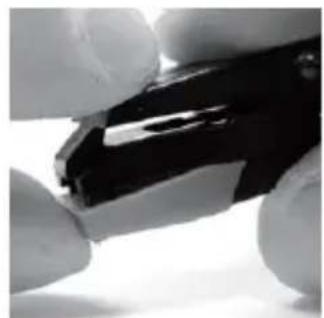
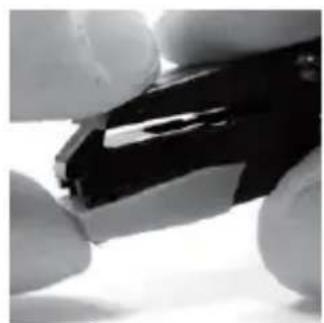
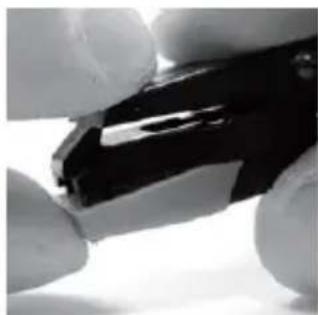
- Hold the front tip of the Stylus Assembly with your thumb and index fingers and insert the rear edge of the Stylus Assembly on the CARTRIDGE (14) as shown in Fig 5a.
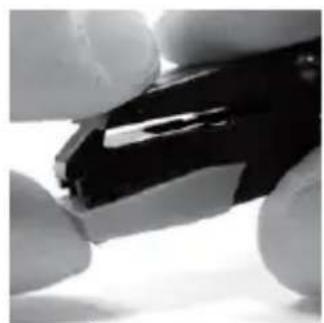
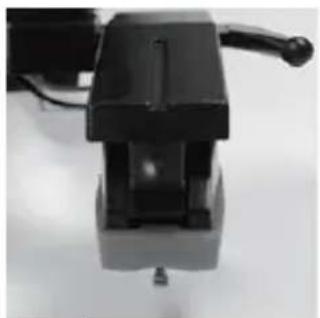
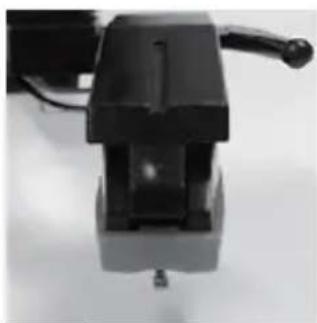
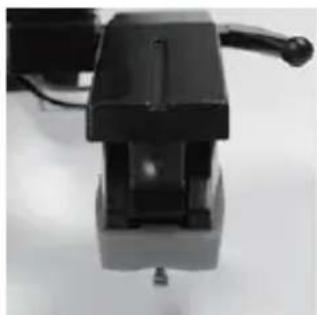
- While applying gentle pressure on the top of the TONEARM (2) with your index finger, carefully push the Stylus Assembly upwards until you hear a click and the Stylus Assembly locks into place (Fig 6a).
- The new STYLUS (15) is now ready to use.
- Under normal use a STYLUS (15) should last for about 50-60 hours of record play.
natural_image
Close-up of a robotic arm gripping a white object (no visible text or symbols)5A 6
natural_image
Close-up of gloved hands holding a dark, glossy object (no visible text or symbols)
natural_image
Close-up of a mechanical clamping device with a black handle and metallic base (no visible text or symbols)
TROUBLESHOOTING
- Check to confirm the SPEED CONTROL SWITCH (7) is correctly set for the record being played (33, 45, or 78 RPM).
RECORDS KEEP SKIPPING
- Carefully look at the surface of the record under a strong light to see if there are any significant scratches or other damage to the record which will cause it to skip.
- Make sure the turntable is on flat and level surface.
- Clean the record with a proper record cleaning brush to remove build-up of dust & dirt in the grooves of the record.
- Check to make sure the STYLUS (15) is in the correct middle position.
NO SOUND
- Make sure the white protective Stylus Cover has been removed from the cartridge.
- Confirm there is nothing plugged into the 3.5mm HEADPHONE JACK (11) on the rear of the player.
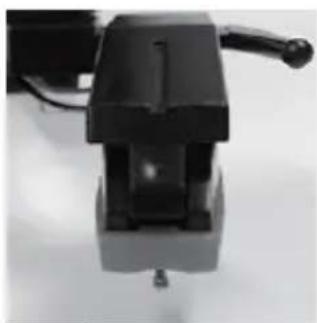
- Check the position of the STYLUS (15) to insure it has not shifted out of its proper middle position (See Fig. 7a on page 9).
NO POWER
- Make sure the AC 100V\~240V, 50/60Hz to DC 5V power adapter is securely connected to the DC 5V INPUT (13) on the rear of the turntable as well as the wall outlet.
- Make sure the electrical outlet is working by plugging in another device.
text_image
Soho_user_Manual EU - Jan 2018_V3.indd 12 21/12/2017 15:19GERMAN
natural_image
Color palette bar with grayscale swatches and a central crosshair symbol (no text or labels)TEILEBESTIMMUNG
text_image
10 2 5 6 7 9 8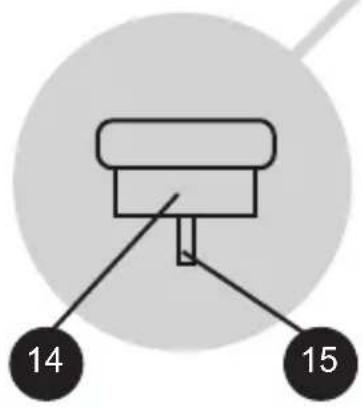
text_image
14 15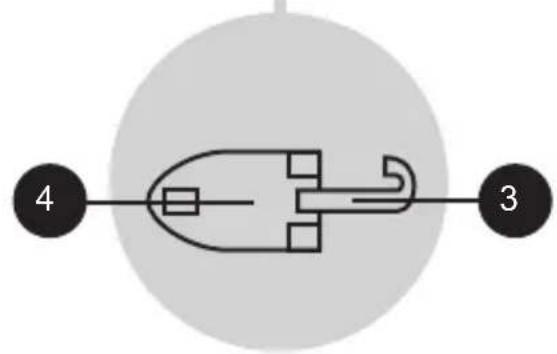
flowchart
graph TD
    A["Process Node"] --> B["Endpoint 3"]
    A --> C["Endpoint 4"]
text_image
14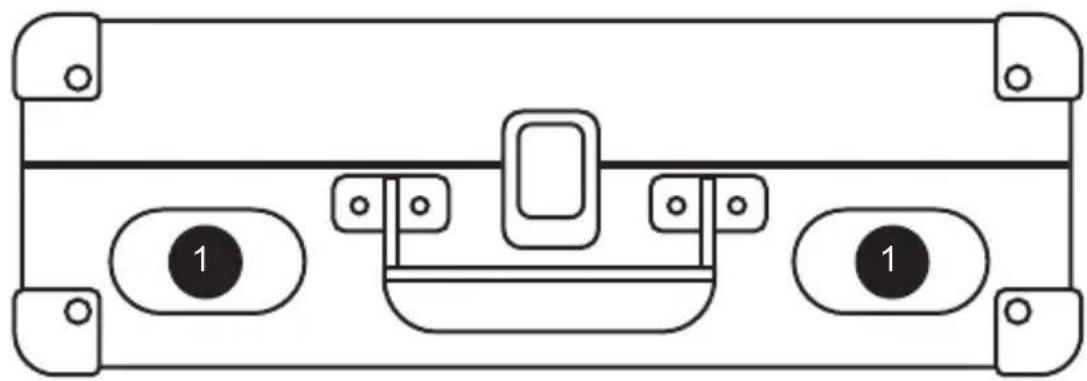
natural_image
Pure electrical circuit lines without any symbols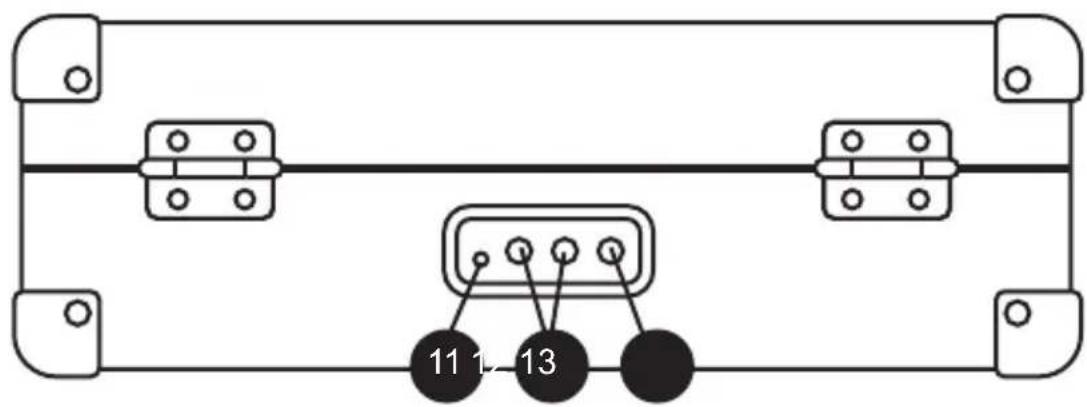
text_image
11 1-13natural_image
Pure line drawing of a mechanical component with no text or symbolsnatural_image
Pure line drawing of a mechanical component with no text or symbolsnatural_image
Close-up of a hand holding a black plastic tool, partially covered by white spherical objects (no visible text or symbols)3A 3
natural_image
Close-up of a robotic arm joint with black and white components (no visible text or symbols)
natural_image
Close-up of mechanical components and a metallic bracket (no visible text or symbols)
EINSETZEN DER NEUEN NADEL
natural_image
Close-up of a black mechanical component being held by a white tool (no visible text or symbols)5A 6
natural_image
Close-up of gloved hands holding a dark, irregularly shaped object (no visible text or symbols)
natural_image
Close-up of a black mechanical press or clamp device with a handle and central component (no visible text or symbols)
FEHLERBEHEBUNG
natural_image
Color palette bar with grayscale swatches and a central crosshair symbol (no text or labels)IDENTIFICATION DES COMPOSANTS
text_image
10 2 5 6 7 9 8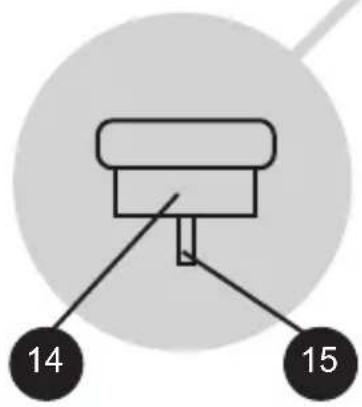
text_image
14 15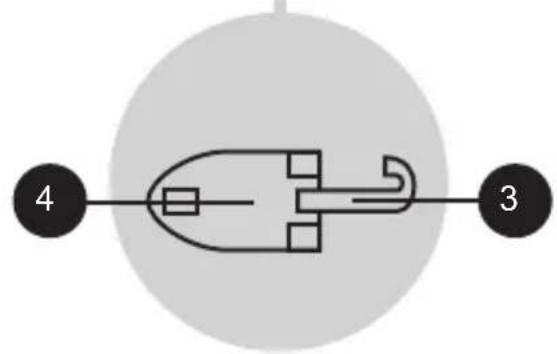
flowchart
graph TD
    A["Process Node"] --> B["Terminal 3"]
    A --> C["Terminal 4"]
natural_image
Simple black square with two horizontal lines and one vertical line, no text or symbols present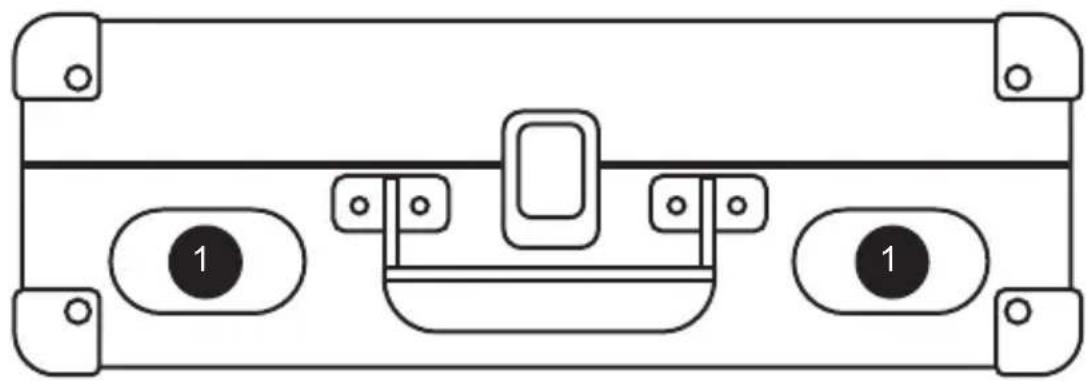
natural_image
Pure electrical circuit lines without any symbols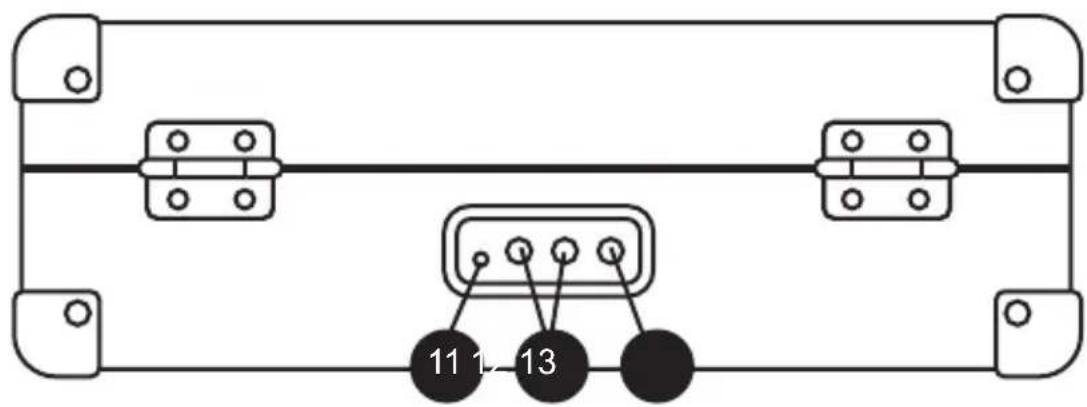
text_image
11 1-13natural_image
Pure line drawing of a mechanical component with no text or symbolsnatural_image
Pure line drawing of a mechanical connector or connector assembly without any text, numbers, or symbolsnatural_image
Close-up of a robotic arm gripping a black mechanical component (no visible text or symbols)3A 3
natural_image
Close-up of a robotic arm gripping a white object, no visible text or symbols
natural_image
Close-up of mechanical components and a metallic bracket (no visible text or symbols)
INSTALLER UN NOUVEAU STYLET (AIGUILLE)
natural_image
Close-up of a hand holding a black mechanical component (no visible text or symbols)5A 6
natural_image
Close-up of gloved hands holding a dark, irregularly shaped object (no visible text or symbols)The image is too blurry to recognize any text content.
natural_image
Close-up of a black mechanical press or clamp component with a handle and central bracket (no visible text or symbols)The image is too blurry to recognize any text content.
DÉPANNAGE
LA MUSIQUE EST TROP LENTE OU RAPIDE
natural_image
Color palette bar with grayscale swatches and a central crosshair symbol (no text or labels)ONDERDELEN
text_image
10 2 5 6 7 9 8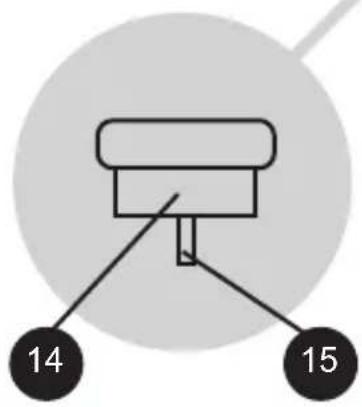
text_image
14 15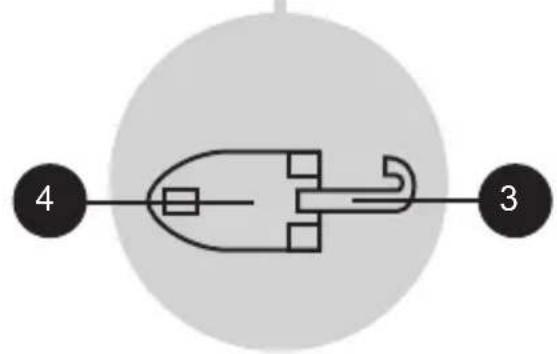
flowchart
graph TD
    A["Process Node"] --> B["Terminal 3"]
    A --> C["Terminal 4"]
text_image
34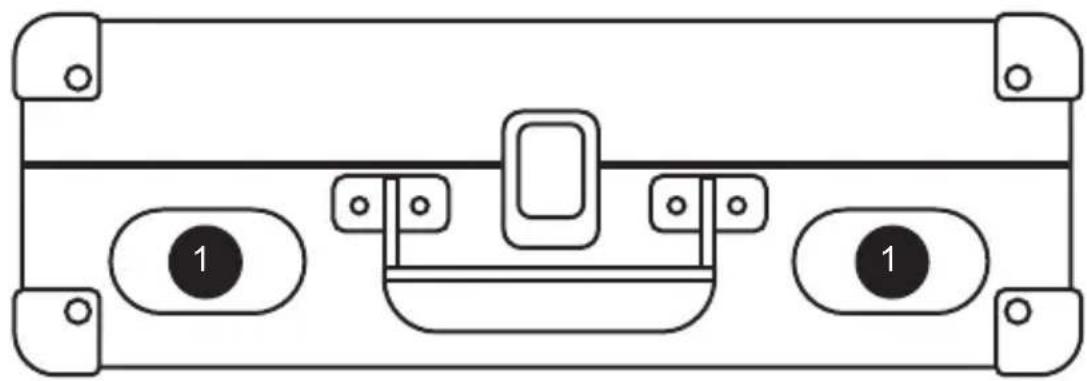
natural_image
Pure electrical circuit lines without any symbols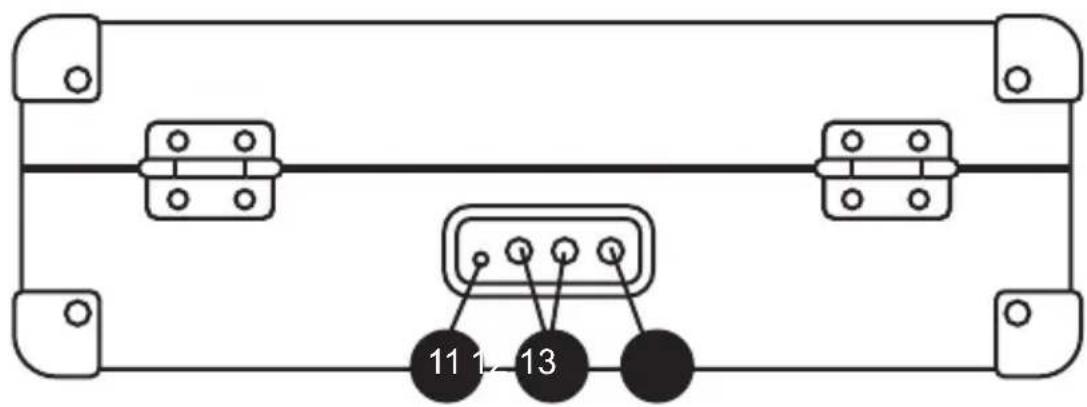
text_image
11 1-13natural_image
Pure line drawing of a mechanical connector or connector without any text, numbers, or symbolsnatural_image
Pure line drawing of a mechanical component with no text or symbolsnatural_image
Close-up of a hand holding a black mechanical component, possibly a tool or tool, with no visible text or symbols.3A 3
natural_image
Close-up of a robotic arm joint with black and white components (no visible text or symbols)The image is too blurry to recognize any text content.
natural_image
Close-up of mechanical components and a metallic bracket (no visible text or symbols)The image is too blurry to recognize any text content.
NAALD AANBRENGEN
natural_image
Close-up of a robotic arm joint (no visible text or symbols)5A 6
natural_image
Close-up of a hand holding a dark, irregularly shaped object (no visible text or symbols)
natural_image
Close-up of a mechanical clamping device with black components and a handle (no visible text or symbols)
PROBLEMEN OPLOSSEN
MUZIEK KLINKT NIET GOED (TE HOOG OF TE LAAG TOERENTAL
natural_image
Color palette bar with grayscale swatches and a central crosshair symbol (no text or labels)flowchart
graph TD
    A["Process Node"] --> B["Endpoint 3"]
    A --> C["Endpoint 4"]
natural_image
Simple black square with two horizontal lines and one vertical line, no text or symbols present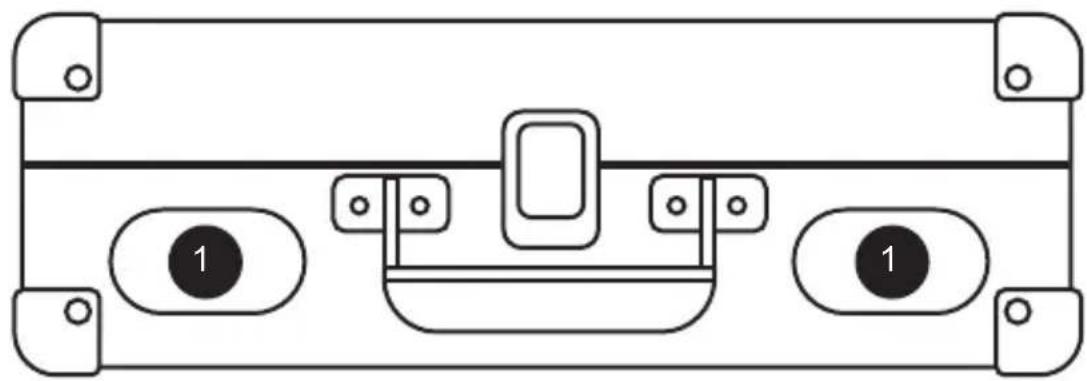
natural_image
Pure electrical circuit lines without any symbols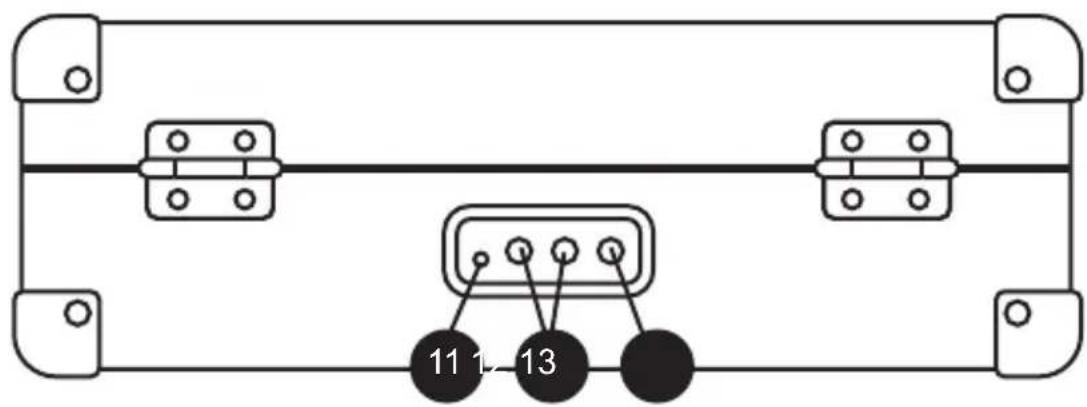
text_image
11 1-13natural_image
Pure line drawing of a mechanical connector or connector without any text, numbers, or symbolsnatural_image
Pure technical line drawing of a mechanical component without any text or symbolsnatural_image
Close-up of a robotic arm gripping a black mechanical component (no visible text or symbols)3A 3
natural_image
Close-up of a robotic arm joint with black and white components (no visible text or symbols)
natural_image
Close-up of mechanical components and a metallic bracket (no visible text or symbols)
INSTALAR LA NUEVA AGUJA
natural_image
Close-up of a black mechanical component being held by gloved hands (no visible text or symbols)5A 6
natural_image
Close-up of gloved hands holding a black object (no visible text or symbols)
natural_image
Close-up of a mechanical clamping device with black and gray components (no visible text or symbols)
natural_image
Color palette bar with grayscale swatches and a central crosshair symbol (no text or labels)flowchart
graph TD
    A["Process Node"] --> B["Endpoint 3"]
    A --> C["Endpoint 4"]
text_image
54
natural_image
Pure electrical circuit lines without any symbols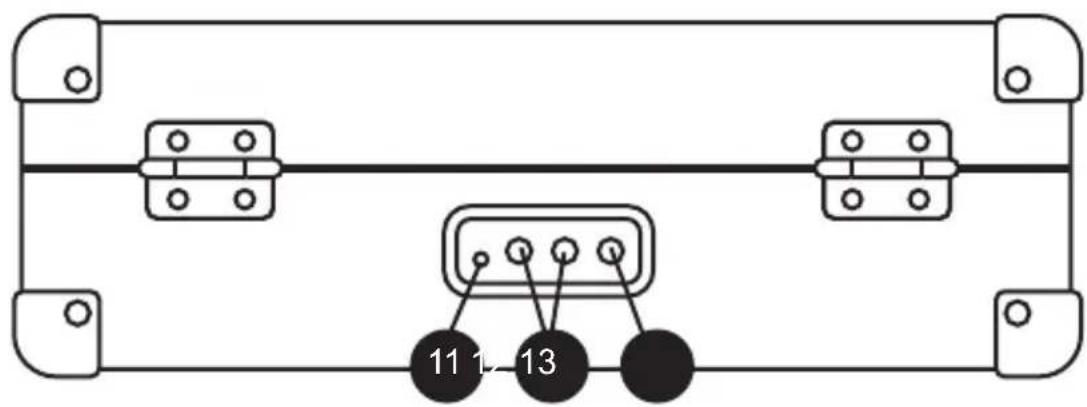
text_image
11 1-13natural_image
Pure line drawing of a connector or connector assembly without any text, numbers, or symbolsnatural_image
Pure line drawing of a mechanical connector or connector without any text, numbers, or symbolsnatural_image
Close-up of a mechanical component with black and white parts, no visible text or symbols3A 3
natural_image
Close-up of a robotic arm joint with black and white components (no visible text or symbols)The image is too blurry to recognize any text content.
natural_image
Close-up of mechanical components and a metallic bracket (no visible text or symbols)The image is too blurry to recognize any text content.
MONTAGGIO DELLA PUNTINA (AGO)
natural_image
Close-up of a hand holding a black mechanical component, labeled '5A 6' (no other text or symbols visible)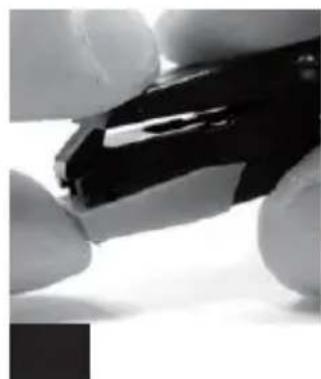
natural_image
Close-up of a hand holding a black mechanical component (no visible text or symbols)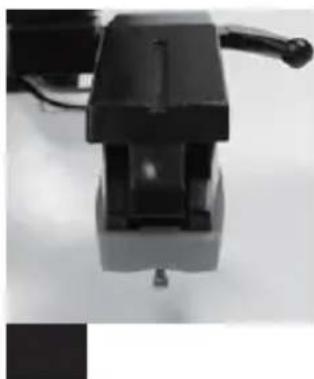
natural_image
Close-up of a black mechanical vise with a handle and central component (no visible text or symbols)natural_image
Color calibration bar with grayscale and RGB color swatches, no text or symbols present

text_image
63EN
Hereby ProtelX, declares that this equipment (GPO Soho) is in compliance with the essential requirements and other relevant provisions of Directive, you can access a copy of this certificate on www.gporetro.com/Certificate-of-Conformity
DE
ProTelX Ltd, Unit 6, Park 17 Industrial Estate, Moss Lane, Whitefield, Manchester, M45 8FJ UK