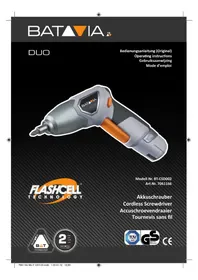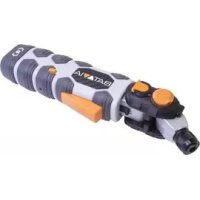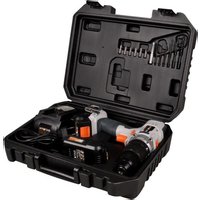
BT-CCD001 - Screwdriver Batavia - Free user manual and instructions
Find the device manual for free BT-CCD001 Batavia in PDF.


| Brand | Batavia |
| Model | BT-CCD001 |
| Product type | Cordless impact drill/screwdriver |
| Rotation speed | 0 – 350 / 0 – 1 200 min⁻¹ |
| Impacts per minute | 0 – 6 000 / 0 – 20 000 min⁻¹ |
| Chuck capacity | 2 – 13 mm |
| Torque (hard/soft) | 48 / 25 Nm |
| Weight | 1,28 kg |
| Power supply | Rechargeable battery (cordless) |
| Direction of rotation | Reversible (clockwise/counterclockwise) with center lock |
| Operating modes | Screwdriving, drilling, hammer drilling |
| Torque adjustment | 16 positions + drilling |
| Number of speeds | 2 (position 1: low speed, high torque; position 2: high speed) |
| LED light | Yes, integrated |
| Belt clip | Yes |
| Battery charge indicator | Yes |
| Insulated grip | Yes |
| Protection class | II |
| Warranty | 2 years |
| Maintenance | Clean with a damp cloth and a little black soap; do not use solvents |
| Recommended safety equipment | Hearing protection, safety glasses, dust mask (FFP2 minimum) |
Frequently Asked Questions - BT-CCD001 Batavia
User questions about BT-CCD001 Batavia
0 question about this device. Answer the ones you know or ask your own.
Ask a new question about this device
Download the instructions for your Screwdriver in PDF format for free! Find your manual BT-CCD001 - Batavia and take your electronic device back in hand. On this page are published all the documents necessary for the use of your device. BT-CCD001 by Batavia.
USER MANUAL BT-CCD001 Batavia
Operating instructions
Mode d'emploi
Gebruiksaanwijzing
natural_image
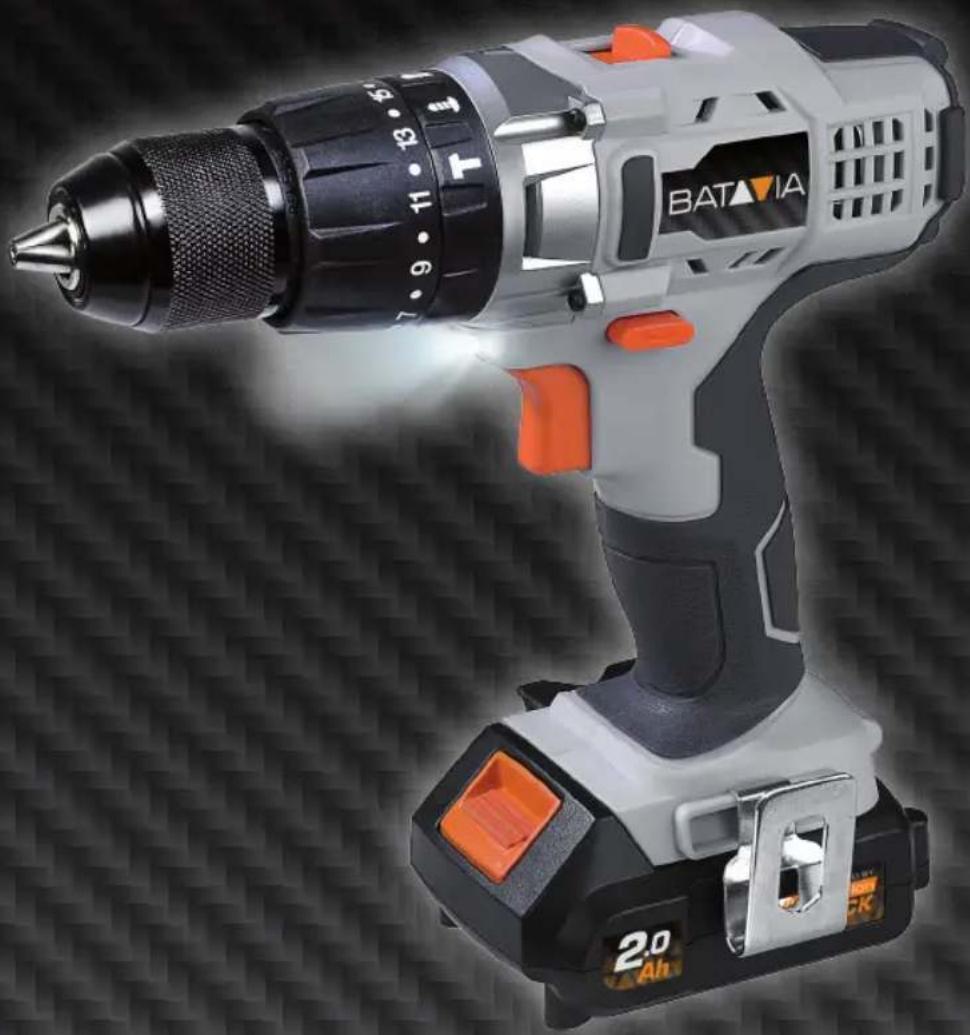
Exterior view of a BATAVIA electric drill putter with orange buttons and black body (no text or symbols on the device itself)Modelnr. BT-CCD001
Art.Nr. 7062504
Cordless Combi Drill
Akku Schlagbohrmaschine
- Chuck Jaws
- Chuck Collar
- Torque Selector
- Mode Selector
- Gear Switch
- Motor Vents
- Forward/Reverse Switch
- Hand Grip
- Battery Charge Indicator (On the Back Side)
- Belt Clip
- Battery
- Battery Release Button
- Trigger Switch
- Work Light
APERÇU
text_image
Handwritten signature or scribble on a stylized oval shape, possibly a signature or artistic mark.Instruction manuals provide valuable hints for using your new device. They enable you to use all functions, and they help you avoid misunderstandings and prevent damage. Please take the time to read this manual carefully and keep it for future reference.
EXPLANATION OF THE SYMBOLS

Warning! To reduce the risk of injury, the user must read the instruction manual.

Denotes risk of personal injury, loss of life or damage to the tool in case of non-observance of the instructions in this manual.

Always wear hearing protection. The effects of noise can cause hearing loss.

Wear safety glasses. When working with electric power tools, sparks, splinters, chips and dust particles may be generated and these can cause loss of sight.

Electric power tool, protection class II. This sign symbolises that this unit corresponds to Protection Class II. This means that the unit is equipped with either reinforced or double insulation between the mains circuit and output voltage or metal housing respectively.


CE stands for “Conformité Européenne”, which means “In accordance with EU Regulations”. With the CE marking, the manufacturer confirms that this Electric tool complies with the applicable European directives.

Do not dispose of electric power tools with domestic refuse.
SAFETY INSTRUCTIONS FOR CORDLESS DRILL/DRIVERS
General
- The tool/charger is not intended for use by persons (including children) with reduced
physical, sensory or mental capabilities, or lack of experience and knowledge, unless they have been given supervision or instruction concerning use of the tool/charger by a person responsible for their safety
- Ensure that children do not play with the tool/charger
- Ensure that the Forward/Reverse switch (7) is in the middle (locking) position before making any adjustments or changing accessories as well as when carrying or storing the tool
- Do not work materials containing asbestos (asbestos is considered carcinogenic)
- Dust from material such as paint containing lead, some wood species, minerals and metal may be harmful (contact with or inhalation of the dust may cause allergic reactions and/or respiratory diseases to the operator or bystanders); wear a dust mask and work with a dust extraction device when connectable
- Certain kinds of dust are classified as carcinogenic (such as oak and beech dust) especially in conjunction with additives for wood conditioning; wear a dust mask and work with a dust extraction device when connectable
- Follow the dust-related national requirements for the materials you want to work with
- When using the drill, use safety equipment including safety glasses or shield, ear defenders, and protective clothing including safety gloves. Wear respiratory protection suitable for the work being undertaken. A minimum rating of FFP2 is recommended. If operating the tool causes discomfort in any way, stop immediately and review your method of use.
- Battery chargers are for indoors use only. Ensure that the power supply and charger are protected against moisture at all times.
- Ensure that the lighting is adequate.
-
Ensure that the drill bit is securely fixed in the chuck. Insecure drill bits can be ejected from the machine causing a hazard.
-
Ensure that the drill bit is not in contact with the workpiece prior to starting up the tool.
- Before drilling, check that there is sufficient clearance for the drill bit under the workpiece.
- Drill bits get hot during operation, allow to cool prior to handling them.
- NEVER use your hands to remove saw-dust, chips or waste close by the bit.
- Examine the chuck regularly for signs of wear or damage. Have damaged parts repaired by a qualified service centre.
- ALWAYS wait until the drill has come to a complete stop before putting it down.
BEFORE USE
- Avoid damage that can be caused by screws, nails and other elements in your workpiece; remove them before you start working
- Use suitable detectors to find hidden utility lines or call the local utility company for assistance (contact with electric lines can lead to fire or electrical shock; damaging a gas line can result in an explosion; penetrating a water pipe will cause property damage or an electrical shock)
- Secure the workpiece (a workpiece clamped with clamping devices or in a vice is held more securely than by hand)
DURING USE
- Hold power tool by insulated gripping surfaces (8), when performing an operation where the cutting accessory or fastener may contact hidden wiring (cutting accessory and fasteners contacting a "live" wire may make exposed metal parts of the power tool "live" and could give the operator an electric shock)
- In case of electrical or mechanical malfunction, immediately switch off the tool or unplug charger from power source
BEFORE FIRST USE
remove the machine and the accessories from the packaging. Check the machine for transport damage and do not use the machine in case of damages. Keep the packing materials away from children, risk of suffocation!
INTENDED USE
the cordless hammer drill/screwdriver is designed for tightening and undoing screws, for drilling in wood, metal and plastic, and for hammer drilling in stone, in each case when using the appropriate bits. The equipment is to be used only for its prescribed purpose.
OPERATION
Direction control
- The direction of rotation can be set using the Forward/Reverse Switch (7)
- For anti-clockwise rotation, push the switch to the right
- For clockwise rotation, push the switch to the left
Note: When the Forward/Reverse Switch is in the central position, the drill is locked and cannot be switched on. Use this setting as a safety feature to prevent the drill from being switched on accidentally.
Mode selector
The clutch settings are indicated by the symbols on the Mode Selector (4)
Torque Selector
Rotate the Torque Selector (3) to select the desired setting: the higher the number displayed on the torque ring, the higher the torque produced by the tool
Speed setting
The machine has 2 drill speeds, which can be adjusted by sliding the gear switch (5) forward or backwards. The number on the gear switch (5) shows which position is chosen.
Position 1: For slow drilling, large drilling diameter or screw driving. The machine has higher torque at a low speed.
Position 2: For fast drilling or small drilling diameter. The machine has lower torque at a high speed.


Selection:
| Mode selector Torque | selector Speed | ||
| Screwing | 1 – 16* 1 | ||
| Drilling Masonry / Concrete | N/A 2 | ||
| Drilling Wood | N/A 1 or 2 | ||
| Drilling Metal | N/A 1 or 2 |
- Select a low setting for small screws or soft work material.
- Select a high setting for large screws, hard work materials and when removing screws.
- You should preferably choose a setting as low as possible when driving screws. Select a higher setting if the motor slips before the screw is fully tightened.
WARNING: If the power tool gets excessively hot in use, stop using the tool immediately and allow to cool before continuing work. The cooling period can be reduced by operating the drill at maximum speed with no load. Always make sure the Motor Vents (6) are not blocked and do not allow dust to enter the body of the tool through the Motor Vents; dust, especially metallic dust, may damage or destroy the tool.
Switching the machine on and off
The on/off switch (13) is used for activating the machine and adjusting rotation speed.
- Pressing the on/off switch (13) will activate the machine, the further the switch is being pushed, the faster the drill will turn.
- Releasing the on/off switch (13) will stop the machine.
LED lamp
The LED lamp (14) will be lit automatically as soon as you press the ON/OFF switch (13).
ACCESSORIES
Use only accessories with an allowable speed matching at least the highest no-load speed of the tool
MAINTENANCE AND CLEANING
WARNING: Always disconnect from the mains power supply, before carrying out any maintenance/cleaning of the charger. Remove the battery before carrying out any maintenance/cleaning of the tool.
Maintenance
There are no inner parts of the tool which need maintenance.
Cleaning
- Keep safety devices, ventilation openings and the motor housing as free as possible from dirt and dust. Rub the electric power tool with a clean cloth or blow over it with low pressure compressed air.
- We recommend that you clean your electric power tool immediately after each use.
- Clean the electric power tool regularly with a damp cloth and somewhat soft soap.
Do not use any cleaning or solvent materials; these can attack the device's plastic components. Make sure that no water can get inside the electric power tool.
TECHNICAL DATA
| Speed . . . . . . . . . . . . . . . . . . . . . . . . . . . . . . . . . . . . . . . . . . . . . . . . . . . . . . . . . . . . . . . . . . . . . . . . . . . . . . . . . . . . . . . . . . . . . . . . . . . . Impacts per Minute. . . . 0–6000 / 20 000 min-1Chuck . . . . . . . . . . . . . . . . . . . . . . . . . . . . . . . . . . . . . . . . . . . . . . . . . . . . . . . . . . . . . . . . . . . . . . . Torque hard/soft . . . . . . . . . . . . . . . . . . . . . . . . . . . . . . . . . . . . . . . . . . . . . . . . . . . . . . . . Dimensions . . . . . . . . . . . . . . . . . . . . . . . . . . . . . . . . . . . . . . . . . . . . . . . . . . . . . . . . . . Weight . . . . . . . . . . . . . . . . . . . . . . . . . . . . . . . . . . . . . . . . . . . . . . . . . . . . . . . . . . Sound Pressure Level LpA . . . . . . . . . . . . . . . . . . . . . . . . . . . . . Uncertainty KpA . . . . . . . . . . . . . . . . . . . . . . . . . . . . . . . . . . . . . . . . . . . . . . . . . . . . . . . . . . . . . . . . . . . . . . . . . . . . . . . . . . . . . . . . . . . . . . . . . . . Sound Power Level LwA . . . . . . . . . . . . . . . . . . . . . . . . . . . . . . . . . . . . . . . . . . . . . . . . . . . . . . . . . . . . . . . . . . . . . . . . . . . . . . . . . . . . . . . . . . . . . . . . . . Uncertainty KwA' . . . . . . . . . . . . . . . . . . . . . . . . . . . . . . . . . . . . . . . . . . . . . . . . . . . . . . . . . . . . . . . Hand Arm Vibration(No Load) . . . . . . . . . . . . . . . . . . . . . . . . . . . . . . . . . . . . . . . . . . . . . . . . . . (In Metal) . . . . . . . . . . . . . . . . . . . . . . . . . . . . . . (In Masonry) . . . . . . . . . . . . . . . . . . . . . . . . . . . Uncertainty K. . . . . . . . . . . . . . . . . . . . . . . . . . . . 0.748 m/s2(In Metal) . 1.753 m/s2(In Masonry) 18.83 m/s2Uncertainty K. 1.5m/s2 |
DISPOSAL

Do not dispose of electric power tools with domestic refuse.
The electric power tool is shipped in packaging to reduce transport damage. This packaging is a raw material and as such can either be reused or can be fed back into the raw material cycle. The electric power tool and its accessories are made from various materials such as metals and plastics. Take defective components to a special refuse collection point. Ask about these at your specialist shop or local council. The product and the user manual may be subject to changes. Technical data may be changed without prior notice.
Batteries
Think of the environment when disposing of batteries. Contact your local authorities to find out where your nearest disposal area is.
Do not dispose of batteries with domestic refuse.
Do not dispose of by burning, risk of explosion.
EC-DECLARATION OF CONFORMITY
We, the Batavia GmbH, Weth. Buitenhuisstraat 2a, NL-7951 SM Staphorst, declare by our own responsibility that the product Cordless Combi Drill, Model BT-CCD001, Item-No 7062504 is according to the basic requirements, which are defined in the European Directives Electromagnetic Compatibility 2014/30/EU (EMC), 2006/42/EC (Machinery), 2011/65/EU (RoHS) and their amendments. For the evaluation of conformity, the following harmonized standards were consulted:
EN 55014-1:2006+A1+A2,
EN 55014-2:2015,
EN 60745-1:2009+A11,
EN 60745-2-1:2010,
EN 60745-2-2:2010,
Staphorst, 25 April 2017
text_image
Handwritten signature or scribble on a white background, possibly a signature or nameMeino Seinen, QA Representative
CE-DÉCLARATION DE CONFORMITÉ
text_image
Handwritten signature or scribble on a stylized oval shape, possibly from a document or form.text_image
Handwritten signature or scribble on a white background, possibly a signature or artistic markThis product has got a 2 year warranty
Dear Client, if for any reason this product is not working, please ensure you contact our Client Service Centre. Ensure you have your original receipt of purchase. This warranty covers all defects in workmanship or materials in this Batavia product for a two year period from the date of purchase. The warranty does not cover any malfunction, or defect resulting from misuse, neglect, alteration, or repair.
Other European countries | Customer Services
Monday till Friday from 8 am until 4 pm

00800 66477400
Overige landen Europa | Klantenservice