
302656 - Meter Aplic - Free user manual and instructions
Find the device manual for free 302656 Aplic in PDF.


| Product Type | Wireless Bike Computer |
| Brand | Aplic |
| Model | 302656 |
| Dimensions (L x l x H) | 58.5 mm x 42.5 mm x 17.5 mm |
| Power Supply | 1 CR2032 3V battery |
| Protection Type | IP65 |
| Operating Temperature | -20°C to +70°C |
| Transmission Frequency | 125 kHz |
| Transmission Power | -24.001 dBm |
| Display | Digital with backlight |
| Main Functions | Time, stopwatch, temperature, instantaneous speed, average speed, max speed, trip distance, total distance, trip time, 7-day memory, auto scan |
| Sensor | Wireless Reed sensor, mounted on fork |
| Magnet | Spoke magnet (magnet-sensor distance < 5 mm) |
| Package Contents | Computer, mount, Reed sensor, magnet, mounting accessories |
| Mounting | On handlebar or stem (90° adjustable mount) |
| Auto Off | After 4 minutes without signal |
| Reset | Press and hold SET for 5 s (depending on mode) |
| Maintenance and Cleaning | Do not immerse, avoid intense sunlight, clean without alcohol or harsh products |
| Safety | Do not open, do not expose to excessive humidity, keep out of reach of children |
| Batteries and Recycling | Replaceable CR2032 battery; follow WEEE guidelines (do not dispose of with household waste) |
Frequently Asked Questions - 302656 Aplic
User questions about 302656 Aplic
0 question about this device. Answer the ones you know or ask your own.
Ask a new question about this device
Download the instructions for your Meter in PDF format for free! Find your manual 302656 - Aplic and take your electronic device back in hand. On this page are published all the documents necessary for the use of your device. 302656 by Aplic.
USER MANUAL 302656 Aplic
natural_image
Blue and gray abstract logo design with no text or symbolsTable of contents
- Deutsch....3
- English....18
- Français....33
- Italiano....48
- Español....63
Inhaltsverzeichnis
Batterie einlegen
natural_image
Line drawing of a mechanical device with a circular component and a magnified inset showing internal components (no text or symbols)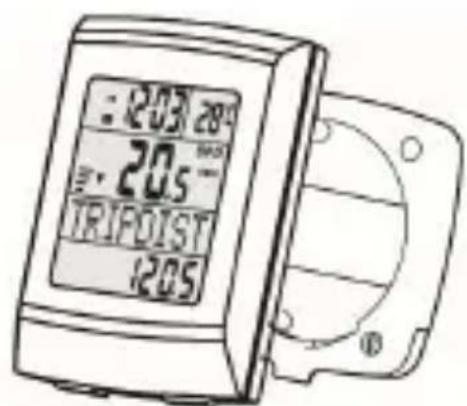
natural_image
Simple line drawing of a rectangular object with two side connectors and a label '图号' (Figure Number) on its side, no other text or symbols present.Installation des Magnets
natural_image
Simple line drawing of a rope with a hanging object (no text or symbols)- Scope of supply....19
- Technical data....19
- Product details ....20
- Installation and assembly....20
- Initial use....22
- Functions....25
- Additional functions.... 26
- Buttons and functions....29
- Replacing the batteries.... 29
- Additional information about this device....30
- Troubleshooting....30
- Safety instructions and Disclaimer....31
- Disposal instructions....31
- Instructions for battery disposal....32
Thank you for choosing an aplic product. Please read the following user manual carefully to have an enjoyable experience with your purchased product.
1. Scope of supply
- Bicycle computer
- Bracket
- Reed-sensor, wireless
- Spoke magnet
- Mounting accessories
2. Technical data
| Power supply One 3V CR2032 | battery |
| Frequency range 125KHz | |
| Transmission power -24,001dBm | |
| Dimensions (H x W x D) 58.5mm x 42.5mm x 17.5mm | |
| Degree of protection IP 65 | |
| Operating temperature -20°C to +70°C | |
| Features • Time | • Stop watch• Temperature• Auto ON/OFF• Backlight• Speed display• Ride time display• Ride distance display• Built-in memory |
3. Product details
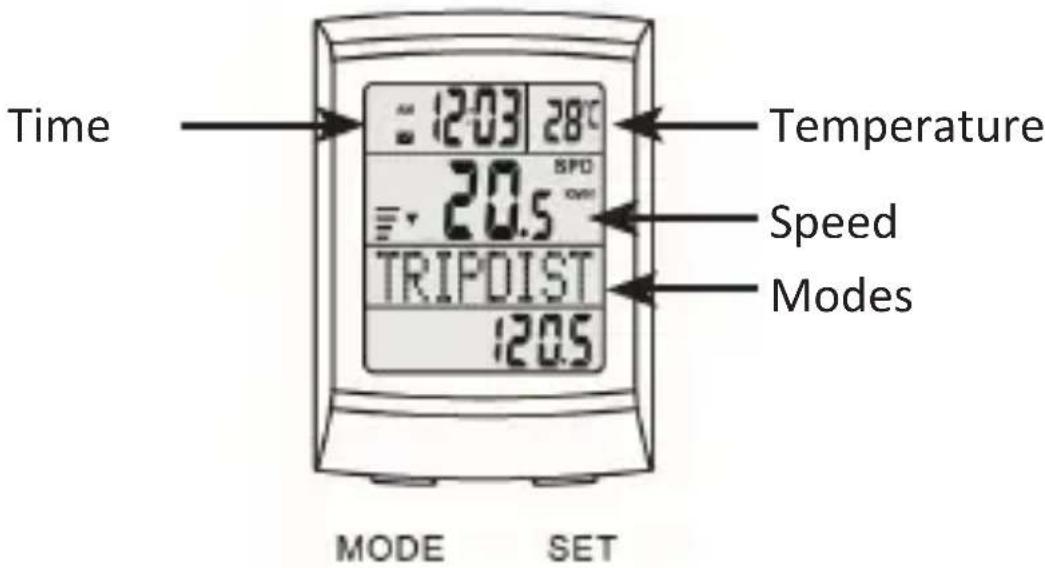
4. Installation and Assembly
Take the device out of the package and remove all the packaging material. Before installing, make sure that the device is not externally damaged.
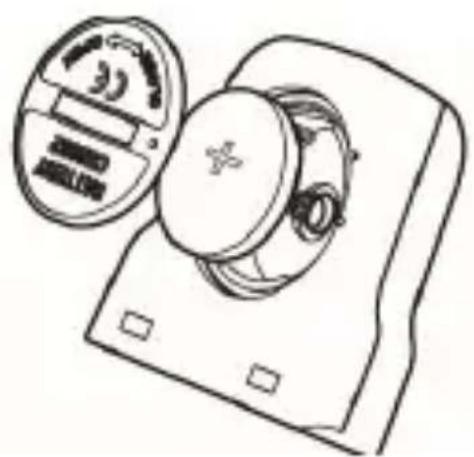
Insert the battery
Before commencing the installation, insert the battery into the battery compartment. To do this, open the battery compartment on the back of the device and the wireless sensor (Reed sensor) using a coin or similar object by rotating it counter clockwise.
Insert a CR2032 1.5V battery into the battery compartment. Ensure that the positive pole of the battery is pointing towards the battery compartment cover. Then close the battery compartment.
natural_image
Line drawing of a mechanical device with a circular component and a magnified inset showing internal components (no text or symbols)Installing the bracket
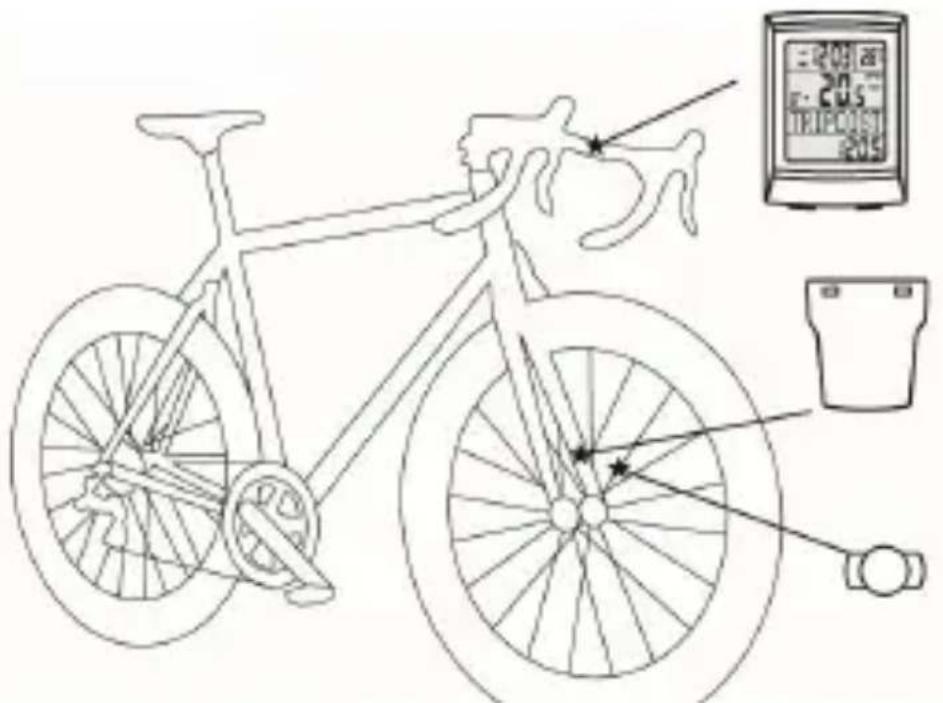
Glue the wide foam plate on the inside of the curve to avoid any possible slippage. Place the bracket with the curve facing down in the desired position on the handlebar of your bicycle. Take the supplied rubber mounting ring and hook it into the bracket fixture provided for this purpose, so that the bracket sits firmly on the handlebar.
Note: Alternatively, you can mount the bicycle computer on the centre rod of your bicycle. To do this, you need to unscrew the curve of the bracket and mount it with a 90° offset.
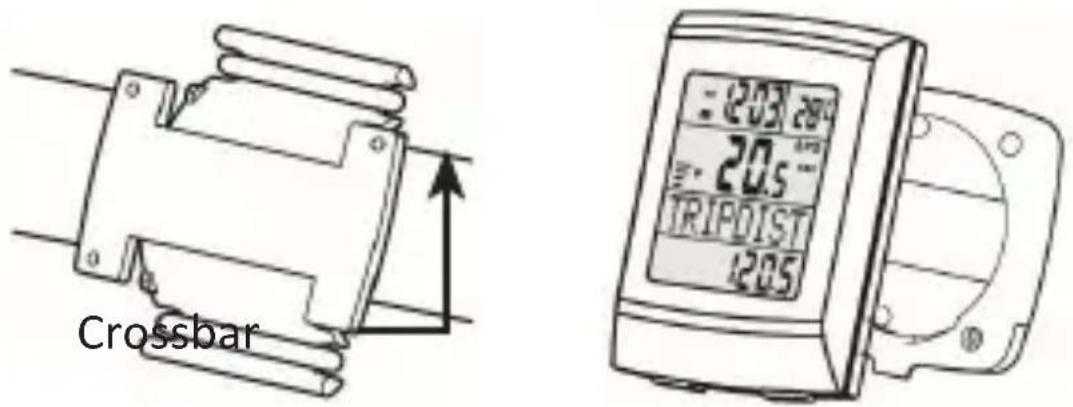
Installing the transmi er (wireless)
Glue the long foam plate to the inside of the transmitter and place it on the wheel fork. Fix the sensor using the cable ties provided. The sensor side of the transmitter should point towards the spokes. Ensure that the sensor makes contact with the spokes.
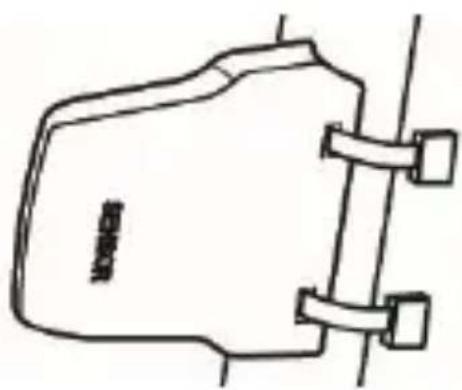
natural_image
Simple line drawing of a rectangular object with two side connectors and a label 'SARMA' on the front face (no other text or symbols)Installing the magnet
Unscrew the magnet from the magnet holder. Then place the plastic plate with the guide at the top in a spoke. Screw the magnets and the nut onto the plastic plate so that the spoke is tightened.
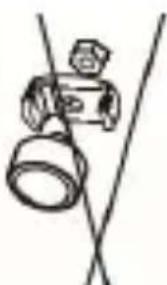
natural_image
Simple line drawing of a hanging lamp with a handle and bulb, mounted on a pole (no text or symbols)Note: The minimum distance between the magnet and transmitter should be less than 5 mm to ensure optimum transmission. Adjust the magnet accordingly.
5. Ini al use
The system is completely reset when you replace the battery. We recommend you to reset the device once before using it. To do this, remove the battery and insert it again.
Settings
There are two ways to access the system settings.
- The system settings can be accessed when the battery is replaced or newly inserted.
- Press the "Mode" button in clock mode for 2 seconds in the home screen.
Press the "SET" button to change the current value. Press the "MODE" button to access the next setting menu.
The setting sequence is as follows: KMH/MPH -> Tyre circumference -> Total distance-> Total time-> 12/24 hour-> Hour-> Minute -> Year-> Month-> Day
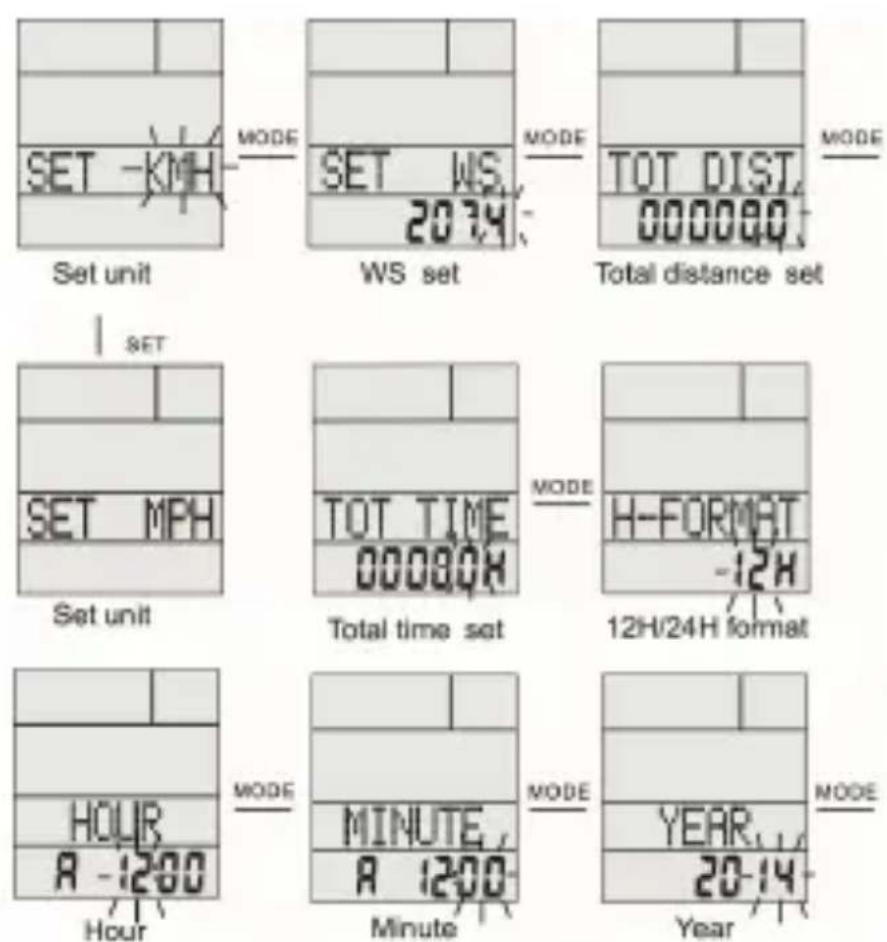
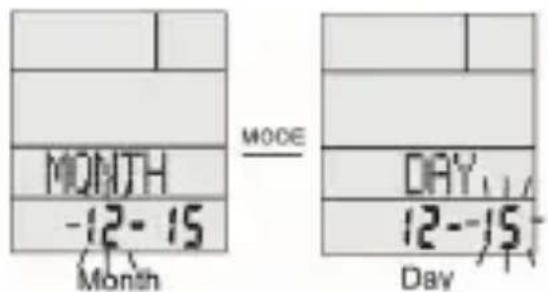
Note: Measure the wheel circumference (WS) before you specify it. It can be measured as follows:
- Note the selected size of the wheel and refer to the table below to find the appropriate circumference.
- Mark a point on the desired bicycle tyre and push the bicycle forward till the tyre rotates once. The wheel circumference is the distance covered.
Ensure that the wheel circumference is precise because this greatly affects the accuracy of the measured data.
An example for measurement method 1:

Wheel circumference table
| Tyre average value Wheel | circumference value (in mm) |
| 20 inch 40-406 1530 | |
| 20 inch 54-406 1590 | |
| 24 inch 47-507 1860 | |
| 24 inch 54-507 1920 | |
| 26 inch 25-559 1940 | |
| 26 inch 40-559 2000 | |
| 26 inch 50-559 2040 | |
| Tyre average value Wheel circumference value (in mm) | |
| 26 inch 57-559 2100 | |
| 26 inch 37-590 2090 | |
| 26 inch 60-559 2150 | |
| 27 inch 32-630 2180 | |
| 28 inch 20-622 2110 | |
| 28 inch 25-622 2130 | |
| 28 inch 30-622 2260 | |
| 28 inch 35-622 2185 | |
| 28 inch 37-622 2190 | |
| 28 inch 40-622 2220 | |
| 28 inch 42-622 2230 | |
| 28 inch 47-622 2280 | |
| 28 inch 50-622 2280 | |
| 28 inch 54-622 2295 | |
| 28 inch 60-622 2350 | |
| 28 inch 40-635 2240 | |
6. Functions
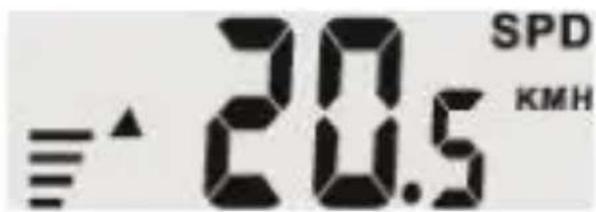
The speed bar moves according to the current speed while riding. This means that the bicycle computer is receiving a speed signal. The display shows the current speed.
Other functions
Clock
Stopwatch
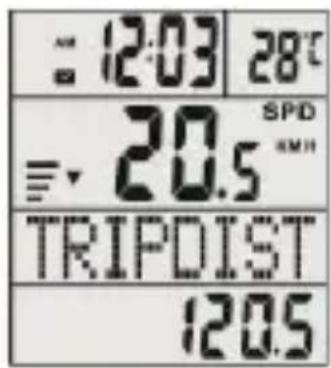
Riding distance
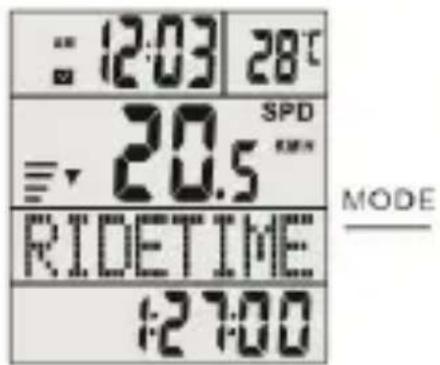
Riding time

MAX speed
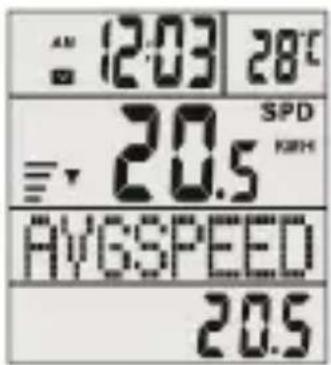
AVG speed
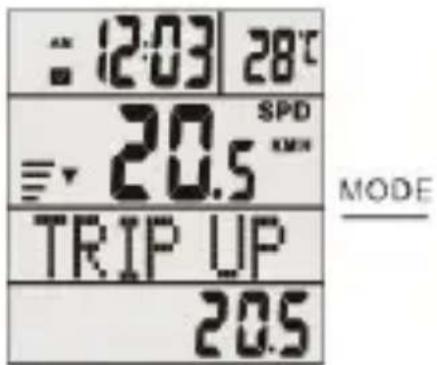
Trip up/down
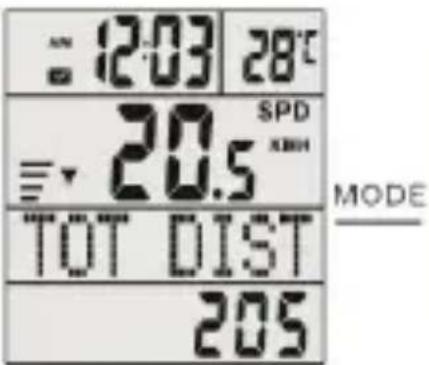
Total distance
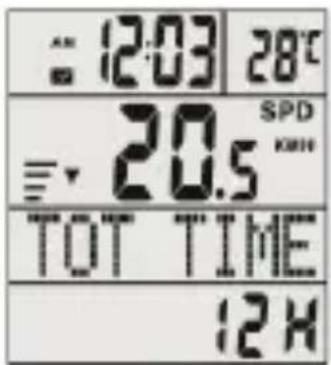
Total time
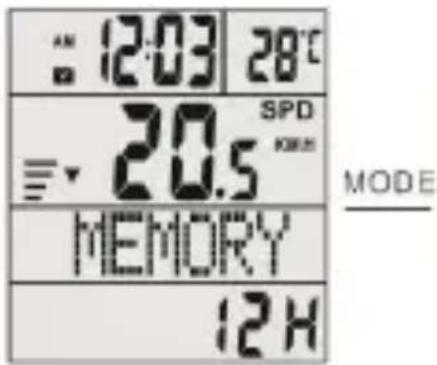
Memory
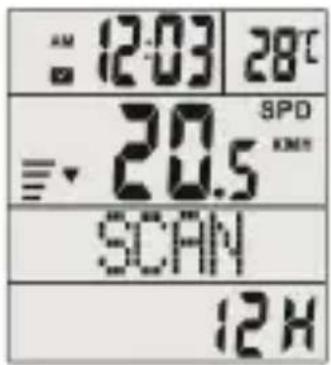
Scan
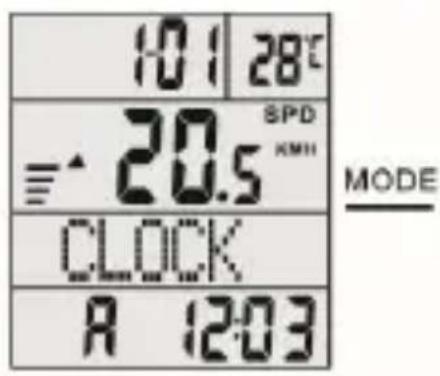
Clock (CLOCK)
The current time in 12 or 24 hour mode is displayed here.
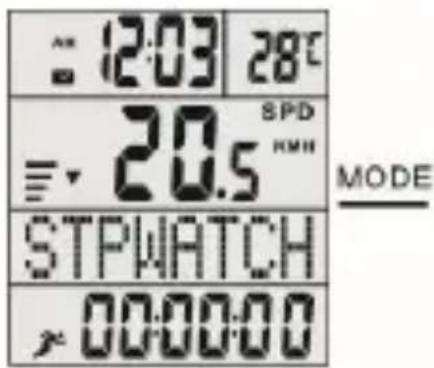
Stop watch (STPWATCH)
Press the "SET" button to start or stop the stopwatch. The stopwatch is reset if you press and hold the "SET" button for 3 seconds. This function works only in the stopwatch mode.
Ride time (RTM)
Records the ride time since the last reset and shows this in the display.
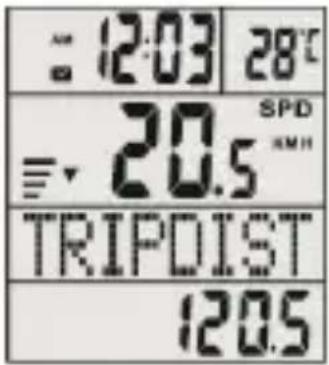
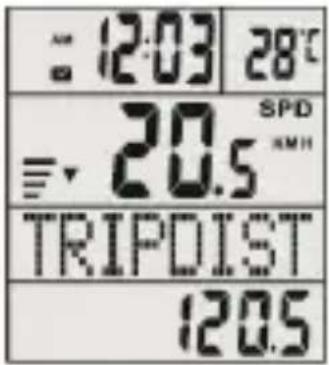
Distance covered (TRIPDIST)
The distance covered since the last reset is recorded here and shown in the display.
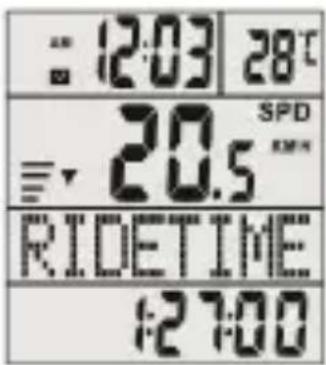
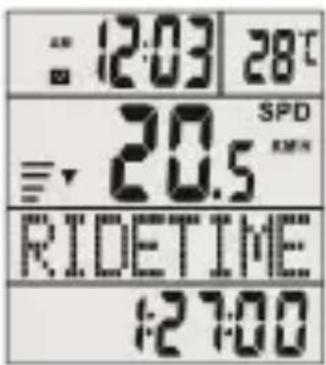
Ride time (RIDETIME)
The current ride time since the last reset is shown in the display in this mode. The time stops as soon as you interrupt your ride and continues again once you resume riding.
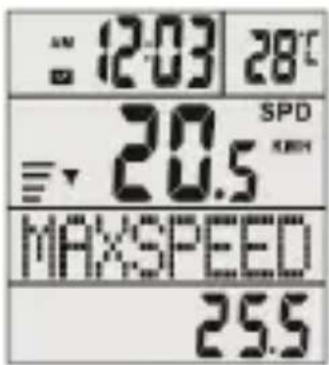
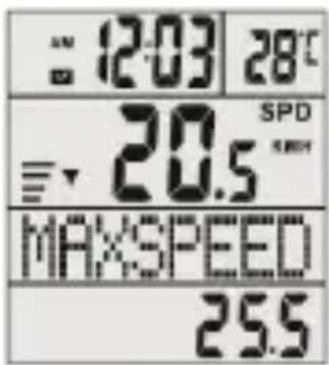
Maximum speed (MAX SPEED)
The maximum speed since the last reset is recorded here and shown in the display.
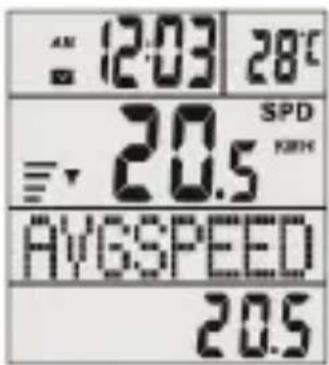
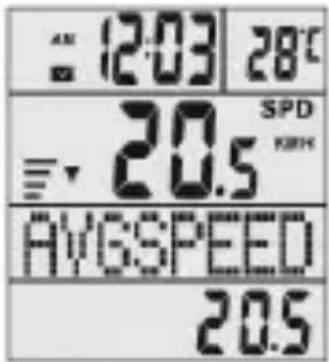
Average speed (AVGSPEED)
This mode records the average speed since the last reset and shows this in the display. The average speed is calculated using the distance covered and dividing it by the ride time.
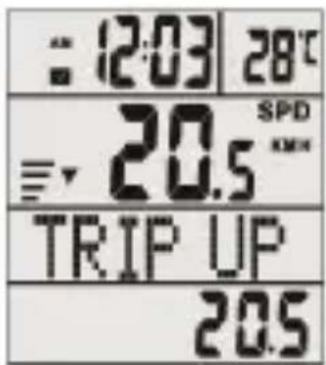
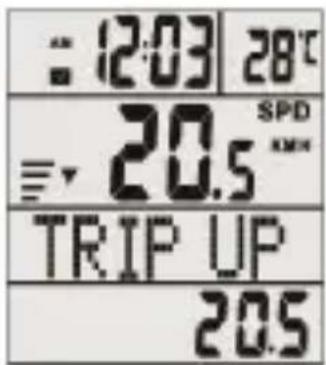
Trip up/down (TRIP up / down)
Press the "SET" button for 2 seconds in "TRIP" mode to select the mode between increment (up) or decrement (down). Confirm the entry using the "Mode" button.
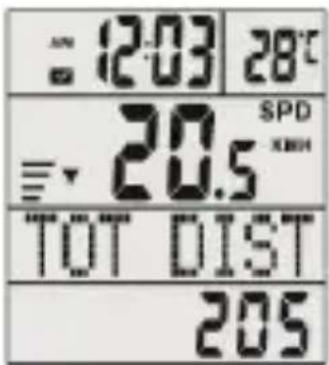
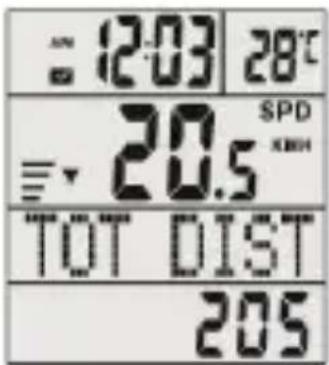
Total distance covered (TOT DIST)
This mode shows the total distance covered in kilometres. The total
distance covered can be configured again in the startup settings when the battery is replaced. Note the current reading before removing the battery.
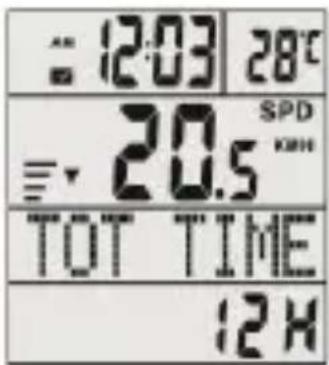
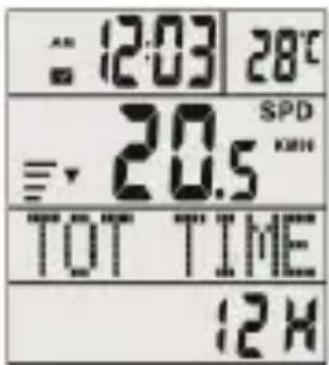
Total ride time (TOT TIME)
The entire ride time is shown here. The total ride time can be configured again in the startup settings when the battery is replaced. Note the current reading before removing the battery.
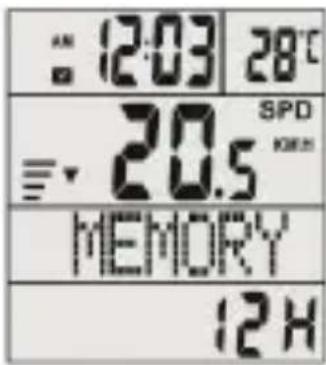
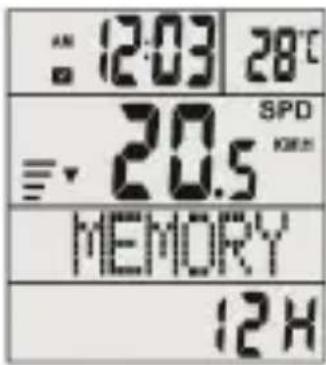
Memory (MEMORY)
Press the "SET" button in the memory mode to view the data of the last 7 days. The date, distance, ride time, maximum speed, average speed, etc are displayed. These values are shown one after the other on the display. The data from the previous day is stored every day at 0:00 hrs.
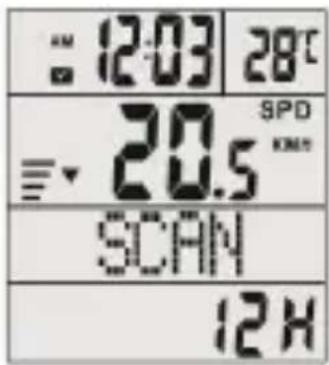
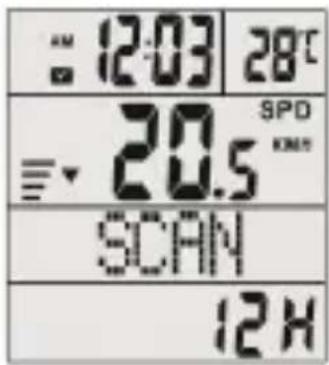
Scan mode
The "scan" mode changes automatically every 4 seconds between ride time (RTM), distance covered (DST), maximum speed (MXS), and average speed (AVS).
6.1 Turning on the backlight
The "SET" and the "MODE" button has to be pressed at the same time to turn the backlight on or off. Either EL ON (backlight switched on) or EL OFF (backlight switched off) is shown in the display. If the backlight is switched on, it glows each time for 3 seconds whenever a button is pressed.
7 Buttons and functions
Mode button:
You can change between the different functions using the "MODE" button.
Set button:
The values in the settings can be adjusted using the "SET" button or, for example, by starting the built-in stopwatch.
Resetting:
Press and hold the "SET" button for 5 about seconds. "RESET" appears on the display. This will then flash twice, and the corresponding value is reset.
This function can be used only in the "Ride time (RIDETIME)", "Distance covered (TRIPDIST)", "Maximum speed (MAXSPEED)" and "Average speed (AVGSPEED)" modes.
Sleep mode
The bicycle computer starts the sleep mode (auto ON/OFF) if it does not receive any signal after about 4 minutes. The current speed is not displayed during the sleep mode.
As soon as the sensor inside the computer detects a movement, it switches on automatically and receives data from the Reed sensor.
8 Replacing the batteries
Replace the batteries when the battery icon appears on the display or the display becomes difficult to read. Before replacing the batteries, ensure that (if desired) you note the total distance covered (TOT DIST) and the total ride time (TOT TIME) because these values are reset when the battery is replaced.
You can then open the battery compartment at the back and replace the battery. Only use CR2032 batteries. Also, ensure that the battery polarity is correct when inserting. The positive pole of the battery should point towards the battery cover. Then close the battery compartment again.


Note! Caution!
9. Additional pieces of information about this device
- The bicycle computer can be used on rainy days but it should not be immersed under water under any circumstances.
- Do not leave the bicycle computer unattended on the bicycle.
- Protect the device against bright sunlight.
- Check the distance between the sensor and the magnet at regular intervals.
- Do not use alcohol or any aggressive or chemical cleaning agents to clean the device.
- Pay attention to the traffic while riding. Do not get distracted by the bicycle computer.
10. Troubleshooting
| Error Cause of error Troubleshooting | ||
| Display is black | The bicycle computer could have been left in the sun too long | Keep the bicycle computer in a shady and cool place when it is not being used. |
| Display refreshes slowly | Ambient temperature is too low | Keep the device in a surrounding having a normal temperature. |
| Display is off | Battery is lowBattery is inserted incorrectly | Replace the batteryInsert the battery correctly |
| Error Cause of error Troubleshooting | |
| Speed is not displayed or displayed incorrectly | Distance between magnet and sensor is too muchSensor not mounted properlyConfigured wheel circumference is incorrectReduce the distance between magnet and sensorCheck the sensor position and adjust if necessaryMeasure the wheel circumference again and correct it |

11. Safety instructions and liability disclaimer
Never try to open the device to carry out repairs or conversions. Avoid contact with mains voltages. Do not short-circuit the product. The device is not certified for use in the open air; only use it in dry conditions. Protect it from high humidity, water and snow. Keep it away from high temperatures. Do not subject the device to sudden changes in temperature or heavy vibration as this might damage electronic components. Examine the device for damage before using it. The unit should not be used if it has received an impact or has been damaged in any other way. Please observe national regulations and restrictions. Do not use the device for purposes other than those described in the instructions. This product is not a toy. Keep it out of the reach of children or mentally impaired persons. Any repair or alteration to the device not carried out by the original supplier, will invalidate the warranty or guarantee. The product may only be used by persons who have read and understood these instructions. The device specifications may change without any separate prior notice to this effect.

12. Disposal instructions
Electrical and electronic devices may only be disposed of in accordance with the European WEEE Directive and not with household rubbish. Components must be disposed of or recycled separately as dangerous, toxic elements can inflict sustained damage on the environment
if they are disposed of incorrectly. As a consumer, you are bound by the Electrical and Electronic Devices Act (ElektroG) to return electrical and electronic goods free of charge at the end of their useful life to the manufacturer, the place of purchase or to specially set up, public collection points. The details in each case are governed by national law. The symbol on the product, the operating instructions and/or the packaging refers to these regulations. By separating materials in this way, recycling and disposing of old devices, you are making an important contribution towards protecting our environment.

13. Instructions on the disposal of batteries
With regard to the sale of batteries or the supply of devices containing batteries, the supplier is obliged to draw the customer's attention to the following: As the end user, the customer has a statutory obligation to return used batteries. He can return old batteries stocked or previously stocked by the supplier in the form of new batteries to the supplier's despatch warehouse (despatch address) free of charge. The symbols shown on the batteries have the following meanings: Pb = battery contains more than 0.004 percent by mass of lead, Cd = battery contains more than 0.002 percent by mass of cadmium, Hg = battery contains more than 0.0005 percent by mass of quicksilver.
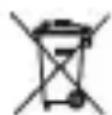
The symbol of the rubbish bin with a cross through it indicates that the battery may not be put in household waste.
WEEE guideline: 2012/19/EU WEEE register number: DE 67896761
WD Plus GmbH, herewith declares that this product 302656/20180528SZ187 conforms to the principle requirements and other relevant stipulations of directive 2014/53/EU. The complete Declaration of Conformity can be obtained from: WD Plus GmbH, Wohlenbergstraße 16, 30179 Hanover, https://www.ganzeinfach.de/
Table des matières
Placer la batterie
natural_image
Line drawing of a device with a circular component and a dial, no text or symbols presentInstallation du support
natural_image
Simple line drawing of a vehicle door with attached straps (no text or symbols)natural_image
Simple line drawing of a mechanical device with a bulb and lever (no text or symbols)Stopwatch
MODE
Riding distance
Riding time
MODE
MAX speed
MODE
AVG speed
Trip up/down
MODE
Total distance
MODE
Total time
Memory
MODE
Scan
Heure (CLOCK)
Indication ! Attention !
natural_image
Line drawing of a mechanical device with a circular component and a magnified inset showing a dial (no text or symbols)natural_image
Simple line drawing of a rectangular object with two side connectors and a label 'MILK' on the front face (no other text or symbols)natural_image
Simple line drawing of a hanging lamp with wires (no text or symbols)Colocar la pila
natural_image
Line drawing of a washing machine with a circular dial and a speedometer (no text or symbols)natural_image
Simple line drawing of a vehicle door with attached straps (no text or symbols)natural_image
Simple line drawing of a mechanical device with a bulb and lever (no text or symbols)Stopwatch
MODE
Riding distance
Riding time
MODE
MAX speed
MODE
AVG speed
Trip up/down
MODE
Total distance
MODE
Total time
Memory
MODE
Scan
Hora (CLOCK)


- Table of contents
- Inhaltsverzeichnis
- Batterie einlegen
- Installation des Magnets
- Scope of supply
- Technical data
- Product details
- Installation and Assembly
- Insert the battery
- Installing the bracket
- Installing the magnet
- Ini al use
- Settings
- Ensure that the wheel circumference is precise because this greatly affects the accuracy of the measured data.
- Functions
- Other functions
- Clock (CLOCK)
- Stop watch (STPWATCH)
- Ride time (RTM)
- Distance covered (TRIPDIST)
- Ride time (RIDETIME)
- Maximum speed (MAX SPEED)
- Average speed (AVGSPEED)
- Trip up/down (TRIP up / down)
- Total distance covered (TOT DIST)
- Total ride time (TOT TIME)
- Memory (MEMORY)
- Scan mode
- Turning on the backlight
- Buttons and functions
- Mode button:
- Set button:
- Resetting:
- Sleep mode
- Replacing the batteries
- Note! Caution!
- Additional pieces of information about this device
- Troubleshooting
- Safety instructions and liability disclaimer
- Disposal instructions
- Instructions on the disposal of batteries
- WEEE guideline: 2012/19/EU WEEE register number: DE 67896761
- Table des matières
- Placer la batterie
- Installation du support
- Heure (CLOCK)
- Indication ! Attention !
- Colocar la pila
- Hora (CLOCK)
Brand : Aplic
Model : 302656
Category : Meter