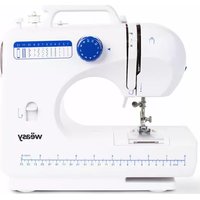
SW45 - Sewing machine Wëasy - Free user manual and instructions
Find the device manual for free SW45 Wëasy in PDF.


User questions about SW45 Wëasy
0 question about this device. Answer the ones you know or ask your own.
Ask a new question about this device
Download the instructions for your Sewing machine in PDF format for free! Find your manual SW45 - Wëasy and take your electronic device back in hand. On this page are published all the documents necessary for the use of your device. SW45 by Wëasy.
USER MANUAL SW45 Wëasy
natural_image
White Weasy sewing machine with control panel and ruler, no visible text or symbols on the device itself.SW45
Sewing machine
Machine à coudre
Nähmaschine
Naaimachine
Máquina de coser
Macchina da cucire
ENGLISH
Caution
- Please read the instruction carefully before operating the machine.
- To avoid electric shock, please remove the cable before cleaning o after use.
- Please holds the plug of power cord when pull out the cable, not pull it out.
- This appliance may be used by persons with reduced physical, sensory or mental capabilities or lack of experience or knowledge, provided that they are supervised or instructed in the safe use of the appliance and that they fully understand the potential hazards.
- Use this appliance only same as described in this manual.
- Do not insert think into the machine's gap when running.
- Keep fingers away from all locomotors parts, special around the needle.
- Do not use the machine in rough environment.
- Do not use beet needles.
- Stop working when the thread was entangled inside shuttle box, clean us the entangled thread, threading it again.
-
Flexible and stretched fabric, like towel, sweater, and flexible knitted fabric can not sew.
-
Never operate the machine if it has a damaged power cord, damaged plug, can not work properly, or drop into water.
- Do not use outdoors.
- Do not operate the machine at the place which generate aerosol or oxygen is controlled.
- If the power cord is damaged, it must be replaced with an after-sales service to avoid any danger.
- This appliance may be used by children of at least 8 years of age, as long as they are supervised and have been given instructions about using the appliance safely and are fully aware of the dangers involved.
- Cleaning and maintenance should not be carried out by children unless they are at least 8 years of age and are supervised by an adult.
- Keep the appliance and its power cord out of reach of children under 8 years of age.
- When using electrical equipment, safety precautions must always be taken to prevent the risk of fire, electric shock and/or injury in the event of misuse.
- Make sure that the voltage rating on the typeplate corresponds to your main voltage of your installation. If this is not the case, contact the dealer and do not connect the unit
- Never leave the unit unattended while in operation.
- Please keep this document at hand and give it to the future owner in case of transfer of your device
- The device must not be used if it has been dropped, it obvious signs of damage are visible.
- Your appliance has been designed for domestic use only. It is not intended for use in the following
situations which are not covered by the warranty:
- in staff kitchen areas in shops, offices and other professional environments,
- in farm hostels,
- by guests in hotels, motels and other residential environments,
- in bed and breakfast type environments.
NAME OF PARTS
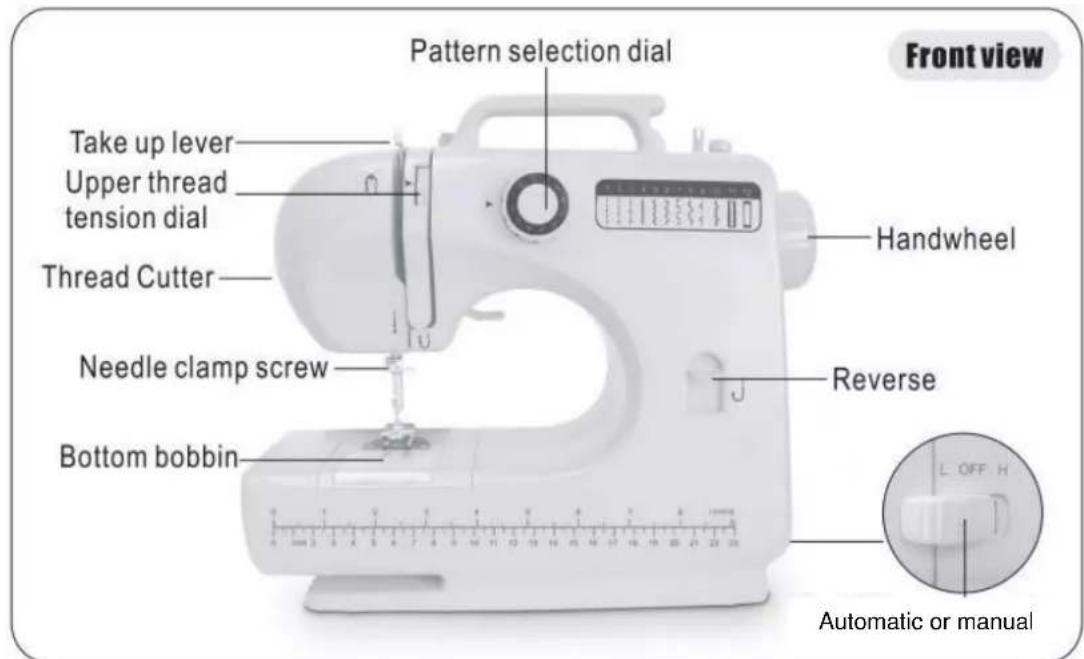
text_image
Pattern selection dial Take up lever Upper thread tension dial Thread Cutter Needle clamp screw Bottom bobbin Handwheel Reverse Automatic or manual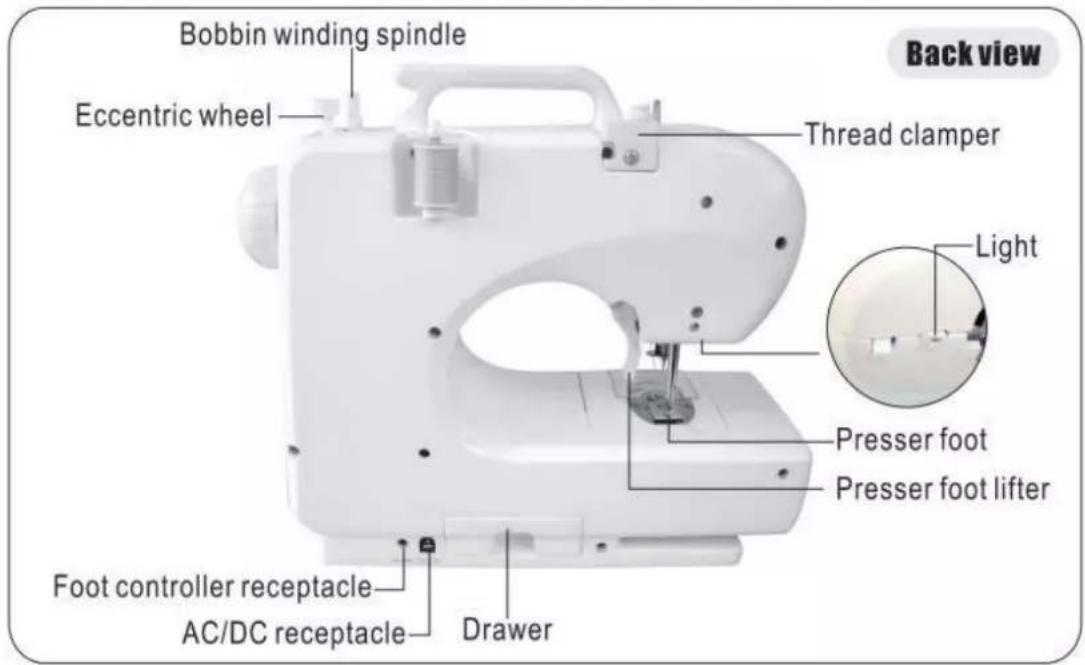
text_image
Bobbin winding spindle Eccentric wheel Thread clamper Light Presser foot Presser foot lifter Foot controller receptacle AC/DC receptacle Drawer Back viewACCESSORIES
| Foot controller ×1 |  |
| Thread spool ×2 |  |
| Bobbin ×2 |  |
| Needle threader ×1 |  |
| Needle(#14) ×1 |  |
| Adaptor ×1 |  |
CONNECTING THE SEWING MACHINE TO THE MAINS POWER SUPPLY
- Connect plug "A" to the machine and plug "B" into the main socket.
- Connect the foot control "C" to the machine
- The speed of the machine can be regulated by applying pressure to the foot controller.
Caution:
Always switch OFF and unplug the machine when not in use.
Output: DC 6V 7.2W
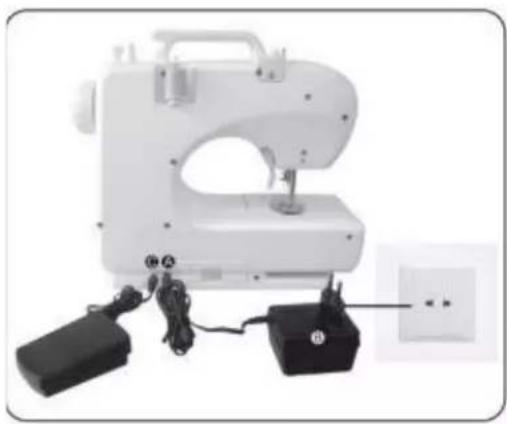
natural_image
White sewing machine with attached black electrical plug and cable, no visible text or symbols(Fig.2).
WAYS OF THREADING
Threading the upper thread as follow:
- Place full cotton reel on to the large recessed spindle at the top/rear of the machine with the thread to the rear. Push the reel cover over the spindle so that the reel cannot come off.
- Loop the thread around the outside of thread guide1.
- Guide the thread into groove2 aligned with guide1 and pull\up towards the chrome take up lever3.
- Feed the thread through the hole in the chrome lever and pull straight down towards the needle.
- Feed the thread through the hole in the needle holder.
- Feed the thread through the eye of the needle.
Caution: When threading the sewing machine make sure that the" power off/speed switch" is in the OFF position and follow the steps1-6 below. Turn hand wheel counter clockwise until the needle is in the highest position.
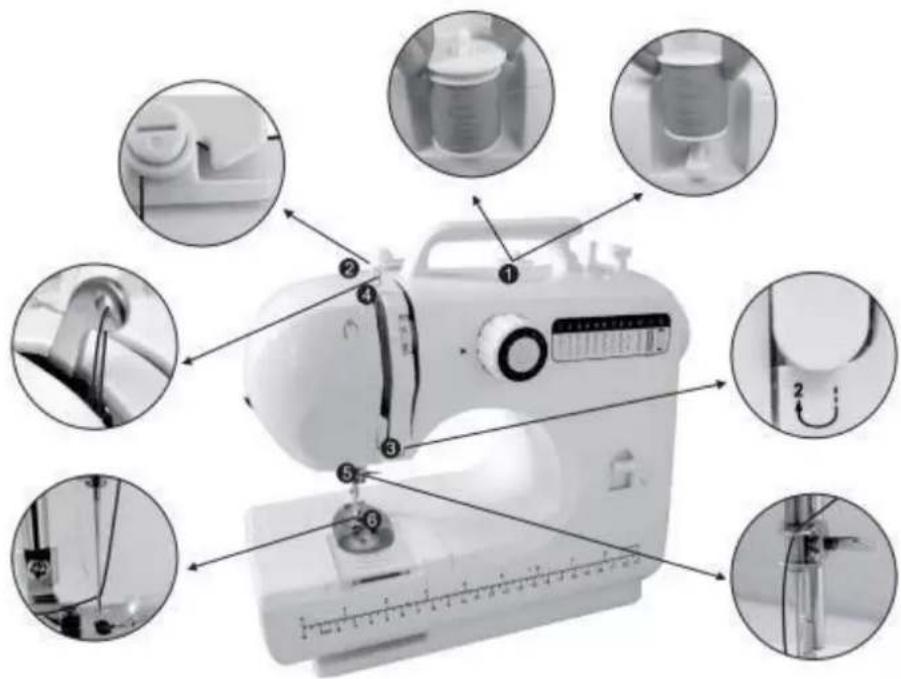
text_image
Diagram of a sewing machine with numbered parts and close-ups of mechanical components, likely illustrating sewing or fabricing steps.REPLACING THE BOBBIN
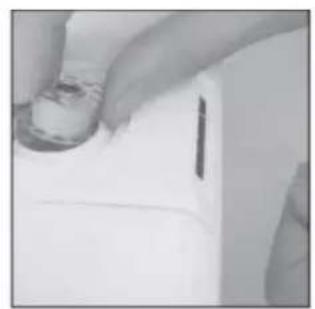
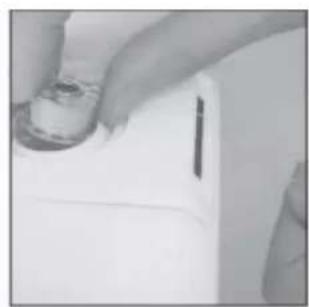
- Remove bobbin cover and take out the empty bobbin (Fig.1).
-
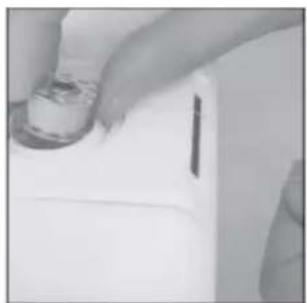
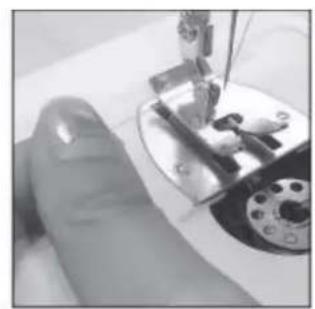
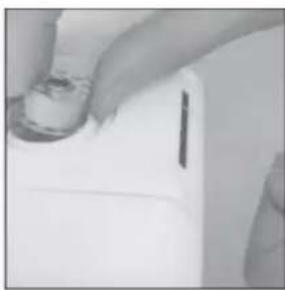
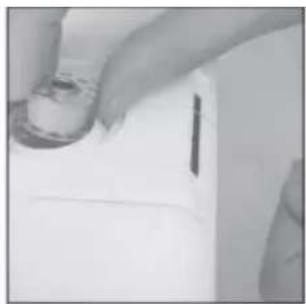
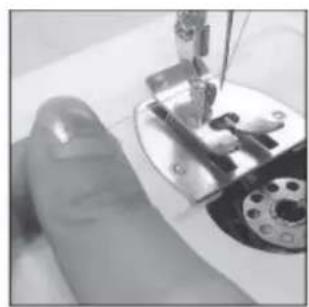
Place the bobbin in the bobbin case with the thread unwinding in a clockwise direction. Leaving about 10cm of thread extended out from the bobbin case (Fig.2).
-
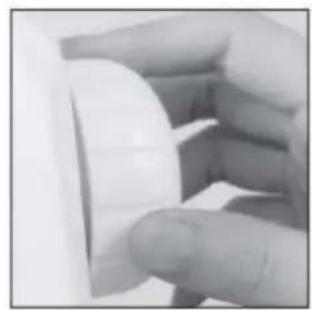
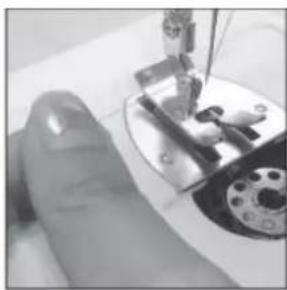
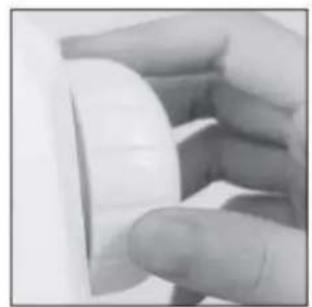
Leave about 10cm (4inch) of thread on upper bobbin (Fig.3).
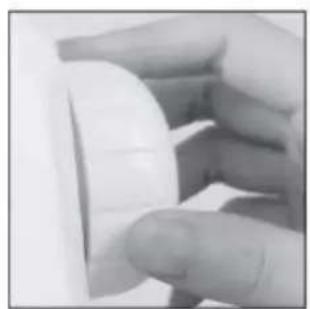
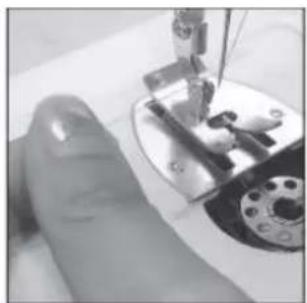
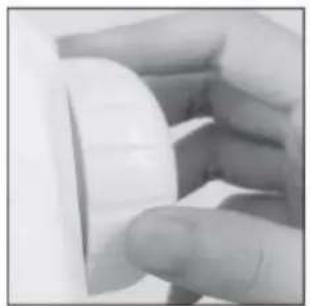
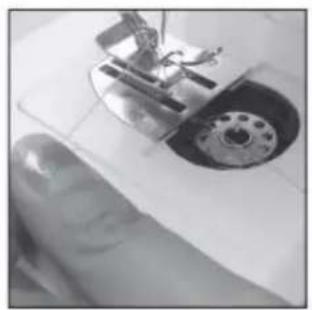
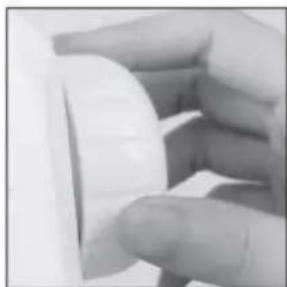
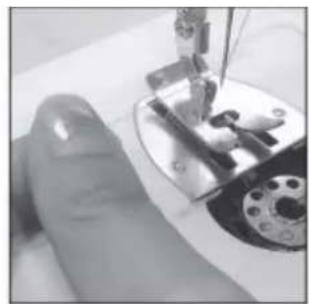
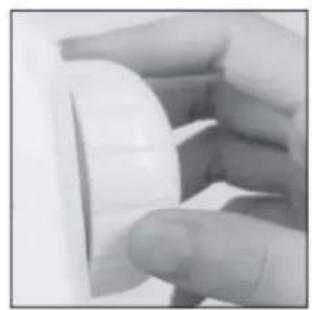
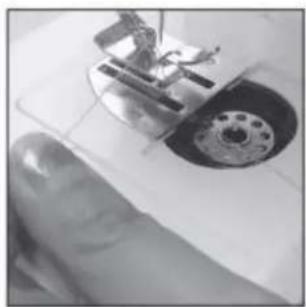
- Raise the presser foot; hold the upper thread with the left hand, use right hand to turn the hand wheel anticlockwise until the needle is raised (Fig.4).
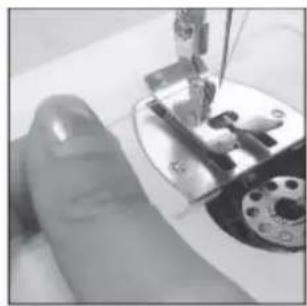
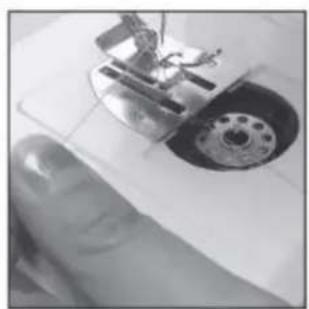
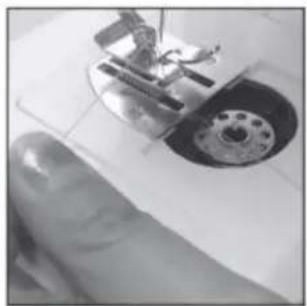
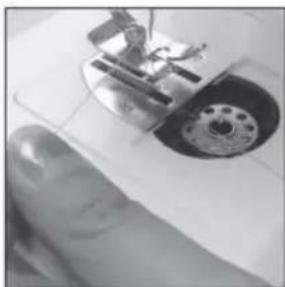
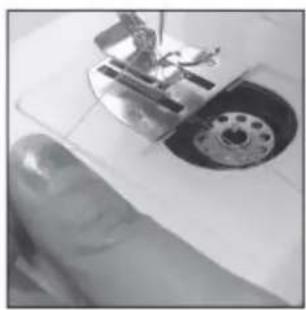
- When needle reach the bottom, the hook tray will hook the upper thread, ratate the hoof tray to pull the lower thread out (Fig.5).
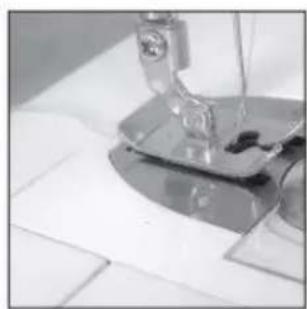
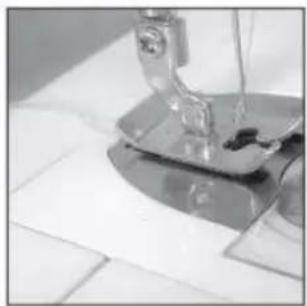
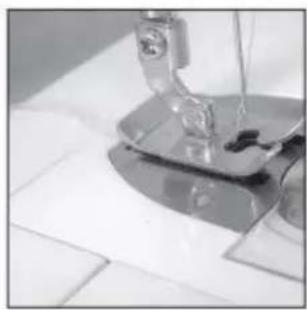
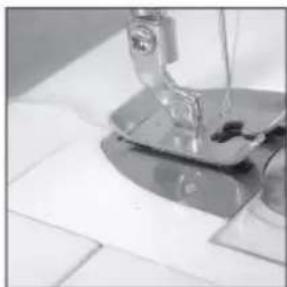
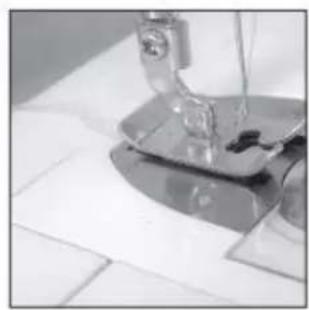
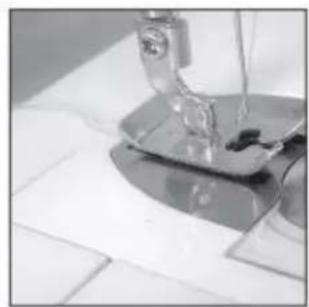
- Pull the lower thread and upper thread under presser foot, pull out 10cm to the back (Fig.6).
Caution:
It is essential that both top and bottom are threaded correctly.
Check carefully and do a practice stitch before begin to sew.
Very Important:
Make sure you always use a metal bobbin otherwise the magnetized bobbin case will not be activated and there will not be any tension on your bobbin thread.
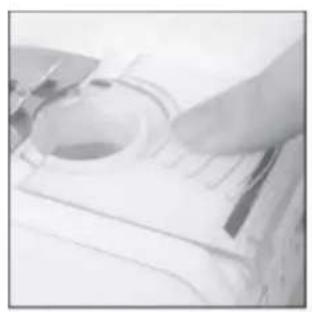
natural_image
Close-up of a hand pressing down on a white surface with a circular opening (no visible text or symbols)Fig.1
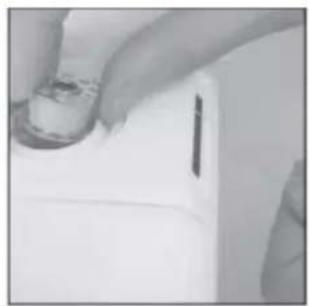
natural_image
Close-up of a hand holding a white plastic container with a black mark on the side (no visible text or symbols)Fig.2
natural_image
Close-up of a sewing machine needle stitching a metal workpiece, with no visible text or symbols.Fig.3
natural_image
Close-up of a finger pressing down on a white cylindrical object (no visible text or symbols)Fig.4
natural_image
Close-up of a sewing machine needle and circular component on a white surface (no visible text or symbols)Fig.5
natural_image
Close-up of a sewing machine needle stitching fabric on a white surface (no visible text or symbols)Fig.6
WINDING THE BOBBIN
- Put a spool of thread on spool pin (Fig.7).
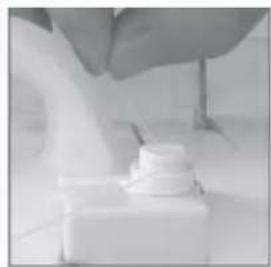
- Guide the thread through the upper of the thread clamper. (Fig.8).
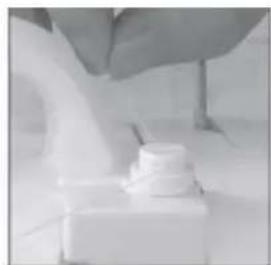
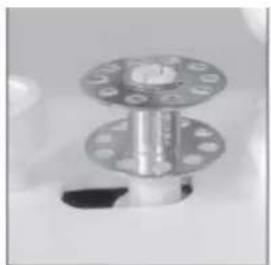
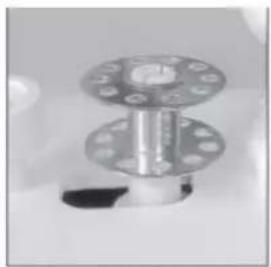
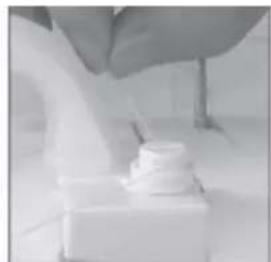
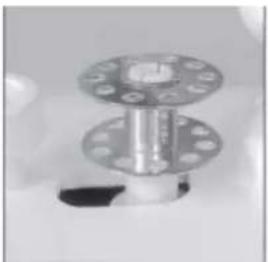
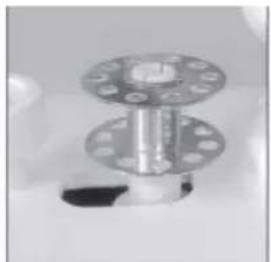
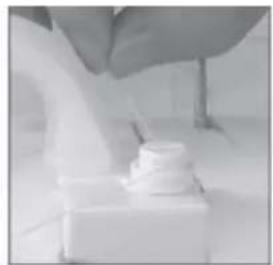
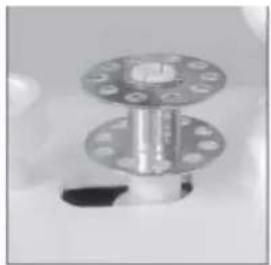
- Put the Push the bobbin into the bobbin winder spindle, and make sure it aligns with the groove of the bobbin winder spindle. (Fig. 9).
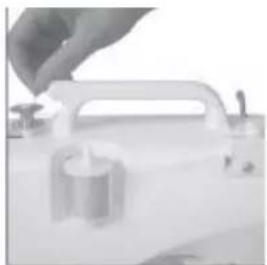
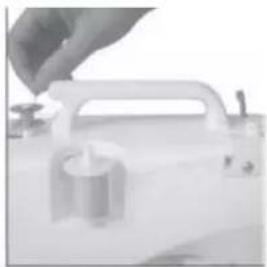
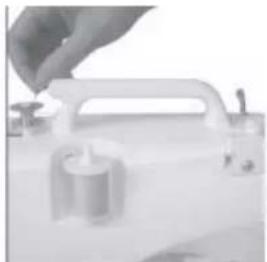
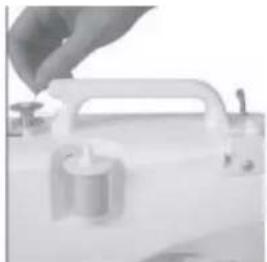
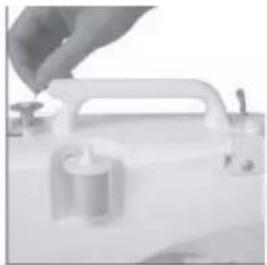
- Turn the winding spindle clockwise to make winding in clockwise way. (Fig.10).
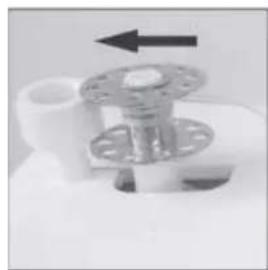
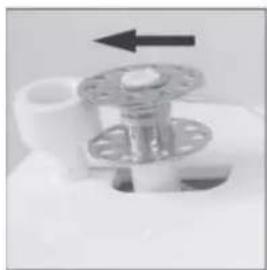
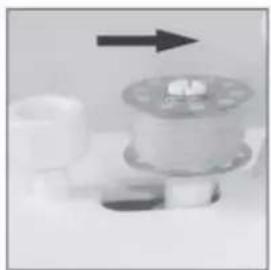
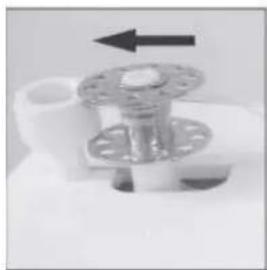
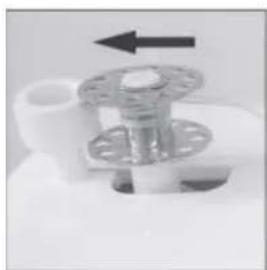
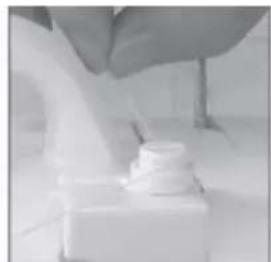
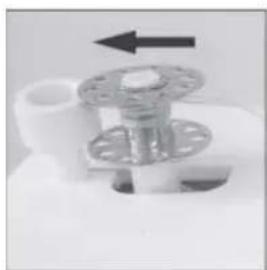
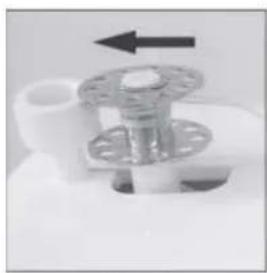
- Push bobbin to the right (Fig.11).
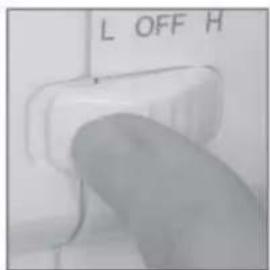
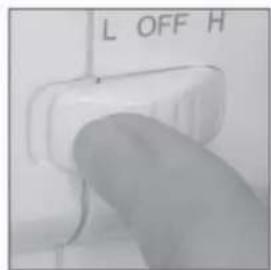
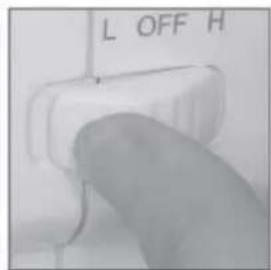
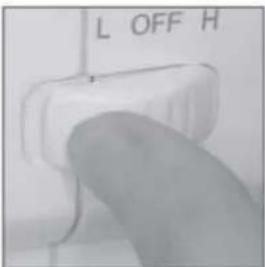
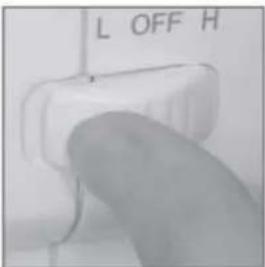
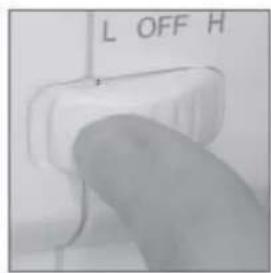
- Open the speed switch to start winding. (Fig.12).
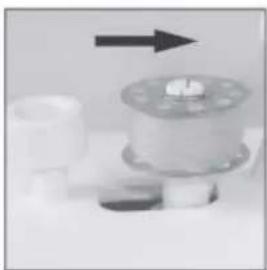
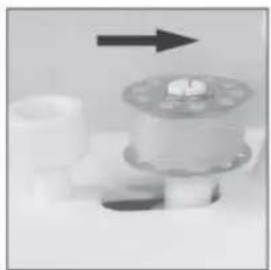
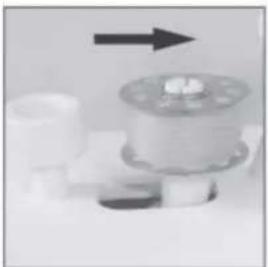
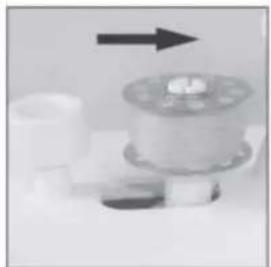
- Stop winding after correct volume of thread is winded on bobbin. (Fig.13).
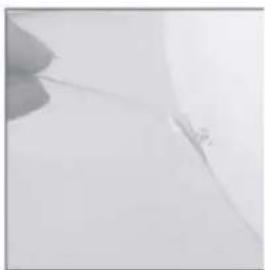
- Take bobbin off the spindle and cut the thread. (Fig.14).
Note: Please use your hand to assist winding the bobbin. While the bobbin winding, forbid there is thread on the machine needle, and then take up lever.
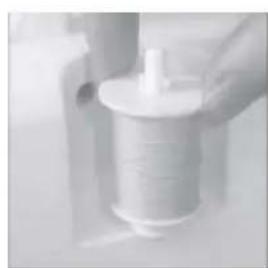
natural_image
Close-up of a hand holding a white spool, no visible text or symbolsFig.7
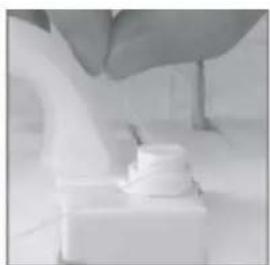
natural_image
Close-up of a hand holding a small white plastic component on a light surface (no text or symbols visible)Fig.8
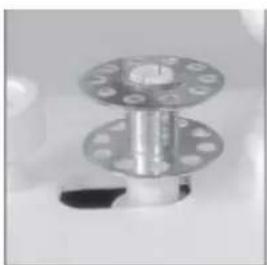
natural_image
Close-up of a metallic mechanical flange with bolt holes and a small base (no visible text or symbols)Fig.9
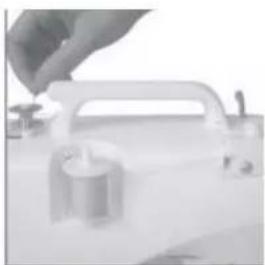
natural_image
Close-up of a hand holding a transparent plastic tool with a cylindrical component (no visible text or symbols)Fig.10
natural_image
Close-up of a mechanical component with a central flange and an arrow indicating direction (no visible text or symbols)Fig.11
text_image
L OFF HFig.12
natural_image
Close-up of a mechanical component with a spool and a black arrow indicating direction (no visible text or symbols)Fig.13
natural_image
Close-up of a thin, thin object with a small mark on its surface (no text or symbols visible)Fig.14
NEEDLE REPLACEMENT
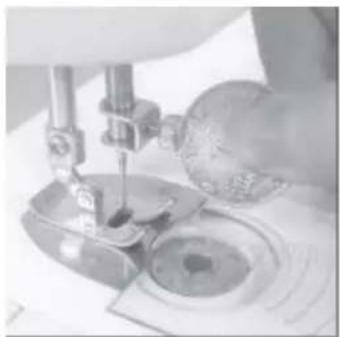
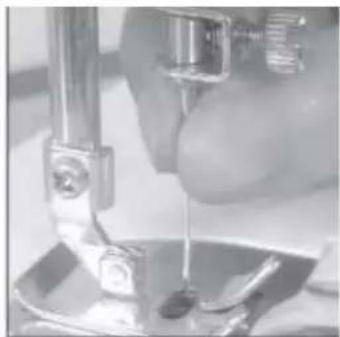
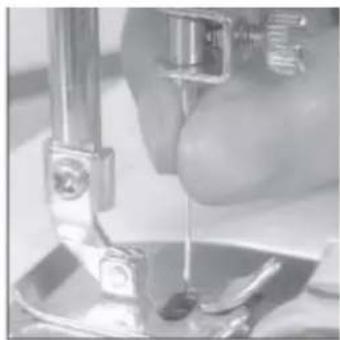
- Turn the hand wheel to raise the needle to its highest position.
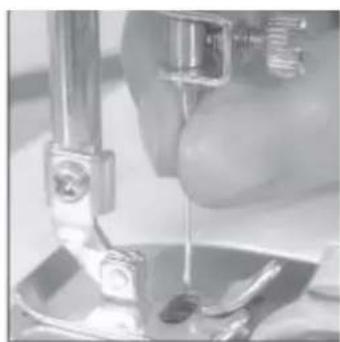
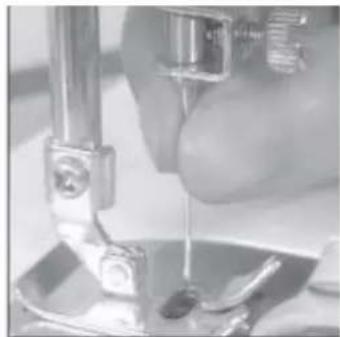
- Hold the old needles and loosen the needle clamp screw. Remove the old needle and discard responsibly.
- Insert the new needle into the clamp with the flat side toward the right. Be sure to push the needle clamp before tightening the needle clamp screw.
- Tighten the needle clamp screw.
CAUTION: Remove the batteries and/or disconnect the AC/DC adapter before starting to replace the needle.
natural_image
Close-up of a microscope with a spherical object on a surface, no visible text or symbolsFig.15
natural_image
Close-up of a hand pouring liquid from a small container into a metal stand (no visible text or symbols)Fig.16
SEWING
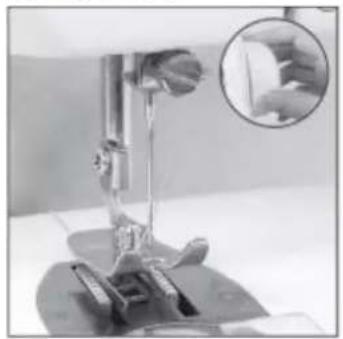
- Turn the hand wheel on the side of the sewing machine anticlockwise to raise the needle to its highest position. (Fig. 17).
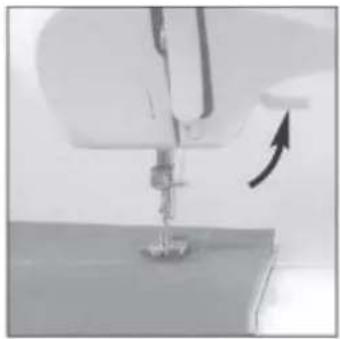
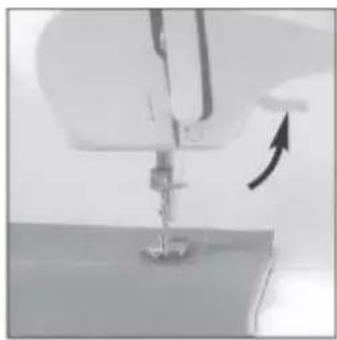
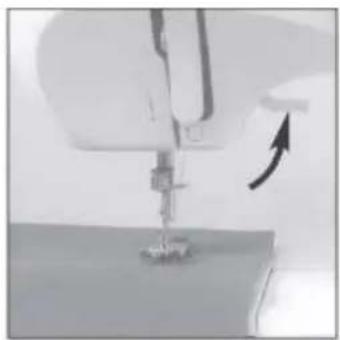
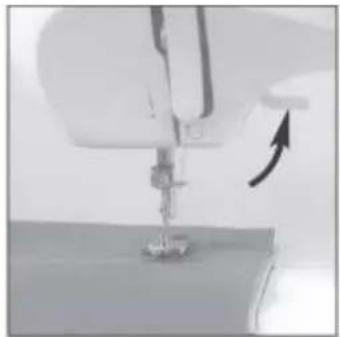
- Lift the presser foot and place the fabric you wish to sew under the presser foot (Fig.18).
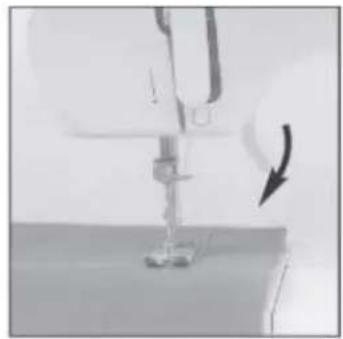
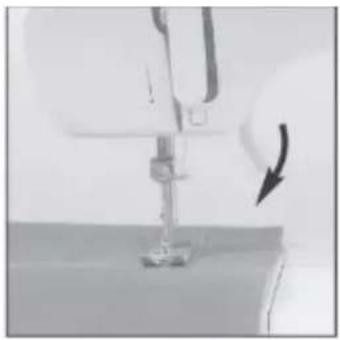
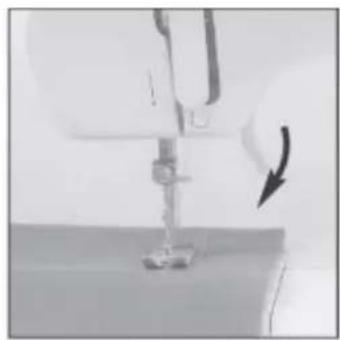
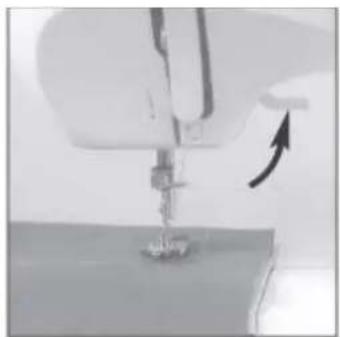
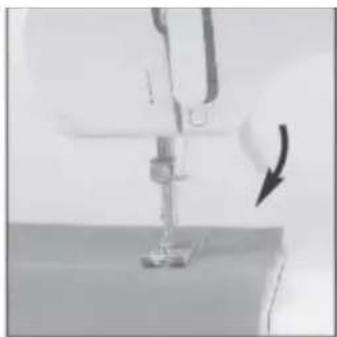
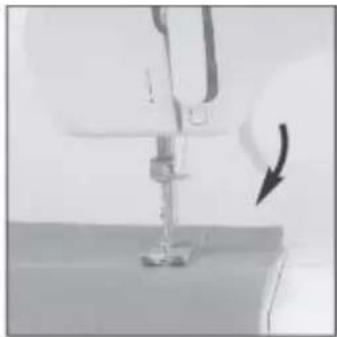
- Lower the presser foot (Fig.19).
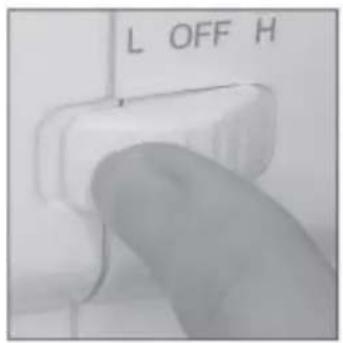
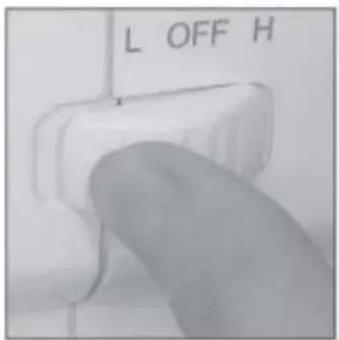
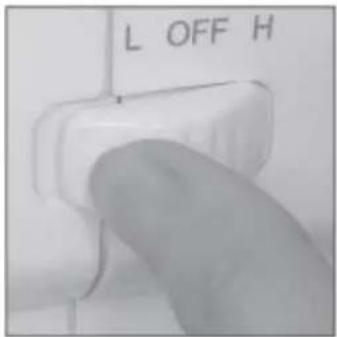
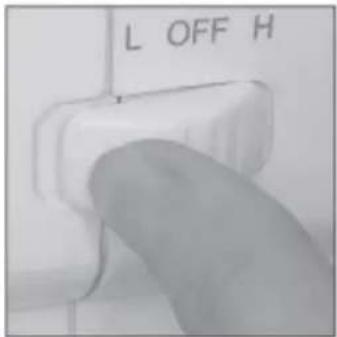
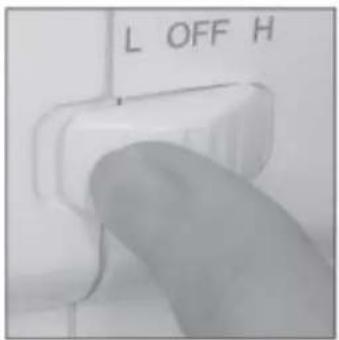
- Press the ON/OFF button on the "ON" position and begin sewing. Do not pull the fabric. Gently guide the fabric to keep the seam straight. (Fig.20).
- After finishing sewing, press the ON/OFF button to the "OFF" position to stop sewing. (Fig.20).
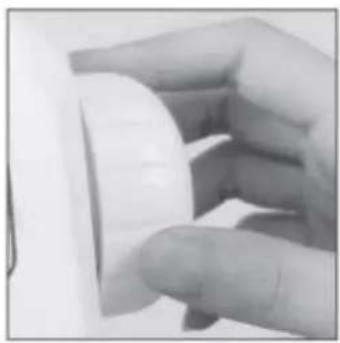
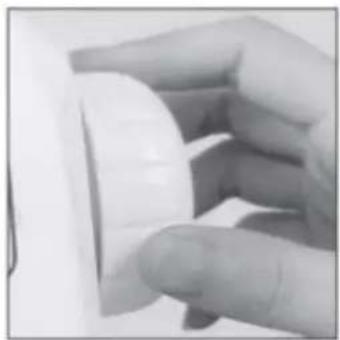
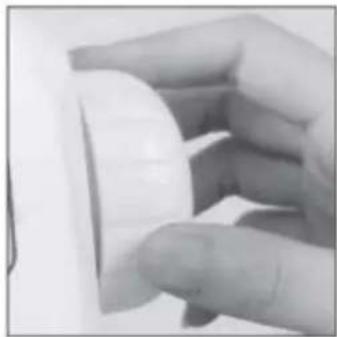
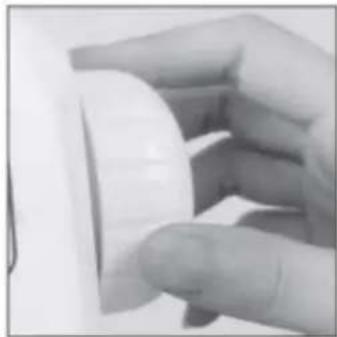
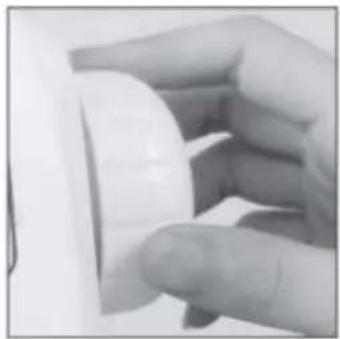
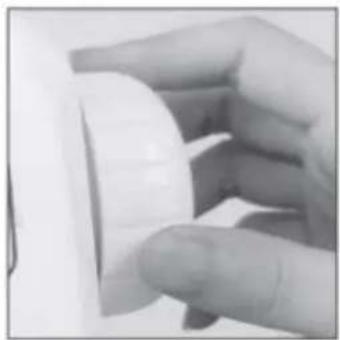
- Turn the hand wheel to raise the needle to the highest position. Lift the presser foot and pull out the thread tension release bar then gently remove the fabric away from the sewing machine. (Fig.21).
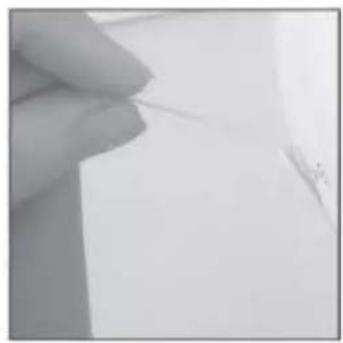
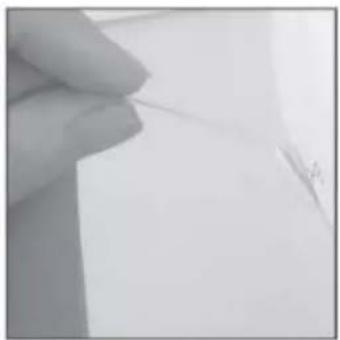
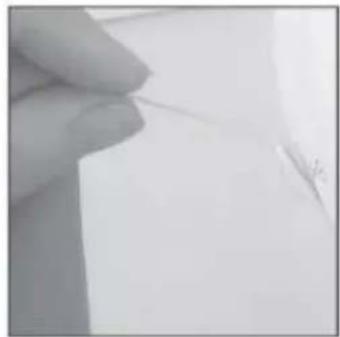
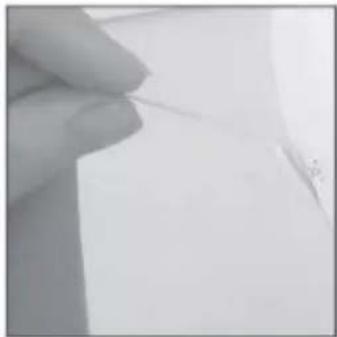
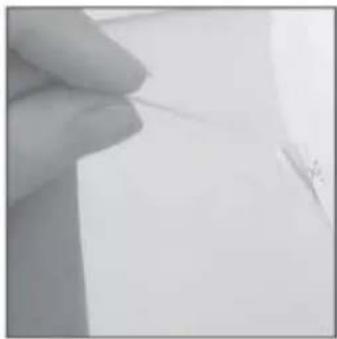
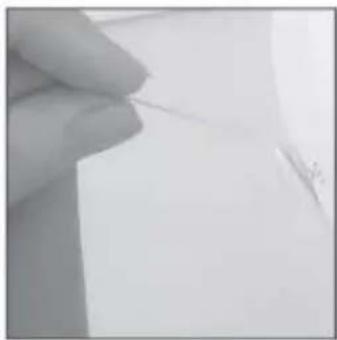
- Cut the thread using the thread cutter. (Fig.22).
Warning: When the sewing machine running, please do not touch the pattern selection dial
natural_image
Close-up of a sewing machine needle with a magnified inset showing fabric detail (no text or symbols visible)Fig.17
natural_image
Close-up of a sewing machine needle stitching fabric, with an arrow indicating the process (no visible text or symbols)Fig.18
natural_image
Close-up of a sewing machine needle with a curved arrow indicating rotation (no text or symbols visible)Fig.19
text_image
L OFF HFig.20
natural_image
Close-up of a hand holding a white cylindrical object, possibly a mechanical part or tool (no visible text or symbols)Fig.21
natural_image
Close-up of a hand holding a piece of paper with a small mark, no visible text or symbolsFig.22
FEATURES
SELECTION STITCH PATTERM
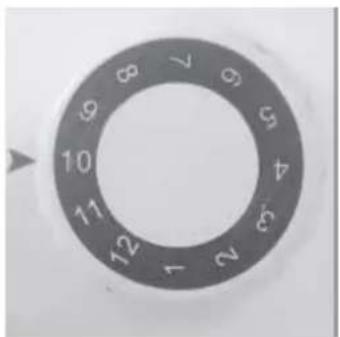
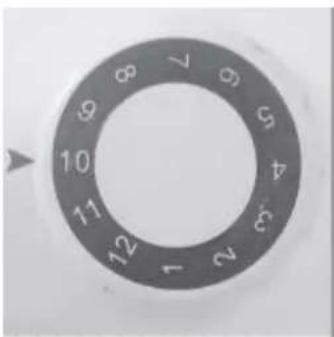
This machine has 12 kinds of thread stitch patterns, three kinds of straight lines, seven kinds of zigzag stitch, two kind of locking buttonhole stitch. See the stitch patterns drawing. Rotating the stitch patterns dial to select the stitch pattern you wanted.
text_image
7 6 5 4 3 2 1 12 11 10 9 8 7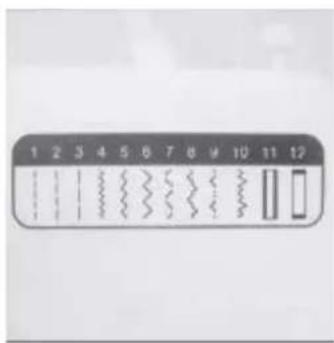
text_image
1 2 3 4 5 6 7 8 9 10 11 12MANUAL BUTTONHOLE
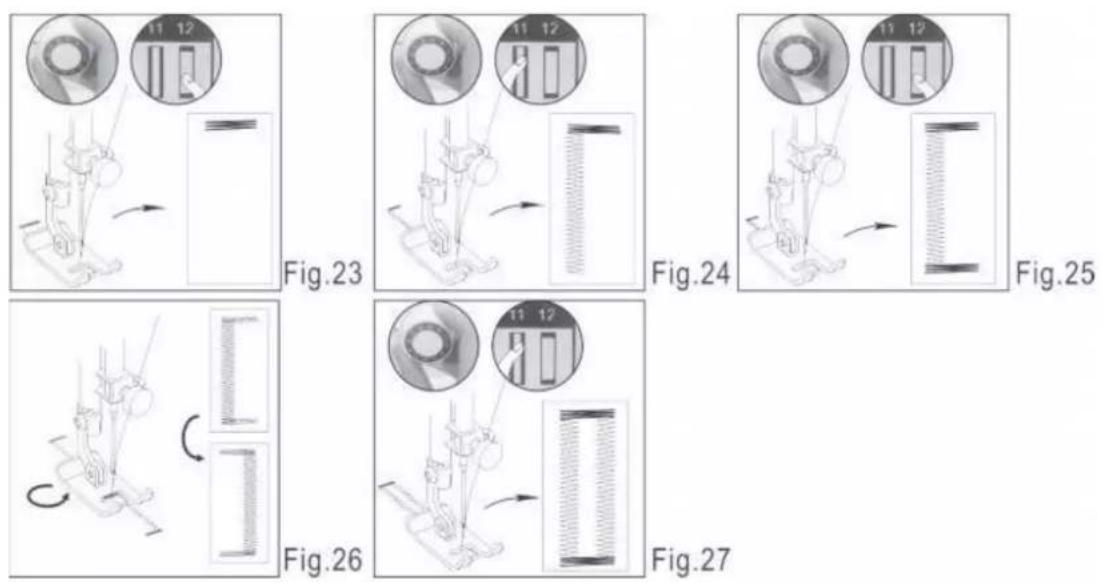
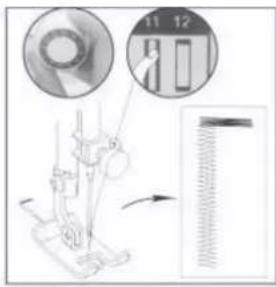
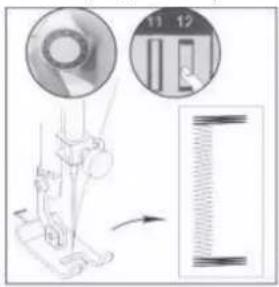
- Put cloth under presser foot and press down the presser foot on the cloth where you need to sew buttonhole, then choose the 12^th stitch.
- Turn on the switch and sew 3-4 stitch in low speed, then turn off switch (Fig.23).
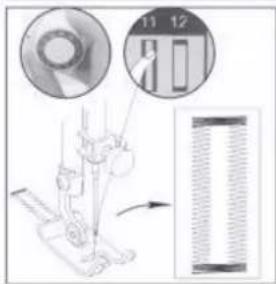
- Choose the 11 ^th stitch, turn on switch and sew on the cloth in suitable length, then turn off switch. Note that try to keep sewed stitch in straight line (Fig. 24).
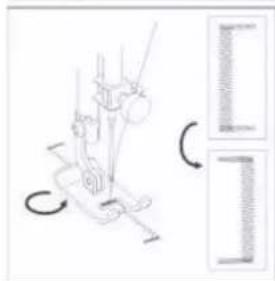
- Raise the presser foot, turn the cloth head back (because cloth is sewed forward, if you want to sew buttonhole, you need to turn the direction of sewing.) (Fig. 25).
- Choose the 12^th stitch, then turn on the switch and sew 3-4 stitch on low speed, then turn off switch. (Fig. 26).
- Choose the 12 ^th stitch, then turn on the switch and sew till buttonhole is over sewed fully, then stop sewing (Fig. 27).
text_image
Fig.23 Fig.24 Fig.25 Fig.26 Fig.27FEATURES
ADJUSTING STITCHING
- As shown in the picture A, normal stitching shall have top and bottom threading neither over tight or loose.

text_image
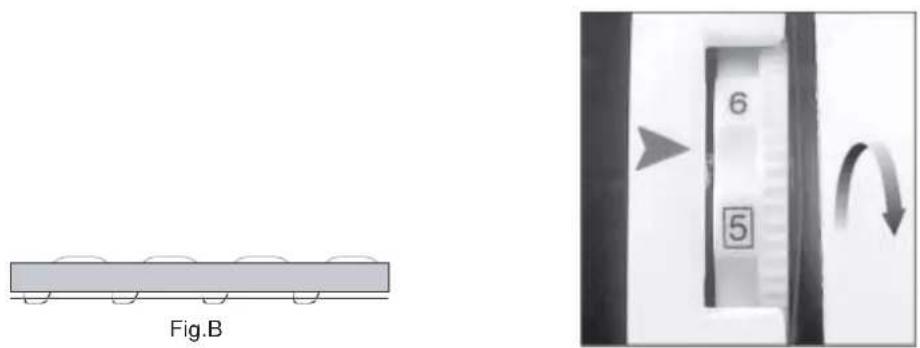
Top thread Cloth Bottom thread Fig. A- If the bottom threading looks like a straight line, which indicates the top thread is too loose. Please turn in thread damp clock wise to increase pressure until the stitching returns to normal.
text_image
Fig.B 6 5- However, when the top thread looks like a straight line indicating an over-tight top thread, slowly turn the thread clamp anti clock wise to reduce pressure until the stitching back to normal.
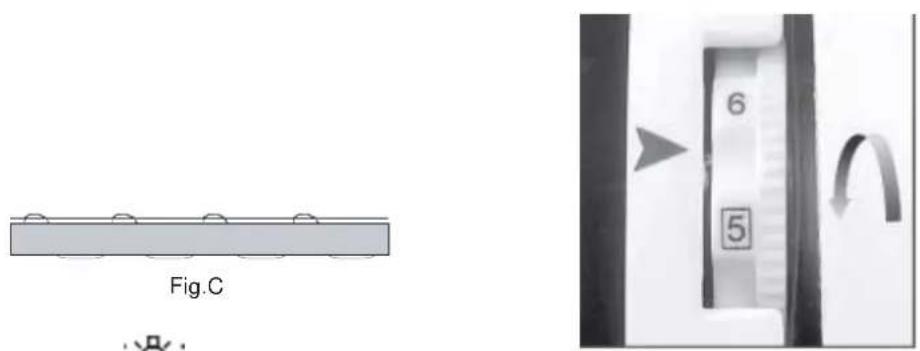
text_image
Fig.C 6 5WORKING LAMP

IF additional light is needed, press the light switch to turn the light "ON". Press the switch again to turn it "OFF".
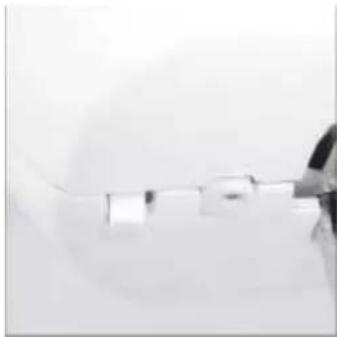
natural_image
Close-up of a hand holding a small object, possibly a tool or device, against a plain background (no visible text or symbols)REVERSE SEWING [U]
Reverse sewing is often done for reinforcement at the beginning and end of seam (back stitching)
- Reverse sewing is suitable for fastening the seam when start seam or finish seam to avoid stitches loose.
- Stop the machine firstly, the press the reverse button as picture, the machine can sew reverse. Release the reverse button, the machine can recover to sew forward.
FEATURES
ZIGZAG
- Set pattern selection dial to zigzag pattern (4th -10th)
- Turn the hand wheel to raise the needle to the highest Position. Set pattern selection dial to zigzag or straight lines.
Caution: when you want to change stitches, please repeat the third step first.
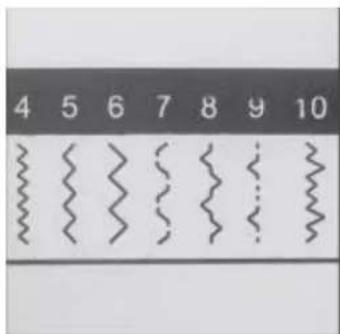
text_image
4 5 6 7 8 9 10SELECTING THE SEWING MODE:
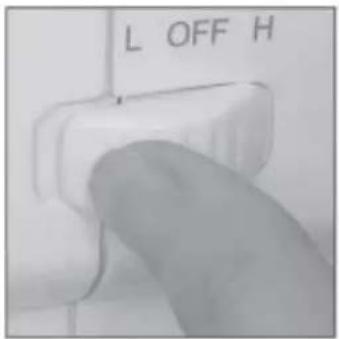
The machine has two sewing modes, if you move the button to the letter L then it is the automatic mode and if you move it to the letter H then it is the manual mode.
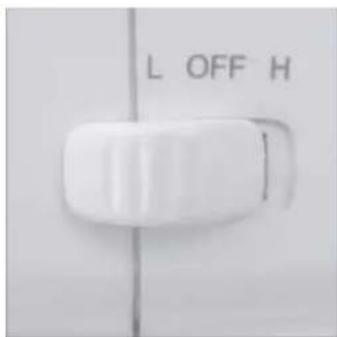
text_image
L OFF HSEWING SLEEVES
This sewing machine has been designed to sew sleeves or and narrow openings in garment.
- Left the presser foot.
-
Position the garment over the sewing arm.
-
Lower the presser foot and follow the regular sewing instructions.

natural_image
Close-up of a white fabric or towel with a small metallic object above it (no visible text or symbols)DARWER
This drawer is a accessory storage compartment.
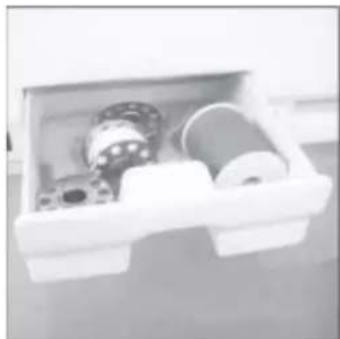
natural_image
White plastic tray containing mechanical components including rollers and a housing (no visible text or symbols)THRAED CUTTER
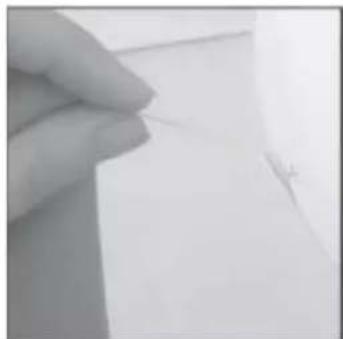
It has a thread cutter on the central left side of machine; it can cut off the thread after sewing or winging thread.
natural_image
Close-up of a hand holding a thin paper edge against a plain background (no text or symbols visible)TROUBLE SHOOTING GUIDE
| Problem | Problem cause | Amendment |
| No power supply or the machine runs slowly | Batteries are installed incorrectly | Reinstall the batteries making sure they are the correct way around |
| Batteries are low | Use new batteries | |
| Adaptor power inadequate | Use compatible adaptor | |
| Skipping stitches | Needle eye not in the middle | Remove and re-insert the needle with the flat side of the needle to the back |
| Needle bent | Remove and re-insert a new needle | |
| Presser foot too loose | Tighten the presser foot | |
| Bobbin thread cannot be drawn up | Lower thread has been used up | Replace with new full bobbin |
| Needle threaded incorrectly | Re-thread the needle, making sure it is threaded from the front to the back | |
| Thread keeps breaking | Needle bent | Remove and re-insert a new needle |
| Needle shank not properly seated | Remove and re-insert a new needle | |
| Thread tension dial, thread guide or thread pulling bar too tight | Loosen the thread tension between 3-5 number | |
| Stitches too loose or uneven | Thread blocked by upper bobbin | Pull out the spool pin and make the bobbin or thread run smoothly |
| Upper thread too tight or lower thread too loose | ||
| Breaking needle | Needle bent or deformed | Remove and reinsert a new needle |
| Presser foot too loose | Remove and reinsert a new needle and screw tight | |
| Pull fabric with force when sewing | Remove and reinsert a new needle and thread again | |
| Needle not lowered into fabric when start sewing | Remove and reinsert a new needle, thread again, turn hand wheel to lower the needle into fabric, and then start sewing. |
| The instructions state the substance of the following: | P | ||
| -Switch off or unplug the appliance when leaving it unattended | P | ||
| -Unplug the appliance before carrying out maintenance or replacing lamps | P |
ENVIRONMENT
CAUTION :
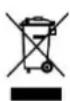
Do not dispose of this product as it has with other household products. There is a separation of this waste product into communities, you will need to inform your local authorities about the places where you can return this product. In fact, electrical and electronic products contain hazardous substances that have harmful effects on the environment or human health and should be recycled. The symbol here indicates that electrical and electronic equipment should be chosen carefully, a wheeled waste container is marked with a cross.
Adeva SAS / H.Koenig Europe - 8 rue Marc Seguin - 77290 Mitry Mory - France
www.hkoenig.com - sav@hkoenig.com - contact@hkoenig.com - Tél: +33 1 64 67 00 05
FRANÇAIS
Attention
natural_image
White sewing machine with attached black electrical outlet and power cord (no visible text or symbols)Méthode d'enfilage
text_image
Diagram of a sewing machine with numbered parts and close-ups of mechanical components, likely illustrating sewing or fabricing steps.REEMPLACER LA CANETTE
natural_image
Close-up of a hand pressing down on a surface with a circular object (no visible text or symbols)Fig.1
natural_image
Close-up of a hand holding a white object with a dark vertical line on the side (no text or symbols visible)Fig.2
natural_image
Close-up of a hand operating a sewing machine on a workbench (no visible text or symbols)Fig.3
natural_image
Close-up of a hand holding a white cylindrical object, possibly a mechanical part or tool (no visible text or symbols)Fig.4
natural_image
Close-up of a sewing machine needle and circular mechanical component on a tiled floor (no visible text or symbols)Fig.5
natural_image
Close-up of a sewing machine needle stitching fabric on a white surface (no text or symbols visible)Fig.6
REMLISSAGE DE LA CANETTE
natural_image
Close-up of a hand holding a white spool, no visible text or symbolsFig.7
natural_image
Close-up of a hand pressing down on a small white cylindrical object (no visible text or symbols)Fig.8
natural_image
Close-up of a metallic mechanical component with flanged ends and a central hole (no visible text or symbols)Fig.9
natural_image
Close-up of a hand pressing down on a white industrial machine component (no visible text or symbols)Fig.10
natural_image
Close-up of a mechanical component with a metallic flange and arrow indicator (no visible text or symbols)Fig.11
text_image
L OFF HFig.12
natural_image
Close-up of a mechanical component with a cylindrical housing and an arrow pointing upward (no visible text or symbols)Fig.13
natural_image
Close-up of a hand holding a thin, thin object against a plain background (no text or symbols visible)Fig.14
REPLACEMENT DE L'AIGUILLE
natural_image
Close-up of a sewing machine needle stitching dark material on a workbench (no visible text or symbols)Fig.15
natural_image
Close-up of a hand using a sewing machine to lift or lift material (no visible text or symbols)Fig.16
COUDRE
natural_image
Close-up of a sewing machine needle with a magnified inset showing fabric detail (no text or symbols visible)Fig.17

natural_image
Close-up of a sewing machine needle with a curved arrow indicating motion (no text or symbols visible)Fig.18
natural_image
Close-up of a sewing machine needle with a black arrow indicating rotation (no text or symbols visible)Fig.19
text_image
L OFF HFig.20
natural_image
Close-up of a hand holding a white plastic component (no visible text or symbols)Fig.21
natural_image
Close-up of a hand holding a piece of paper with a small mark (no visible text or symbols)Fig.22
CARACTÉRISTIQUES
SELECTION DE POINT
text_image
Top thread Cloth Bottom thread Img. Atext_image
Fig.23 Fig.24 Fig.26 Fig.27natural_image
Close-up of a hand holding a small transparent object against a plain background (no text or symbols visible)POINT INVERSE [ ]
natural_image
Exterior view of a modern office building (no signage)![Wëasy SW45 - POINT INVERSE [ ] - 1](/content/2026/04/694415/images/70fc29eeaaa22ff11943c271a826ce35617a3e8768682bf3ac4b7e0b4b81fbbf.jpg)
natural_image
White plastic tray containing mechanical components including rollers and gears (no visible text or symbols)COUPE FIL
natural_image
Close-up of a hand holding a thin wire or filament against a plain background (no text or symbols visible)GUIDE DE DÉPANNAGE
natural_image
White sewing machine with attached black electrical plug and power outlet (no visible text or symbols)text_image
Diagram of a sewing machine with numbered parts and close-ups of mechanical components, likely illustrating fabric or sewing process.natural_image
Close-up of a hand pressing down on a white surface with a circular object (no visible text or symbols)Fig. 1 Abb. 1
natural_image
Close-up of a hand holding a small object near a white surface, with no visible text or symbols.Fig. 2 Abb. 2
natural_image
Close-up of a sewing machine needle stitching a metal workpiece, with a hand partially visible in the foreground (no text or symbols)Fig. 3 Abb. 3
natural_image
Close-up of a hand holding a white plastic object with a curved edge (no visible text or symbols)Abb. 4
natural_image
Close-up of a sewing machine needle stitching on a white surface, with a hand partially visible in the foreground (no text or symbols)Abb. 5
natural_image
Close-up of a sewing machine needle stitching fabric on tiled floor (no visible text or symbols)Abb. 6
AUFWICKELN DER SPULE
natural_image
Close-up of a hand holding a white cylindrical object with a small protrusion (no visible text or symbols)Fig.7
natural_image
Close-up of a hand holding a small white object with a coiled spring, next to a white rectangular block (no visible text or symbols)Fig.8
natural_image
Close-up of a metallic mechanical component with flanged ends and central hub (no visible text or symbols)Fig.9
natural_image
Close-up of a hand holding a small cylindrical object with a handle, next to a white plastic container (no visible text or symbols)Fig.10
natural_image
Close-up of a mechanical component with a metallic flange and bolted base, no visible text or symbolsFig.11
text_image
L OFF HFig.12
natural_image
Close-up of a mechanical component with a cylindrical housing and an arrow pointing upward (no visible text or symbols)Fig.13
natural_image
Close-up of a smooth, light-colored surface with a small dark mark and shadow (no text or symbols visible)Fig.14
NADELWECHSEL
natural_image
Close-up of a sewing machine needle stitching dark material on a metal workpiece (no visible text or symbols)Abb. 15
natural_image
Close-up of a hand using a mechanical tool to lift or lift liquid into a bowl (no visible text or symbols)Abb. 16
NÄHEN
natural_image
Close-up of a sewing machine needle with a magnified inset showing the fabric detail (no text or symbols visible)Abb. 17
natural_image
Close-up of a sewing machine needle stitching fabric, with an arrow indicating direction (no text or symbols visible)Abb. 18
natural_image
Close-up of a sewing machine needle with a black arrow indicating rotation (no text or symbols visible)Abb. 19
text_image
L OFF HAbb. 20
natural_image
Close-up of a hand holding a white cylindrical object, possibly a mechanical part or tool (no visible text or symbols)Abb. 21
natural_image
Close-up of a hand holding a thin, thin white object against a plain background (no text or symbols visible)Abb. 22
EIGENSCHAFTEN
STICHMUSTER AUSWÄHLEN
text_image
Top thread Cloth Bottom thread Abb. Anatural_image
Close-up of a metallic object with a curved handle, possibly a tool or component (no visible text or symbols)RÜCKWÄRTSNÄHEN [U]
natural_image
Close-up of a white bed with a small object on top, possibly a lamp or stand (no visible text or symbols)SCHUBLADE
natural_image
Interior view of a white plastic tray with mechanical components (no visible text or symbols)FADENABSCHNEIDER
natural_image
Close-up of a hand holding a thin wire or filament against a plain background (no text or symbols visible)FEHLERBEHEBUNG
natural_image
White sewing machine with attached black electrical plug and power outlet (no visible text or symbols)MANIEREN OM TE NAAIEN
text_image
Diagram of a sewing machine with numbered parts and close-up insets showing fabric components and measurement setup.DE SPOEL VERVANGEN
natural_image
Close-up of a hand operating a mechanical device with a circular component (no visible text or symbols)Fig.1
natural_image
Close-up of hands holding a white object with a black vertical line (no visible text or symbols)Fig.2
natural_image
Close-up of a hand operating a sewing machine with metal components (no visible text or symbols)Fig.3
natural_image
Close-up of a hand holding a white cylindrical object (no visible text or symbols)Fig.4
natural_image
Close-up of a sewing machine needle and foot, showing mechanical components (no visible text or symbols)Fig.5
natural_image
Close-up of a sewing machine needle stitching fabric (no visible text or symbols)Fig.6
DE SPOEL OMWIKKELEN
natural_image
Close-up of a hand holding a white cylindrical object with a spool, no visible text or symbolsFig.7
natural_image
Close-up of a hand holding a white object with a small cylindrical object on a light surface (no visible text or symbols)Fig.8
natural_image
Close-up of a metallic mechanical flange component with bolt holes (no visible text or symbols)Fig.9
natural_image
Close-up of a hand using a tool to press or adjust a mechanical component (no visible text or symbols)Fig.10
natural_image
Close-up of a mechanical component with a metallic flange and central hub, showing a black arrow indicating direction (no text or symbols visible)Fig.11
text_image
L OFF HFig.12
natural_image
Close-up of a mechanical component with a spool and a cylindrical part, no visible text or symbolsFig.13
natural_image
Close-up of a white surface with a small dark mark, possibly a watermark or watermark (no text or symbols visible)Fig.14
NAALD VERVANGEN
natural_image
Close-up of a sewing machine needle stitching dark material, with a cloth partially visible on the side (no text or symbols)Fig.15
natural_image
Close-up of a hand using a sewing machine to press or install a small object (no visible text or symbols)Fig.16
SEWING
natural_image
Close-up of a sewing machine needle with a magnified inset showing the blade detail (no text or symbols visible)Fig.17
natural_image
Close-up of a sewing machine needle stitching fabric, with an arrow indicating the process (no visible text or symbols)Fig.18
natural_image
Close-up of a sewing machine needle with a black arrow indicating rotation (no text or symbols visible)Fig.19
text_image
L OFF HFig.20
natural_image
Close-up of a hand holding a white cylindrical object, possibly a mechanical component or tool (no visible text or symbols)Fig.21
natural_image
Close-up of a hand holding a piece of paper with a small mark (no visible text or symbols)Fig.22
FUNCTIES
This machine has 12 kinds of thread stitch patterns, three kinds of straight lines, seven kinds of zigzag stitch, two kind of locking buttonhole stitch. See the stitch patterns drawing. Rotating the stitch patterns dial to select the stitch pattern you wanted.
HANDMATIG KNOOPSGAT
text_image
7 8 9 10 11 12 1 2 3 4 5 6 7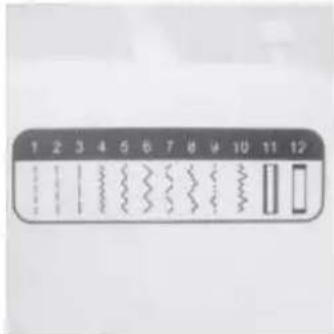
text_image
1 2 3 4 5 6 7 8 9 10 11 12text_image
Fig.23 Fig.24 Fig.25 Fig.26 Fig.27FUNCTIES
STEKEN AANPASSEN
text_image
Top thread Cloth Bottom thread Fig. Anatural_image
Diagram showing a rectangular object with evenly spaced small circular elements and a close-up of a mechanical component labeled with numbers 5 and 6 (no text or symbols beyond labels)WERKLAMP [ ]
natural_image
Close-up of a hand holding a small object against a plain background (no text or symbols visible)ACHTERUIT NAAIEN [ψ]
natural_image
Blurred grayscale image of a bed with a lamp on top (no visible text or symbols)LADE
natural_image
White plastic tray with mechanical components and rollers (no visible text or symbols)DRAAD AFSNIJDER
natural_image
Close-up of a hand holding a white paper airplane (no visible text or symbols)GIDS VOOR PROBLEEMOPLOSSING
natural_image
White sewing machine with attached black electrical outlet and power cord (no visible text or symbols)MANERAS DE ROSCADO
text_image
Diagram of a sewing machine with numbered parts and close-ups of mechanical components, likely illustrating sewing or fabricing steps.CAMBIAR LA BOBINA
natural_image
Close-up of a hand pressing down on a white surface with a circular object (no visible text or symbols)Fig.1
natural_image
Close-up of a hand holding a small object near a white surface, possibly a container or container (no visible text or symbols)Fig.2
natural_image
Close-up of a hand operating a sewing machine on a workbench (no visible text or symbols)Fig.3
natural_image
Close-up of a hand holding a white plastic object (no visible text or symbols)Fig.4
natural_image
Close-up of a sewing machine needle and circular component on a tiled floor, with a hand partially visible in the foreground (no text or symbols)Fig.5
natural_image
Close-up of a sewing machine needle stitching fabric on tiled floor (no visible text or symbols)Fig.6
ENROLLAR LA BOBINA
natural_image
Close-up of a hand holding a white cylindrical object, possibly a spool or mechanical component (no visible text or symbols)Fig.7
natural_image
Close-up of a hand pressing down on a white plastic block (no visible text or symbols)Fig.8
natural_image
Close-up of a metallic mechanical component with flanges and bolt holes (no visible text or symbols)Fig.9
natural_image
Close-up of a hand holding a small object next to a white plastic container (no visible text or symbols)Fig.10
natural_image
Close-up of a mechanical component with a metallic flange and arrow indicator (no visible text or symbols)Fig.11
text_image
L OFF HFig.12
natural_image
Close-up of a mechanical component with a spool and an arrow indicating direction (no visible text or symbols)Fig.13
natural_image
Close-up of a thin, thin object with a small white mark on the surface (no text or symbols visible)Fig.14
REEMPLAZO DE AGUJA
natural_image
Close-up of a hand using a sewing machine to measure a small object, with no visible text or symbols.Fig.15
natural_image
Close-up of a hand using a sewing machine to press or apply material (no visible text or symbols)Fig.16
COSER
natural_image
Close-up of a sewing machine needle with a magnified inset showing the fabric detail (no text or symbols visible)Fig.17
natural_image
Close-up of a sewing machine needle stitching fabric, with an arrow indicating the process (no visible text or symbols)Fig.18

natural_image
Close-up of a sewing machine needle with a curved arrow indicating rotation (no text or symbols visible)Fig.19
text_image
L OFF HFig.20
natural_image
Close-up of a hand holding a white cylindrical object, possibly a mechanical part or tool (no visible text or symbols)Fig.21
natural_image
Close-up of a hand holding a thin, thin wire on a flat surface (no text or symbols visible)Fig.22
CARACTERÍSTICAS
text_image
Diagram of a sewing machine with close-up views of a circular component and a door mechanism, showing part numbers 11 and 12.Fig.23
text_image
Diagram illustrating sewing machine operation with labeled parts and directional arrows indicating sequenceFig.24
text_image
Technical diagram illustrating sewing machine operation with labeled parts and directional arrowFig.25
natural_image
Diagram of a sewing machine with a circular motion indicator and two side-view bar charts (no text or labels)Fig.26
text_image
Technical diagram showing a sewing machine with circular components labeled 11 and 12, alongside a magnified view of the thread detail.Fig.27
CARACTERÍSTICAS
COSTURA DE AJUSTE
natural_image
Close-up of a metallic object with a curved handle, possibly a tool or component (no visible text or symbols)COSTURA REVERSA [U]
natural_image
Exterior view of a modern office building (no signage)CAJÓN
natural_image
Interior view of a white plastic tray containing mechanical components (no visible text or symbols)CORTADOR DE HILOS
natural_image
Close-up of a hand holding a thin wire or filament against a plain background (no text or symbols visible)text_image
Pattern selection dial Take up lever Upper thread tension dial Thread Cutter Needle clamp screw Bottom bobbin Handwheel Reverse Automatico o manuale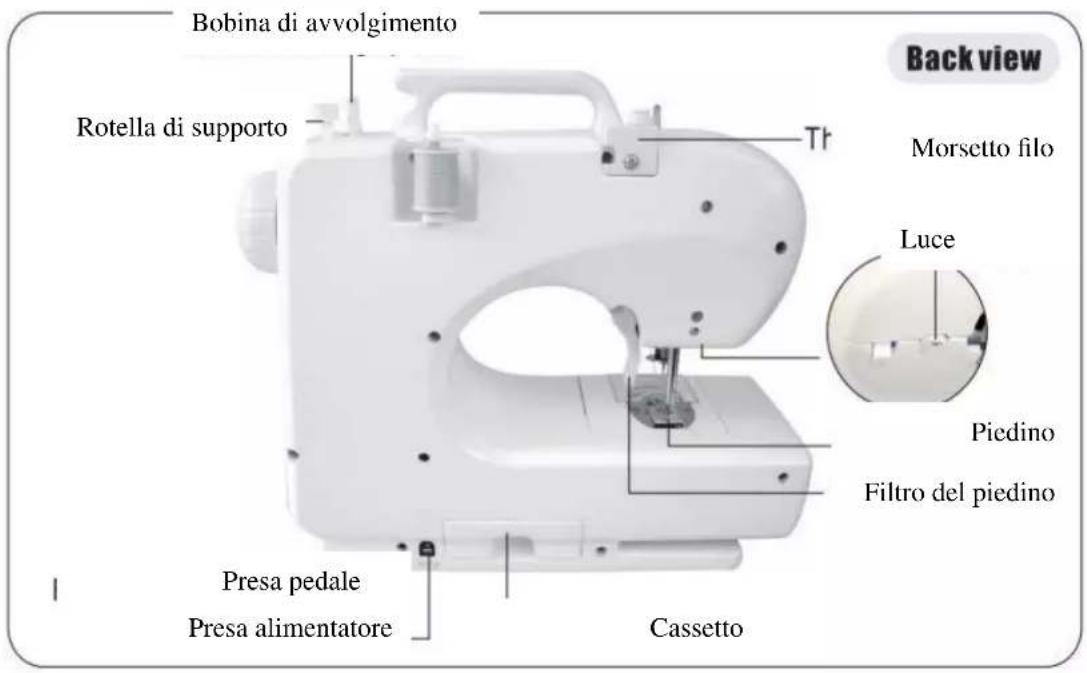
natural_image
White sewing machine with attached black electrical plug and power outlet (no visible text or symbols)text_image
Diagram of a sewing machine with numbered parts and close-up insets showing fabric handling and measurement setup.COME SOSTITUIRE LA BOBINA
natural_image
Close-up of a hand pressing down on a mechanical component (no visible text or symbols)Fig.1
natural_image
Close-up of a hand holding a white object with a dark vertical line, possibly part of a device or tool (no visible text or symbols)Fig.2
natural_image
Close-up of a sewing machine needle stitching a metal workpiece, with a hand partially visible in the foreground (no text or symbols)Fig.3
natural_image
Close-up of a hand holding a white cylindrical object, possibly a device or tool, with no visible text or symbols.Fig.4
natural_image
Close-up of a sewing machine needle and fabric wheel on a workbench (no visible text or symbols)Fig.5
natural_image
Close-up of a sewing machine needle stitching fabric on tiled floor (no visible text or symbols)Fig.6
AVVOLGIMENTO DELLA BOBINA
natural_image
Close-up of a hand holding a white cylindrical object with a small protrusion (no visible text or symbols)Fig.7
natural_image
Close-up of a hand pressing down on a white plastic block (no visible text or symbols)Fig.8
natural_image
Close-up of a metallic mechanical component with flanged ends and central hub (no visible text or symbols)Fig.9
natural_image
Close-up of a hand using a tool to press or install a mechanical component (no visible text or symbols)Fig.10
natural_image
Close-up of a mechanical component with a metallic flange and arrow indicator (no visible text or symbols)Fig.11
text_image
L OFF HFig.12

natural_image
Close-up of a mechanical component with a spool and a cylindrical housing, no visible text or symbolsFig.13
natural_image
Close-up of a thin, thin object on a plain surface (no visible text or symbols)Fig.14
COME SOSTITUIRE L'AGO
natural_image
Close-up of a microscope with a pipette and a spherical object on a surface (no visible text or symbols)Fig.15
natural_image
Close-up of a hand using a tool to apply liquid, no visible text or symbolsFig.16
CUCIRE
natural_image
Close-up of a sewing machine needle with a magnified inset showing the needle detail (no text or symbols visible)Fig.17
natural_image
Close-up of a sewing machine needle stitching fabric, with a small car model visible on the base (no text or symbols)Fig.18
natural_image
Close-up of a sewing machine needle with a black arrow indicating rotation (no text or symbols visible)Fig.19
text_image
L OFF HFig.20
natural_image
Close-up of a hand holding a white cylindrical object, possibly a device or tool (no visible text or symbols)Fig.21
natural_image
Close-up of a hand holding a piece of paper with a small mark (no visible text or symbols)Fig.22