303257 - Vacuum Cleaner Brandson - Free user manual and instructions
Find the device manual for free 303257 Brandson in PDF.


User questions about 303257 Brandson
0 question about this device. Answer the ones you know or ask your own.
Ask a new question about this device
Download the instructions for your Vacuum Cleaner in PDF format for free! Find your manual 303257 - Brandson and take your electronic device back in hand. On this page are published all the documents necessary for the use of your device. 303257 by Brandson.
USER MANUAL 303257 Brandson
BRANDSON - EQUIPMENT -
Table of contents
- Deutsch....3
- English....10
- Français....17
- Italiano....24
- Español....31
natural_image
Diagram showing spray bottle being combined with a plastic spray can, illustrating the process (no text or symbols)4 Deutsch
natural_image
Line drawing of a hand holding a small electronic device with arrows indicating process flow (no text or symbols)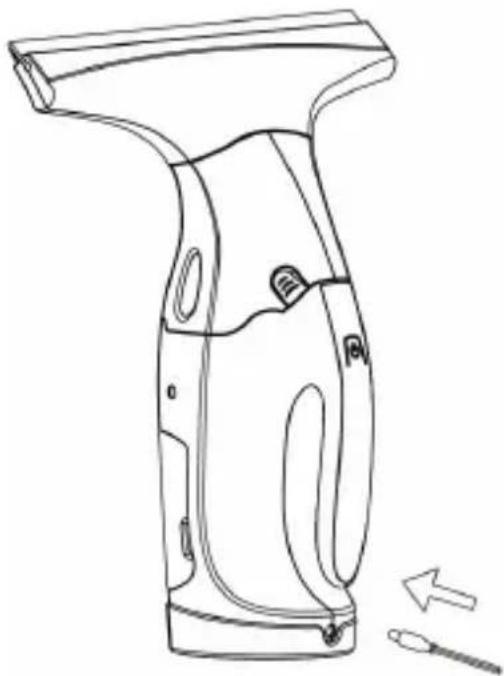
natural_image
Line drawing of a handheld device with a tool and arrow indicating movement (no text or symbols)natural_image
Line drawing of a spray gun with a downward arrow indicating motion (no text or symbols)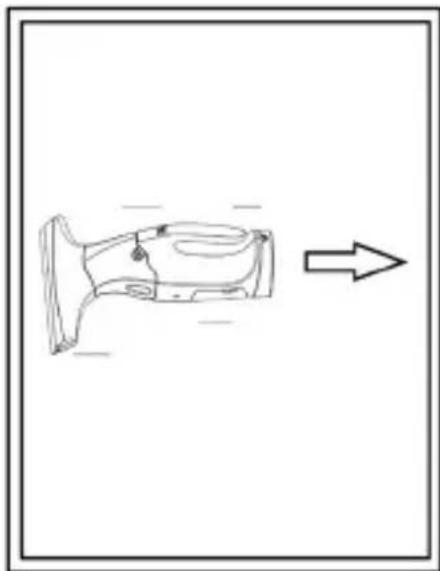
natural_image
Simple line drawing of a car body with an arrow indicating direction (no text or symbols)Thank you for choosing a Brandon product. Please read the following user manual carefully so as to get the most from the product you have purchased.
1. Scope of delivery
• Window vacuum cleaner
- Power adapter
- Suction attachment
- Spray bottle incl. mop covers
- User manual
2. Technical data
| Power supply | • Window vacuum cleaner: 3.7V DC• Power adapter: 230V ~ AC |
| Power consumption 12W | |
| Charging time 2-3 hours | |
| Output voltage (power adapter) 5V, 1A | |
| Battery type 2000mAh 3.7V Li-Ion battery | |
| Dimensions (H x W x L) 350mm x 280mm x | 103mm |
| Tank capacity • maximum 150ml (device vertical)• maximum 30ml (device horizontal) |
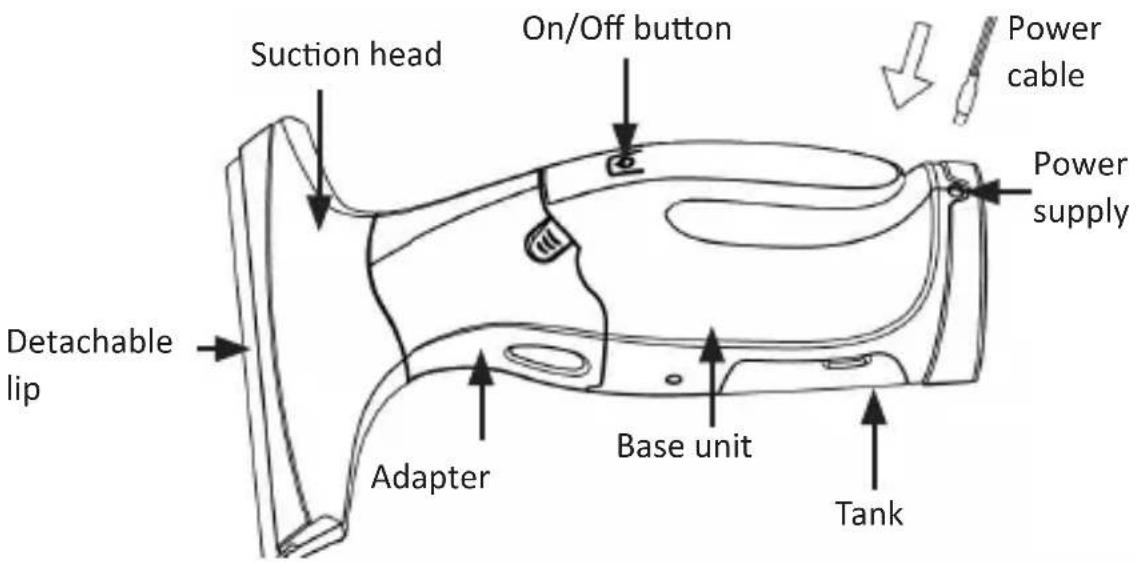
3. Product details
text_image
Suction head On/Off button Power cable Power supply Detachable lip Adapter Base unit Tank4. Intended use
- Please note that this product is only approved for domestic use.
- Use the device only for cleaning wet and even surfaces such as windows or mirrors.
- Do not vacuum dust or dirt.
- Do not use this device on rough surfaces, to avoid damaging the detachable lip.
- The device should only vacuum 30 ml of liquid when it is held horizontally. Otherwise water may leak from the tank.
- Use the device only in combination with commonly available window cleaning products (not foam cleaner etc.).
- Only use genuine spare parts or accessories which are approved by the manufacturer.
- Ensure that you empty the dirty water from the tank after cleaning.
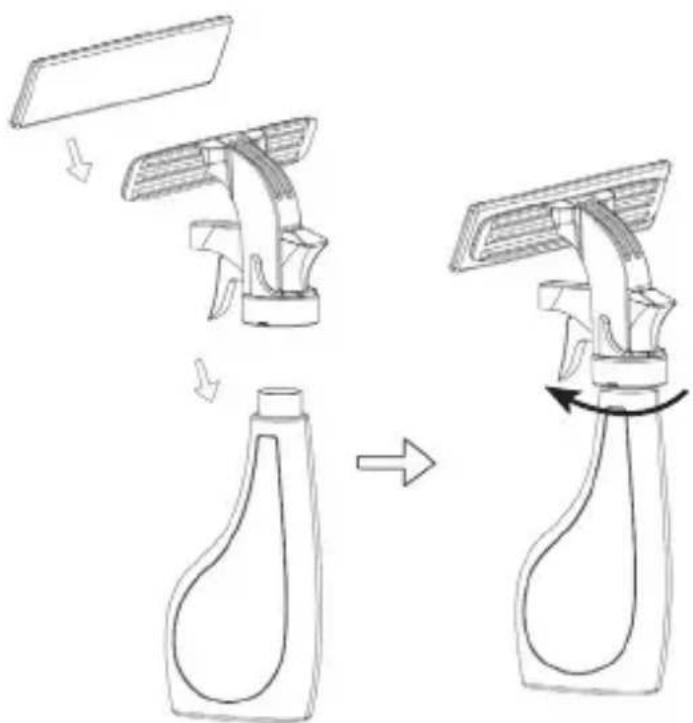
5. Assembling the spray bottle
natural_image
Diagram showing spray bottle being combined with a plastic spray bottle, illustrating the process (no text or symbols)- Mount the microfibre mop cover on the head of the spray bottle.
- Fill the spray bottle with the cleaning agent.
-
Install the nozzle of the spray bottle and screw it tight.
-
Assembly and using the window vacuum cleaner
1.2.
natural_image
Pure technical line drawing of a mechanical component or bracket (no text or symbols)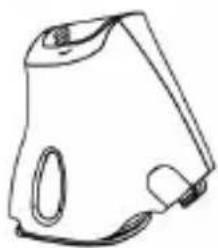
natural_image
Line drawing of a portable electronic device with handle, ventilation slots, and a small port (no text or symbols)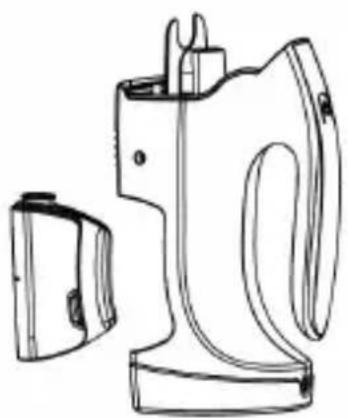
natural_image
Line drawing of a portable electric shaver with handle and side panel (no text or symbols)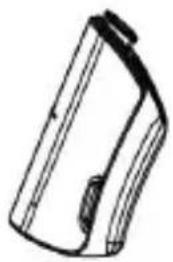
natural_image
Line drawing of a mechanical component or device (no text or symbols)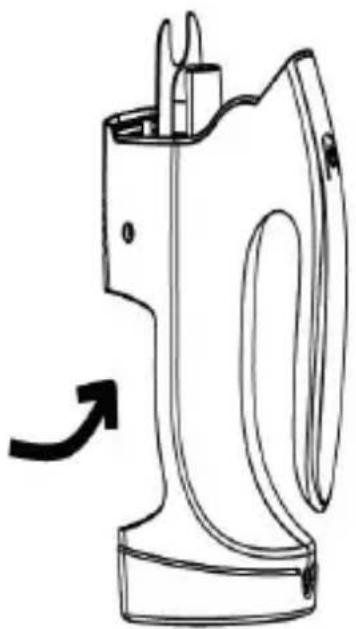
natural_image
Line drawing of a portable electric shaver with a curved arrow indicating motion (no text or symbols)3.4.
natural_image
Line drawing of a hand holding an electric shaver with internal components, showing three stages of assembly (no text or symbols)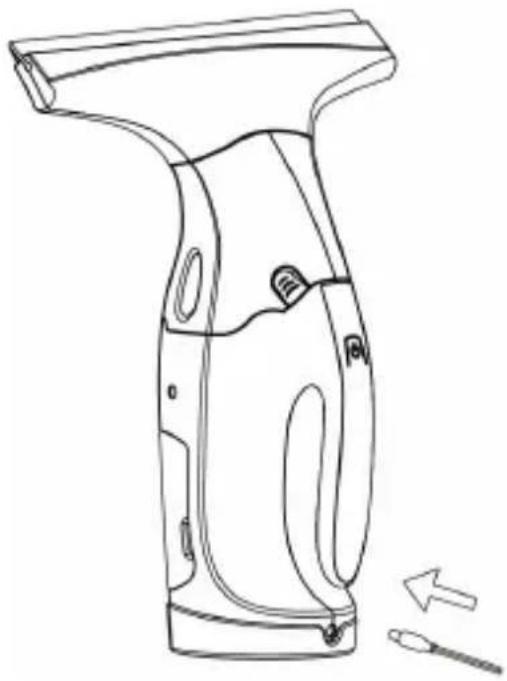
natural_image
Line drawing of a handheld device with a tool and arrow indicating motion (no text or symbols)Caution! The window vacuum cleaner is not supplied with the battery fully charged. Therefore charge the battery fully before using the device.
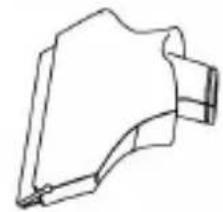
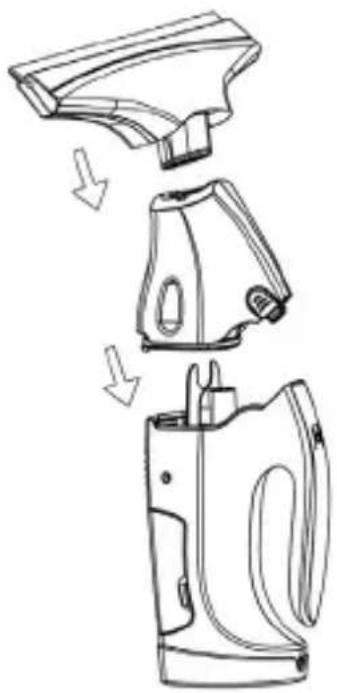
- Mount the detachable lip to the tank till it engages properly (fig. 1-4, previous page).
- Before charging the device, always ensure that the product is turned off during charging.
- Connect the power adapter to a properly installed socket and to the charging port of the window vacuum cleaner. Ensure that you charge the device using the original power adapter.
- The status LED glows red during the charging process. Once the device is fully charged, the LED changes from red to blue.
- Use the provided power adapter only to charge the window vacuum cleaner.
- Use the device only in combination with commonly available window cleaning products (not foam cleaner etc.).
- Only use genuine spare parts or accessories which are approved by the manufacturer.
- Ensure that you empty the dirty water from the tank after cleaning.
- Charge the device fully after using it. Store the device after charging it fully.
7. Usage
Select the surface to be cleaned and clean it using the cleaning agent as usual with a conventional window wiper. Alternatively, you can use the provided spray bottle with cleaning attachment to clean the window. To wipe the window subsequently, take the window vacuum cleaner and turn it on using the "on/off" button.
Now clean the window using the window vacuum cleaner. Ensure that you do not exceed the maximum filling level. Pay attention to the level in the various application areas.
Once you finish cleaning, turn off the device by pressing the "on/off" button again. Clean it thoroughly afterwards (see Chapter 9 "Cleaning and care").
max. 30ml fluid suctionmax. 150ml fluid suction

natural_image
Line drawing of a spray gun with a downward arrow indicating motion (no text or symbols)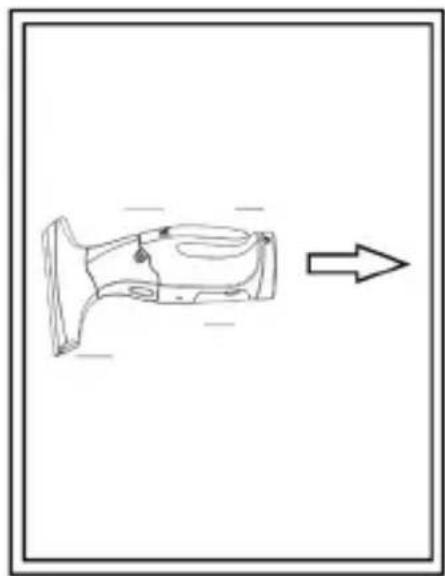
natural_image
Simple line drawing of a car head with an arrow indicating direction (no text or symbols)
Caution! Ensure that water enters the device only through the suction opening! Prevent water from entering the motor openings!

Ensure that you do not tilt the device forwards so that the liquid from the tank flows back.
8. Battery
The device has an inbuilt battery. Ensure that you fully charge the device once you receive it. Plug the power adapter into a properly installed socket and then connect it to the window vacuum cleaner. Always charge the device fully after using it.
9. Cleaning and care
Clean the device after using it. To do so, remove the suction head with detachable lip and the adapter of the device (see Chapter 6: Assembly and usage). You can
clean the tank and the detachable lip under running water (E.g. under the water tap). Use only a dry cloth to clean the base unit.

Ensure that you do not immerse the device under water! The motor unit should not come into contact with water under any circumstances. There is a risk of electric shock!

10. Safety instructions and disclaimer
Never try to open the device to carry out repairs or modifications. Avoid contact with the mains voltage. Do not short-circuit the product. The device is not approved for outdoor use. Therefore please use it only in dry surroundings. Protect it from high humidity, water and snow. Do not expose the device to high temperatures.
Do not expose the device to sudden changes in temperature or heavy vibrations, as this could damage the electronic components. Check the device for damage before using it. The device should not be used if it has been subject to impact or has been damaged in some other manner. Please comply with the local regulations and restrictions.
Do not use the device for purposes other than those described in the user manual. This product is not a toy. Keep it out of the reach of children or mentally disabled persons. Any repair or modification to the device, which is not carried out by the original supplier, will void the warranty or warranty claims. The device should only be used by those who have read and understood this manual. The specifications of the device may be changed without special prior notice.

11. Disposal instructions
In line with the European WEEE directive, electrical and electronic devices should not be disposed of along with domestic waste. Their components have to be sent separately for recycling or disposal, as improper disposal of toxic and dangerous components may permanently damage the environment. According to the electrical and electronic equipment act (ElektroG), you are obliged (as a consumer) to return (free of charge) all electrical and electronic devices to the manufacturer, the point of sale or public collection points at the end of their service life. The relevant local laws regulate the details in this regard. The symbol on the product,
in the user manual or/and the packaging refers to these regulations. With this manner of sorting, recycling and disposal of used devices, you make an important contribution towards protecting our environment.

12. Instructions for battery disposal
In conjunction with the sale of batteries along with the supply of devices that include batteries, the supplier is obliged to point out the following to the customer:
The customer is legally obliged to return used batteries. He can return used batteries which the supplier offers or has offered as new batteries in his assortment free of charge to the supplier's dispatch warehouse (shipping address). The symbols shown on the batteries mean the following: Pb = battery contains more than 0.004 percent lead by weight, Cd = battery contains more than 0.002 percent Cadmium by weight, Hg = battery contains more than 0.0005 percent mercury by weight.

The symbol of the crossed-out dustbin means that the battery must not be placed in household waste.

WEEE Guideline: 2012/19/EU WEEE Register no.: DE 67896761
The company WD Plus GmbH hereby certifies that the device 303257 complies with the fundamental requirements and the other relevant stipulations. A complete conformity statement can be obtained from: WD Plus GmbH, Wohlenbergstraße 16, 30179 Hanover
natural_image
Diagram showing spray bottle being combined with a plastic spray can, illustrating the process (no text or symbols)natural_image
Line drawing of a hand holding a small electronic device with three views showing internal components (no text or symbols)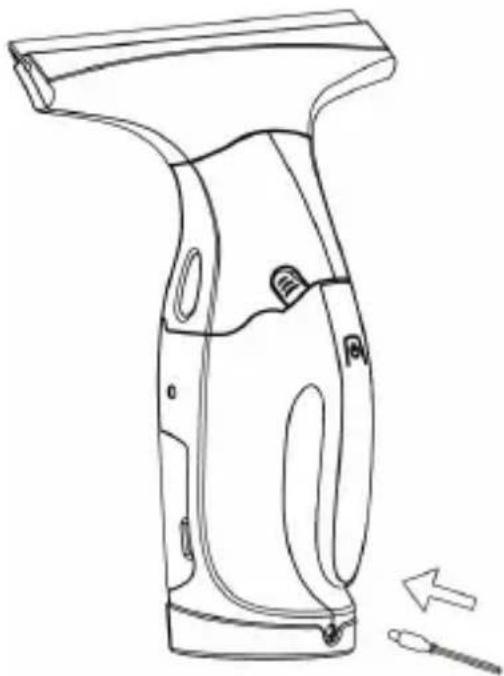
natural_image
Line drawing of a mechanical device with a tool and arrow indicating movement (no text or symbols)natural_image
Line drawing of a spray gun with a downward arrow indicating motion (no text or symbols)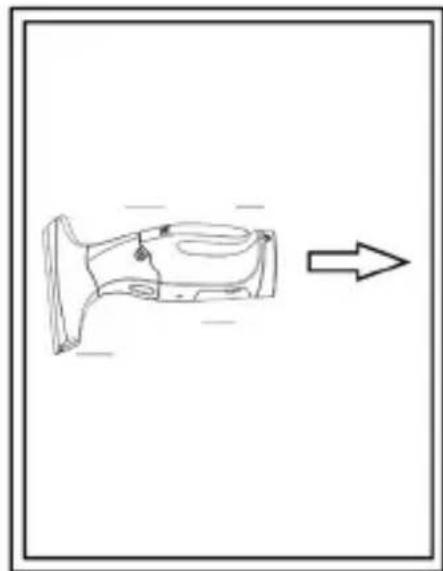
natural_image
Simple line drawing of a car body with an arrow indicating direction (no text or symbols)natural_image
Diagram showing spray bottle being combined with a plastic spray bottle, illustrating the process (no text or symbols)natural_image
Pure technical line drawing of a mechanical component or bracket (no text or symbols)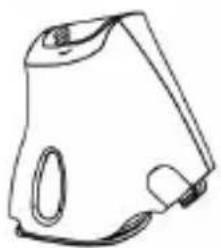
natural_image
Line drawing of a portable electronic device with handle, spout, and ventilation slots (no text or symbols)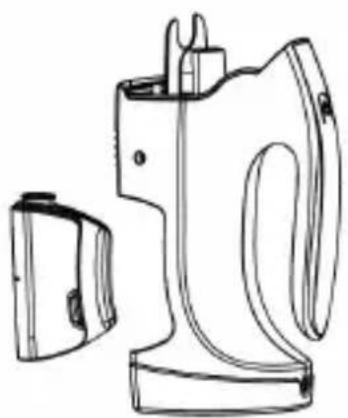
natural_image
Line drawing of a portable electric shaver with handle and side panel (no text or symbols)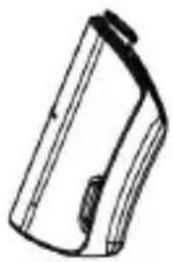
natural_image
Line drawing of a mechanical component or device (no text or symbols)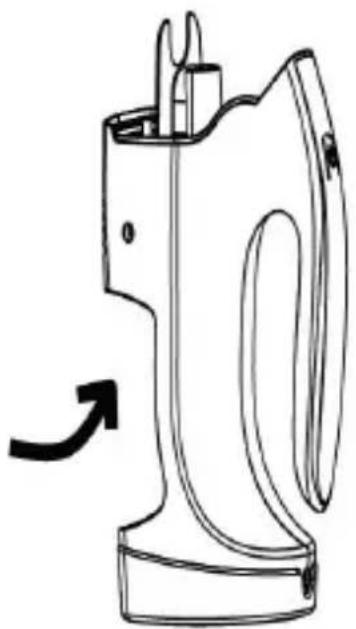
natural_image
Line drawing of a portable electric shaver with a curved arrow indicating motion (no text or symbols)3.4.

natural_image
Line drawing of a hand holding an electric shaver with internal components, showing three stages of assembly (no text or symbols)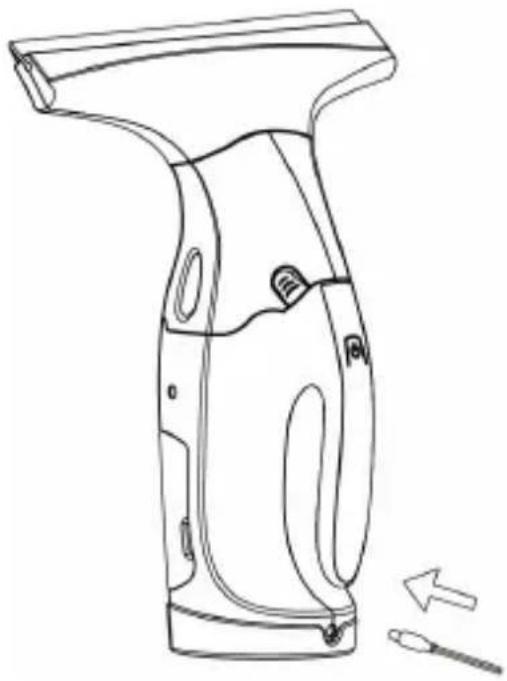
natural_image
Line drawing of a handheld device with a tool and arrow indicating motion (no text or symbols)natural_image
Line drawing of a spray gun with a downward arrow indicating motion (no text or symbols)natural_image
Simple line drawing of a car body with an arrow indicating direction (no text or symbols)
natural_image
Diagram showing spray bottle being combined with a plastic spray can, illustrating the process (no text or symbols)natural_image
Line drawing of a hand holding an electric shaver with internal components and arrows indicating motion (no text or symbols)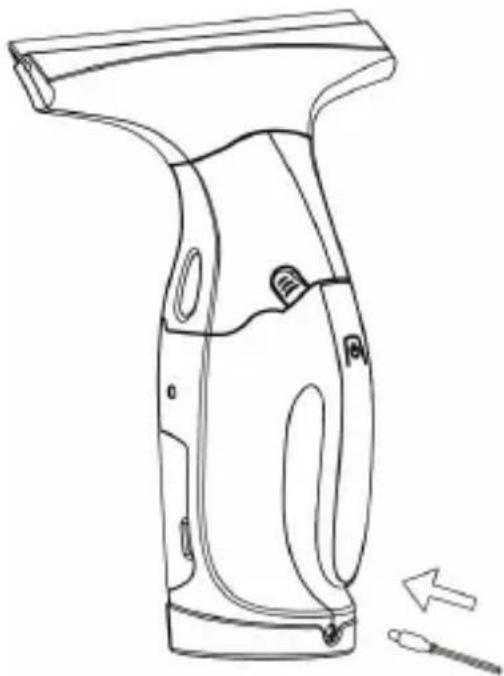
natural_image
Line drawing of a handheld device with a tool and arrow indicating movement (no text or symbols)natural_image
Line drawing of a spray gun with a downward arrow indicating motion (no text or symbols)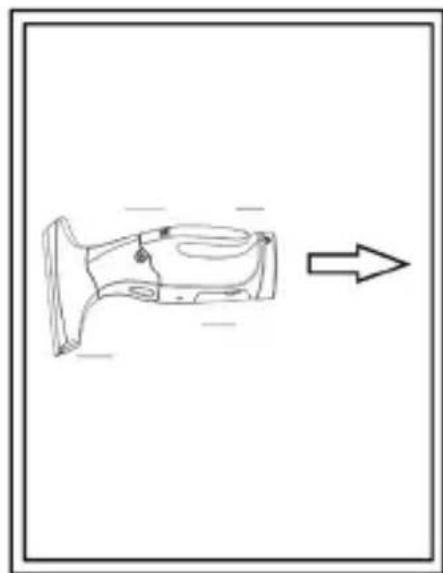
natural_image
Simple line drawing of a car body with an arrow indicating direction (no text or symbols)