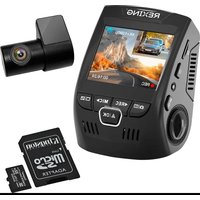
V1P-4K - Dashcam Rexing - Free user manual and instructions
Find the device manual for free V1P-4K Rexing in PDF.


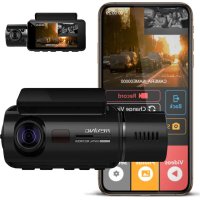
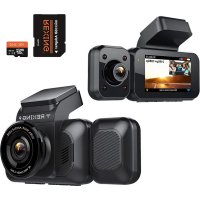
| Product Type | Dashboard Camera (Dashcam) |
| Brand | Rexing |
| Model | V1P-4K |
| Video Resolution | 4K + 1080P (front and rear camera) |
| Lens Angle | Wide angle (adjustable) |
| Power Supply | 12V cigarette lighter charger |
| Screen | Built-in, color |
| Storage | Micro SD Card Class 10/UHS-1 up to 256 GB |
| Connectivity | Wi-Fi (Rexing Connect app), GPS (optional) |
| Rear Camera | Included, wired |
| Main Features | Loop recording, parking mode, G-sensor, WDR, playback on device/computer |
| Maintenance and Cleaning | Clean the lens with a soft, dry cloth; avoid solvents |
| Safety | Do not obstruct the lens; use only the provided accessories |
| Spare Parts and Repairability | 3M adhesive mount, mini-USB cable, charger, rear camera cable |
| Warranty | Contact Rexing support |
Frequently Asked Questions - V1P-4K Rexing
User questions about V1P-4K Rexing
0 question about this device. Answer the ones you know or ask your own.
Ask a new question about this device
Download the instructions for your Dashcam in PDF format for free! Find your manual V1P-4K - Rexing and take your electronic device back in hand. On this page are published all the documents necessary for the use of your device. V1P-4K by Rexing.
USER MANUAL V1P-4K Rexing
Thank you for choosing REXING!
We hope you love your new products as much as we do. If you need assistance, or have any suggestions to improve it, please contact us.

care@rexingusa.com

(877) 740-8004
Our support team will respond you as soon as possible. Always a surprise in Rexing.
Check us out here
- https://www.facebook.com/rexingusa/
- https://www.instagram.com/rexingdashcam/
- https://www.rexingusa.com/support/registration/
- https://www.rexingusa.com/support/product-support/





Site


Product Support

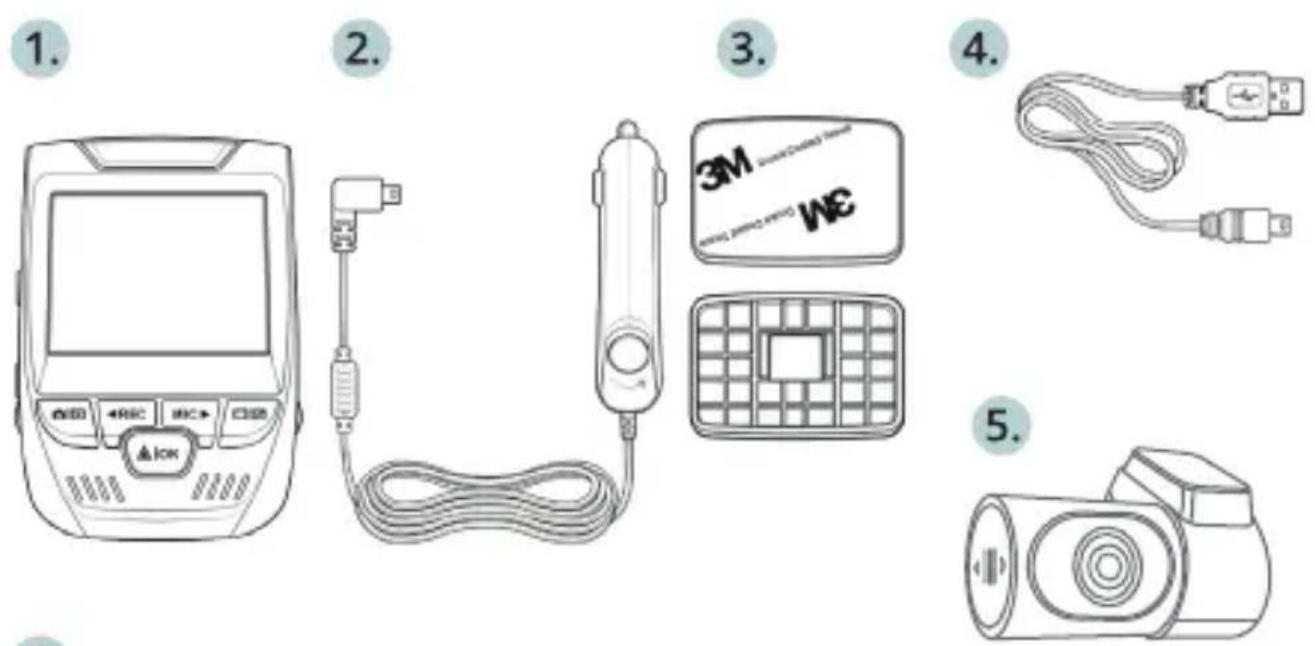
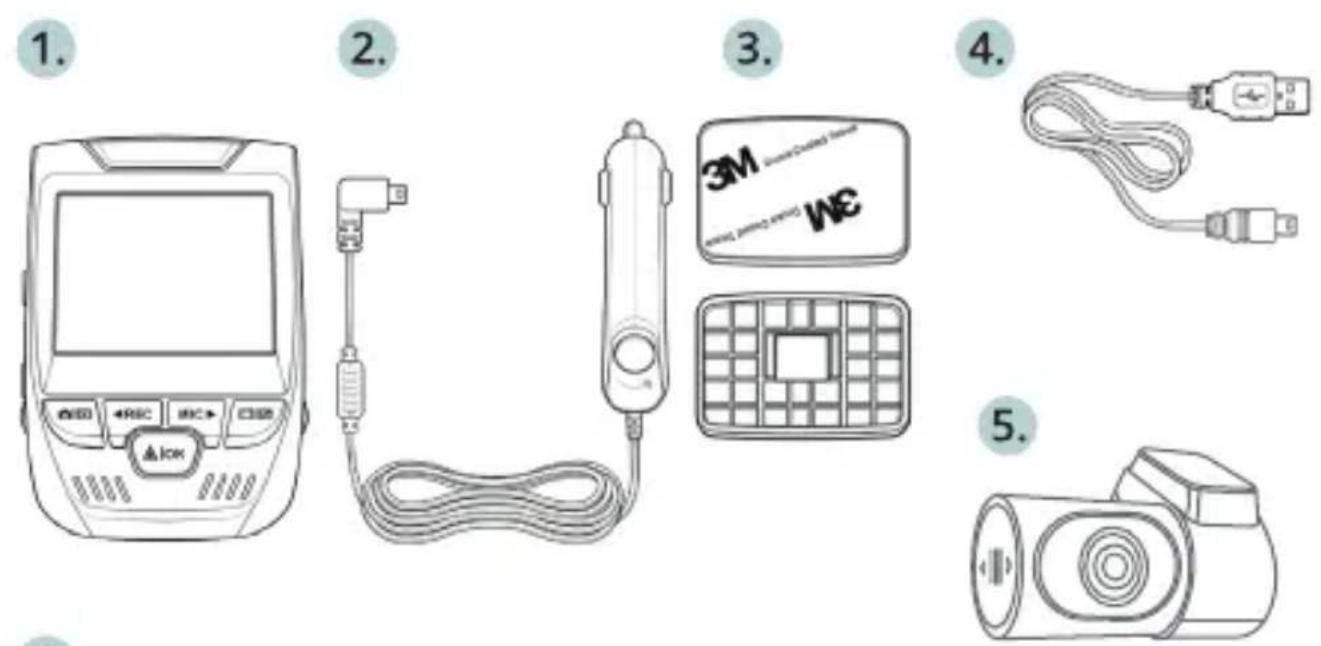
2.What's in the box
6.
natural_image
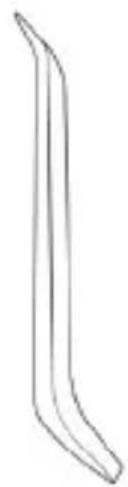
Simple line drawing of a curved, elongated object resembling a stylized plant stem or tool (no text or symbols)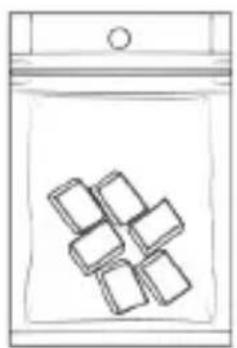
natural_image
Simple line drawing of a bag with six rounded squares inside (no text or symbols)
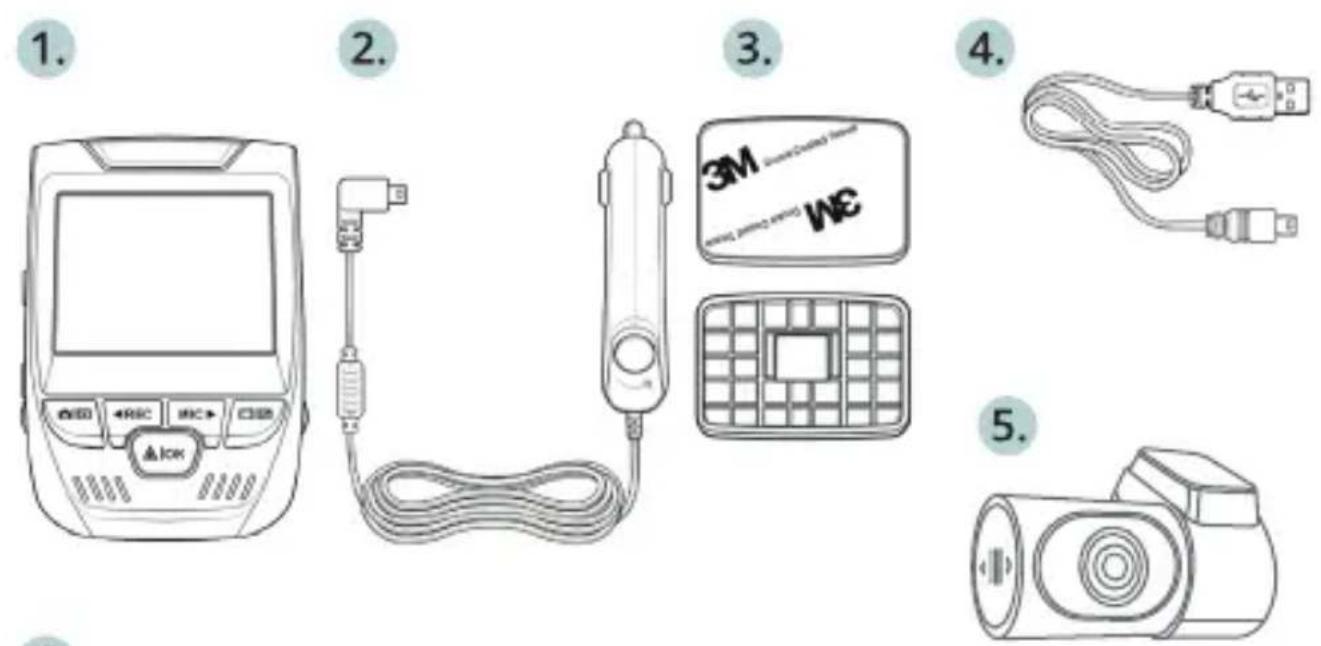
- Rexing V1P-4K Dash Cam
- Car Charger
- Mount Plate & 3M Adhesive
- Mini-USB Cable
- Rear Camera
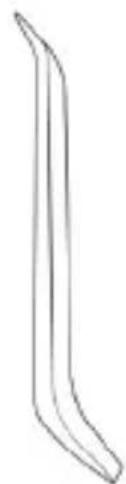
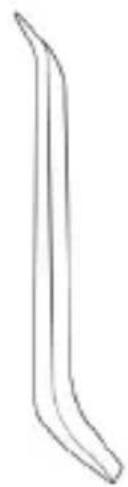
- Cable Management Tool
- Cable Clips©
- Quick Start Guide
- Safety Guide
3. Camera Overview
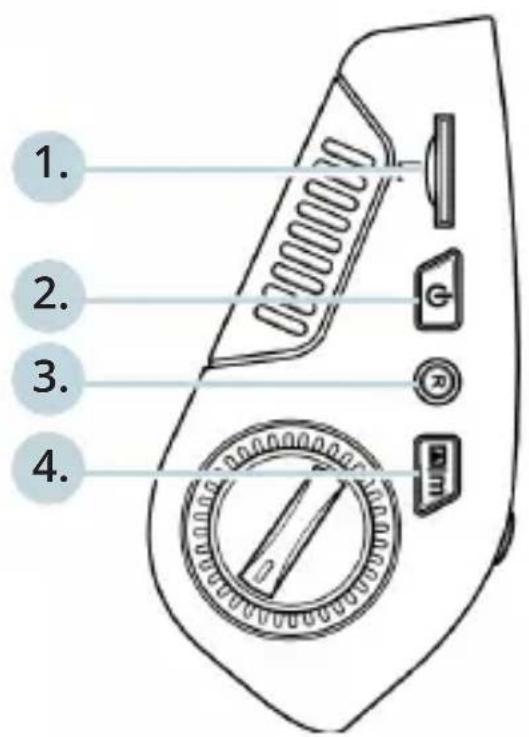
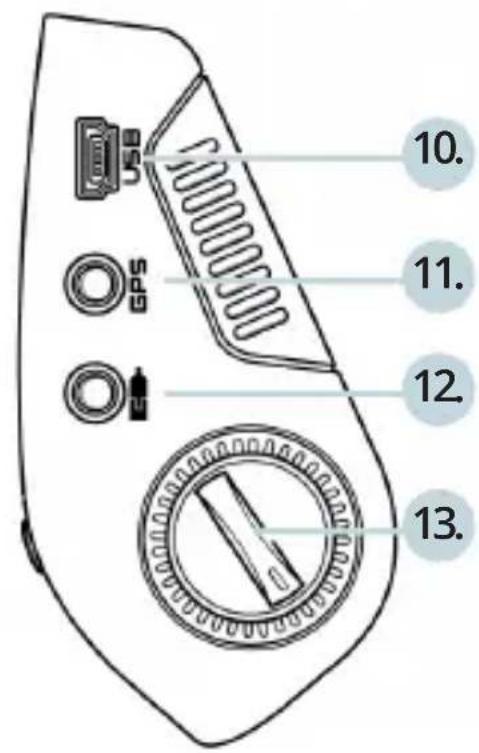
- Micro SD Card Slot
- Power Button
- Reset Button
- Menu Button
- Mode Button
- REC (Record) Button *
- OK (Con irm) Button **
- MIC (Microphone) Button ***
- Screen Button
- Mini-USB Port
- GPS Logger Port
- Rear Camera Port
- Lens Angle Adjustment
* The Camera is recording when the LED is flashing red.
** The Camera is recording when the LED is flashing red. The device charging or powered on when the LED is solid blue.
*** The device is charging or powered on when the LED is solid blue.
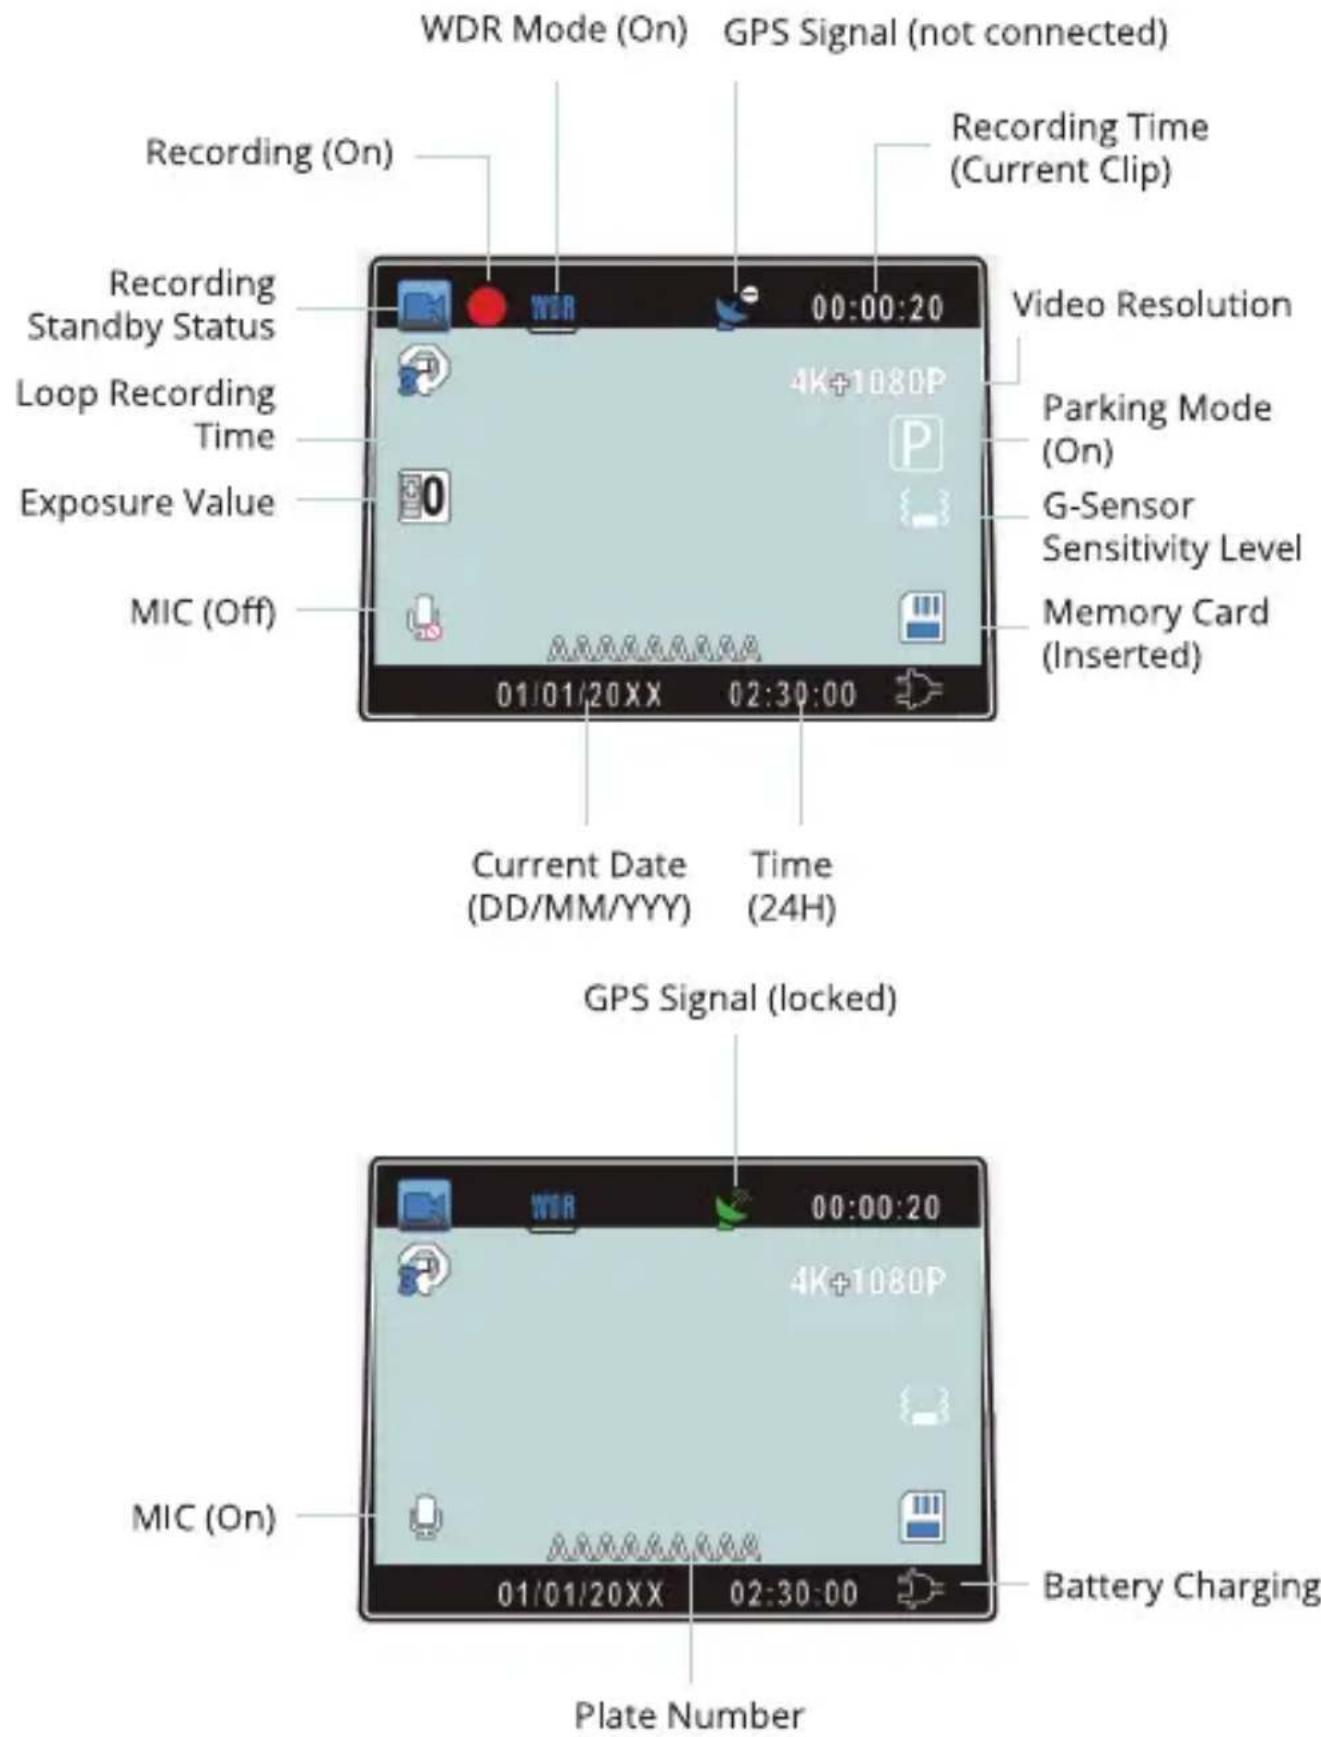
Screen Icons
4. Installation
Step 1: Install the Dash Cam
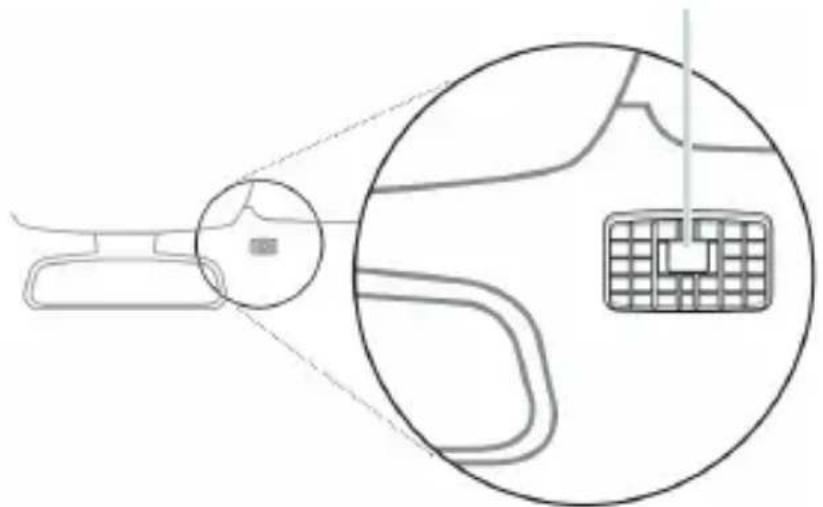
Place the 3M tape on the Mount and properly orient the Mount square to the roof and hood line of the vehicle. Important! Ensure the T-interlock on the Mount is oriented in the correct direction.
Firmly press the Mount onto the windshield. Wait at least 20 minutes before mounting the camera.
Orientation mount as shown
natural_image
Diagram of a device with a magnified inset showing internal components (no text or symbols)Step 2: Insert the Memory Card
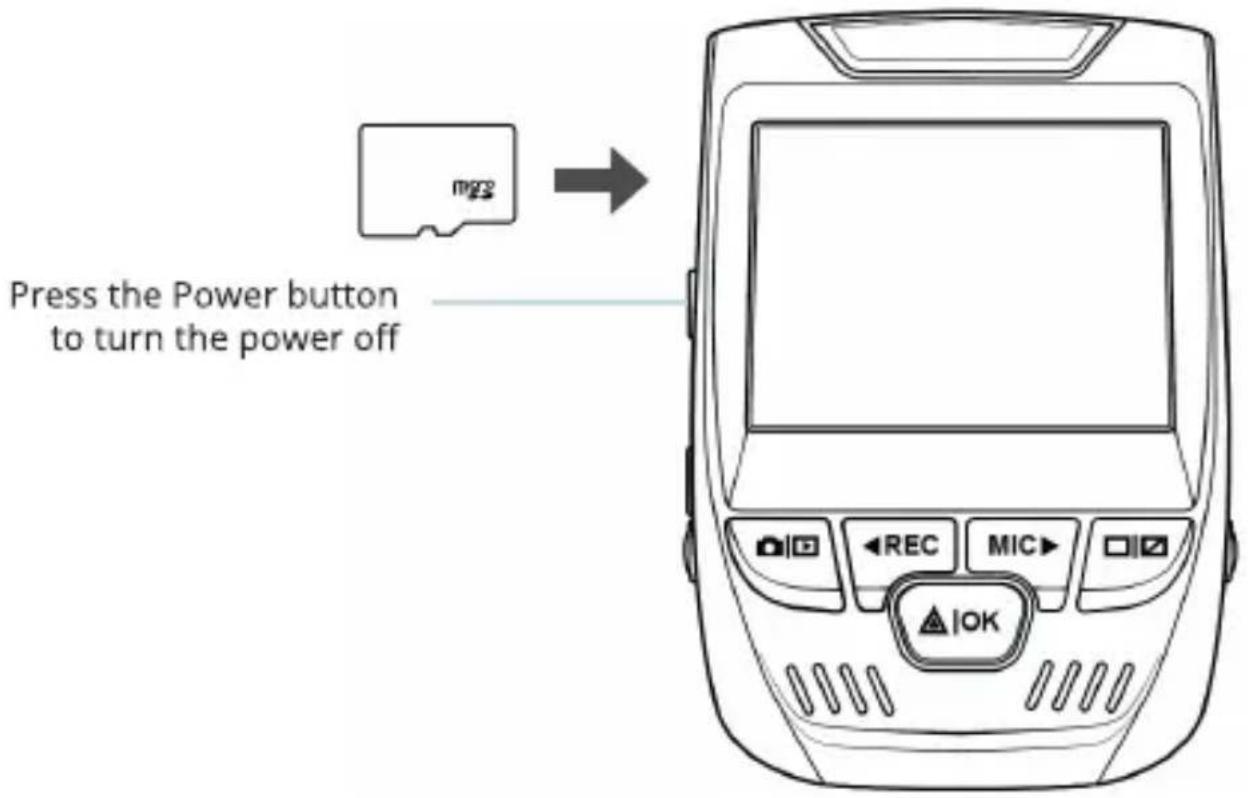
The Rexing V1P-4K accepts [Class 10/ UHS-1 or higher] Micro SD memory cards up to 256GB. You will need to insert a memory card before you can begin recording. Before inserting or removing a memory card, first ensure you've powered down the device.
Gently push the memory card in until you hear a click, and allow the spring release to push the card out.
Step 3: Power the Camera and Format the Memory Card
Power the camera by connecting the charger to the car cigarette lighter and camera.
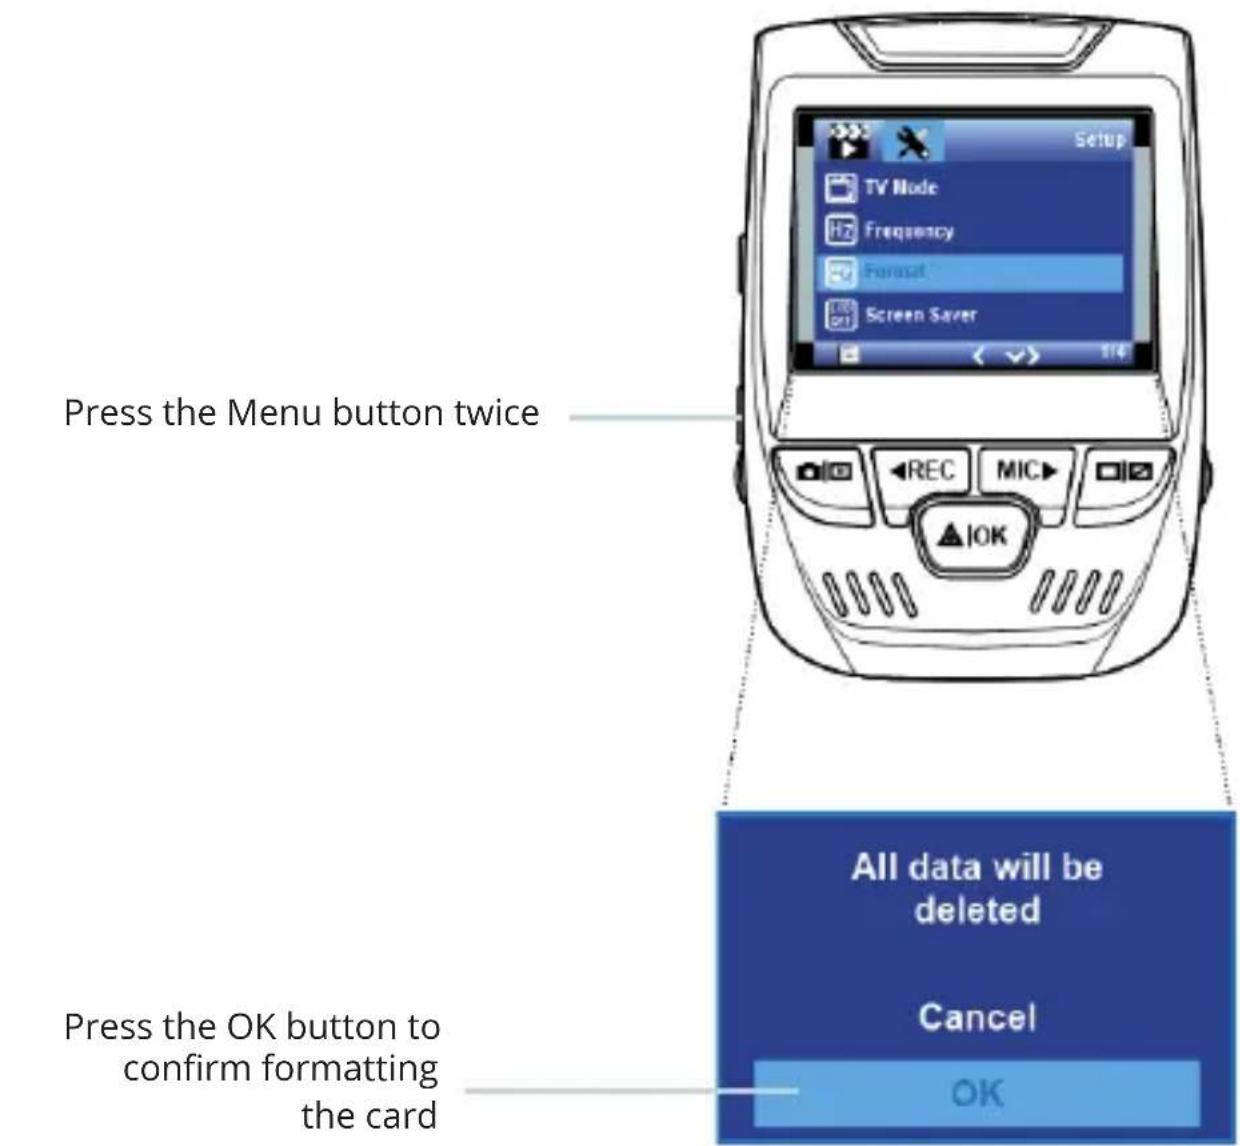
To ensure the V1P-4K records to your memory card properly and without error. Before you start using a new memory card, you must format the card within the camera using the format function. Always backup important data stored on the memory card before formatting.
To format the memory card, make sure you have inserted your memory card, then turn on the device by connecting to a power source. Press REC to stop recording. Then press the MENU button twice to enter the System Setup Menu. Use the REC and MIC buttons and go to the Format setting. Press the OK Button to confirm the selection.
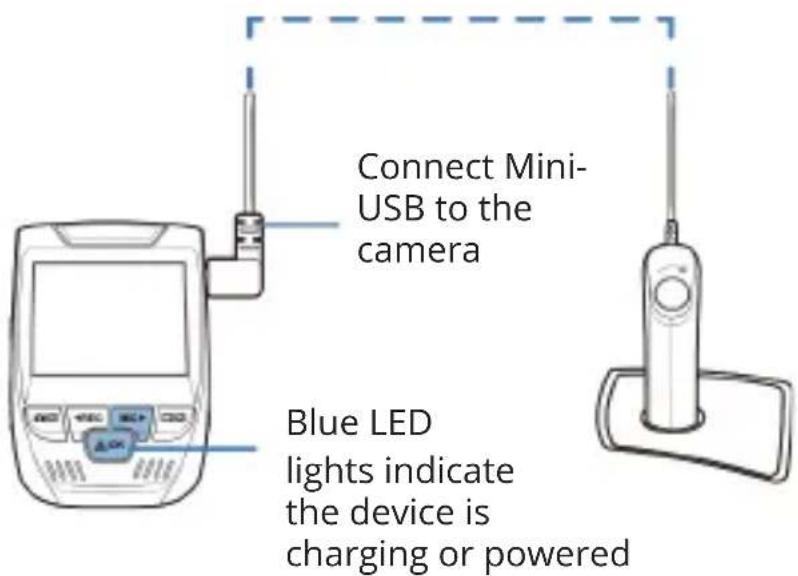
You may now disconnect from power. The camera will shut down after 3 seconds. The camera should begin recording automatically the next time it is powered on.
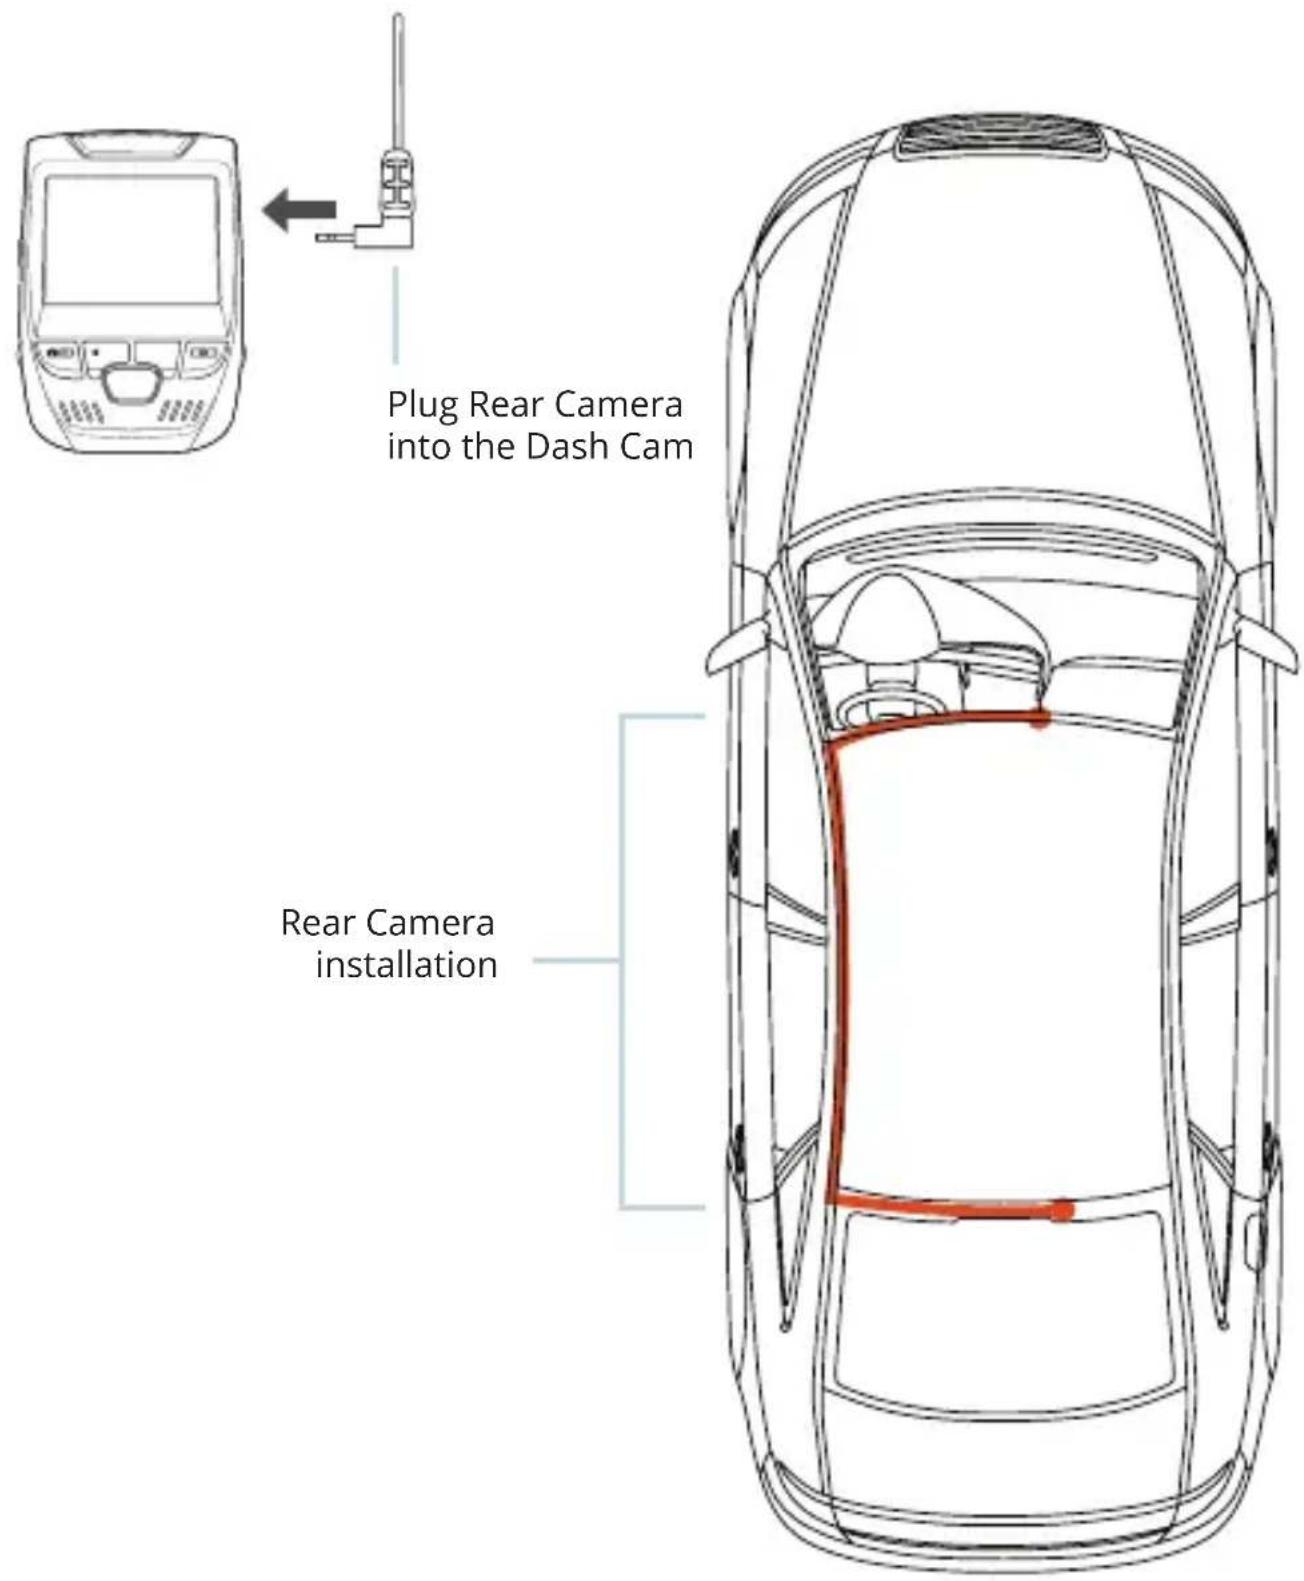
Step 4: Mount the Rear Camera
Mount the rear camera as shown below. Use the provided rear camera cable to connect the rear camera to the front camera.
Step 5: Installing the Camera onto the Windshield
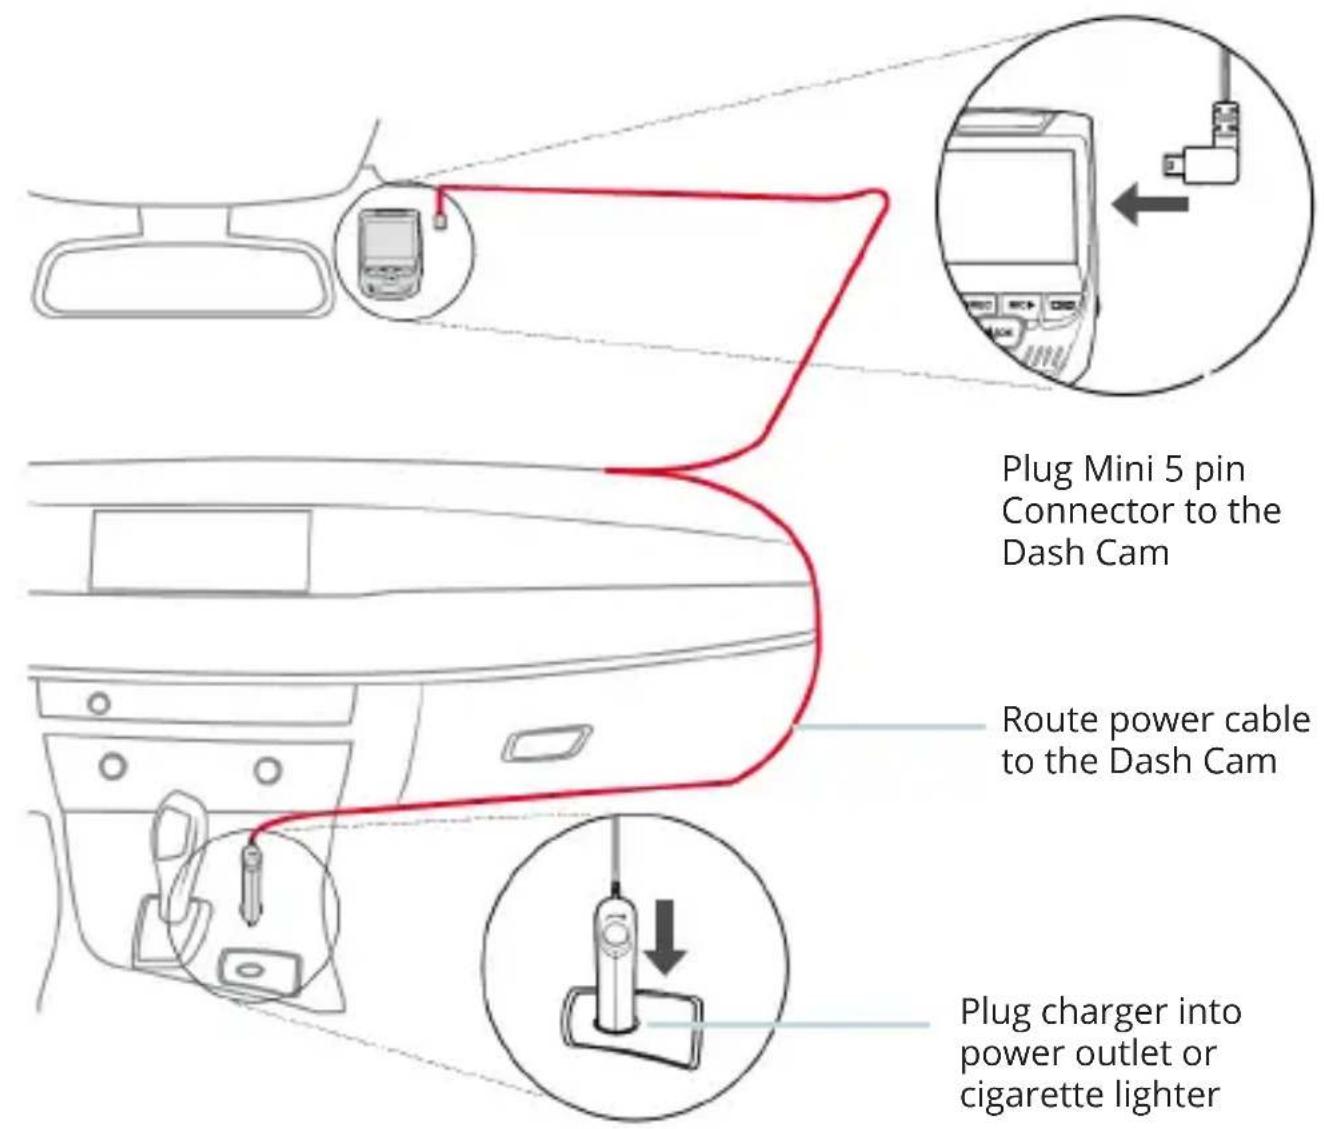
Place the camera on the mount and carefully route the power cable around the windscreen and tuck in under the trim.
Plug the Car Charger Cable into a 12V DC power outlet or the car cigarette lighter.
Connect car charger to the camera. The camera will auto-start recording once powered on.
5. Basic Operation
Device Power
The device is automatically powered on when plugged into a 12V accessory socket or cigarette lighter and receives a charge (i.e.: the vehicle is started.)
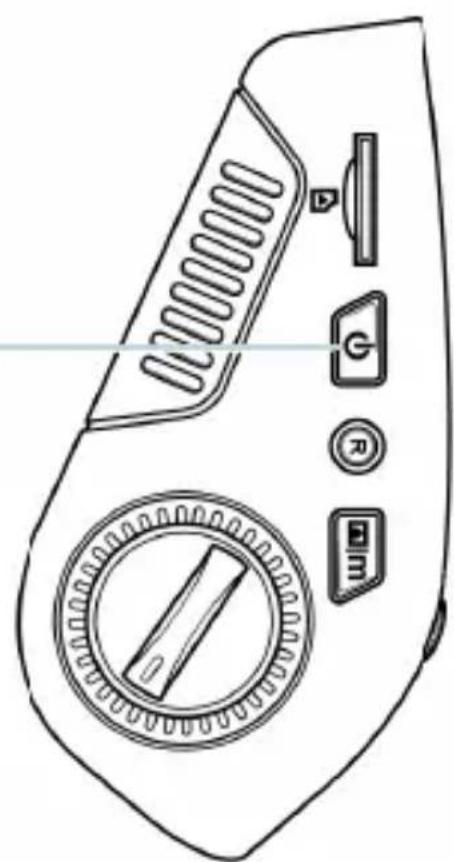
To turn the device on manually, press and hold the POWER button until the welcome screen appears.
The camera will automatically start recording when powered on.
Press an hold the POWER button to turn the device on manually
natural_image
Line drawing of a handheld device with control buttons and a rotary dial (no text or symbols)Menu Settings
Power the camera on. If the camera is recording, press the REC button to stop recording. Press the MODE button and toggle to the desired mode.
Press the MENU button once to enter the settings menu for a Mode. Press the MENU button twice to enter the System Settings.
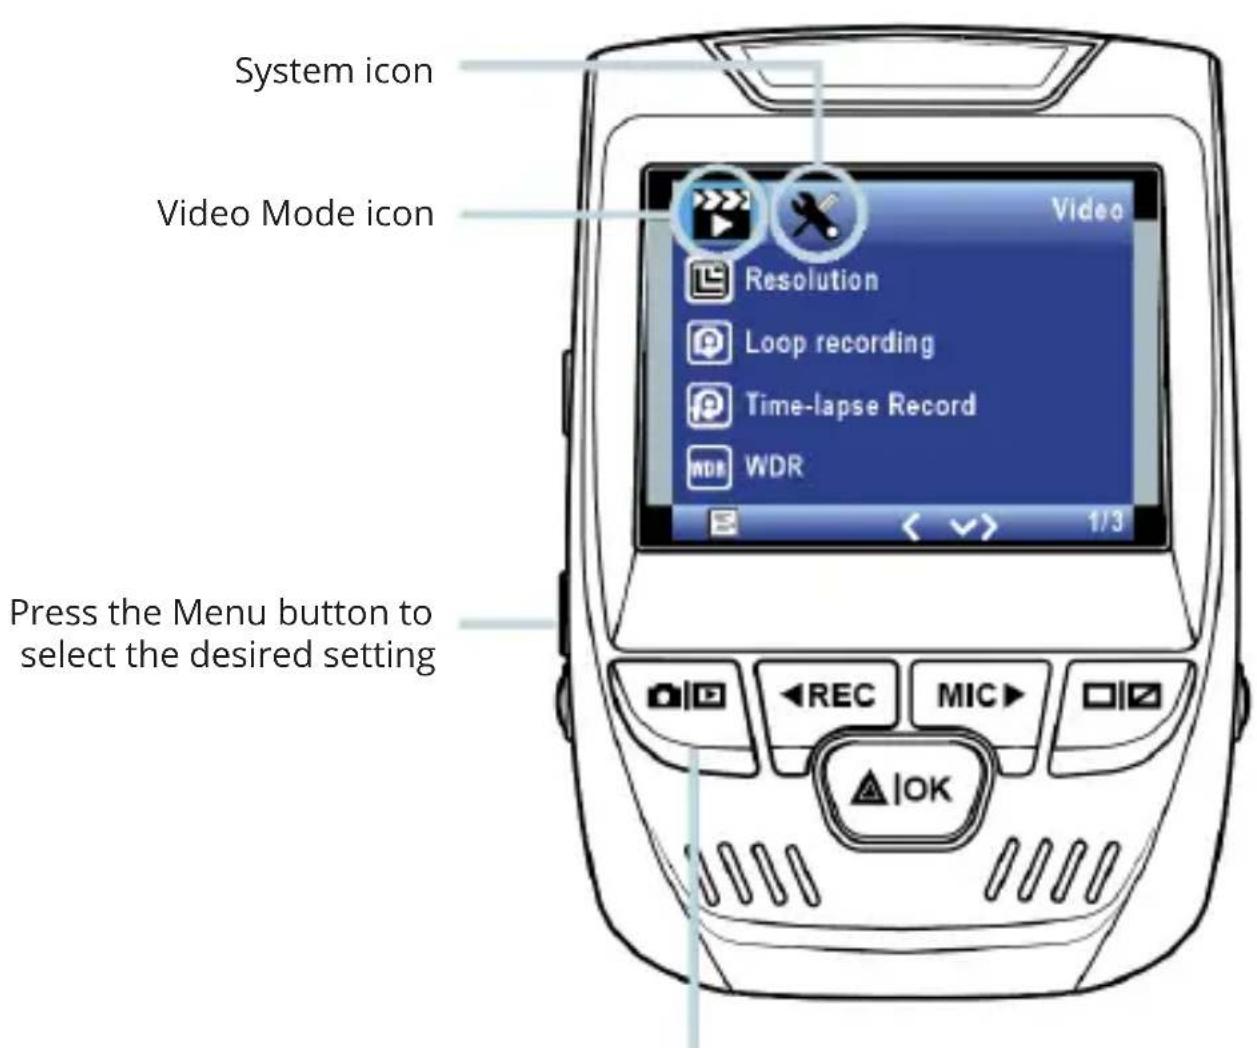
Press the Mode button and toggle to the desired Mode
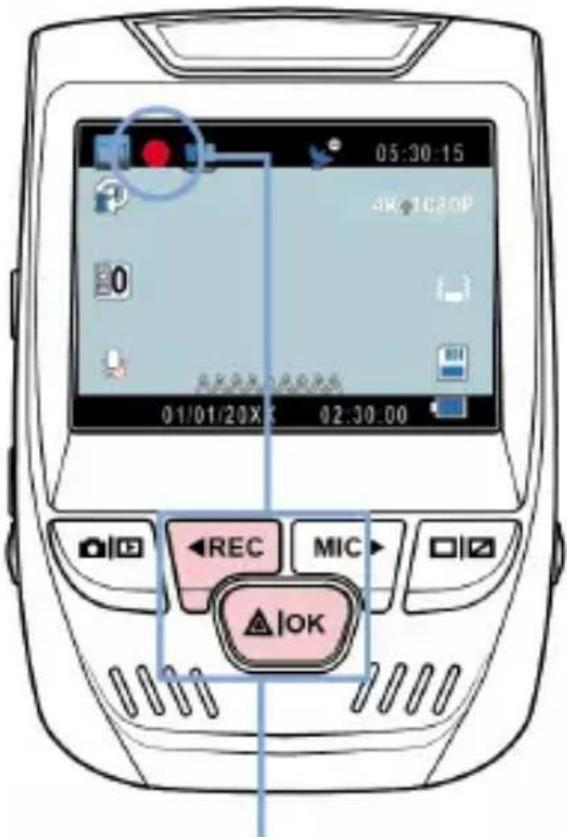
The camera automatically start recording when powered on
Video Recording
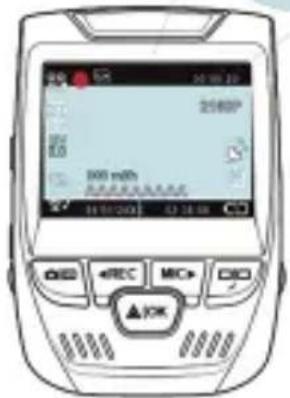
The camera will automatically start recording when the device receives a charge. The LED lights and the red dot will blink when the device is recording. Press the REC button to stop recording.
Video Playback
Playback of videos can be done on the device or a computer. Also, if you have purchased a Rexing GPS Logger you may play back the recordings in a specialized application.
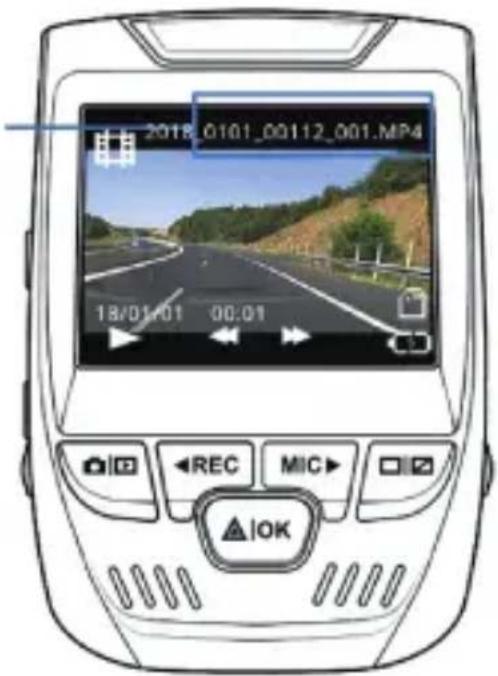
To playback a video on device, toggle to the Playback mode. Use the REC and MIC buttons to toggle to the desired video. Press the OK button to play.
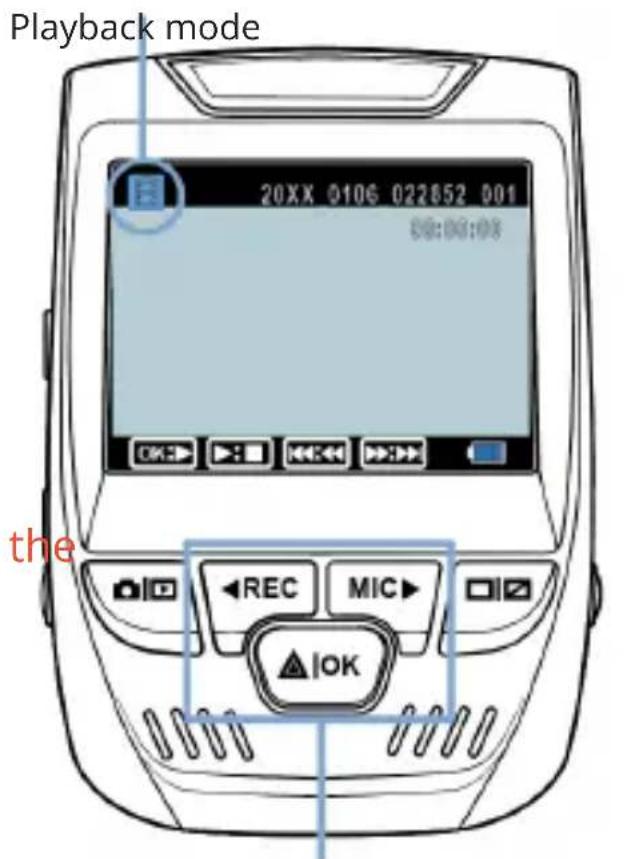
Control playback with these buttons
During playback use the OK (pause), MIC (fast forward) and REC (rewind) buttons to control the video playback.
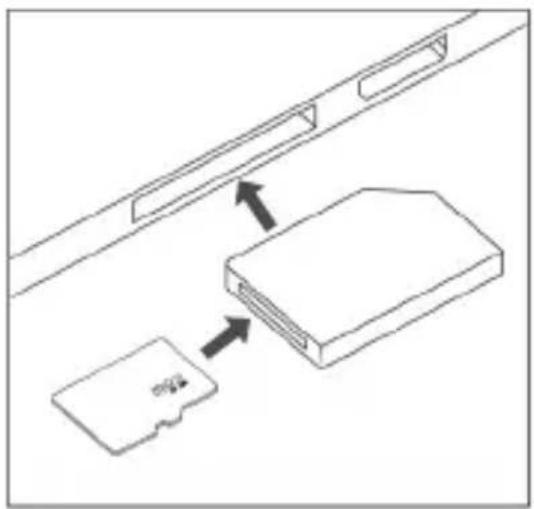
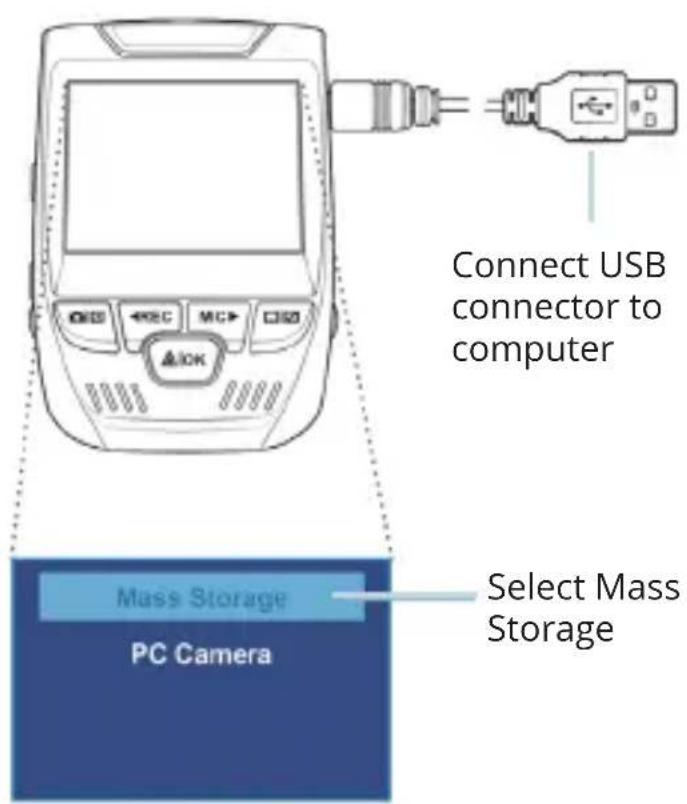
To playback a video on the computer either use an SD card adapter or connect the device to the computer directly using the USB to Mini B 5pin male cable.
natural_image
Diagram showing a device with a card and a rectangular block connected by arrows, no text or symbols present.To playback a video using an SD card adapter,
remove the memory card and insert it into an SD card adapter. Place the adapter in the computer.
To playback a video using USB cable, connect the USB Cable to the device and the computer. After the device powers up, press the OK Button to select Mass Storage.
On the computer, navigate to device drive. The videos are stored at: \CARDV\ MOVIE. Select the video to playback.
Parking Monitor
Connect the dash cam to the smart hardware kit to activate the parking monitor function (Need to purchase the smart hardware kit separately).
Please visit support.rexingusa.com to watch a video tutorial.
Wi-Fi Connect


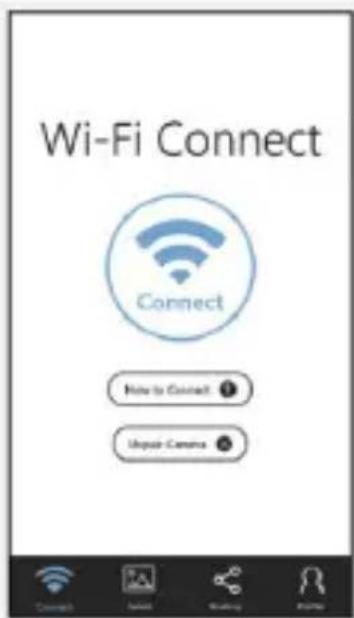
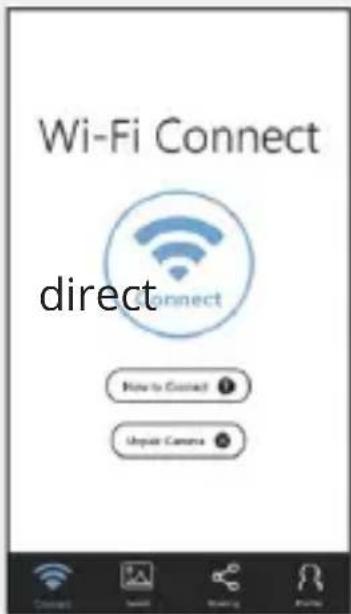
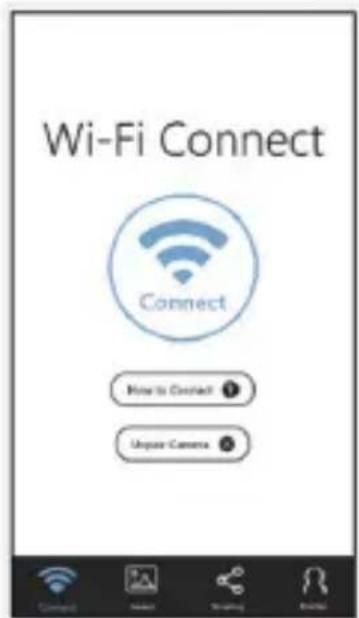
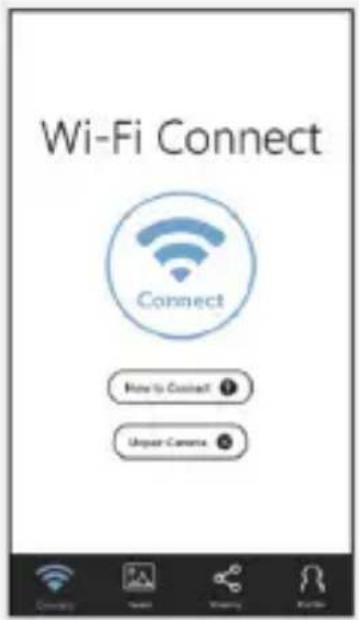
Download "Rexing Connect" app from the App Store/Google Play Store.
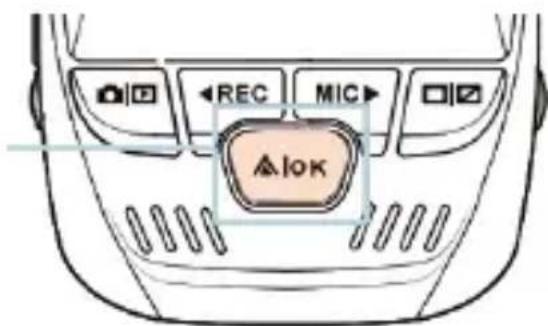
- To access or exit the Wi-Fi feature, hold down OK.
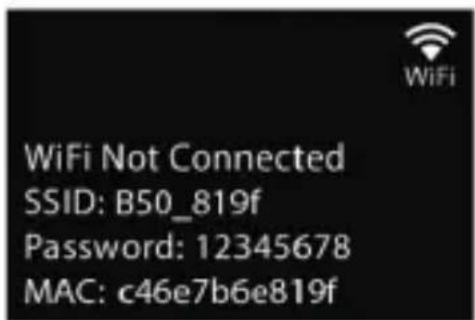
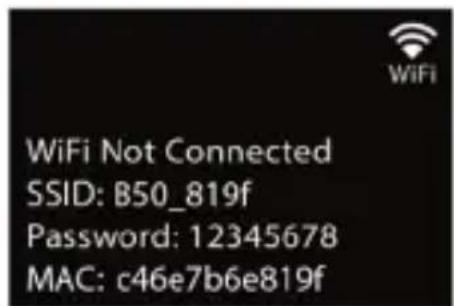
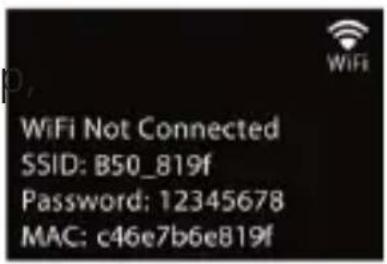
- Open Wi-Fi settings on your phone, ffind "SSID:B50_XXXX" from the list, tap to connect. (Default password: 12345678)
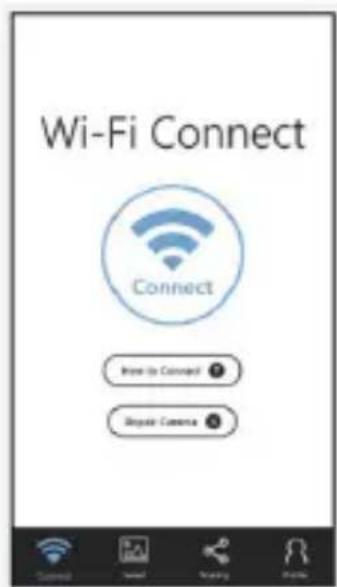
- Open the Rexing Connect App, tap "Connect to enter realtime video streaming page.
- Once connected, the dash cam screen will switch to the camera view and will display "Wi-Fi Connect" message.
Using the Rexing Connect app, you can view a live preview of the dash cam screen, start/stop recording, as well as view and save your captures with your mobile device.
For further instruction regarding the Wi-Fi Connect feature, please visit www.rexingusa.com/wifi-connect/.

GPS Logger
(Need to purchase separately)
When connected to the camera, it will record the speed and location of your vehicle as you drive.
You can then access this information while playing back your recordings using the GPS Video player (For Windows and Mac, available at rexingusa.com).
Press the MENU button twice and enter the System Settings.
Toggle to the GPS Speed Unit setting and select your preferred speed unit.
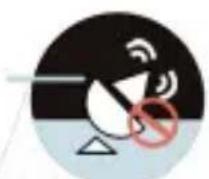
After a GPS signal is found, the screen icon will turn from blue to green.
Please visit gpsa.rexingusa.com to watch a video tutorial.
GPS Signal (not connected)
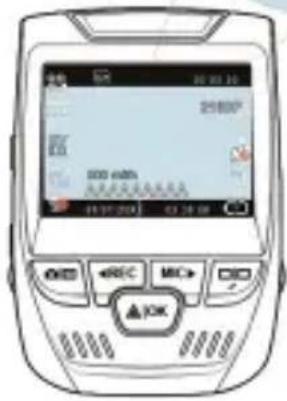
GPS Signal (active)
natural_image
Simple circular diagram with a central pie slice and radiating lines, no text or symbols present.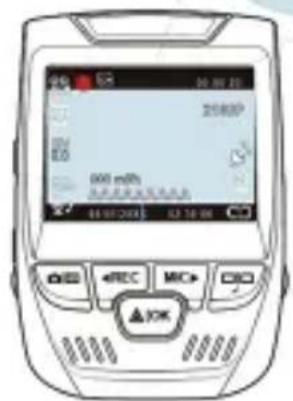
Taking Photos
To take a photo, stop video recording and toggle to the Photo Mode. Press the OK Button to take a photo.
To view a photo, stop video recording and toggle to the Playback Mode. Press the REC and MIC Buttons to toggle through your photos.
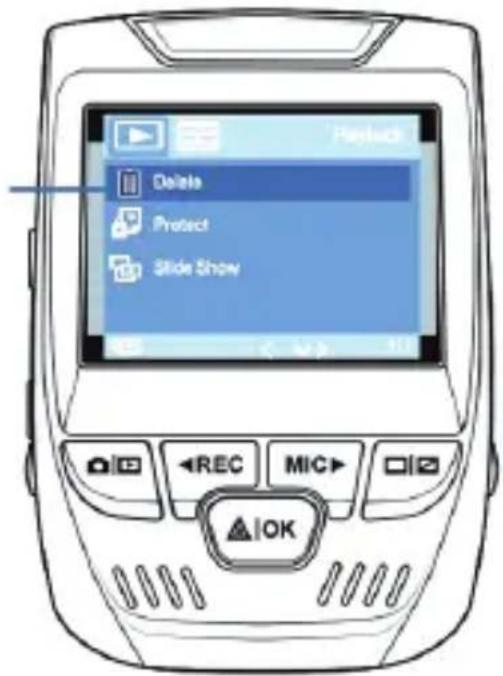
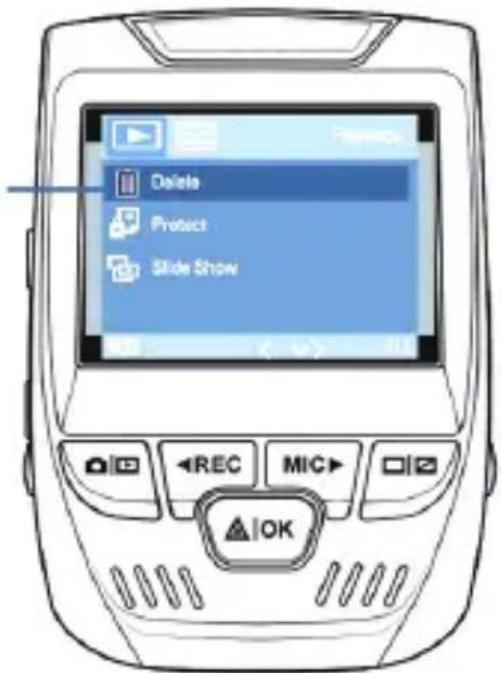
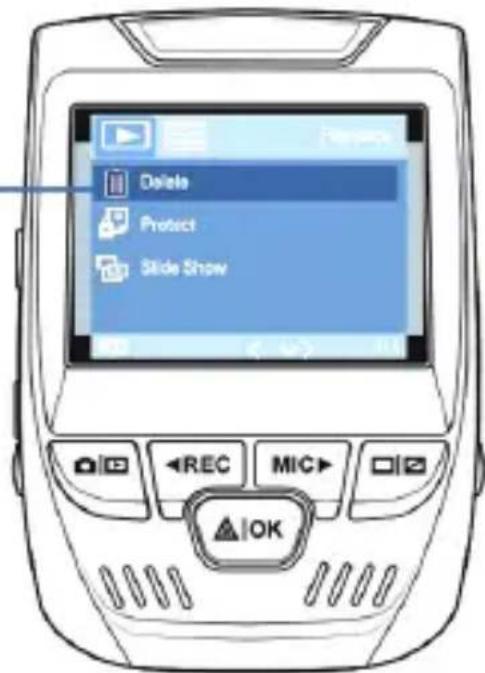
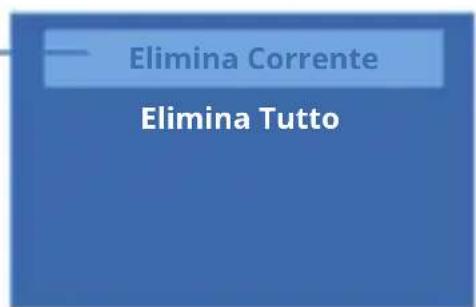
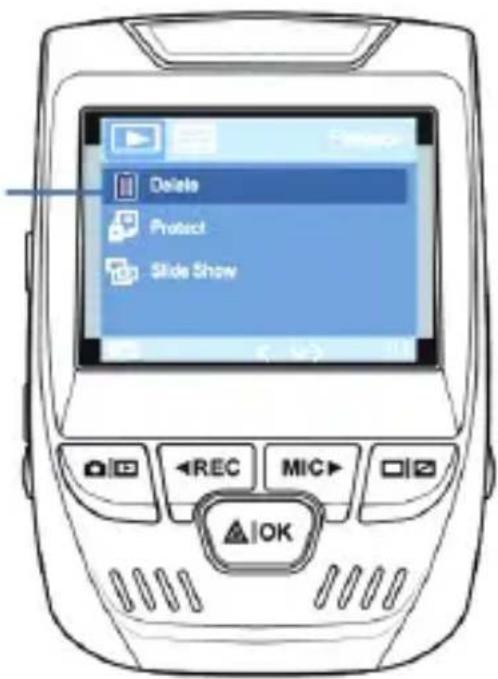
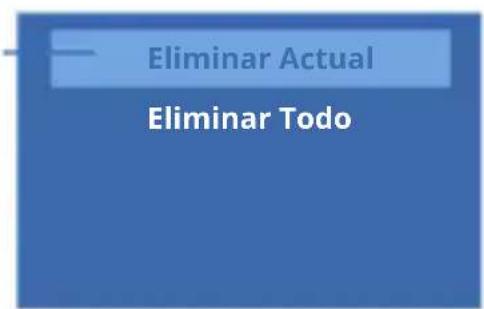
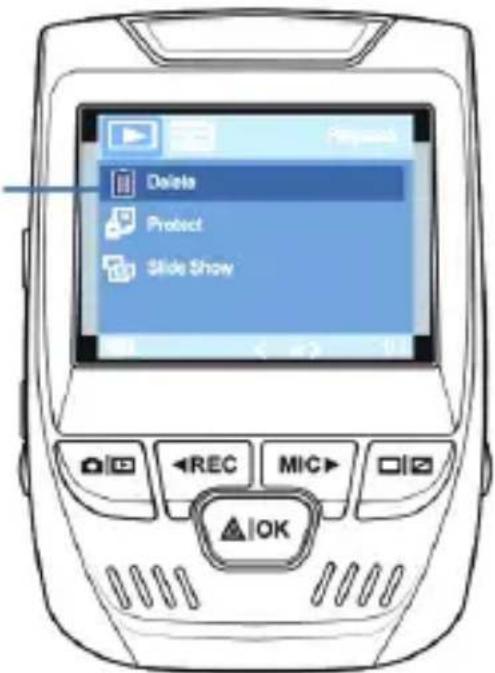
To delete a photo, stop video recording and toggle to the Playback Mode and toggle through the videos and photos to the one you want to delete. Press the MENU button once and toggle to the Delete option. Press the OK Button and select Delete Current or Delete All.
Toggle to the Playback mode and select a photo to view
Toggle to the Delete option
Choose the desired option

1. はじめに
- https://www.facebook.com/rexingjp
- https://www.instagram.com/rexingdashcam/
- https://www.rexingusa.com/support/registration/
- https://www.rexingusa.com/support/product-support/





HP


製品サポート

2. セット内容
6.
natural_image
Simple line drawing of a curved, elongated object resembling a stylized plant stem or blade (no text or symbols)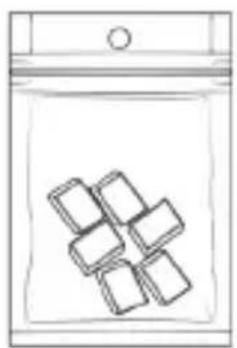
natural_image
Simple line drawing of a bag with five rounded square objects inside (no text or symbols)
natural_image
Diagram showing a device emitting a beam to a circular component with a grid pattern (no text or symbols)Step 2: メモリカードを挿入する
natural_image
Line drawing of a handheld device with control buttons and a circular dial (no text or symbols)メニューの設定

GPSロガー
(別途購入する必要があります)
natural_image
Circular icon with abstract symbols including a black circle, white triangle, and red prohibition sign (no readable text)
GPS機能
(アクティブ)

写真を撮る
択
現在選択しているものを削除
全て削除
1. Aperçu
- https://www.facebook.com/rexingusa/
- https://www.instagram.com/rexingdashcam/
- https://www.rexingusa.com/support/registration/
- https://www.rexingusa.com/support/product-support/





Site


Product Support

natural_image
Simple line drawing of a curved, elongated object resembling a stylized plant stem or tool (no text or symbols)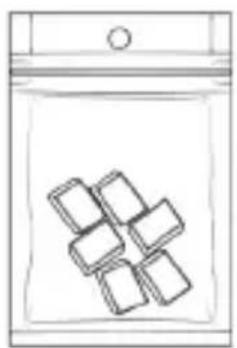
natural_image
Simple line drawing of a bag with five rounded square objects inside (no text or symbols)
natural_image
Diagram of a car interior showing a vehicle, dashboard, and grid-patterned storage area (no text or symbols)natural_image
Line drawing of a handheld device with control buttons and a rotary dial (no text or symbols)Menu Réglage
natural_image
Diagram showing a device with a card and a rectangular block connected by arrows, no text or symbols present.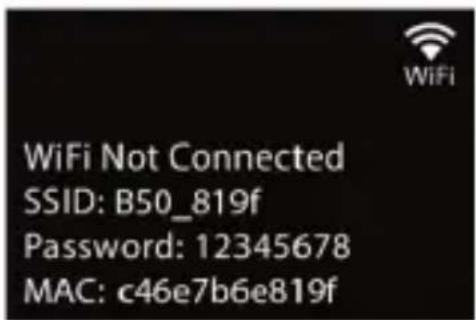
Enregistreur GPS
Fonction GPS (active)

natural_image
Abstract circular diagram with concentric arcs and triangular base, no text or symbols present
Photographie
1. Panoramica
- https://www.facebook.com/rexingusa/
- https://www.instagram.com/rexingdashcam/
- https://www.rexingusa.com/support/registration/
- https://www.rexingusa.com/support/product-support/



2. Nella Confezione
6.
natural_image
Simple line drawing of a curved, elongated object resembling a stylized plant stem or tool (no text or symbols)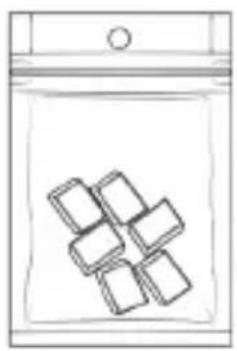
natural_image
Simple line drawing of a bag with five square cutouts (no text or symbols)
natural_image
Diagram showing a device emitting a beam to a circular component with grid pattern (no text or symbols)natural_image
Line drawing of a handheld device with control buttons and a rotary dial (no text or symbols)Impostazioni Menu
GPS Logger
natural_image
Circular icon with abstract symbols including a black circle, white triangle, and red prohibition symbol (no text or numbers)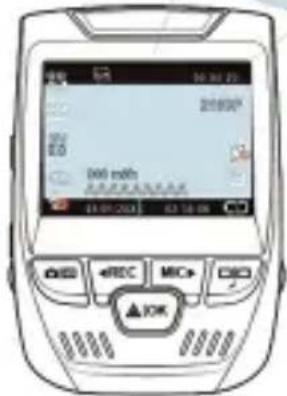
natural_image
Abstract circular diagram with waveforms and triangular shapes, no text or symbols present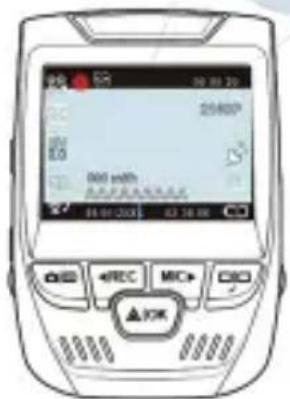
Scattare Foto
1. Visión General
- https://www.facebook.com/rexingusa/
- https://www.instagram.com/rexingdashcam/
- https://www.rexingusa.com/support/registration/
- https://www.rexingusa.com/support/product-support/


natural_image
Simple line drawing of a curved, elongated object resembling a stylized plant stem or blade (no text or symbols)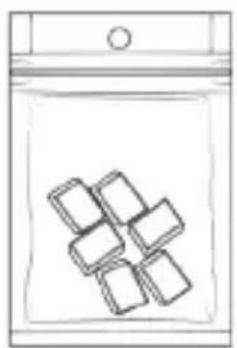
natural_image
Simple line drawing of a bag with six rounded rectangular objects inside (no text or symbols)
natural_image
Diagram of a car interior with a circular inset showing a grid-patterned control panel (no text or symbols)natural_image
Line drawing of a handheld device with control buttons and a dial (no text or symbols)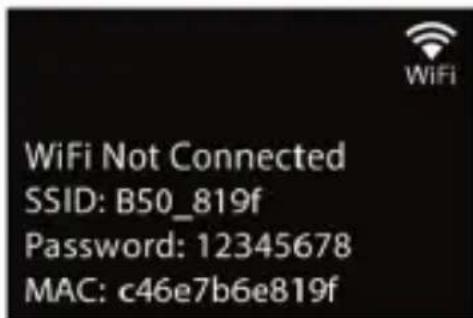
Registrador GPS
del
Función GPS activa

natural_image
Simple circular diagram with a speaker and signal waves, no text or symbols present.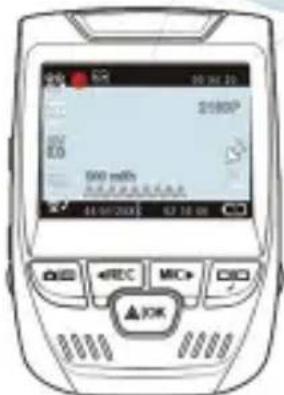
Tomando Fotos
1. Übersicht
- https://www.facebook.com/rexingusa/
- https://www.instagram.com/rexingdashcam/
- https://www.rexingusa.com/support/registration/
- https://www.rexingusa.com/support/product-support/

Facebook


Instagram


Site


Product Support

natural_image
Simple line drawing of a curved, elongated object resembling a stylized plant stem or tool (no text or symbols)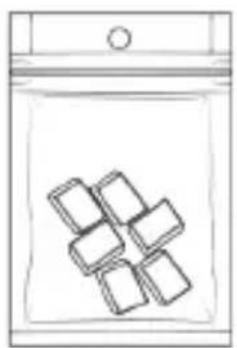
natural_image
Simple line drawing of a bag with five rounded rectangular objects inside (no text or symbols)
natural_image
Diagram showing a vehicle with a circular sensor and a grid-patterned device inside a circle (no text or symbols)natural_image
Line drawing of a handheld device with control buttons and a rotary dial (no text or symbols)Menüeinstellungen
GPS-Logger
natural_image
Abstract circular diagram with waveforms and geometric shapes, no text or symbols present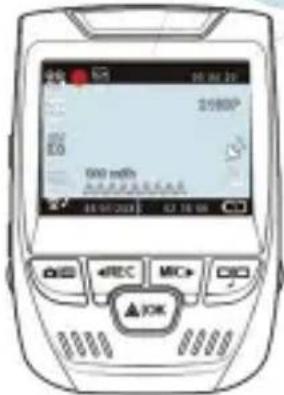
Fotos aufnehmen

This device complies with part 15 of the FCC Rules. Operation is subject to the following two conditions: (1) This device may not cause harmful interference, and (2) this device must accept any interference received, including interference that may cause undesired operation.
Changes or modifications not expressly approved by the party responsible for compliance could void the user's authority to operate the equipment.
REXING®




MADE IN CHINA
- Thank you for choosing REXING!
- Check us out here
- 2.What's in the box
- Camera Overview
- Screen Icons
- Installation
- Step 1: Install the Dash Cam
- Step 2: Insert the Memory Card
- Step 4: Mount the Rear Camera
- Step 5: Installing the Camera onto the Windshield
- Basic Operation
- Device Power
- Menu Settings
- Video Recording
- Video Playback
- To playback a video using an SD card adapter,
- Parking Monitor
- Wi-Fi Connect
- GPS Logger
- Taking Photos
- はじめに
- セット内容
- Step 2: メモリカードを挿入する
- メニューの設定
- GPSロガー
- 写真を撮る
- Aperçu
- Menu Réglage
- Enregistreur GPS
- Photographie
- Panoramica
- Nella Confezione
- Impostazioni Menu
- Scattare Foto
- Visión General
- Registrador GPS
- Tomando Fotos
- Übersicht
- Menüeinstellungen
- GPS-Logger
- Fotos aufnehmen
Brand : Rexing
Model : V1P-4K
Category : Dashcam