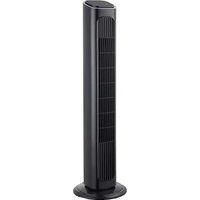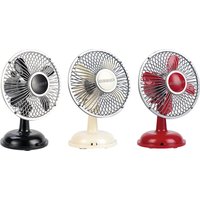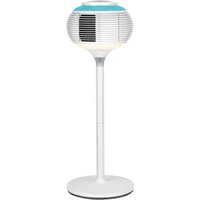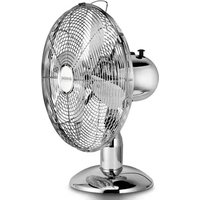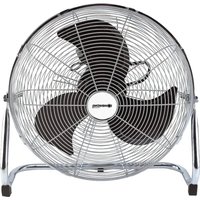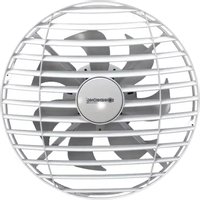
Orbit - Fan Sonnenkönig - Free user manual and instructions
Find the device manual for free Orbit Sonnenkönig in PDF.


User questions about Orbit Sonnenkönig
0 question about this device. Answer the ones you know or ask your own.
Ask a new question about this device
Download the instructions for your Fan in PDF format for free! Find your manual Orbit - Sonnenkönig and take your electronic device back in hand. On this page are published all the documents necessary for the use of your device. Orbit by Sonnenkönig.
USER MANUAL Orbit Sonnenkönig
natural_image
White overhead air conditioner fan with ventilation grille and handle (no text or symbols visible)INDEX
natural_image
Pure electrical circuit lines without any symbols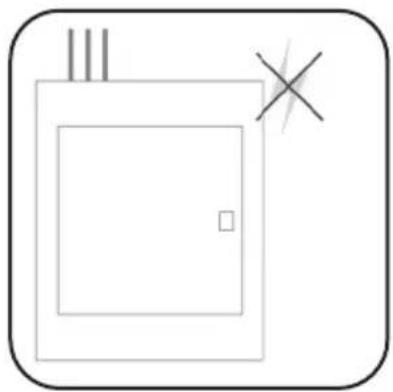
natural_image
Simple line drawing of a door with a cross mark and three vertical lines above it, enclosed in a rounded square frame (no text or symbols)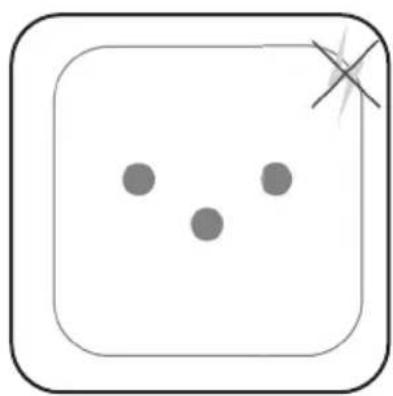
natural_image
Simple icon of a dice with three dots and a small 'X' mark, enclosed in a rounded square (no text or symbols)1.
text_image
[6] [3] [5]natural_image
Technical diagram of a circular mechanical component with labeled parts, no readable text or symbols presenttext_image
Diagram showing a robot with labeled components connected to an electrical panel, likely illustrating a control or wiring system.text_image
[5] [2] [6]natural_image
3D rendered image of a white ergonomic device with a black arrow pointing to the handle (no text or symbols visible)8 Bedienung
text_image
1 2 M 8 9 3 10 4 11 5 1h 2h 4h 6 12 7 SONNENKÖNIGAbb. 2
Festnetz 14 Cent/Minute
natural_image
White overhead air conditioner fan with ventilation grille and handle (no text or symbols visible)INDEX
natural_image
Pure electrical circuit lines without any symbols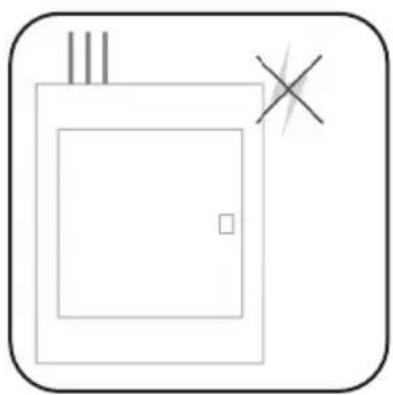
natural_image
Simple line drawing of a door with a double bar and a cross mark, no text or symbols present.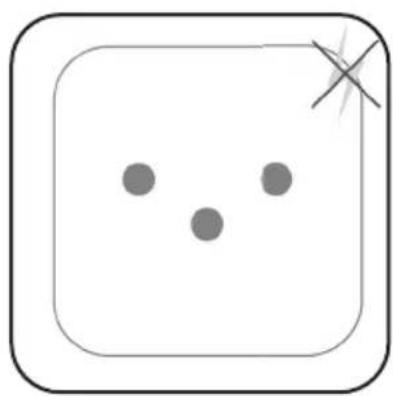
natural_image
Simple diagram with three dots inside a rounded square and a cross mark at the top right corner (no text or symbols)1.
text_image
[6] [3] [5]natural_image
Technical diagram of a circular mechanical component with labeled parts, no readable text or symbols presenttext_image
Diagram showing a device connected to an electrical panel with three labeled terminals and wiring connectionstext_image
[5] [2] [6]natural_image
3D rendered image of a white ergonomic device with a black arrow pointing to the handle (no text or symbols visible)8 Opération
text_image
1 2 M 8 9 3 100% 11 4 5 1h 2h 4h 6 12 7 SONNENKÖNIGFig. 2
Modifications techniques
Festnetz 14 Cent/Minute
natural_image
White overhead air conditioner fan with ventilation grille and handle (no text or symbols visible)IT
INDEX
natural_image
Pure electrical circuit lines without any symbols
natural_image
Simple line drawing of a door with a window and a cross mark, no text or symbols present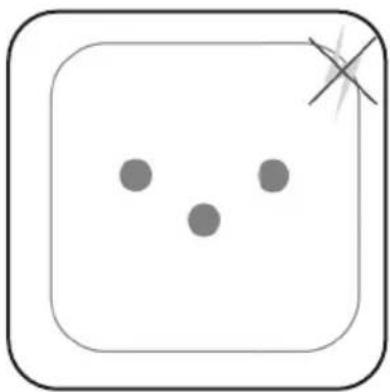
natural_image
Simple icon of a dice with three dots and a cross mark, enclosed in a rounded square (no text or symbols)1.
text_image
[6] [3] [5]natural_image
Technical diagram of a circular mechanical component with labeled parts, no readable text or symbols presenttext_image
Diagram showing a device connected to a control panel with three labeled ports and wiring connectionstext_image
[5] [2] [6]natural_image
3D rendered image of a white ergonomic device with a black arrow pointing to the handle (no text or symbols visible)8 Operazione
text_image
1 2 3 4 5 6 7 M 8 9 10 11 1h 2h 4h 12 SONNENKÖNIGAbb. 2
natural_image
White industrial fan with ventilation grille and handle (no text or symbols visible)EN
INDEX
1 Safety instructions ....39
2 Cleaning 40
3 Specification ....40
4 Connection....41
5 Descriptions of Parts 41
6 Assembly 42
7 Change Batteries ....44
8 Operation....44
9 Warranty / Disposal / Technical modifications ....46
1 Safety instructions
Please read before first commissioning the safety instructions carefully and observe the safety instructions to prevent damage due to misuse, improper operation, and improper environmental conditions to be avoided. Keep these for later reference.
Check the device after removing the packaging for damage. Do not put the unit in case of suspected corruption in operation and consult a specialist. The recyclable packaging material must not be stored or disposed accessible for young children, but must be disposed of properly.
This appliance is only for the purpose for which it was explicitly developed. Any other use is regarded as improper and therefore dangerous. The supplier is not liable for damage to persons and / or property damage due to an improper or incorrect use.
This appliance can be used by children aged from 8 years and above and persons with reduced physical, sensory or mental capabilities or lack of experience and knowledge if they have been given supervision or instruction concerning use of the appliance in a safe way and understand the hazards involved. Children shall not play with the appliance. Cleaning and user maintenance shall not be made by children without supervision.
Repairs to electrical appliances must only be carried out by trained personnel only. Improperly performed repairs and alterations to the equipment can have dangerous consequences for the user according to what the warranty will be rejected.
This product has passed through extensive quality assurance process. Every care has been taken to ensure that it reaches you in perfect condition.
Warning! When using electric tools, basic safety precautions should be followed to reduce the risk of fire, electric shock and personal injury, including the following.
- Read all these instructions before attempting to operate this product and save these instructions.
- Check the voltage indicated on the rating plate. This tool is designed for a 230V 50Hz electric supply.
- Do not use electrical extension cord with this fan.
- Do not introduce your fingers through the front case. Do not let children introduce their fingers through the front case. Do not introduce any foreign body into the front case.
- Do not let hair, net curtains, tablecloth, clothes or curtains next to the openings of the fan. They could be aspiring into the fan, causing damaged or injuries.
- Do not use the fan if the cable or plug is damaged or if they have been damaged in any way. Send the fan to customer service or have it repaired by a specialist.
EN
- Periodically check the electric cable of this fan. If the electric cable is damaged, it must be replaced by the manufacturer, its after sales service or by a similar qualified person in order to avoid a danger.
- Do not use this fan outside.
- Do not use this fan in a damp area such as bathroom.
- The fan should not be operate without a base nor used laying on its side.
- Do not place the electrical cord under a cover. Do not overlay the cord with little covers or such element. Place the cord in an area where there are not any risk to stumble over it.
- Do not operate the fan in an area where gasoline is used or stocked, painting or such flammable liquids.
- Use this fan only as it is describe in this manual.
- Do not try to throw off this fan, there are not any piece that could eventually be repaired by the user. If you need maintenance, please send back the fan to the agent.
- No part of this fan must be replaced by the user. The fan should not be opened by user.
2 Cleaning
- Parts should be cleaned with a soft dry cloth.
- Dirt marks should be removed with a mild soap (detergent) and a damp cloth. Ensure that all traces of the soap film are removed with a damp cloth.
- Do not use gasoline or solvents that may damage the fan.
- Care should be taken to ensure that water (or other liquid) does not enter the fan motor housing or the speed control unit.
- Do not dip the fan into the water or in any other liquid.
3 Specification
Model......ORBIT
Tension....220-240 V
Frequency....50 Hz
Power 75 Watt
Dimensions.... 55 x 24.5 x 55 cm
4 Connection
Note: The fan can be operated via a toggle switch.
EN
Without external switch
AC
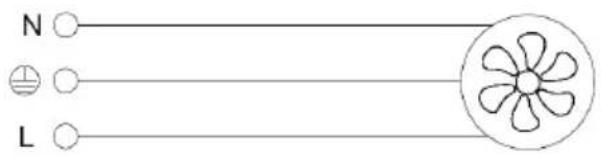
text_image
N Lwith external switch
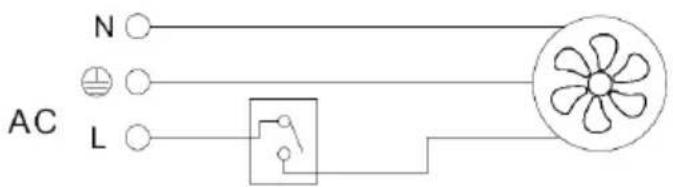
text_image
N AC L5 Descriptions of Parts
- Cable
- backup cable
- Ceiling mount
- Screws
- Screws
- Motor
- Blades
- Bladecover
- LED Lampcover
- Slats
- Decorative cap for slats
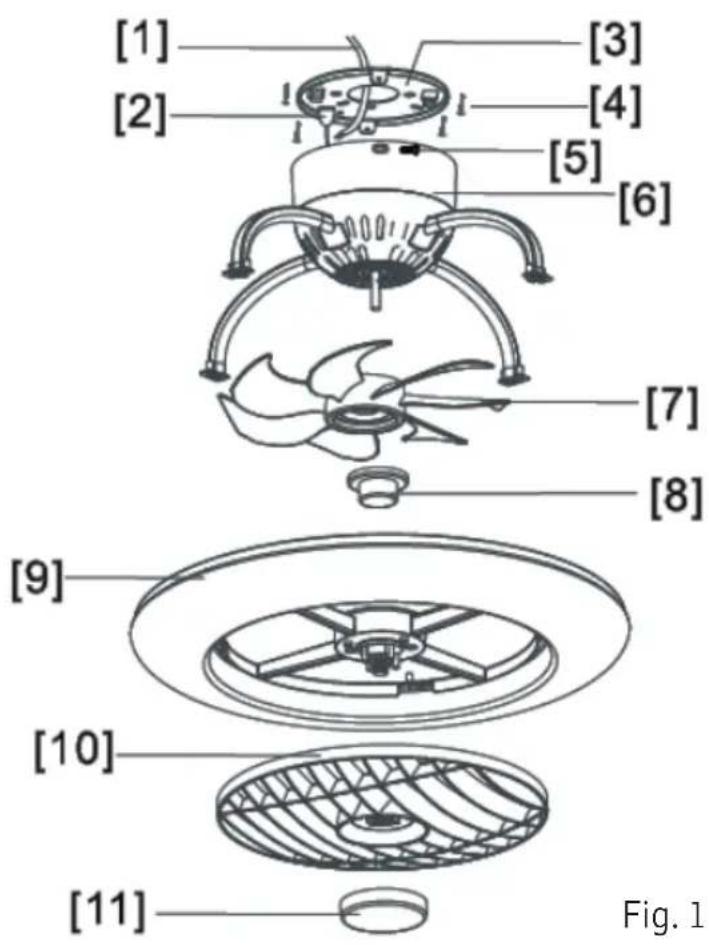
text_image
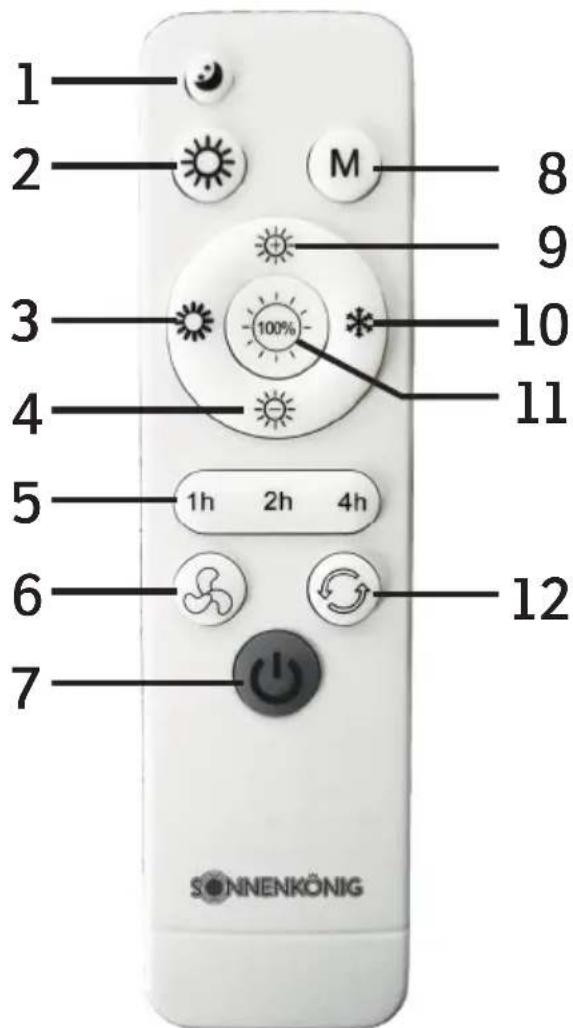
[1] [2] [3] [4] [5] [6] [7] [8] [9] [10] [11] Fig. 16 Assembly
EN
The following equipment is necessary or recommended for installation:
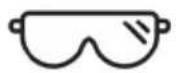
Safety goggles

Stepladder
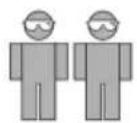
At least two people
Manual
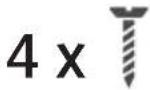
Ceiling Screws
(Not included in delivery)
- Remove all parts from the packaging and check for completeness.
- Make sure that any cables do not contain any voltage and switch off the fuses.

natural_image
Pure electrical circuit lines without any symbols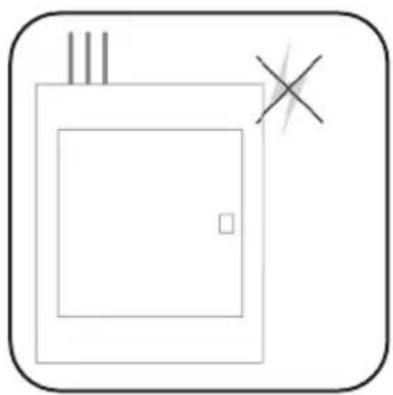
natural_image
Simple line drawing of a door with a cross mark and three vertical lines above it, enclosed in a rounded square frame (no text or symbols)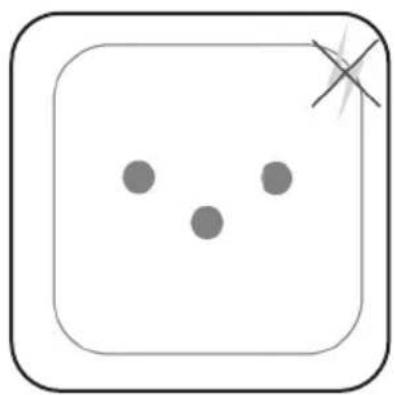
natural_image
Simple diagram with three dots inside a rounded square and a cross mark at the top right (no text or symbols)1.

text_image
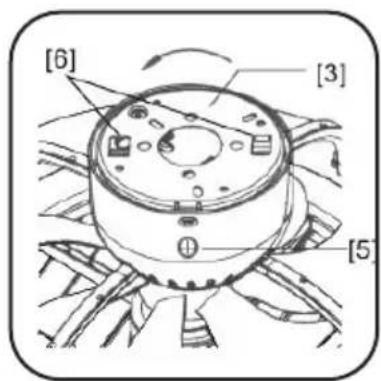
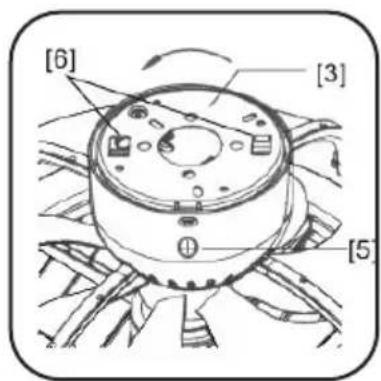
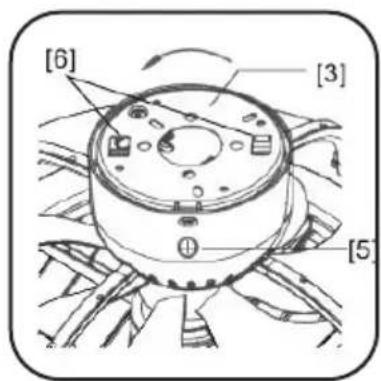
[6] [3] [5]Loosen the 2 screws on the side of the housing [5] and remove the support plate [3] and turn it counterclockwise to remove the plate from the holder [6].
EN
2.
text_image
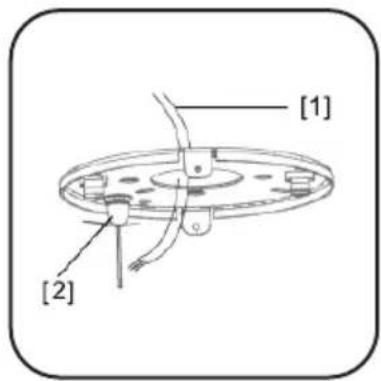
[1] [2]Feed the power cable [1] through the support plate and attach the safety cable [2] to the ceiling.
Attention: Please note that the installation must withstand about 4 times the weight of the fan.
3.
natural_image
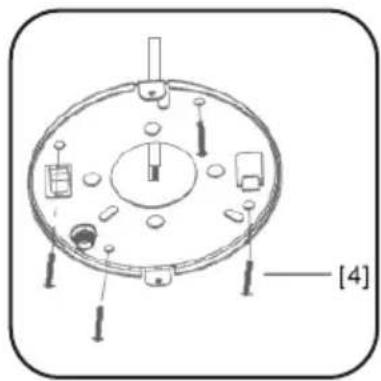
Technical diagram of a circular mechanical component with labeled parts, no readable text or symbols presentFasten the support plate to the ceiling with the screws supplied. Choose between screws for concrete and wood.
4.
text_image
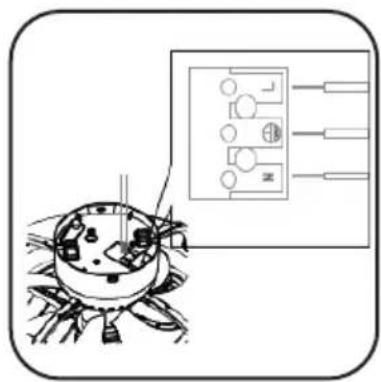
Diagram showing a device connected to an electrical panel with three labeled terminals and a cartoon illustration of a crab.Connect the cables according to the diagram. N = Neutral, L = Live(Phase), = Ground. If unclear, contact a specialist or the supplier.
5.
text_image
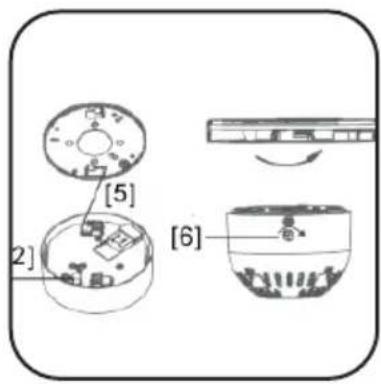
[5] [2] [6]Place the fan on the support plate and turn it back into the holder. Make sure that any cables are not pinched or protruding.
Now retighten the screws on the side of the housing.
7 Change Batteries
EN
Batteries: Replace the batteries by placing them on the back of the Remove the cover from the remote control. (1.5 V / AAA, 2 pieces)

natural_image
3D rendered image of a white ergonomic device with a black arrow pointing to the handle (no text or symbols visible)8 Operation
text_image
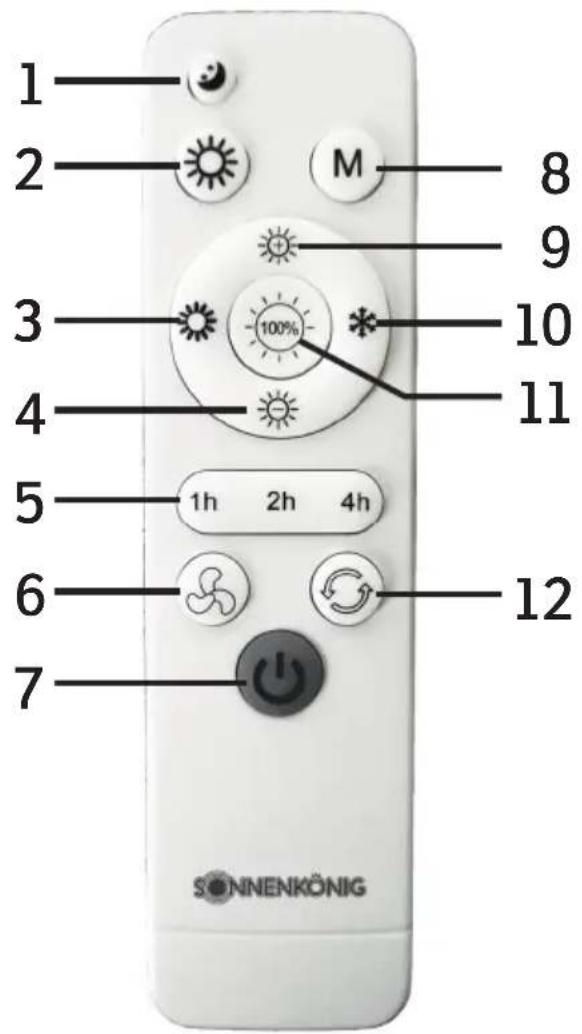
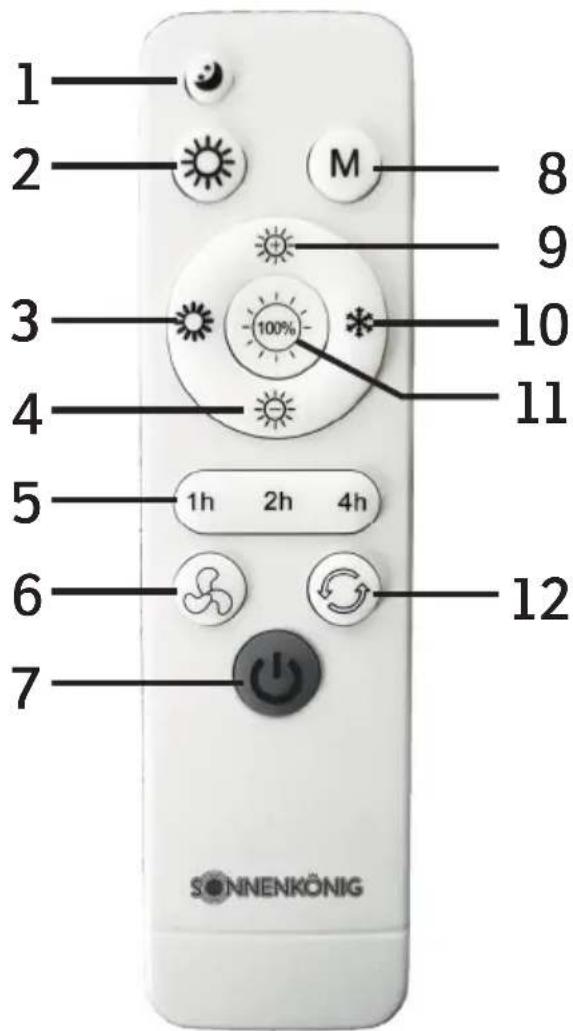
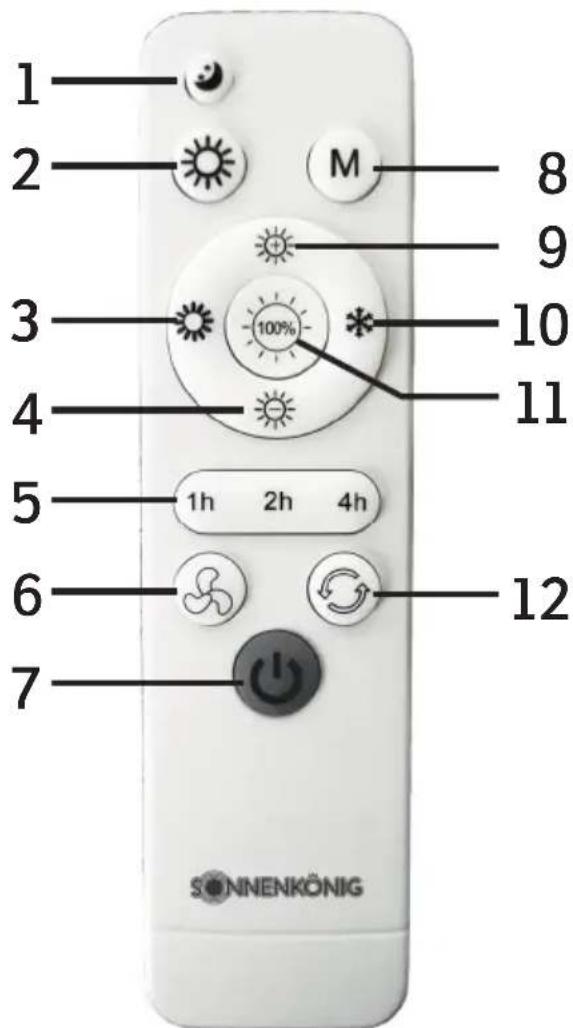
1 2 M 8 9 3 100% 11 4 5 1h 2h 4h 6 12 7 SONNENKÖNIGFig. 2
- Nightmode
- Lightswitch
- Warm Light
- Darker
- Timer
- Ventilation Speed
- Main Switch
- Memory Mode
- Brighter
- Cold Light
- 100 % Light
- Oscillation
Main Switch
With the button ⏻ [Fig. 2, 7.] you can switch the ventilation on and off.
EN
Lightswitch
With the button [Fig. 2, 7.] you can switch the ventilation on and off.
Light temperature
Use the button ✦ [Fig. 2, 10.] and ⚙[Fig. 2, 3.] to adjust the temperature of the light continuously.
Brightness
Use the buttons ⚙️ [Fig. 2, 4.] and ⚙️[Fig. 2, 9.] to adjust the brightness. To change to full brightness, press the ⚙️[Fig. 2, 11.] button.
Timer
Use the buttons 1h 2h 4h [Fig. 2, 5.] to set if and when the unit should turn off automatically.
Ventilation Speed
Use the button ⚙️ [Fig. 2, 12] to adjust the oscillation. After pressing the button, the blades (p. 5, Fig. 1, 10.) begin to rotate in a circle to distribute the air over a larger radius.
Nightmode
Press the button ⚙️ [Fig. 2, 1.] to adjust to a more comfortable and weak light.
Memory Mode
The save mode allows you to save and recall your configuration. Set the fan to the desired brightness and ventilation level and then press the button [Fig. 2, 8] for 5 seconds. The fan confirms the setting with a double beep. Now you can recall the saved settings from any mode.
9 Warranty / Disposal / Technical modifications
EN Warranty
The Products are controlled just before delivery. If despite a lack of your product, try trustfully your seller. Please bring your receipt, as this is to be submitted for each warranty. The guarantee period is 24 months from date of purchase.
Disposal
The device must be disposed of properly. The device can be distributed free of charge for disposal at each dealer.
Technical changes
Reserving changes in technology and design.
CE Declaration of Conformity
This device complies with the following standards
EMC EN 55014-1:2017
EN 55014-2:2015
EN 61000-3-2:2014
EN 61000-3-3:2013
LVD EN 60335-1:2012+A11:2014
EN 60335-2-80:2003+A1:2004+A2:2009
EN 60598-1:2015 + A1:2018
EN 60598-2-11989
EN 62233:2008
RoHS 2015/863/EU
EMC 2014/30/EU
LVD 2014/35/EU
DISPOSAL INSTRUCTIONS FOR THE ELECTRICAL PART OF THE PRODUCT
In accordance with Article 26 of the Decree-Law of 14 March 2014 implementing Directive 2012/19/EC, and the Law of 31 March 2015 implementing Directive 2015/863/EU on the reduction of the use of hazardous substances in electrical and electronic equipment and on waste management.
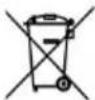
The crossed-out dustbin symbol on the machine or packaging indicates that the waste generated at the end of its useful life must be collected separately from other waste. The user must therefore take the device to the appropriate collection points at the end of its service life. Sort electronic and electrical waste or send back to the retailer when purchasing new, equivalent devices in a one-to-one process. Appropriate separate collection for subsequent commissioning of the equipment to be recycled, treatment and environmentally sound disposal helps to avoid possible adverse effects on the environment and health, and promote the reuse and/or recycling of the materials to which they belong. Misuse of this product by the user will result in the application of the administrative penalties provided for in the applicable legislation. Batteries contained in the device must be disposed of separately in the appropriate containers for the collection of used batteries.
DISPOSAL OF BATTERIES AND ACCUMULATORS
In accordance with Legislative Decree 188 of 20 November 2008 implementing Directive 2006/66/EC on batteries, accumulators and related waste, the symbol of the crossed-out waste bin on the battery indicates that the disposal of used batteries is prohibited in household waste.
Single-use and rechargeable batteries contain substances that are highly polluting for the environment. The user is obliged to dispose of used batteries at collection points in the municipality or in appropriate containers. This service is free. In this way, legal requirements are adhered to and the environment protected. The symbols identifying hazardous materials that may be present in single-use and rechargeable batteries are as follows: Hg = Mercury, Cd = Cadmium, Pb = Lead.
Company
Armin Schmid
Landline 14 Cent/Minute
Mobile network to 42 Cent/Minute