POC.G-10 - Boiler KOSPEL - Free user manual and instructions
Find the device manual for free POC.G-10 KOSPEL in PDF.
| Product type | Electric water heater |
| Brand | Kospel |
| Model | POC.G-10 |
| Capacity | 10 liters |
| Rated power | 2000 W |
| Power supply | 220-240 V~, 50/60 Hz |
| Amperage | 8.3 - 9.1 A |
| Temperature regulation | 7 °C to 70 °C (continuous) |
| Rated pressure | 0.6 MPa (6 bars) |
| Dimensions (H x W x D) | 470 x 329 x 239 mm |
| Weight (without water) | 6.1 kg |
| Protection rating | IP24 |
| Connection | G 1/2" |
| Mounting | Vertical wall mounting, hydraulic connections downward |
| Safety | Safety valve set at 6 bars, pressure reducer if >6 bars, frost protection (drain required) |
| Maintenance | Regular check of safety valve, drain if temperature <0 °C |
| External cleaning | Clean with a damp cloth, do not use abrasive products |
| Use | Temperature regulator on the casing, heating indicator light |
| Electrical installation | Socket with earth pin, no extension cord, installation in compliance with standards |
| Tank material | Not specified (estimate: enameled steel) |
Frequently Asked Questions - POC.G-10 KOSPEL
User questions about POC.G-10 KOSPEL
0 question about this device. Answer the ones you know or ask your own.
Ask a new question about this device
Download the instructions for your Boiler in PDF format for free! Find your manual POC.G-10 - KOSPEL and take your electronic device back in hand. On this page are published all the documents necessary for the use of your device. POC.G-10 by KOSPEL.
USER MANUAL POC.G-10 KOSPEL
Electric Pressure Water Heater
natural_image
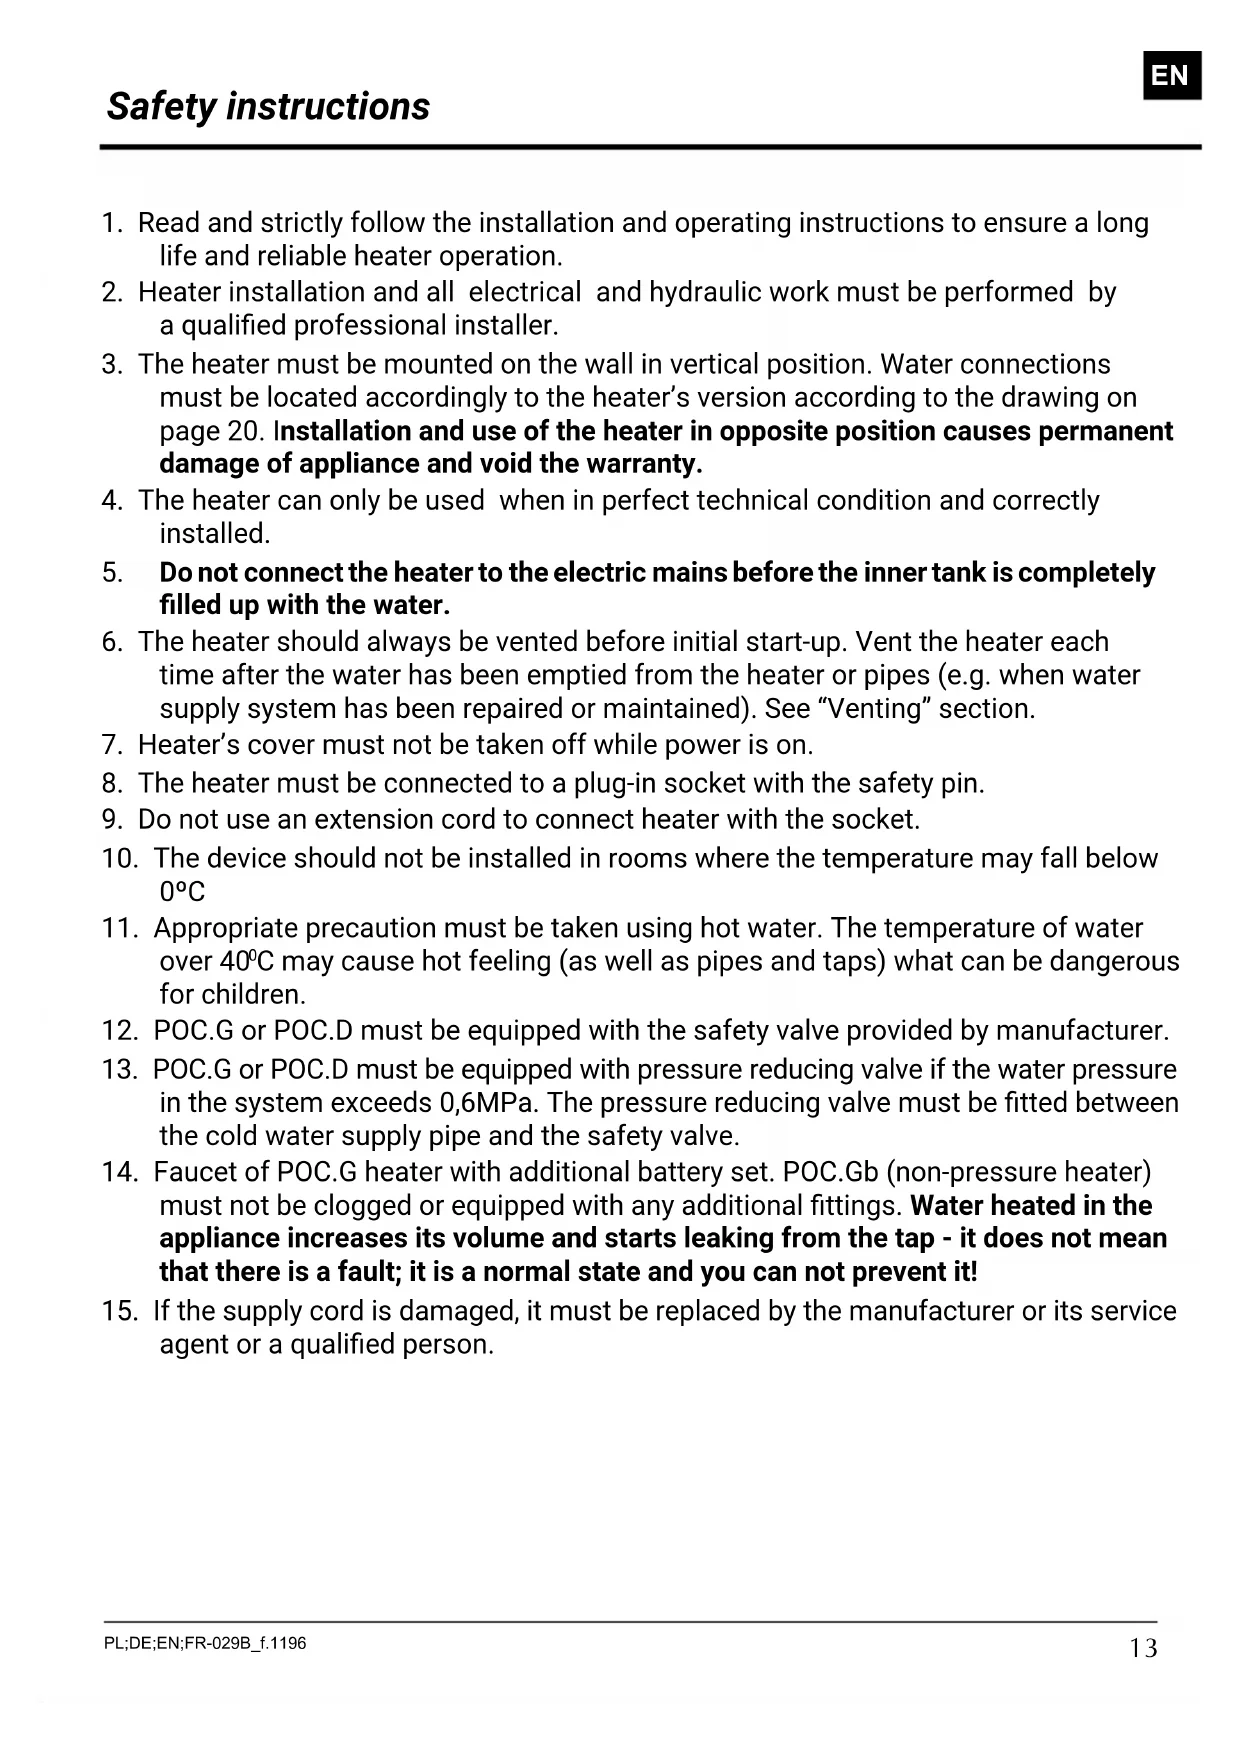
Line drawing of a cylindrical container with a knob and side tabs (no text or symbols)POC.D-5
natural_image
Simple line drawing of a 3D rectangular container with a small human figure at the bottom (no text or symbols)POC.G-5
natural_image
Line drawing of a rectangular electronic device with a circular vent and mounting bracket (no text or symbols)POC.D-10
natural_image
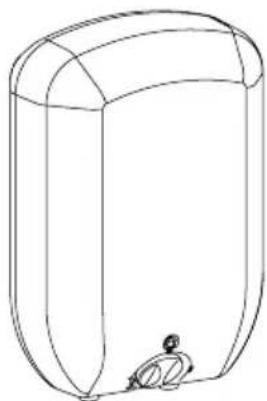
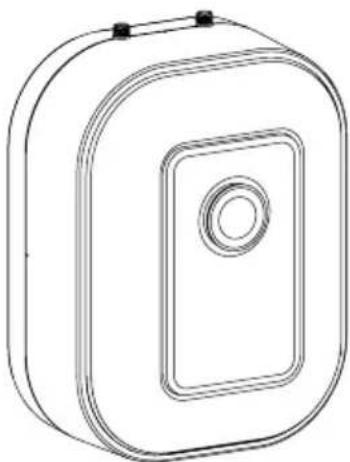
Line drawing of a rectangular electronic device with a circular button and top panel (no text or symbols)POC.G-10
This appliance may be used by children at the min. age of 3 years and by persons with reduced physical, sensory or mental capabilities or lack of experience and knowledge about the product, provided that they have been given supervision or instruction concerning safe usage of the appliance and that they are aware of potential dangers that might result from usage of the appliance. Children should not play with the device. Children without supervision should not complete any cleaning nor maintenance procedures.
natural_image
Technical line drawing of a circular mechanical component with two internal oval cutouts and a top circular feature, labeled POC5 (no text or symbols on the diagram itself)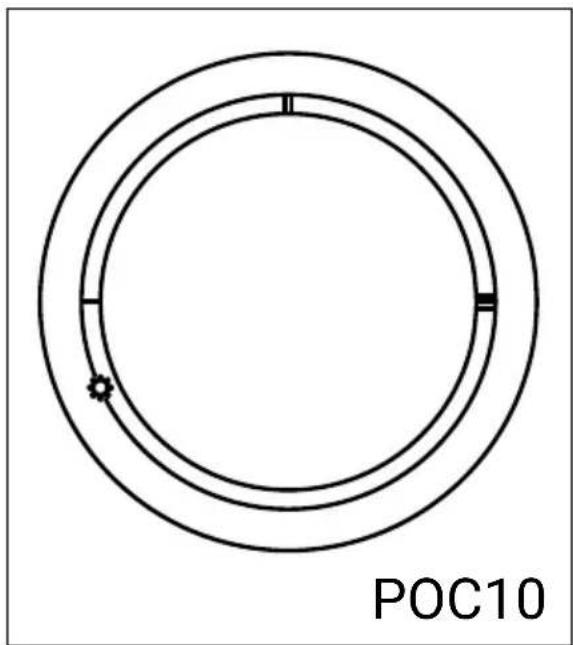
natural_image
Pure circular diagram with two concentric rings and a small star-like mark, labeled POC10 at the bottom (no text or symbols within the diagram itself)natural_image
Technical line drawing of a circular mechanical component with two internal oval cavities and a top mounting bracket, labeled POC5 (no text or symbols on the diagram itself)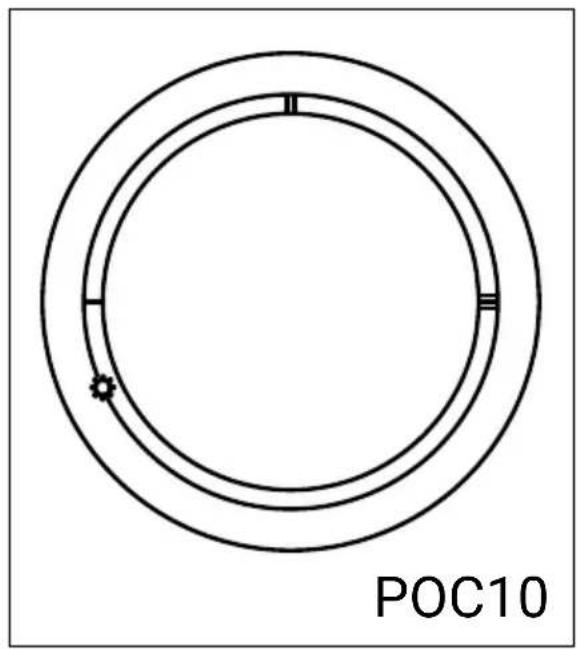
text_image
POC10- Read and strictly follow the installation and operating instructions to ensure a long life and reliable heater operation.
- Heater installation and all electrical and hydraulic work must be performed by a qualified professional installer.
- The heater must be mounted on the wall in vertical position. Water connections must be located accordingly to the heater's version according to the drawing on page 20. Installation and use of the heater in opposite position causes permanent damage of appliance and void the warranty.
- The heater can only be used when in perfect technical condition and correctly installed.
- Do not connect the heater to the electric mains before the inner tank is completely filled up with the water.
- The heater should always be vented before initial start-up. Vent the heater each time after the water has been emptied from the heater or pipes (e.g. when water supply system has been repaired or maintained). See "Venting" section.
- Heater's cover must not be taken off while power is on.
- The heater must be connected to a plug-in socket with the safety pin.
- Do not use an extension cord to connect heater with the socket.
- The device should not be installed in rooms where the temperature may fall below 0^ C
- Appropriate precaution must be taken using hot water. The temperature of water over 40^ C may cause hot feeling (as well as pipes and taps) what can be dangerous for children.
- POC.G or POC.D must be equipped with the safety valve provided by manufacturer.
- POC.G or POC.D must be equipped with pressure reducing valve if the water pressure in the system exceeds 0,6MPa. The pressure reducing valve must be fitted between the cold water supply pipe and the safety valve.
- Faucet of POC.G heater with additional battery set. POC.Gb (non-pressure heater) must not be clogged or equipped with any additional fittings. Water heated in the appliance increases its volume and starts leaking from the tap - it does not mean that there is a fault; it is a normal state and you can not prevent it!
- If the supply cord is damaged, it must be replaced by the manufacturer or its service agent or a qualified person.
text_image
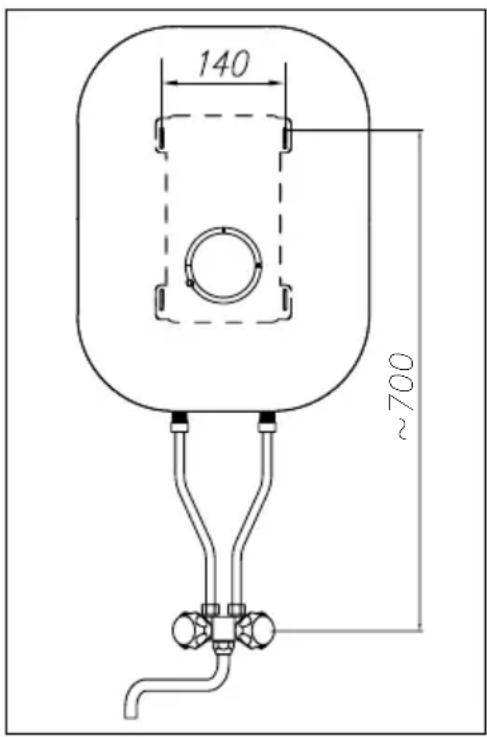
140 700~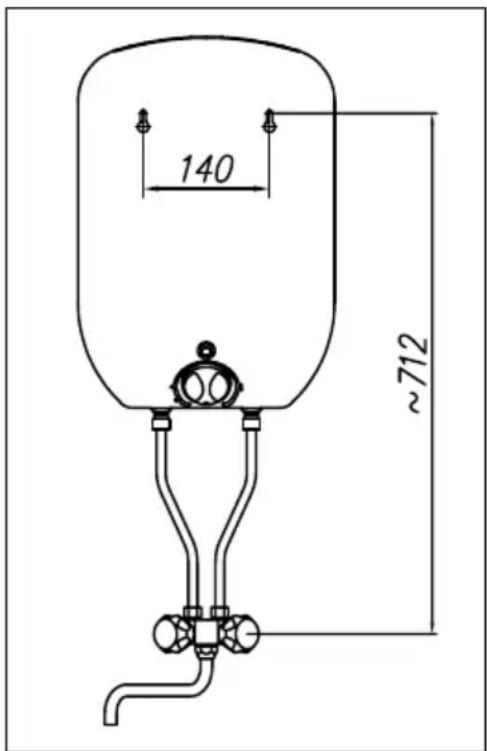
text_image
140 ~712- Mount the heater on the wall in vertical position according to two options given below:
a) fix two (stretching) pins 8 into the wall with a 140 mm-distance between them, - screw the fixing screws in such a way that there will be no more than a 4 mm-slot between a wall and a screw head,
- hang the heater on the fixed screws,
b) fix the special hanger to the wall and hang the heater. In case of assembly of the POC.G with additional battery set. POC.Gb, a spacing between axes of fixing pins and the tap has to be kept. - According to figure bring the supply water to the point where the heater is to be mounted. In the heater:
a) POC.G or POC.D connect cold water to the inlet fitting according to figure on page 20 and hot water outlet to the outlet fitting. On the cold water inlet supply pipe a mandatory safety valve [6] has to be installed with a rated pressure of 0,6 MPa.
b) POC.Gb connect the heater to the tap (with metal tubes or flexible connectors (hoses) - placing gaskets on the nuts beforehand. The recommended distance between the axis of the tube and the wall is \~34mm. - The discharge pipe, connected to the safety device against excessive pressure should be installed in an environment that is free from frost, and should be directed to down.
- After connecting the heater to hydraulic system, open the hot water tap (red colour) and wait until the inner tank is filled with water (when water starts running from the tap).
- Check connections for their tightness.
POC.G and POC.D as a pressure appliances are designed to work on the system with water pressure not exceeding 0,6MPa. If the water pressure in the system exceeds 0,6MPa, a pressure reducing valve has to be fitted before the safety valve on the cold water supply pipe. An occasional leak may appear from the safety valve - it does not mean that there is a fault; it is a normal state of the appliance. You must not block the pipe as it might cause a malfunction. Safety valve as well as the outlet pipe can not be installed in a room with temperatures below zero. Between the heater and the safety valve no cut-off valve can be placed.
The POC.G heater must be mounted with connections to down
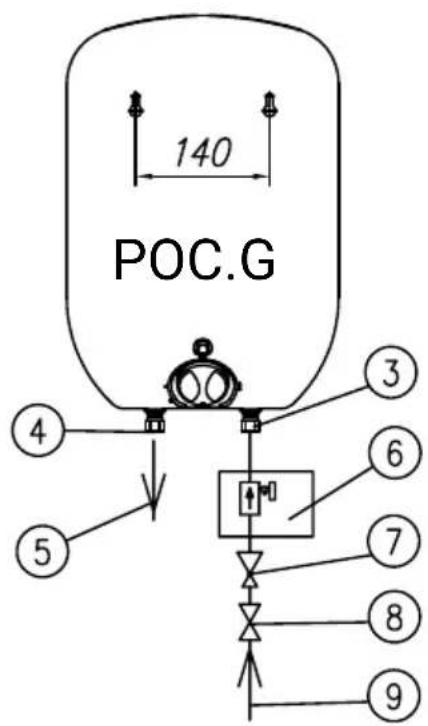
text_image
140 POC.G ④ ⑤ ③ ⑥ ⑦ ⑧ ⑨The POC.D heater must be mounted with connections to the top
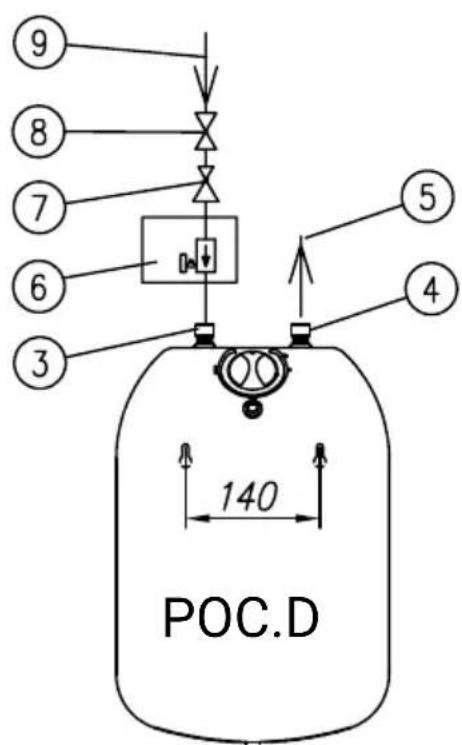
text_image
9 8 7 6 3 5 4 140 POC.D[3] - inlet fitting (cold water)
[4] - outlet fitting (hot water)
[5] - hot water outlet
[6] - safety valve
[7] - pressure reducing valve (if the water pressure in the system exceeds 0,6 MPa)
[8] - cut-off valve
[9] - cold water inlet
Electrical connection
The heater can be supplied with alternating voltage of 230V\~. A cord with a plug should be connected to a plug-in socket with a safety pin. Electrical system should fulfil IEC-60364 standards.
Important! Do not connect the heater to the electric mains before the inner tank is completely filled up with the water.
- Take the plug out of the socket.
- Open the hot water tap and wait until it flows from a tap.
- Set the temperature regulation knob at desired position.
- Put the plug into a socket.
Temperature control

natural_image
Technical line drawing of a circular mechanical component with two internal oval cavities and a top mounting bracket, labeled POC5 (no text or symbols on the diagram itself)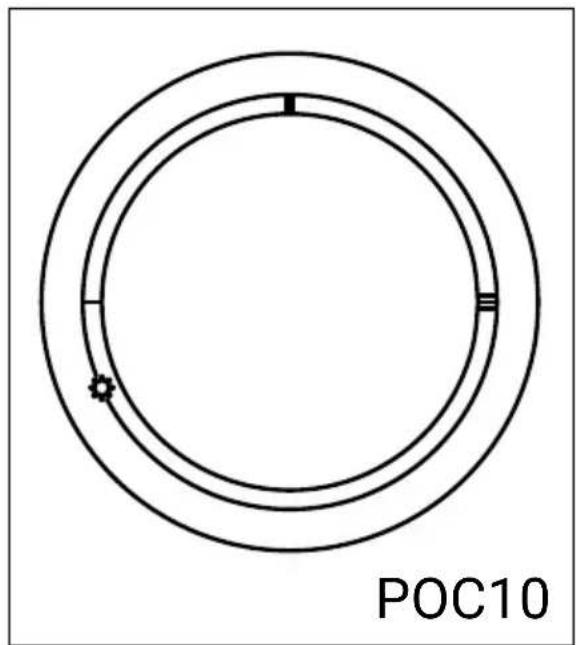
text_image
POC10On the front part of the heater casing there is a knob intended for temperature setting. The knob set as on the figure (anticlockwise) indicates the 'switch off' position. Water temperature setting should be chosen smoothly from „ ^♂ (\~7 ^ C) position to „ ^○○○ ” or „ ^III ” (\~70 ^ C). When the diode (indicating 'heating') is on, it means water is being heated.
If the appliance is mounted in a place where temperature drops below 0^ C, you should totally empty the heater out of water:
- over-the-sink version (POC.G) - dismount connecting tube from the inlet fitting (cold water); open the hot water tap,
- under-the-sink version (POC.D) - unscrew flexible connectors (hoses) from the inlet and outlet fittings (hot and cold water), remove the heater from the wall (hooks) and turn it 180° round.
Safety valve must regularly opened in order to remove deposit and ensure it is not blocked.
| No. | Fault Reason Remedies | ||
| 1. | The heater does not heat water and a signal lamp does not work. | Supply power system failure. | Check safety fuses. |
| A temperature controller failure. | Replace the temperature controller (service) | ||
| 2. | The heater does not heat water and a signal lamp works. | Heating box failure. | Replace the damaged unit. (service) |
| A thermal cut-out problem | Turn on or exchange the thermal cut-out (service) | ||
| 3. | The heater heats water and a signal lamp does not work. | A signal lamp failure | Replace the lamp. (service) |
Technical data
| Type | POC.D-5 POC.G-5 POC.D-5/600 | |||
| Capacity | I | 5 | ||
| Rated power | W 2000 600 | |||
| Rated current | A 83 - 9,1 2,5 - 2,7 | |||
| Type | POC.D-10 POC.G-10 - | |||
| Capacity | I | 10 | ||
| Rated power | W 2000 - | |||
| Rated current | A 83 - 9,1 - | |||
| Voltage | 220 - 240V~ | |||
| Temperature range | °C | 23 - 70 | ||
| Pressure rating | MPa | 0,6 | ||
| Dimensions (height x width x depth) | POC.5 | mm | 427 x 285 x 163 | |
| POC.10 | 470 x 329 x 239 | |||
| Weight (without water) | POC.5 | kg | 4,4 | |
| POC.10 | 6,1 | |||
| Safety class | IP24 | |||
| Water heater fittings | G 1/2" | |||
natural_image
Technical line drawing of a circular mechanical component with two internal oval cutouts and a top circular feature, labeled POC5 (no text or symbols on the diagram itself)
text_image
POC10natural_image
Symbol of a trash bin with crossed lines indicating no waste, and a solid black rectangle below (no text or labels)Used product can't be treated as general communal waste. Disassembled appliance has to be delivered to the collection point of electrical and electronic equipment for recycling. Appropriate utilisation of used product prevents potential negative environmental influences that may occur as a result of inappropriate handling of waste. In order to get more detailed information about recycling this product you should contact the local government unit, waste management service or the shop where this product has been purchased.