
RE 12-M - Crimping tool RIDGID - Free user manual and instructions
Find the device manual for free RE 12-M RIDGID in PDF.
| Product type | Manual hydraulic crimping tool |
| Brand | Ridgid |
| Model | RE 12-M |
| Rated pressure | 12 tons (130 kN) |
| Copper cable capacity | Up to 750 MCM |
| Aluminum cable capacity | Up to 400 mm² (building grade copper) |
| Cylinder stroke | 42 mm (1.65") |
| Operating temperature | -20°C to 40°C (-4°F to 104°F) |
| Dimensions | 557 x 208 x 82 mm (21.9 x 8.2 x 3.2 in) |
| Weight | 5.3 kg (11.68 lb) |
| Head rotation | 330° when empty |
| Power type | Manual (hydraulic pump lever) |
| Main functions | Crimping compression connectors for electrical cables |
| Safety | Safety valve, release lever, die release buttons |
| Maintenance | Clean with soft cloth, monthly lubrication of lever pins, mandatory annual overhaul |
| Included accessories | Carrying case, head stand, instruction manual |
| Warranty | Full lifetime warranty (Full Lifetime Warranty) |
| Repairability | Repair only by authorized Ridgid repairer, original parts |
| Compliance | CE (Pressure Equipment Directive 7/23/CE) |
Frequently Asked Questions - RE 12-M RIDGID
User questions about RE 12-M RIDGID
0 question about this device. Answer the ones you know or ask your own.
Ask a new question about this device
Download the instructions for your Crimping tool in PDF format for free! Find your manual RE 12-M - RIDGID and take your electronic device back in hand. On this page are published all the documents necessary for the use of your device. RE 12-M by RIDGID.
USER MANUAL RE 12-M RIDGID
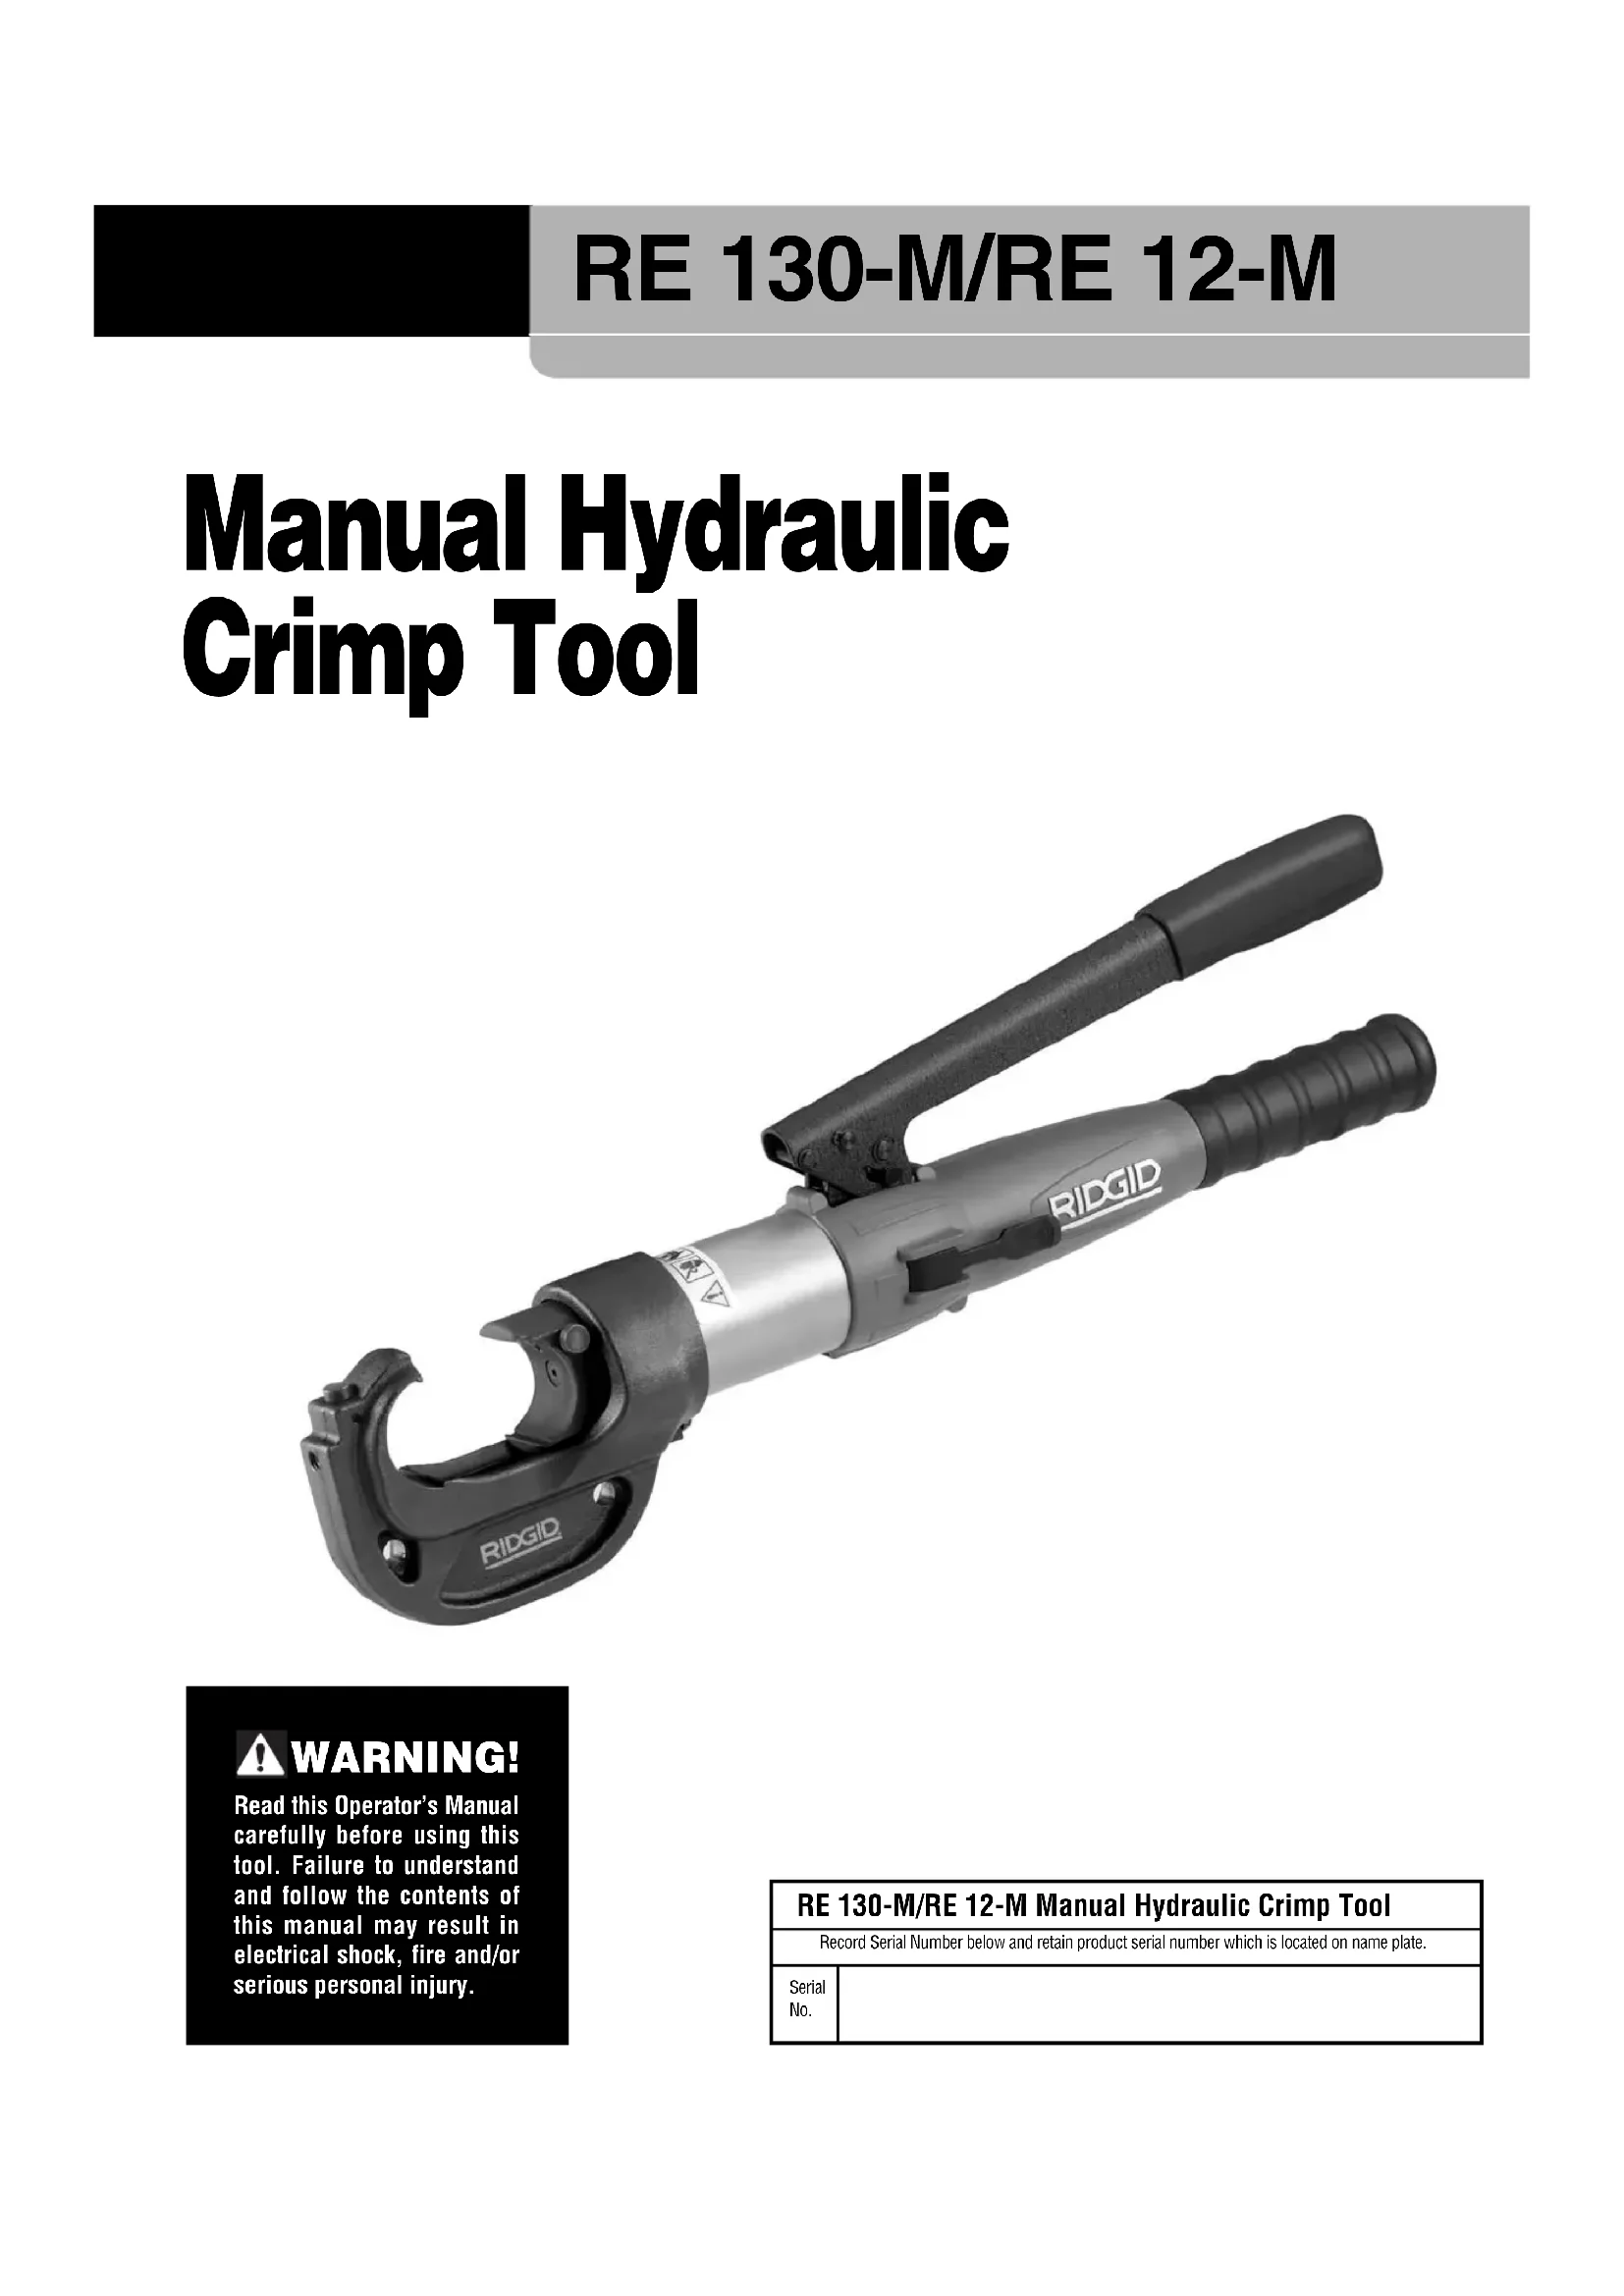
Manual Hydraulic Crimp Tool

natural_image
Red and black RIDGID crimping tool with handle and hook (no text or symbols visible on the tool body)- Français – 9
Recording Form For Machine Serial Number ....1
Safety Symbols....2
General Safety Rules
Work Area Safety....2
Electrical Safety 2
Personal Safety 2
Tool Use And Care 2
Service....3
Specific Safety Information
Manual Crimp Tool Safety ....3
Description, Specifications And Standard Equipment
Description....3
Specifications....4
Standard Equipment 4
Tool Inspection....4
Set-Up And Operating Instructions ....5
Maintenance Instructions
Cleaning....7
Lubrication 7
Required Maintenance....7
Accessories 7
Storage 7
Service And Repair 7
Disposal 7
EC Declaration of Conformity 8
Lifetime Warranty ....Back Cover
*Original Instructions - English
Manual Hydraulic Crimp Tool

natural_image
Ridgiz Cushing tool with black handle and metal body (no visible text or symbols)
WARNING!
Read this Operator's Manual carefully before using this tool. Failure to understand and follow the contents of this manual may result in electrical shock, fire and/or serious personal injury.
| RE 130-M/RE 12-M Manual Hydraulic Crimp Tool | |
| Record Serial Number below and retain product serial number which is located on name plate. | |
| Serial No. | |
Safety Symbols
In this operator's manual and on the product, safety symbols and signal words are used to communicate important safety information. This section is provided to improve understanding of these signal words and symbols.

This is the safety alert symbol. It is used to alert you to potential personal injury hazards. Obey all safety messages that follow this symbol to avoid possible injury or death.

DANGER
DANGER indicates a hazardous situation which, if not avoided, will result in death or serious injury.

WARNING
WARNING indicates a hazardous situation which, if not avoided, could result in death or serious injury.

CAUTION
CAUTION indicates a hazardous situation which, if not avoided, could result in minor or moderate injury.
NOTICE
NOTICE indicates information that relates to the protection of property.

This symbol means read the operator's manual carefully before using the equipment. The operator's manual contains important information on the safe and proper operation of the equipment.

This symbol means always wear safety glasses with side shields or goggles when handling or using this equipment to reduce the risk of eye injury.

This symbol indicates the risk of hands, fingers or other body parts being crushed.

This symbol indicates the risk of electrical shock.
General Safety Rules
WARNING
Read and understand all safety warnings and instructions. Failure to follow the warnings and instructions may result in electric shock, property damage and/or serious injury.
SAVE ALL WARNINGS AND INSTRUCTIONS FOR FUTURE REFERENCE!
Work Area Safety
- Keep your work area clean and well lit. Cluttered or dark areas invite accidents.
- Keep children and by-standers away while operating tools. Distractions can cause you to lose control.
Electrical Safety
- Avoid body contact with earthed or grounded surfaces such as pipes, radiators, ranges and refrigerators. There is an increased risk of electrical shock if your body is earthed or grounded.
Personal Safety
- Stay alert, watch what you are doing and use common sense when operating tools. Do not use tools while you are tired or under the influence of drugs, alcohol, or medication. A moment of inattention while operating tools may result in serious personal injury.
- Use personal protective equipment. Always wear eye protection. Protective equipment such as dust mask, non-skid safety shoes, hard hat, or hearing protection used for appropriate conditions will reduce personal injuries.
- Do not overreach. Keep proper footing and balance at all times. This enables better control of the tool in unexpected situations.
Tool Use And Care
- Do not force or modify the tool. Use the correct tool for your application. The correct tool will do the job better and safer at the rate for which it is designed.
- Store the tool out of the reach of children and do not allow persons unfamiliar with the tool or these instructions to operate the tool. Tools are dangerous in the hands of untrained users.
- Maintain the tool. Check for misalignment or binding of moving parts, breakage of parts and any other condition that may affect the tool's operation. If damaged, have the tool repaired before use. Many accidents are caused by poorly maintained tools.
- Keep handles dry and clean, free from oil and grease. This allows for better control of the tool.
- Use the crimping tool, accessories and dies etc. in accordance with these instructions, taking into ac count the working conditions and the work to be performed. The use of the tool for operations different from those intended could result in a hazardous situation.
Service
- Have your tool serviced by a RIDGID Independent Service Center using only original replacement parts. This will ensure that the safety of the tool is maintained.
Specific Safety Information
WARNING
This section contains important safety information that is specific to this tool.
Read these precautions carefully before using the crimping tool to reduce the risk of electrical shock or serious personal injury.
SAVE THESE INSTRUCTIONS!
A compartment in the tool carrying case is included to keep this manual with the machine for use by the operator.
Manual Hydraulic Crimp Tool Safety
- Do NOT use on or near energized conductors. This tool is not insulated. Use of this tool near energized conductors may lead to electrical shock, causing severe injury or death.
- Large forces are generated using high-pressure fluid. Escaping high-pressure fluid can penetrate skin. Large forces can break and throw parts, causing serious injury. Keep all unnecessary personnel away from the work area. Stay clear of the head during use and always wear appropriate protective equipment, including eye protection.
- Keep your fingers and hands away from the dies and moving parts during the operating cycle. Your fingers or hands can be crushed, fractured or amputated if they become caught between the dies or between these components and any other object.
- Do not operate the tool without correct dies properly installed in tool head This can damage the tool and/or cause serious personal injury.
-
Do not use handle extensions to activate the tool. Handle extensions can slip and cause serious injury. Extended handles can overload the tool and cause tool failure and/or serious personal injury.
-
Use proper tool, die, connector and cable combination. Improper combinations can result in an incomplete or improper crimp, which increases the risk of electrical issues, fire, severe injury or death.
- Before operating a RIDGID Manual Hydraulic Crimp Tool, read and understand:
- This operator's manual,
- The connector and die/insert manufacturers' installation instructions,
- The instructions for all equipment and material used with this tool,
Failure to follow all instructions and warnings may result in property damage and/or serious injury.
If you have any question concerning this RIDGID® product:
- Contact your local RIDGID ^® distributor.
- Visit www.RIDGID.com or www.RIDGID.eu to find your local RIDGID contact point.
- Contact Ridge Tool Technical Service Department at rttechservices@emerson.com, or in the U.S. and Cana da call (800) 519-3456.
Description, Specifications And Standard Equipment
Description
The RIDGID® Models RE 130-M/RE 12-M Manual Hydraulic Crimp Tools are hand operated hydraulic crimping tools, which when used with appropriate dies, are designed to crimp electrical compression connectors to electrical conductors.
The crimp tool has a stationary handle and a movable handle. The movable handle is cycled to pump the hydraulic fluid, moving the ram forward and apply force to close the dies. The tool has a rapid advance to quickly engage the connector, and the crimp is completed at a slower speed. This reduces the number of handle pumps required to grip the connector and decreases the handle force during crimping.
A sudden and significant decrease of the handle force when the dies are closed indicates a complete crimp. An audible pop may also be heard. After crimping is complete, the release lever needs to be pressed to retract the ram to its initial position, completing the crimping cycle.
When unloaded, the tool crimp head can rotate up to 330^ for better access in tight spaces. When load is applied, the crimp head is held in position.
A stand is supplied for crimp tool use on the ground. The stand supports the crimp head so that one operator can easily position the cable and the lug between the dies and complete a crimp.
The carrying case can accommodate 15 pairs of dies, the instruction manual and the crimp head stand in addition to the tool.
The RIDGID ^® RE 130-M/RE 12-M Manual Hydraulic Crimp Tools are intended to be used with commercially available round dies, with appropriate ratings, for crimping electrical connectors onto wire.
See the supplied RIDGID Crimp Die/Electrical Connector Compatibility Chart or go to www.RIDGID.com/CrimpDies

Figure 1 – RE 130-M/RE 12-M Manual Hydraulic Crimp Tool
Specifications
RE 12-M RE 130-M
Nominal
Piston Force.....12 ton 130kN
(107kN, (29,225
24,000 lbf)
Dies....Round, 12 ton Round, 130 kN
Max. Cable
Capacity.....750 MCM 400 mm ^2
Copper Copper
Building Wire, 240 mm ^2
750 MCM Aluminum
Aluminum Cable
Building Wire
Piston Travel....1.65" 1.65"
(42mm) (42mm)
Operating
Temperature.....-4°F to 104°F -4°F to 104°F
(-20°C to 40°C) (-20°C to 40°C)
Dimensions.....21.9" x 8.2" x 3.2" 21.9" x 8.2" x 3.2"
557 x 208 x 82mm 557 x 208 x 82mm
Weight .....11.68 lb (5.3 kg) 11.68 lb (5.3 kg)
The tool serial number is located on the name plate as shown in Figure 2. The last 4 digits indicate the month and year of manufacture (06 = month, 14 = year).

Figure 2 – Tool Serial Number
Standard Equipment
The RIDGID® Model RE 130-M or RE 12-M Manual Hydraulic Crimp Tool comes with the following:
- Operator's Manual
• Die Slot Marking Decals (imperial or metric sizes) - Crimp Head Stand
NOTICE Selection of appropriate materials and joining methods is the responsibility of the system designer and/or installer. Before any installation is attempted, careful evaluation of the specific requirements should be completed. Consult connector manufacturer for selection information.
Tool Inspection
WARNING

Cable, Daily before use, inspect your crimp tool and correct any problems to reduce the risk of serious injury from crushing injuries and other causes, and to prevent tool damage.
- Clean any oil, grease or dirt from the tool, including the handles. This aids inspection and helps prevent the tool from slipping from your grip.
-
Inspect the crimp tool for the following:
-
Proper assembly, maintenance and completeness.
- Any broken, worn, missing, misaligned or binding parts or other damage.
- Hydraulic leaks. Oil in the carrying case can indicate a hydraulic leak.
- Presence and readability of warning label and markings (Figure 1).
- Any other condition which may prevent safe and normal operation.
If any problems are found, do not use the tool until the problems have been repaired.
- Inspect and maintain any other equipment being used per its instructions to make sure it is functioning properly. Confirm that the crimp dies to be used are a clean, undamaged, matched set.
Set-Up And Operating Instructions
WARNING


Do NOT use on or near energized conductors. This tool is not insulated. Use of this tool near energized conductors may lead to electrical shock, causing severe injury or death.
Keep your fingers and hands away from the dies and moving parts during the operating cycle. Your fingers or hands can be crushed, fractured or amputated if they become caught between the dies or between these components and any other object.
Large forces are generated using high-pressure fluid. Escaping high-pressure fluid can penetrate skin. Large forces can break and throw parts, causing serious injury. Keep all unnecessary personal away from the work area. Stay clear of the head during use and always wear appropriate protective equipment, including eye protection.
Do not operate the tool without correct dies properly installed in tool head. This can damage the tool and/or cause serious personal injury.
Use proper tool, die, connector and cable combination. Improper combinations can result in an incomplete or improper crimp, which increases the risk of electrical issues, fire, severe injury or death.
Follow set up and operating instructions to reduce the risk of injury from crushing, electrical shock and other causes and to prevent tool damage.
- Check for appropriate work area as indicated in General Rules Safety section.
- Inspect the work to be done and determine the correct RIDGID tool and dies for the application per their specifications. Using incorrect equipment for an application can cause injury, damage the tool and make incomplete connections.
See the supplied RIDGID Crimp Die/Electrical Con nec tor Compatibility Chart or go to www.RIDGID.com/CrimpDies
- Make sure all equipment has been inspected and set up as directed in their instructions.
- Removing/Installing Dies in crimp head. Depress the Release Lever to fully retract the movable die holder (Figure 3).

Figure 3 – Fully retracting die holder


natural_image
Close-up of a mechanical bearing assembly (no visible text or symbols)Figure 4 – A. Dies Aligned B. Dies Misaligned
Depress the die release buttons to allow the dies to slide laterally in and out of the die holders. Do not force dies into die holders. Dies should fit snugly and securely, and the crimp profiles should align (Figure 4). Dies should not move unless the die release button is depressed. Always use a matched set of dies. If there are any issues regarding proper die fit, do not use the tool. Do not operate the tool without the dies installed.
- Removing/Installing the Crimp Head Stand. When working with the Crimp Tool on the ground, the crimp head stand can be used to support and stabilize the Crimp Tool.

Figure 5 – Installing the Crimp Head on the Stand
The stand mounts to the Crimp Head with a lock pin through a hole. Fully insert the lock pin. See Figure 5.
- Prepare the connection to be crimped per the connector manufacturer's instructions.
- Depress the release lever to fully retract the moving die holder.
- Follow all compression connector manufacturers' instructions for crimp location. Some wire sizes may require more than one crimp per connection.
Center the connector squarely against the crimp profile in the stationary die. Improper placement can result in an incorrect crimp or damage the equipment.
If making a single crimp, line up the dies within the line on the connector. If making multiple crimps on the connector, ensure there is enough room to evenly space crimps between lug lines.

natural_image
Close-up of a mechanical tool with black and metallic components, no visible text or symbolsFigure 6 – Aligning the Connector
- With hands clear of the dies and other moving parts, pump the Movable Handle to advance the moving die until the dies slightly touch the connector. Confirm that the connector is properly located in the dies (Figure 6).

natural_image
Close-up of hands using a R1DGID crimping tool, no visible text or symbols on the device itself.Figure 7 – Using Crimp Tool
- Continue to pump the Movable Handle until the pressure relief valve activates. This is indicated by a sudden and significant decrease of the handle force. An audible popping sound may also be heard. Visually inspect the dies as the pressure relief valve activates – they should be touching or very close to touching. (See Figure 8.) Do not use handle extensions, they can damage the tool or slip and cause injury.

Figure 8 – Inspecting Dies as Pressure Relief Valve activates
Do not retract the movable die until the pressure relief valve activates. If the pressure relief valve does not activate, the crimp is not complete and must be repeated.
- Press the release lever to retract the movable die. If needed, move the head and repeat the procedure for multiple crimps, following the connector manufacturer's instructions for crimp location.
- Remove the crimped connection from the head.
- Inspect and test the connection in accordance with connector manufacturer instructions, normal practice and applicable codes.
Maintenance Instructions
WARNING
Maintain the Crimp Tool according to these procedures to prolong the product's life and to reduce the risk of injury.
Cleaning
After each use, wipe any oil or dirt off the crimp tool and dies with a clean, dry, soft cloth. Pay special attention to the moving head ram to remove any dirt or debris that could scratch polished parts or damage seals.
Lubrication
Monthly, or more often if needed, apply a light machine oil or grease to the handle pivot points. Wipe off any excess lubricant.
Required Maintenance At RIDGID Independent Service Center
The tool should be maintained once a year or more often with heavy use or in extreme conditions. This maintenance will include verifying tool output force and changing the hydraulic fluid. Tools maintained by RIDGID Independent Service Centers will have a decal on the body of the tool indicating the next date of required maintenance (See Figure 9). 1 through 12 indicate month of required service (6 shown - June), and two digit year (15 shown - 2015).

Figure 9 – Maintenance Decal
Accessories
WARNING
To reduce the risk of injury, only use accessories specifically designed and recommended for use with the RIDGID RE 130-M/RE 12-M Manual Hydraulic Crimp Tools, such as listed below.
| CatalogNo. Description |
| 48968 RE 130-M Carrying Case (Plastic) |
| 48973 RE 12-M Carrying Case (Plastic) |
| 48988 Crimp Head Stand |
For a complete listing of RIDGID accessories available for this tool, see the Ridge Tool Catalog online at www.RIDGID.com or call Ridge Tool Technical Service Department (800) 519-3456.
Storage
⚠ WARNING Store the tool in the carrying case and place in a dry, secured area that is out of reach of children and people unfamiliar with the RE 130-M/RE 12-M Manual Hydraulic Crimp Tools. The electrical tool is dangerous in the hands of untrained users. Storage area temperature should be between -20°C to 40°C (-4°F to 104°F) and humidity less than 80% RH.
Service And Repair
WARNING
Improper service or repair can make machine unsafe to operate.
Service and repair on this RE 130-M/RE 12-M Manual Hydraulic Crimp Tool must be performed by a RIDGID Independent Service Center. The tool fasteners have been marked to indicate unauthorized service.
For information on your nearest RIDGID Independent Service Center or any service or repair questions:
- Contact your local RIDGID distributor.
- Visit www.RIDGID.com or www.RIDGID.eu to find your local RIDGID contact point.
- Contact Ridge Tool Technical Service Department at rtctechservices@emerson.com, or in the U.S. and Canada call (800) 519-3456.
Disposal
Parts of the Crimp Tool contain valuable materials and can be recycled. There are companies that specialize in recycling that may be found locally. Dispose of the components and oil in compliance with all applicable regulations. Contact your local waste management authority for more information.
CE 2014
EC DECLARATION OF CONFORMITY
We,
Manufacturer: Authorized Representative:
RIDGE TOOL COMPANY RIDGE TOOL EUROPE N. V.
400 Clark Street Research Park, Haasrode
Elyria, Ohio 44036-2032 B-3001 Leuven, Belgium
USA
Declare under sole responsibility that the RE 130-M Manual Hydraulic
Crimping Tool to which this declaration relates is in conformity with the following Directives.
Directive 7/23/EC of the European Parliament and the Council of 29 May 1997 (Pressure Equipment)
The undersigned, Harald Krondorfer authorized by Ridge Tool Company declares that the machines described above, provided that they are installed, maintained and used in accordance with the instruction for use and the codes of practice, meet the essential safety and health requirements of the Listed Directives.
Date: June 2014 Signature:

Qualification: Vice President of Engineering
natural_image
Ridgiz Cushing tool with black handle and metal body (no visible text or symbols)
AVERTISSEMENT
(107 kN, (29,225 lbf)
24,000 lbf)
Matrices ......Rondes, 12 tonnes Rondes, 130 kN
Taille maxi
natural_image
Close-up of a mechanical tool with a black handle and metal bracket (no visible text or symbols)natural_image
Close-up of a hand using a RIDGID crimping tool, no visible text or symbols on the device itself.RIDGE TOOL COMPANY RIDGE TOOL EUROPE N. V.
400 Clark Street Research Park, Haasrode
Elyria, Ohio 44036-2032 B-3001 Leuven, Belgium USA
natural_image
Ridgiz Cushing tool with black handle and gray body (no visible text or symbols)
ADVERTENCIA
natural_image
Close-up of a mechanical tool with a black handle and metal bracket (no visible text or symbols)Figura 6 – Alineamiento del conector
natural_image
Close-up of a hand using a RIDGID crimping tool, no visible text or symbols on the device itself.RIDGE TOOL COMPANY RIDGE TOOL EUROPE N. V.
400 Clark Street Research Park, Haasrode
Elyria, Ohio 44036-2032 B-3001 Leuven, Bélgica
Estados Unidos
natural_image
Ridgiz Cushing tool with black handle and gray body (no visible text or symbols)
UYARI!
natural_image
Close-up of a mechanical assembly with black components and metallic parts (no visible text or symbols)natural_image
Close-up of a mechanical tool with black and metallic components, no visible text or symbolsnatural_image
Close-up of a hand using a R1DGID crimping tool, no visible text or symbols on the tool itself.RIDGE TOOL COMPANY RIDGE TOOL EUROPE N. V.
400 Clark Street Research Park, Haasrode
Elyria, Ohio 44036-2032 B-3001 Leuven, Belçika
USA
natural_image
Ridgiz Cushing tool with black handle and gray body (no visible text or symbols)
ВНИМАНИЕ!
natural_image
Close-up of a mechanical tool with a black handle and metal bracket (no visible text or symbols)natural_image
Close-up of a hand using a RIDGID crimping tool, no visible text or symbols on the tool itself.natural_image
Ridgiz Cushing tool with black handle and gray body (no visible text or symbols)
ADVERTÊNCIA
natural_image
Close-up of a mechanical tool with black and metallic components, no visible text or symbolsnatural_image
Close-up of a hand using a RIDGID crimping tool, no visible text or symbols on the tool itself.RIDGE TOOL COMPANY RIDGE TOOL EUROPE N. V.
400 Clark Street Research Park, Haasrode
Elyria, Ohio 44036-2032 B-3001 Leuven, Bélgica
EUA
RIDGID ^3 tools are warranted to be free of defects in workmanship and material.
How long coverage lasts
This warranty lasts for the lifetime of the RIDGID ^® tool. Warranty coverage ends when the product becomes unusable for reasons other than defects in workmanship or material.
How you can get service
To obtain the benefit of this warranty, deliver via prepaid transportation the complete product to RIDGE TOOL COMPANY, Elyria, Ohio, or any authorized RIDGID® INDEPENDENT SERVICE CENTER. Pipe wrenches and other hand tools should be returned to the place of purchase.
What we will do to correct problems
Warranted products will be repaired or replaced, at RIDGE TOOL'S option, and returned at no charge; or, if after three attempts to repair or replace during the warranty period the product is still defective, you can elect to receive a full refund of your purchase price.
What is not covered
Failures due to misuse, abuse or normal wear and tear are not covered by this warranty. RIDGE TOOL shall not be responsible for any incidental or consequential damages.
How local law relates to the warranty
Some states do not allow the exclusion or limitation of incidental or consequential damages, so the above limitation or exclusion may not apply to you. This warranty gives you specific rights, and you may also have other rights, which vary, from state to state, province to province, or country to country.
No other express warranty applies
This FULL LIFETIME WARRANTY is the sole and exclusive warranty for RIDGID® products. No employee, agent, dealer, or other person is authorized to alter this warranty or make any other warranty on behalf of the RIDGE TOOL COMPANY.

Parts are available online at RIDGIDParts.com

Ridge Tool Company
400 Clark Street
Elyria, Ohio 44035-6001
U.S.A.
Ce qui est couvert
Printed 10/14 085-003-606.10 The Emerson logo and RIDGID logo are registered trademarks of Emerson Electric Co. or RIDGID, Inc. in the U.S. and other countries.
EC40845 REV. B
All other trademarks belong to their respective holders.


Commercial & Residential Solutions


- Manual Hydraulic Crimp Tool
- General Safety Rules
- Specific Safety Information
- Description, Specifications And Standard Equipment
- Maintenance Instructions
- WARNING!
- Safety Symbols
- DANGER
- WARNING
- CAUTION
- NOTICE
- SAVE ALL WARNINGS AND INSTRUCTIONS FOR FUTURE REFERENCE!
- Work Area Safety
- Electrical Safety
- Personal Safety
- Tool Use And Care
- Service
- SAVE THESE INSTRUCTIONS!
- Manual Hydraulic Crimp Tool Safety
- Description
- Specifications
- Standard Equipment
- Tool Inspection
- Set-Up And Operating Instructions
- Cleaning
- Lubrication
- Required Maintenance At RIDGID Independent Service Center
- Accessories
- Storage
- Service And Repair
- Disposal
- CE 2014
- EC DECLARATION OF CONFORMITY
- AVERTISSEMENT
- ADVERTENCIA
- UYARI!
- ВНИМАНИЕ!
- ADVERTÊNCIA
- How long coverage lasts
- How you can get service
- What we will do to correct problems
- What is not covered
- How local law relates to the warranty
- No other express warranty applies
- Parts are available online at RIDGIDParts.com
- Ridge Tool Company
- Ce qui est couvert
Brand : RIDGID
Model : RE 12-M
Category : Crimping tool