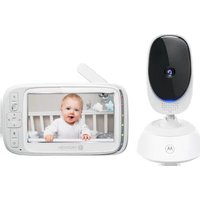
PIP1200 - Baby monitors MOTOROLA - Free user manual and instructions
Find the device manual for free PIP1200 MOTOROLA in PDF.

| Product type | Baby video monitor |
| Brand | Motorola |
| Model | PIP1200 |
| Parent unit power supply | Built-in rechargeable battery + DC 5V/1000mA power adapter |
| Baby unit power supply | DC 5V power adapter (included) |
| Parent unit screen | Color LCD screen |
| Night vision | Yes, automatic |
| Zoom | Yes, digital (OK/zoom button) |
| Lullabies | Yes, built-in |
| Temperature alarm | Yes, adjustable in °C or °F |
| Two-way communication | Yes (talk-back via talk button) |
| Camera addition | Possible, via pairing button and menu |
| Wall mounting | Yes, bracket and screws included |
| Included accessories | Power adapters, wall bracket, screws, wall plugs |
| Cleaning | Soft, dry cloth |
| Safety | Power cord out of reach of children (≥1 m) |
| Recommended use | Use only the supplied adapters |
Frequently Asked Questions - PIP1200 MOTOROLA
User questions about PIP1200 MOTOROLA
0 question about this device. Answer the ones you know or ask your own.
Ask a new question about this device
Download the instructions for your Baby monitors in PDF format for free! Find your manual PIP1200 - MOTOROLA and take your electronic device back in hand. On this page are published all the documents necessary for the use of your device. PIP1200 by MOTOROLA.
USER MANUAL PIP1200 MOTOROLA
-
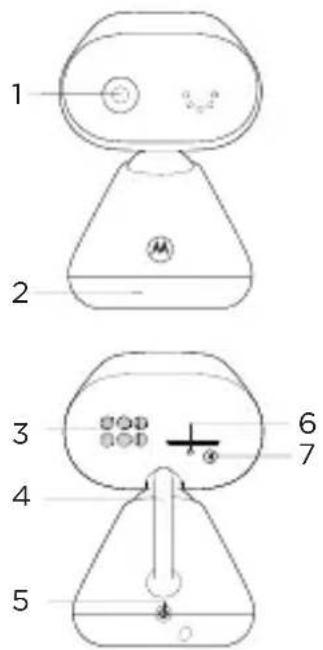
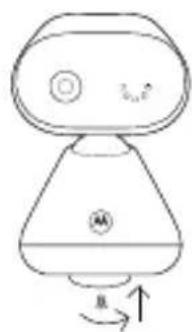
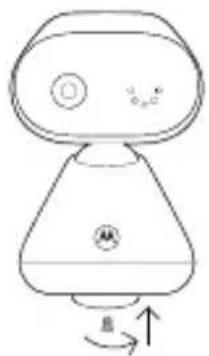
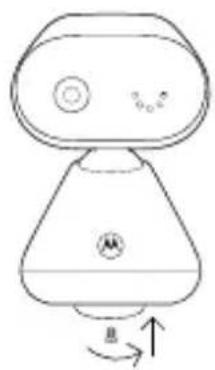
Camera
-
Base
-
Speaker
-
Antenna
-
Power jack
-
Power / Linking LED indicator
Lights up in blue when the parent unit is powered on and linked to the baby (camera) unit.
- Pair button
Press and hold to pair with the parent unit.
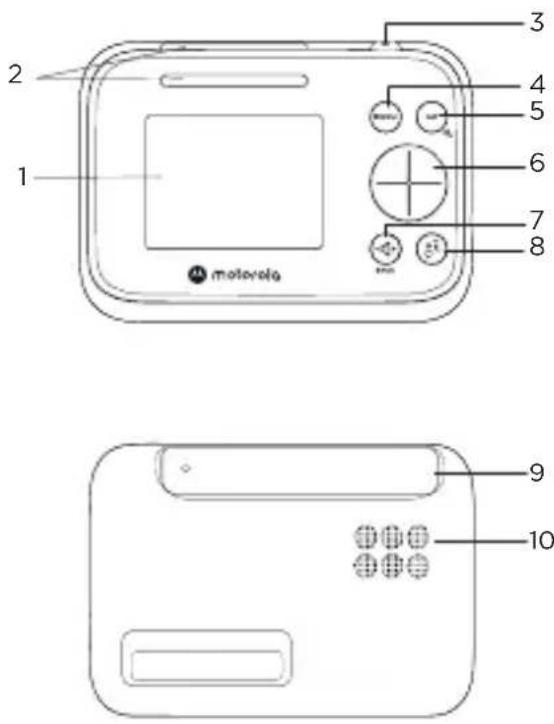
Parent unit
-
Screen display
-
Dual sound level indications (front and top view)
-
Power button
Press and hold to turn on or off. Press to turn the screen on or off.
- Menu button
Press to open the menu.
- OK / Zoom button
Press to confirm a selection/zoom in or out.
- Navigation button
Adjust menu settings/press left or right to select the parent unit's volume level.
-
Volume / Back button
-
Talk back button
Press and hold to talk to the baby.
-
Antenna
-
Speaker
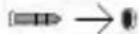
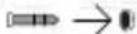
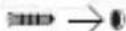
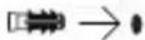
2. Connect and charge
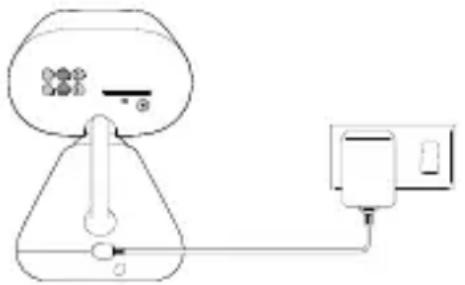
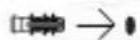
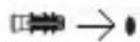
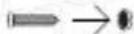
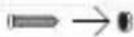
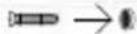
Baby (camera) unit
natural_image
Simple line drawing of a device with a bulb, plug, and power outlet (no text or symbols)-
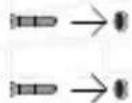
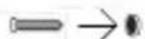
Plug the DC plug of the power adapter into the power socket on the rear of the baby (camera) unit and plug the other end of the AC adapter into the wall socket.
-
The baby unit turns on and the power indicator lights up in blue.

WARNING
Strangulation Hazard. Children have STRANGLED in cords. Keep this cord out of the reach of children (more than 1 meter or 3 feet away). Do not remove the tags from the AC Adapters. Only use the AC Adapters provided.
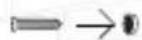
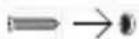
Parent unit
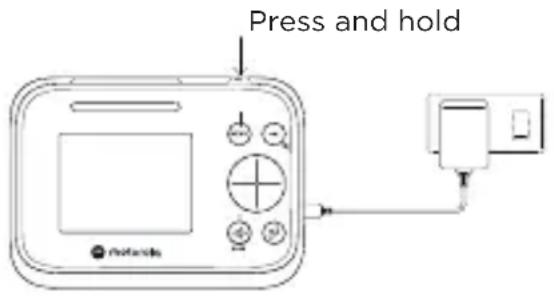
A rechargeable battery is already pre-installed inside the parent unit. When fully charged, you can move the parent unit without losing the link and picture from the baby (camera) unit. When charging the battery for the first time, charge for at least 16 hours continuously.
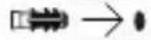
- Plug the DC plug of the power adapter into the power socket on the side of the parent unit and plug the other end of the AC adapter into the wall socket.
- Switch on the AC power and the parent unit will turn on.
- will appear steadily on the When the parent unit is fully charged, screen display.
- Press and hold the power button on the top of the parent unit to turn it on and off.
Note
Use only the supplied power adapter (DC5V / 1000 mA).
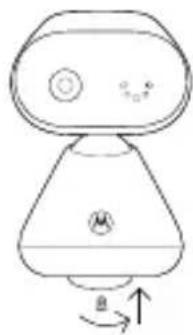
Pair the baby (camera) unit to the parent unit
We have paired the baby unit to the parent unit in the pack. In case you want to pair an extra camera, press and hold 📄 on the rear of the baby (camera) unit until the LED blinks.
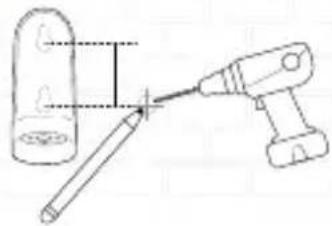
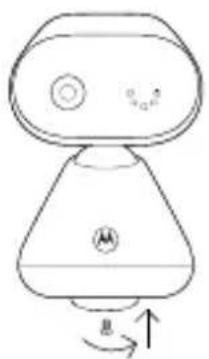
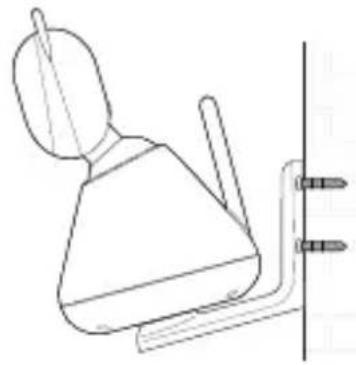
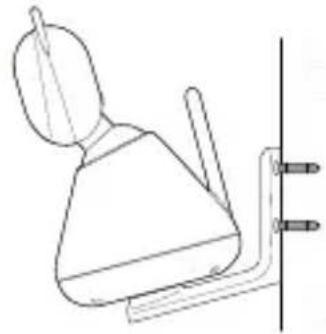
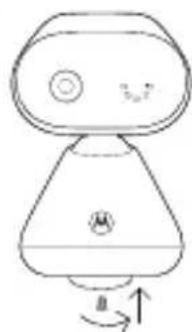
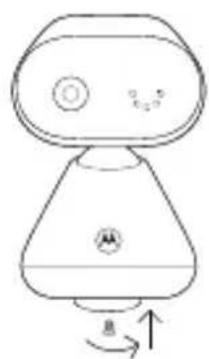
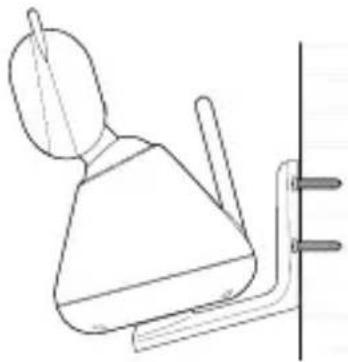
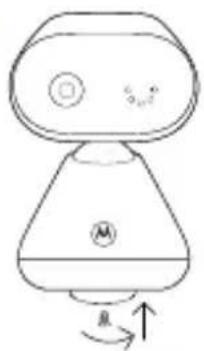
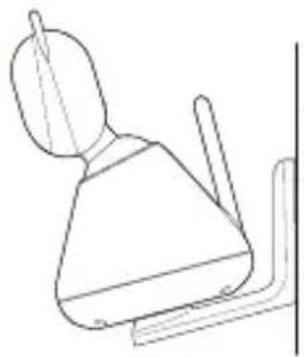
3. Wall mount the baby (camera) unit
1
natural_image
Diagram of a tool and a cylindrical object with a pencil, showing alignment or dissection (no text or symbols)2

3
4
natural_image
Simple line drawing of a laboratory flask with a conical top and internal components, showing a rotation arrow (no text or symbols)5
natural_image
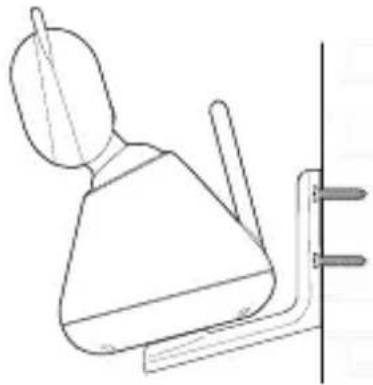
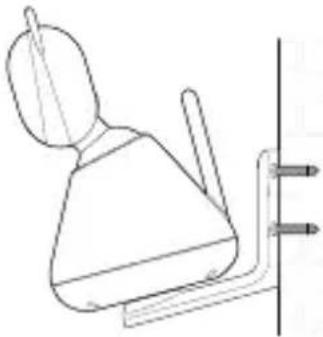
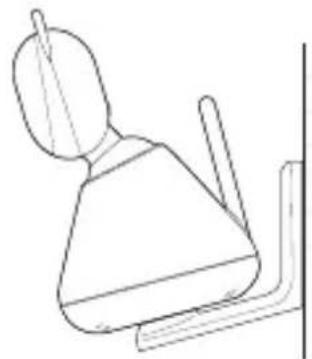
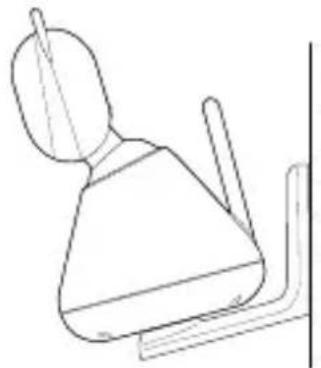
Line drawing of a wall-mounted device with a bulb and two screw fasteners (no text or symbols)- Mark the positions of 2 screw holes on the wall. Drill a screw hole at each marking.
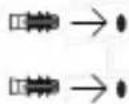
- Install the supplied wall anchors into 2 screw holes on the wall.
- Insert the supplied wall mounting screws into the wall anchors.
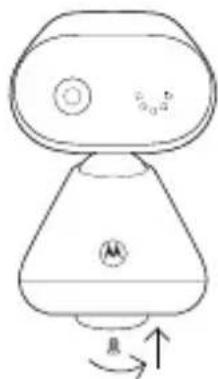
- Fix and fasten the underside of the baby (camera) unit and the wall mount bracket with the supplied separate screw.
- Hang the wall mount bracket on the wall mounting screws on the wall.
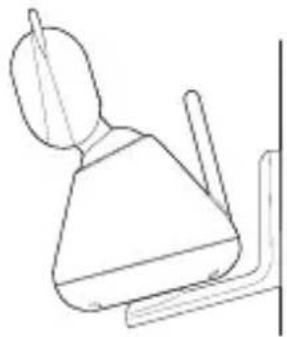
- Adjust the camera manually if necessary.
Note
The pack includes a power adapter with a longer cord which is beneficial for wall mount application, where your wall socket is far from the camera.
4. Use your video baby monitor
Parent unit main menu

Adjust LCD brightness

Play lullaby

Set the alarm

Temperature unit °C or °F selection

Add camera

Delete camera

Screen on/off timer

View multiple cameras
Status icons
Signal strength
Battery level indication
+ Zoom in
Alarm set
Playing lullaby
Camera selected
Speaker off
Talk back
Night vision
Cycle view from camera
For more detailed explanation of all features and instructions, visit or download the user manual from motorolanursery.com.
1. Überblick
Babyeinheit (Kamera)
natural_image
Simple line drawing of a tool and a cylindrical object, no text or symbols present2
3
4
natural_image
Simple line drawing of a robot with a head, torso, and base (no text or symbols)5
natural_image
Line drawing of a wall-mounted toilet with a lid and handle, mounted on a bracket (no text or symbols)natural_image
Simple line drawing of a device with a bulb, switch, and power outlet (no text or symbols)natural_image
Diagram of a tool and a cylindrical object with an arrow indicating direction (no text or symbols)2
3
4
natural_image
Simple line drawing of a robot-like device with a curved base and circular head, showing rotational motion (no text or symbols)5
natural_image
Simple line drawing of a mechanical component or bracket (no text or symbols)natural_image
Simple line drawing of a device with a bulb, valve, and power outlet (no text or symbols)natural_image
Diagram of a tool interacting with a cylindrical object, showing a tip and base (no text or symbols)2
3
4
natural_image
Simple line drawing of a robot-like device with a circular button and directional arrows (no text or symbols)5
natural_image
Simple line drawing of a showerhead with a handle and vertical support (no text or symbols)natural_image
Simple line drawing of a device with a conical base, connected to a power outlet (no text or symbols)natural_image
Simple line drawing of a device with a funnel and connected to a power outlet (no text or symbols)natural_image
Simple line drawing of a tool and a cylindrical object with a pointer, no text or symbols present2
3

4
natural_image
Simple line drawing of a robot-like device with a curved base and circular head (no text or symbols)5
natural_image
Simple line drawing of a toilet with a lid and handle, mounted on a stand (no text or symbols)natural_image
Simple line drawing of a device with a conical top and connected to a power outlet (no text or symbols)natural_image
Diagram of a tool and a cylindrical object with a connecting rod, no text or symbols present2
3
4
natural_image
Simple line drawing of a robot-like device with a conical base and circular head, showing rotational motion (no text or symbols)5
natural_image
Simple line drawing of a toilet with a lid and handle, mounted on a wall (no text or symbols)natural_image
Simple line drawing of a device with a bulb, plug, and power outlet (no text or symbols)natural_image
Simple line drawing of a tool and a cylindrical object with a pencil, no text or symbols present2


3
4
natural_image
Simple line drawing of a robot-like device with a circular head and labeled body (no text or symbols)5
natural_image
Line drawing of a showerhead with a lid and handle, mounted on a wall (no text or symbols)natural_image
Simple line drawing of a device with a bulb, valve, and power outlet (no text or symbols)natural_image
Simple line drawing of a device with a funnel and connected to a power outlet (no text or symbols)natural_image
Diagram showing a tool interacting with a cylindrical object and a power tool (no text or symbols present)2

3


4
natural_image
Simple line drawing of a robot with a conical base and circular head, showing rotational motion (no text or symbols)5
natural_image
Simple line drawing of a showerhead with a handle and lever, mounted on a wall (no text or symbols)natural_image
Simple line drawing of a device with a funnel and connected to a power outlet (no text or symbols)natural_image
Diagram of a tool interacting with a cylindrical object, showing alignment and cutting (no text or symbols)2


3

4
natural_image
Simple line drawing of a robot or device with a conical base and circular ports, no text or symbols present.5
natural_image
Simple line drawing of a showerhead with a handle and lever, no text or symbols presentnatural_image
Simple line drawing of a device with a funnel and connected plug (no text or symbols)< This page has been intentionally left blank >
< This page has been intentionally left blank >
For customers in Europe and UK:
Imported and Distributed by: A.I.&E., Adriaan Mulderweg 9-11, 5657 EM Eindhoven, The Netherlands. Edco UK Ltd, 1st Floor, Two Chamberlain Square, Birmingham, B3 3AX, UK.
EU Declaration of Conformity
Hereby, MZGW declares that the radio equipment type is in compliance with RE Directive 2014/53/EU. The full text of the EU declaration of conformity is available on the website: motorolanursery.com.
UK Declaration of Conformity
Hereby, MZGW declares that this product is in compliance with the requirements for UKCA marking. The Declaration of Conformity can be obtained at motorolanursery.com.
Distributed or sold by Meizhou Guo Wei Electronics Co. LTD., official licensee for this product. MOTOROLA and the Stylized M Logo are trademarks or registered trademarks of Motorola Trademark Holdings, LLC. and are used under license. All other trademarks are the property of their respective owners. © 2022 Motorola Mobility LLC. All rights reserved.
Version 1 (EU_UK)