Maestria SC370ACLBLK - Radio SCHNEIDER - Free user manual and instructions
Find the device manual for free Maestria SC370ACLBLK SCHNEIDER in PDF.
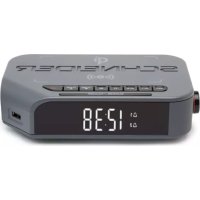
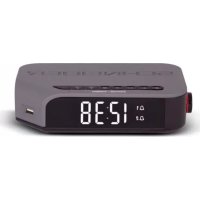
| Product Type | FM Bluetooth Alarm Clock Radio |
| Brand | Schneider |
| Model | Maestria SC370ACLBLK |
| Power Supply | 230 V ~ 50 Hz (mains) + CR2032 backup battery |
| Output Power | 3 W |
| FM Radio Frequencies | 87.5 to 108 MHz |
| Bluetooth | Version 3.0, 2402–2480 MHz, power 4 mW |
| Supported Formats (USB) | MP3 |
| Dimensions (approx.) | 20 x 12 x 8 cm |
| Weight (approx.) | 0.5 kg |
| Alarms | 2 independent alarms (AL1, AL2) with BUZZER, RADIO, USB or Bluetooth ring |
| Snooze Function | Alarm repeat after 6 minutes |
| Automatic Station Tuning | Up to 20 FM stations can be stored |
| Display | Adjustable brightness (long press SNOOZE/DIMMER) |
| USB Charging | USB port 5 V / 1 A (1000 mA) for device charging |
| AUX Input | 3.5 mm AUX IN jack |
| Playback Modes | Radio, Bluetooth, USB, AUX |
| Operating Temperature | 0 to 40 °C |
| Maintenance and Cleaning | Disconnect before cleaning; use a soft, dry cloth. Do not use solvents. |
| Safety | Do not expose to water, humidity or open flames. Do not open the casing. |
| Spare Parts and Repairability | No user-serviceable parts. Contact customer service ADMEA/LOGISAV. |
| General Information | Manual downloadable from notice-facile.com; EU declaration of conformity available. |
Frequently Asked Questions - Maestria SC370ACLBLK SCHNEIDER
User questions about Maestria SC370ACLBLK SCHNEIDER
0 question about this device. Answer the ones you know or ask your own.
Ask a new question about this device
Download the instructions for your Radio in PDF format for free! Find your manual Maestria SC370ACLBLK - SCHNEIDER and take your electronic device back in hand. On this page are published all the documents necessary for the use of your device. Maestria SC370ACLBLK by SCHNEIDER.
USER MANUAL Maestria SC370ACLBLK SCHNEIDER
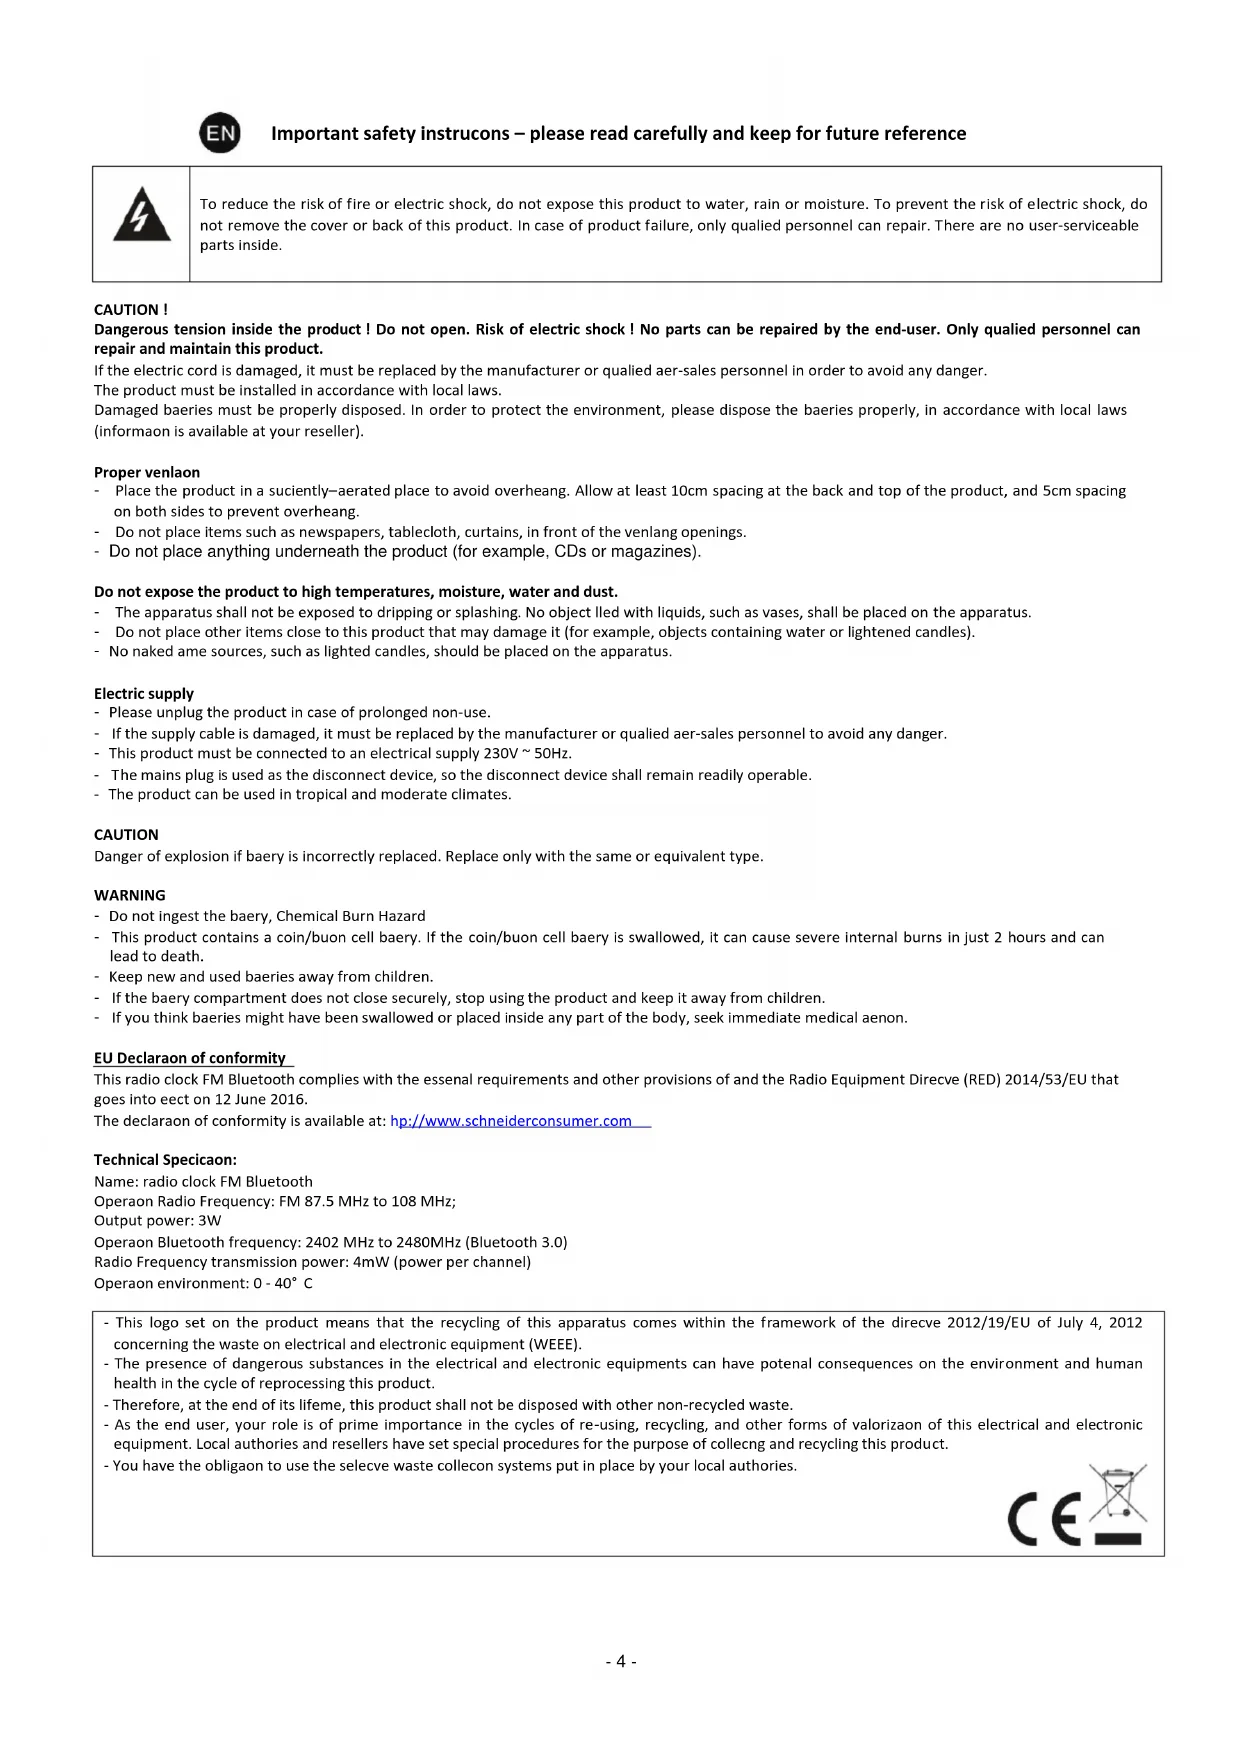
To reduce the risk of fire or electric shock, do not expose this product to water, rain or moisture. To prevent the risk of electric shock, do not remove the cover or back of this product. In case of product failure, only qualified personnel can repair. There are no user-serviceable parts inside.
CAUTION!
Dangerous tension inside the product! Do not open. Risk of electric shock! No parts can be repaired by the end-user. Only qualified personnel can repair and maintain this product.
If the electric cord is damaged, it must be replaced by the manufacturer or qualified aer-sales personnel in order to avoid any danger.
The product must be installed in accordance with local laws.
Damaged baeries must be properly disposed. In order to protect the environment, please dispose the baeries properly, in accordance with local laws (informaon is available at your reseller).
Proper venlaon
- Place the product in a suciently-aerated place to avoid overheang. Allow at least 10cm spacing at the back and top of the product, and 5cm spacing on both sides to prevent overheang.
- Do not place items such as newspapers, tablecloth, curtains, in front of the venlang openings.
- Do not place anything underneath the product (for example, CDs or magazines).
Do not expose the product to high temperatures, moisture, water and dust.
- The apparatus shall not be exposed to dripping or splashing. No object lled with liquids, such as vases, shall be placed on the apparatus.
- Do not place other items close to this product that may damage it (for example, objects containing water or lightened candles).
- No naked ame sources, such as lighted candles, should be placed on the apparatus.
Electric supply
- Please unplug the product in case of prolonged non-use.
- If the supply cable is damaged, it must be replaced by the manufacturer or qualified aer-sales personnel to avoid any danger.
- This product must be connected to an electrical supply 230V \~ 50Hz.
- The mains plug is used as the disconnect device, so the disconnect device shall remain readily operable.
- The product can be used in tropical and moderate climates.
CAUTION
Danger of explosion if baery is incorrectly replaced. Replace only with the same or equivalent type.
WARNING
- Do not ingest the baery, Chemical Burn Hazard
- This product contains a coin/buon cell baery. If the coin/buon cell baery is swallowed, it can cause severe internal burns in just 2 hours and can lead to death.
- Keep new and used baeries away from children.
- If the baery compartment does not close securely, stop using the product and keep it away from children.
- If you think baeries might have been swallowed or placed inside any part of the body, seek immediate medical aenon.
EU Declaraon of conformity
This radio clock FM Bluetooth complies with the essenal requirements and other provisions of and the Radio Equipment Direcve (RED) 2014/53/EU that goes into eect on 12 June 2016.
The declaraon of conformity is available at: hp://www.schneiderconsumer.com
Technical Specicaon:
Name: radio clock FM Bluetooth
Operaon Radio Frequency: FM 87.5 MHz to 108 MHz;
Output power: 3W
Operaon Bluetooth frequency: 2402 MHz to 2480MHz (Bluetooth 3.0)
Radio Frequency transmission power: 4mW (power per channel)
Operaon environment: 0 - 40° C
- This logo set on the product means that the recycling of this apparatus comes within the framework of the direcve 2012/19/EU of July 4, 2012 concerning the waste on electrical and electronic equipment (WEEE).
- The presence of dangerous substances in the electrical and electronic equipments can have potential consequences on the environment and human health in the cycle of reprocessing this product.
- Therefore, at the end of its lifeme, this product shall not be disposed with other non-recycled waste.
- As the end user, your role is of prime importance in the cycles of re-using, recycling, and other forms of valorizaon of this electrical and electronic equipment. Local authorities and resellers have set special procedures for the purpose of collecting and recycling this product.
- You have the obligaon to use the selecve waste collecon systems put in place by your local authorities.


1. INSTALLATION

Plug the power cable to the mains (230V\~50Hz).
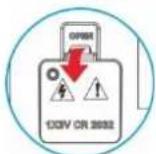
A backup baery (CR2032) is provided to save the me and alarm in the event of a power failure. Open the baery compartment with a screwdriver (not provided) and insert the baery. Tighten the screw securely so that the baery is kept out of each of small children.
2. POWER ON AND PLAYBACK MODE SELECTION

Long-press MODE to power on the device, long-press again to enter STANDBY mode. Short-press to select RADIO / USB / BLUETOOTH / AUX IN playback mode.
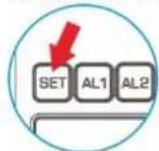
3. SET THE TIME
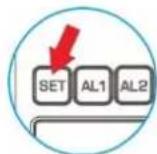
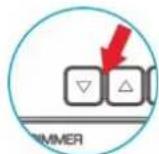
In Standby mode, long-press SET to start me preset mode. The hour digit is ashing, press ▲ to select the hour, short-press SET again, the minute digit is ashing, press ▲/▼ to select the minutes, short-press to conrm the new me seng.

4. SET THE ALARM
SET AN ALARM
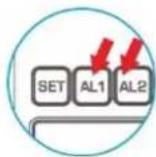
This device is equipped with 2 alarms AL1 and AL2. In standby mode, long-press AL1 or AL2. When the hour/minutes digits ash, short-press ▲ or ▼ to set the hour and short-press AL1 or AL2 again to set the minutes. And then, short-press ▲ or ▼ to select BUZZER /RADIO / USB / BLUETOOH as alarm tone. Short-press AL1 or AL2 again to conrm.
VIEW/CANCEL THE ALARM
In standby mode, short-press AL1 or AL2 and the display will show "ALARM ON" and Alarm icon ashing, and press ▲ or ▼ to select "ALARM OFF" mode, AL1 or AL2 icon will no longer appear on the screen.
TURN OFF THE ALARM
Press any key (except SNOOZE and AL 1/2 keys) to stop completely the alarm.
INFORMATION FOR SETTING THE ALARM IN BLUETOOTH MODE
Two requirements:
- The smartphone's Bluetooth mode must be acvated and the phone paired with the alarm clock.
The music player must have been launched by user. If the music player has not been launched, the alarm clock will not be able to start playing.
Working mode:
If the alarm is sll running aer 3 minutes, the alarm clock will stop playing the music by Bluetooth and switch to Buzzer mode. This is done to ensure the alarm will ring in all circumstances, even in the event of Bluetooth pairing failure.
SNOOZE MODE
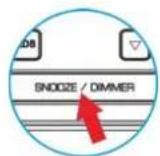
When an alarm rings, short-press the SNOOZE/DIMMER buon. The alarm will stop and resume in 6 minutes.
Press any key (except SNOOZE and AL 1/2 keys) to stop completely the alarm.
5. RADIO SETTINGS
Long-press MODE buon to power on the device, and then short-press MODE to select RADIO mode.
Auto-tuning
Long-press SET buon to start auto-search and it will store radio staons automacally. Up to 20 radio staons can be stored in memory.
Staon selecon
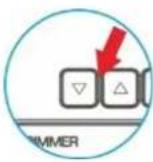
Press the ▲/▼buon to choose among one of the preset staons.
Manual tuning
Long-press ▲/ buon to enter manual search mode, and then short-press ▲/ buon to adjust radio channel frequency by step of 0.1Mhz.

Store a staon
Short-press MEM to save the staon. Short-press ▲/ □uon to choose the posion number and short-press MEM again to conrm.

RDS display
Press the RDS key several mes to display RDS informaon (such as staon name and program type). The funcon is only available with RDS-compatible FM staons.
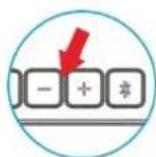
Volume
Short-press VOL +/- to adjust the volume level. Short-press MODE buon to turn o Radio and select another mode.
Sleep mode
Press the SNOOZE / DIMMER buon repeatedly to select the sleep me duraon (radio will power o automacally at a given me).
6. BLUETOOTH
In STANDBY mode, long-press MODE buon to power on the device, and then short-press MODE to select BLUETOOTH mode. In Radio/USB/AUX mode, press knob to start Bluetooth funcon directly.

Then, the screen will show "BLUETOOTH" ashing.
Enable the Bluetooth funcon on your Bluetooth audio device.
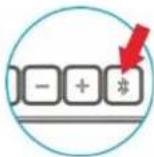
Look for "MAESTRIA" on your Bluetooth device to make the pairing. The conneccon does not require a password, or can be established with the password "0000".
In Bluetooth mode, press knob to play/pause Bluetooth funcon. Short-press VOL +/- to adjust the sound level.
7. USB PLAYBACK MODE AND USB CHARGE
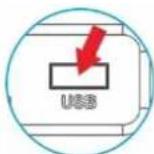
Charge your mobile with USB (1000mA)
The USB is compatible with MP3 format. Short-press ⏻MODE buon to select USB mode, and short-press VOL +/- to adjust the sound level.
8. AUX IN PLAYBACK MODE
Connect extra audio into AUX IN port, short-press MODE buon to select AUX mode, and short-press VOL +/- to adjust the sound level.

9. HOW TO ADJUST DISPLAY BRIGHTNESS
Long-press the SNOOZE/DIMMER buon to adjust the display brightness.