HG07951 - Washing machine AQUAPUR - Free user manual and instructions
Find the device manual for free HG07951 AQUAPUR in PDF.
| Product type | Stacking kit for washing machine and dryer |
| Dimensions (W × D × H) | 60 × 56 × 9 cm |
| Maximum load on frame structure | 100 kg |
| Maximum load on sliding shelf | 12 kg (uniformly distributed load) |
| Compatibility dimensions (W × D) of machines | 60 × 60 cm |
| Package contents | 1 stacking kit with sliding shelf, 1 strap and ratchet, 1 cover housing, 4 intermediate plates, 8 anti-slip pads, 1 instruction manual |
| Use | Indoors in dry rooms only |
| Assembly | Requires 2 people to lift the dryer |
| Child safety | Keep out of reach of children, risk of suffocation from packaging |
| Maintenance | Clean with a slightly damp cloth and mild dish soap, do not use harsh products |
| Storage | Cool, dry place away from moisture |
| Warranty | Failure to follow instructions voids warranty |
| Spare parts | Not specified |
| Repairability | Not specified |
Frequently Asked Questions - HG07951 AQUAPUR
User questions about HG07951 AQUAPUR
0 question about this device. Answer the ones you know or ask your own.
Ask a new question about this device
Download the instructions for your Washing machine in PDF format for free! Find your manual HG07951 - AQUAPUR and take your electronic device back in hand. On this page are published all the documents necessary for the use of your device. HG07951 by AQUAPUR.
USER MANUAL HG07951 AQUAPUR
ZWISCHENBAURAHMEN / STACKING KIT WITH DRAWER / KIT DE SUPERPOSITION
DE AT CH
ZWISCHENBAURAHMEN
Quick-Start-Guide
GB IE
STACKING KIT WITH DRAWER
Quick start guide
FR BE
KIT DE SUPERPOSITION
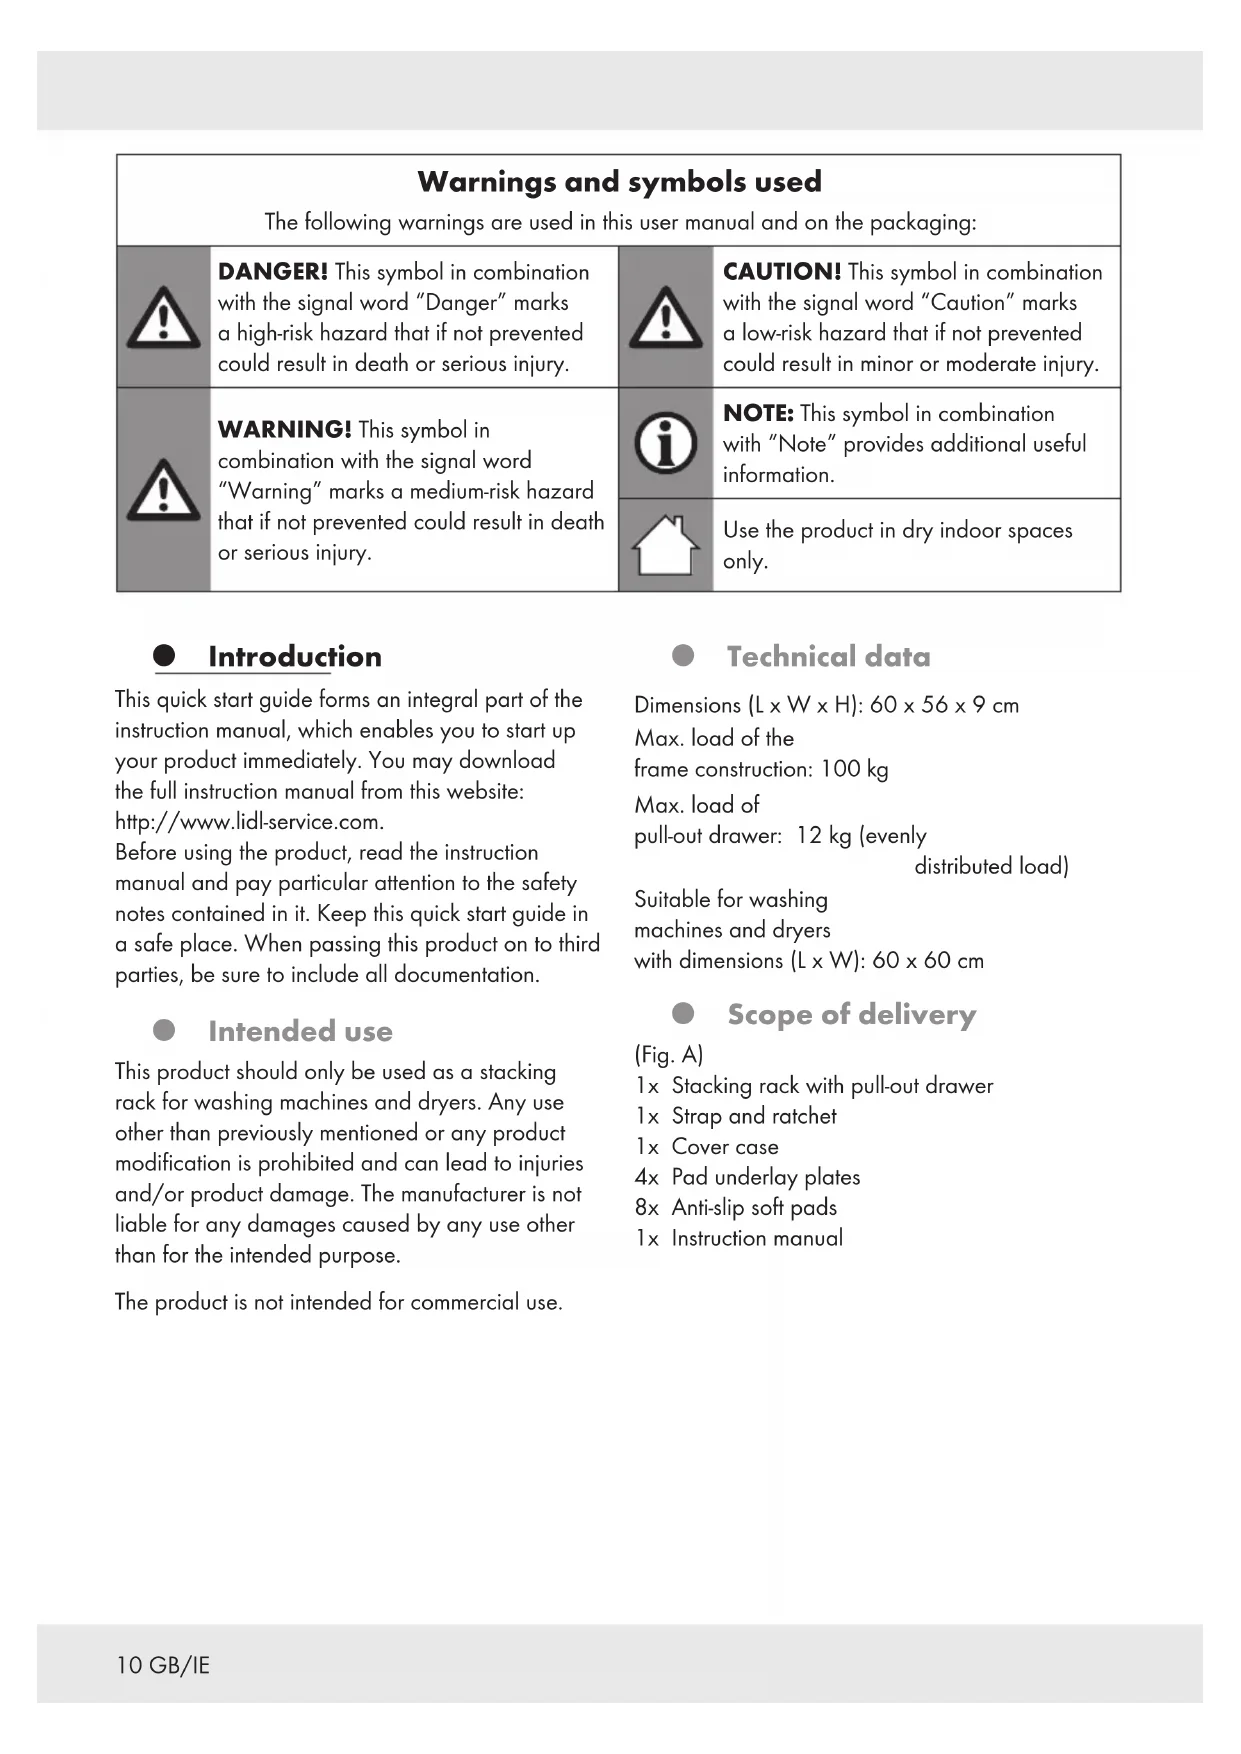
| Warnings and symbols used The following warnings are used in this user manual and on the packaging: | |||
| ! | DANGER! This symbol in combination with the signal word "Danger" marks a high-risk hazard that if not prevented could result in death or serious injury. | ! | CAUTION! This symbol in combination with the signal word "Caution" marks a low-risk hazard that if not prevented could result in minor or moderate injury. |
| ! | WARNING! This symbol in combination with the signal word "Warning" marks a medium-risk hazard that if not prevented could result in death or serious injury. | ! | NOTE: This symbol in combination with "Note" provides additional useful information. |
| ! | Use the product in dry indoor spaces only. | ||
Introduction
This quick start guide forms an integral part of the instruction manual, which enables you to start up your product immediately. You may download the full instruction manual from this website: http://www.lidl-service.com.
Before using the product, read the instruction manual and pay particular attention to the safety notes contained in it. Keep this quick start guide in a safe place. When passing this product on to third parties, be sure to include all documentation.
Intended use
This product should only be used as a stacking rack for washing machines and dryers. Any use other than previously mentioned or any product modification is prohibited and can lead to injuries and/or product damage. The manufacturer is not liable for any damages caused by any use other than for the intended purpose.
The product is not intended for commercial use.
Technical data
Dimensions (L× W× H) .. 60× 56× 9cm
Max. load of the
frame construction: 100kg
Max. load of
pull-out drawer: 12kg (evenly
distributed load)
Suitable for washing
machines and dryers
with dimensions (L× W) .. 60× 60cm
Scope of delivery
(Fig. A)
1x Stacking rack with pull-out drawer
1x Strap and ratchet
1x Cover case
4x Pad underlay plates
8x Anti-slip soft pads
1x Instruction manual

Safety instructions
Before using the product, please familiarise yourself with all of the safety information and instructions for use! When passing this product on to others, please also include all the documents!
In the case of damage resulting from noncompliance with these operating instructions the warranty claim becomes invalid! No liability is accepted for consequential damage! In the case of material damage or personal injury caused by incorrect handling or non-compliance with the safety instructions, no liability is accepted!
Children and persons with disabilities
(Fig. B)
- The pull-out drawer has a max. load capacity of 12kg . Do not exceed the described max. load to prevent the risk of damage/injury.
2. WARNING! RISK OF LOSS OF LIFE OR ACCIDENT TO INFANTS AND CHILDREN!
Never leave children unsupervised with the packaging material. The packaging material represents a danger of suffocation.
Children frequently underestimate the dangers. Always keep children away from the packaging material.
Children often underestimate dangers. The product is not a toy. Always keep children away from the product.
- Never use this product with other PULL-OUT drawers. This may cause collapse and lead to injury.
CAUTION! Risk of injury!
This product should only be assembled as described in this manual. Incorrect installation may result in injury.
Before assembly, check that all parts are undamaged. Damaged parts can affect safety and function.
Only use the product in dry indoor rooms.
This product shall be used only on washing machines that are suitable for stacking.
Check the instruction manual of your washing machine before assembling the product. If in doubt, consult the supplier of your washing machine.
If you use this product with 2 appliances on top of each other: Check that the appliances can carry the corresponding weight.
Always stack the dryer on the top.
- Washing machine/dryer and this product have to stand on a firm, levelled surface.
Perform regular maintenance of the product (e.g. cleaning, checking the connection of strap and ratchet).
Store the product in a cool, dry place, protected from moisture and out of the reach of children.
Assembly
(Fig. C to L)
WARNING! Risk of injury!
Do not lift the dryer by yourself. 2 people are required to lift the dryer.
- Stick 4 anti-slip soft pads on 4 pad underlay plates (Fig. C).
- Place the 4 pad underlay plates on the groove of the backside of the product (Fig. C).
- Align the pad underlay plates with the washing machine rims. Align the product with the washing machine (Fig. D).
- Insert the strap around the washing machine (Fig. E).
① NOTE: Keep the strap straight and relaxed.
5. Choose the next step depending on the location of the feet of the dryer:
Feet of the dryer on all 4 corners:
(Fig. F)
- Apply 4 anti-slip soft pads on the corners of the product. Continue to step 8.
Feet of the dryer in between the corners:
(Fig. G)
- Unscrew the dryer feet and apply 4 anti-slip soft pads on the corners of the product. Continue to step 8.
-
Stack the dryer on the product. The dryer, the product and the washing machine have to be aligned (Fig. H).
-
Choose a location (1 to 3) where the cover case will be placed to (Fig. 1). Insert the strap into the cover case. The strap has to be attached to the dryer, the product and the washing machine.
- Open the ratchet and insert the strap into the slot (Fig. J).
- Operate the ratchet and tension the strap until there is no more slack (Fig. K). Operate a few more cycles of ratchet, to ensure the strap is tense.
- Move the cover case next to the ratchet. Fold up the excess strap. Close the cover case by clipping on the trap (Fig. L).
Loosen the strap
(Fig. M)
- Squeeze the locking spring.
- Open the ratchet to its max. opening position. The ratchet is flat and locked.
- Pull out the strap.
Cleaning and care
- Do not use any abrasive, aggressive cleaners or hard brushes to clean the product.
Wipe down the product with a slightly damp cloth.
To remove stubborn dirt, use a mild washing liquid.
After cleaning: Let all parts dry completely.