PCSMS 1226 - Blender PROFICOOK - Free user manual and instructions
Find the device manual for free PCSMS 1226 PROFICOOK in PDF.
| Product type | Immersion blender |
| Brand | ProfiCook |
| Model | PCSMS 1226 |
| Power supply | 220-240 V~, 50-60 Hz |
| Power | 700-1000 W |
| Protection class | II |
| Net weight | Approx. 0.78 kg |
| Total length | Approx. 40 cm |
| Blade material | Stainless steel |
| Functions | Mixing, whisking, pureeing, chopping |
| Included accessories | Mixing wand, whisk, whisk adapter / gearbox |
| Speed setting | Continuous + Turbo (maximum speed) |
| Maximum usage duration (mixing wand) | 1 minute |
| Maximum usage duration (whisk) | 4 minutes |
| Cooling time between uses | Approx. 1 minute |
| Care and cleaning | Blades and whisk dishwasher safe; wipe motor housing with damp cloth |
| Safety | Do not immerse motor housing; sharp blades |
| Use | Household |
Frequently Asked Questions - PCSMS 1226 PROFICOOK
User questions about PCSMS 1226 PROFICOOK
0 question about this device. Answer the ones you know or ask your own.
Ask a new question about this device
Download the instructions for your Blender in PDF format for free! Find your manual PCSMS 1226 - PROFICOOK and take your electronic device back in hand. On this page are published all the documents necessary for the use of your device. PCSMS 1226 by PROFICOOK.
USER MANUAL PCSMS 1226 PROFICOOK
natural_image
Exterior view of a kitchen brush and whisk (no text or symbols visible)Stabmixer-Set PC-SMS 1226
Hand Blender Set • Staafmixer set • Jeu de mixeurs plongeants
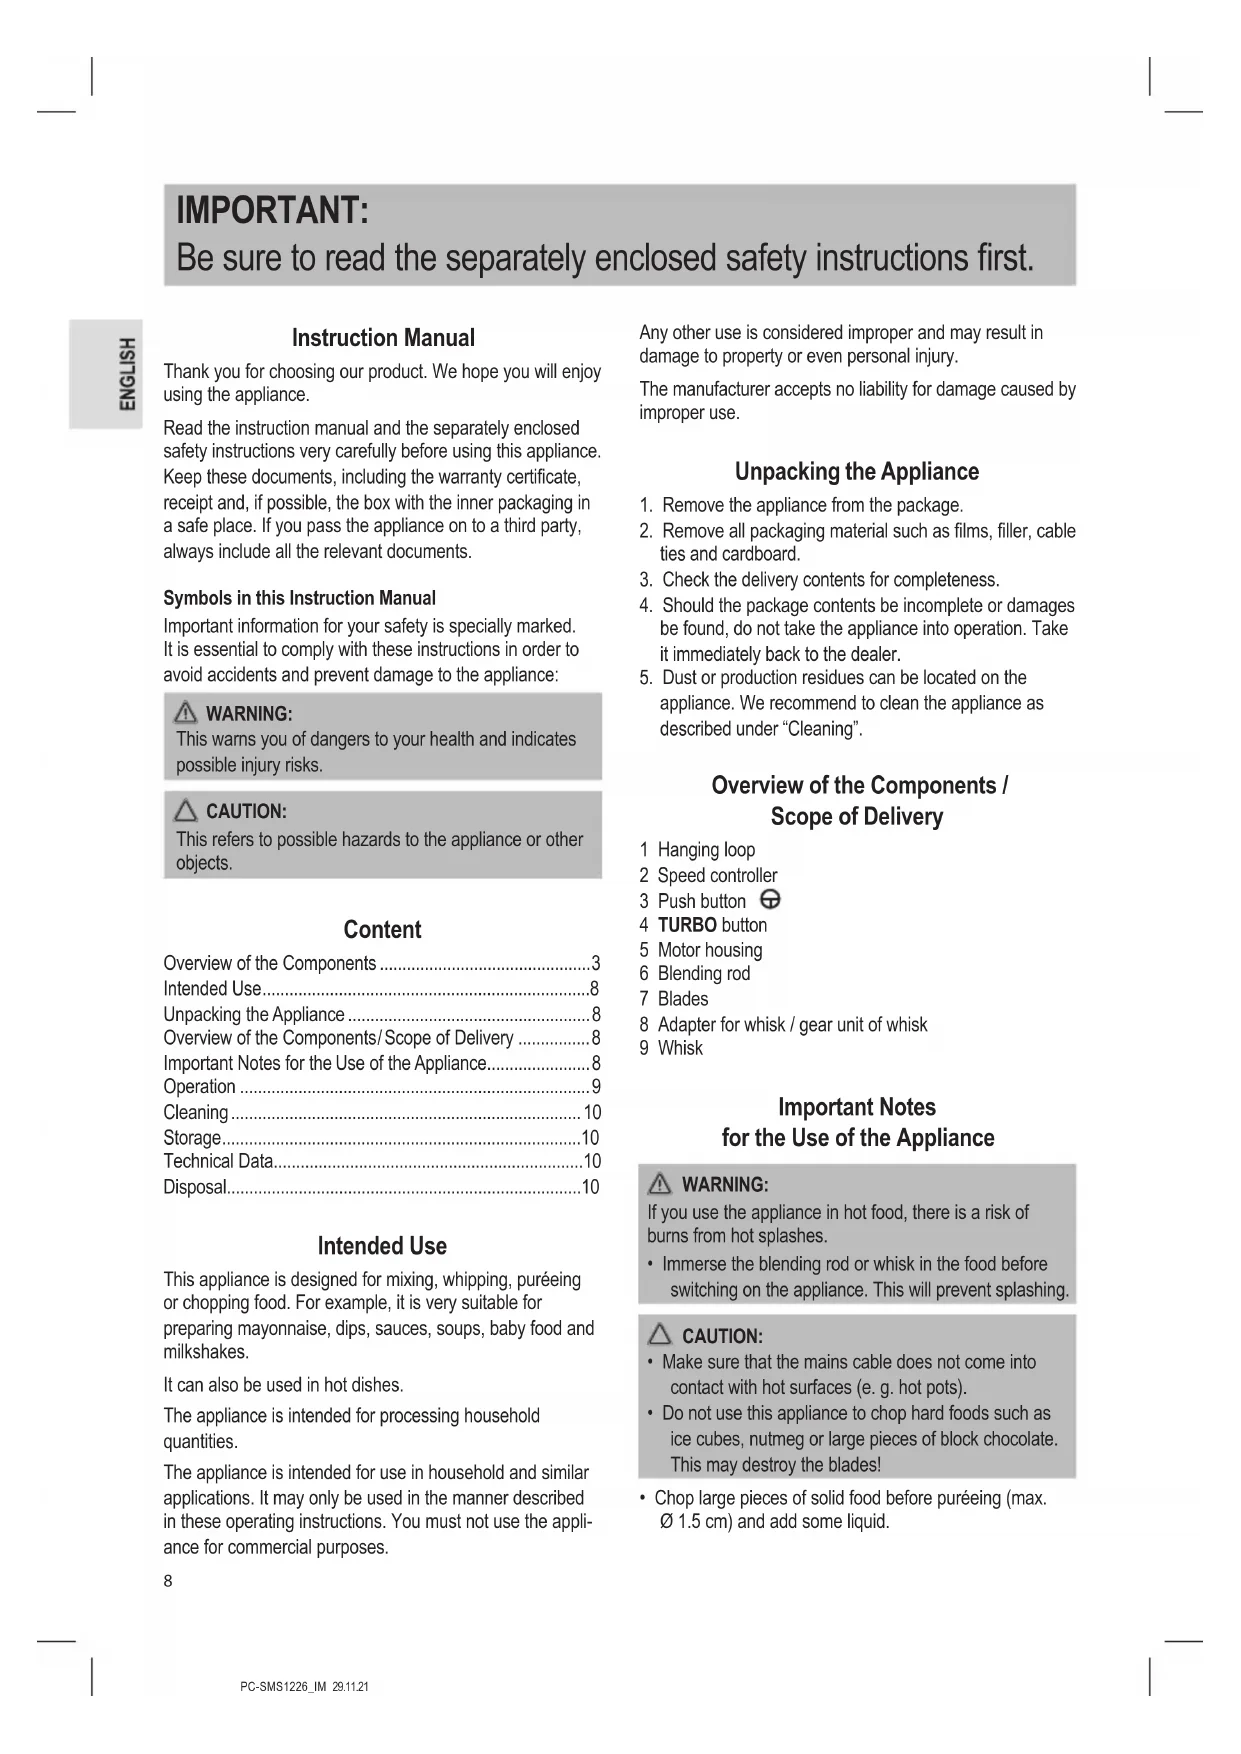
Be sure to read the separately enclosed safety instructions first.
Instruction Manual
Thank you for choosing our product. We hope you will enjoy using the appliance.
Read the instruction manual and the separately enclosed safety instructions very carefully before using this appliance. Keep these documents, including the warranty certificate, receipt and, if possible, the box with the inner packaging in a safe place. If you pass the appliance on to a third party, always include all the relevant documents.
Symbols in this Instruction Manual
Important information for your safety is specially marked. It is essential to comply with these instructions in order to avoid accidents and prevent damage to the appliance:

WARNING:
This warns you of dangers to your health and indicates possible injury risks.

CAUTION:
This refers to possible hazards to the appliance or other objects.
Content
Overview of the Components ....3
Intended Use....8
Unpacking the Appliance 8
Overview of the Components/Scope of Delivery 8
Important Notes for the Use of the Appliance....8
Operation 9
Cleaning 10
Storage....10
Technical Data....10
Disposal....10
Intended Use
This appliance is designed for mixing, whipping, puréeing or chopping food. For example, it is very suitable for preparing mayonnaise, dips, sauces, soups, baby food and milkshakes.
It can also be used in hot dishes.
The appliance is intended for processing household quantities.
The appliance is intended for use in household and similar applications. It may only be used in the manner described in these operating instructions. You must not use the appliance for commercial purposes.
Any other use is considered improper and may result in damage to property or even personal injury.
The manufacturer accepts no liability for damage caused by improper use.
Unpacking the Appliance
- Remove the appliance from the package.
- Remove all packaging material such as films, filler, cable ties and cardboard.
- Check the delivery contents for completeness.
- Should the package contents be incomplete or damages be found, do not take the appliance into operation. Take it immediately back to the dealer.
- Dust or production residues can be located on the appliance. We recommend to clean the appliance as described under "Cleaning".
Overview of the Components / Scope of Delivery
1 Hanging loop
2 Speed controller
3 Push button
4 TURBO button
5 Motor housing
6 Blending rod
7 Blades
8 Adapter for whisk / gear unit of whisk
9 Whisk
Important Notes for the Use of the Appliance
WARNING:
If you use the appliance in hot food, there is a risk of burns from hot splashes.
- Immerse the blending rod or whisk in the food before switching on the appliance. This will prevent splashing.
CAUTION:
- Make sure that the mains cable does not come into contact with hot surfaces (e. g. hot pots).
- Do not use this appliance to chop hard foods such as ice cubes, nutmeg or large pieces of block chocolate. This may destroy the blades!
- Chop large pieces of solid food before puréeing (max. ∅ 1.5 cm) and add some liquid.
- For best results with the whisk, use high-walled and not too large containers.
-
If the maximum speed is too slow, stop the process. Reduce the amount of food being blended. Loosen up solid food.
-
Short-time operation: Observe the maximum operating time of the accessories in the table below. Let the appliance cool down for about 1 minute before using it again.
Select the accessories according to the table below.
Table
| Accessories Function | Speed | Operating time | ||
| ⊕ button | TURBO button | |||
| Blending rod (6) | For mixing and stirring shakes, drinks, sauces; for puréeing soups and sauces; for chopping pre-cut, solid foods, dips, baby food. | Steplessly selectable | Maximum speed. It is not adjustable. | Maximum 1 minute |
| Whisk (9) | For whipping cream, beaten egg whites, puddings; for whipping sauces, sponge cake dough and other fluffy, foamy foods, omelette dough, mayonnaise. | Steplessly selectable | Maximum speed. It is not adjustable. | Maximum 4 minutes |
Assembly / Disassembly
For assembly, also refer to the figures on page 3.
Attach the Blending Rod (Fig. A)
- Place the motor housing (5) on the blending rod (6).
- Turn the motor housing clockwise as far as it will go. The symbols ▼ and ▼ must be on top of each other. Check that they are firmly seated.
Remove Blending Rod
Remove the blending rod from the motor housing by briefly turning it anticlockwise.
Whisk (Fig. B)
If you want to use the whisk (9), replace the blending rod with the adapter (8).
- Engage the whisk in the drive shaft of the adapter by applying moderate pressure.
- Place the motor housing (5) on the adapter (8).
- Turn the motor housing clockwise as far as it will go. The symbols ▼ and ☐ must be on top of each other. Check that they are firmly seated.
Electrical Connection
- Check that the mains voltage you want to use matches that of the appliance. You will find the information on the type plate.
- Insert the mains plug into a properly installed protective contact socket.
Operation
- Immerse the entire blender head in the foodstuff or beverage. Hold the appliance vertically. This way you avoid splashes.
- Hold the handle with one hand in such a way that you can press the push button (3). With the other hand you can adjust the speed with the controller (2).
- You achieve a pulse mode by pressing and releasing the push button in intervals.
- Press the TURBO button to reach the highest speed.
End Operation
- The appliance switches off when you release the push button.

WARNING: Risk of Injury!
The motor continues to run briefly. Wait for the mounted accessory to come to a standstill.
- Pull out the mains plug from the socket after use.
Cleaning

WARNING:
• Always disconnect the mains plug from the socket before cleaning.
- Never immerse the motor housing in water for cleaning. It could cause an electric shock or fire.
- The blades of the blending rod are very sharp. Be especially careful.

CAUTION:
- Do not use a wire brush or other abrasive objects.
- Do not use sharp or abrasive cleaning agents.
-
Do not immerse the gear unit of the whisk (8) in water! Only wipe it with a damp cloth.
-
To pre-clean the accessories, fill a container with hot water and operate the whisk and / or blending rod in it as described under "Operation".
- For thorough cleaning, separate the assembled accessories from the motor housing as described under "Assembly / Disassembly".
• The housing can be wiped with a slightly damp cloth.
Cleaning in Rinsing Water
You can clean the blending rod (6) and the whisk (9) in warm rinse water with a little hand dishwashing liquid. Dry the accessories well afterwards.
Cleaning in the Dishwasher
The blending rod (6) and whisk (9) are dishwasher safe. Make sure that the detergents (detergent, salt and rinse aid) are not overdosed.
Storage
- Clean the appliance as described and allow it to dry completely.
- You can hang the appliance on the hanging loop (1) after cleaning.
• We recommend storing the appliance in its original packaging if you do not intend to use it for a long period of time.
• Always store the appliance out of the reach of children in a well-ventilated and dry place.
Technical Data
Model: PC-SMS 1226
Power supply: 220 - 240 V\~, 50 - 60 Hz
Power consumption: 700–1000W
Protection class:....II
Net weight: .... approx. 0.78 kg
The right to make technical and design modifications in the course of continuous product development remains reserved.
This appliance has been tested according to all applicable, current CE directives and built according to the latest safety regulations.
Disposal
Meaning of the "Dustbin" Symbol

Protect our environment: do not dispose of electrical equipment in the domestic waste.
Please return any electrical equipment that you will no longer use to the collection points provided for their disposal.
This helps avoid the potential effects of incorrect disposal on the environment and human health.
This will contribute to the recycling and other forms of re-utilisation of electrical and electronic equipment.
Information concerning where the equipment can be disposed of can be obtained from your local authority. Your dealer and contractual partner is also obliged to take back the old appliance free of charge.
BELANGRIJK:
CTC Clatronic Sp. z o.o
Ul. Brzeska 1
45-960 Opole