RV2400HF0 - Vacuum Cleaner RIDGID - Free user manual and instructions
Find the device manual for free RV2400HF0 RIDGID in PDF.
Document temporarily unavailable
The manual is currently being transferred to our new server. It will be accessible again in a few hours. Thank you for your patience.
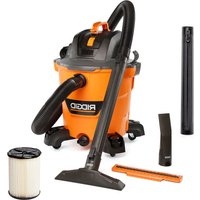
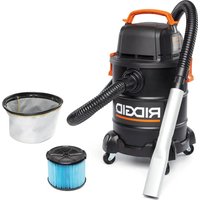
| Product Type | Wet/Dry Vacuum (Multi-purpose Vacuum) |
| Brand | RIDGID |
| Model | RV2400HF0 |
| Drum Capacity | 22.5 litres (6 US gallons) |
| Power Supply | 120 V ~ 60 Hz |
| Rated Current | 7.5 A |
| Double Insulation | Yes |
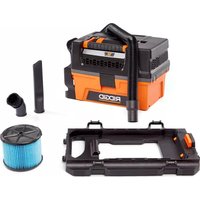
| Filtration | High-quality Qwik Lock™ Paper Filter |
| Blower Function | Yes, via rear blower port |
| Switch | On/Off (I/O positions) |
| Hose Type | Tug-A-Long Positive Locking Hose with Dual-Flex (approx. 2.5 m) |
| Included Accessories | 2 extension wands, multi-purpose nozzle; depending on model: wet nozzle, dusting brush, car nozzle, crevice tool |
| Casters | 4 swivel casters with feet |
| Accessory Storage | On the caster feet columns |
| Cord Storage | Wrapped around the handle with clip |
| Float Auto Shut-off | Yes, for motor protection when vacuuming liquids |
| Filter Maintenance | Clean by tapping or rinsing with water; dry completely before reuse |
| Safety | Do not use near flammable liquids; wear goggles and hearing protection; unplug before maintenance |
| Warranty | RIDGID Limited Lifetime Warranty |
| Intended Use | Residential use for dry and wet waste |
Frequently Asked Questions - RV2400HF0 RIDGID
User questions about RV2400HF0 RIDGID
0 question about this device. Answer the ones you know or ask your own.
Ask a new question about this device
Download the instructions for your Vacuum Cleaner in PDF format for free! Find your manual RV2400HF0 - RIDGID and take your electronic device back in hand. On this page are published all the documents necessary for the use of your device. RV2400HF0 by RIDGID.