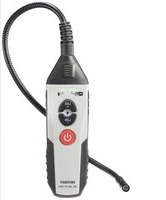
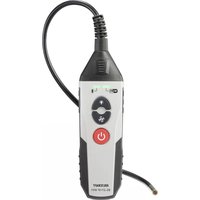
BS300XRSD - Endoscope VOLTCRAFT - Free user manual and instructions
Find the device manual for free BS300XRSD VOLTCRAFT in PDF.
Document temporarily unavailable
The manual is currently being transferred to our new server. It will be accessible again in a few hours. Thank you for your patience.
| Product type | Endoscope |
| Brand | VOLTCRAFT |
| Model | BS300XRSD |
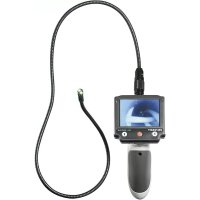
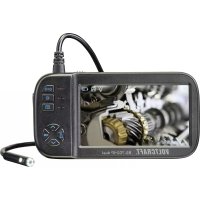
| Screen | TFT monitor 3.5" (8.9 cm) |
| Screen resolution | 320 x 240 pixels |
| Camera resolution | 640 x 480 pixels |
| Camera head diameter | 8.0 mm |
| Gooseneck length | 1800 mm |
| Minimum bending radius | > 45 mm |
| Lighting | 4 white LEDs, up to 950 Lux at 20 mm |
| Power supply | 4 AA batteries (not included) + built-in Li-Po accumulator 1000 mAh |
| Main functions | Photo, video, digital zoom, 180° image rotation, adjustable lighting, removable monitor (RF link) |
| Storage | micro SD / micro SDHC card up to 32 GB (not included) |
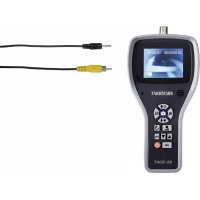
| Video output | PAL / NTSC (via included jack-RCA cable) |
| Connections | Mini USB (charging/transfer), video output jack |
| RF range (monitor/base) | Up to 5 m |
| Camera waterproof | IP67 (submersible up to the mark, no acids or bases) |
| Included accessories | Magnet, hook, mirror, storage case, wrist strap, USB cable, video cable, instruction manual |
| Operating conditions | 0 to +45 °C, 15 – 85% RH |
| Maintenance and cleaning | Clean the exterior with a dry cloth; rinse the camera with clean water after use in a liquid; do not use harsh chemicals |
| Safety | Use only on de-energized installations; do not expose the base to moisture; observe safety instructions for batteries/rechargeable batteries |
| Spare parts and repairability | Camera and gooseneck available separately (ref. 123121, etc.); no user repair |
| General information | Manual available in FR, DE, EN, NL; CE conformity; manufacturer: Conrad Electronic SE |
Frequently Asked Questions - BS300XRSD VOLTCRAFT
User questions about BS300XRSD VOLTCRAFT
0 question about this device. Answer the ones you know or ask your own.
Ask a new question about this device
Download the instructions for your Endoscope in PDF format for free! Find your manual BS300XRSD - VOLTCRAFT and take your electronic device back in hand. On this page are published all the documents necessary for the use of your device. BS300XRSD by VOLTCRAFT.