VitaCrisp - Deep fryer Klarstein - Free user manual and instructions
Find the device manual for free VitaCrisp Klarstein in PDF.
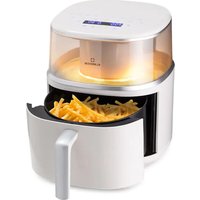
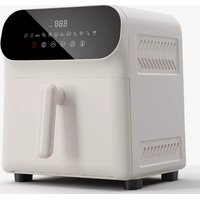
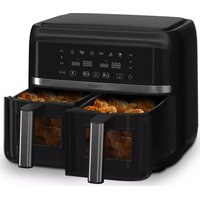
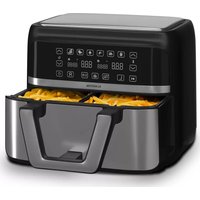
| Product type | Air fryer / Multifunction oven |
| Brand | Klarstein |
| Model | VitaCrisp |
| Item numbers | 10040223, 10040224 |
| Power supply | 220-240 V ~ 50 Hz |
| Dimensions (W x D x H) | Approx. 35 x 30 x 30 cm |
| Weight | Approx. 7 kg |
| Material | Stainless steel and plastic |
| Main functions | Air Fry, Air Broil/Air Roast, Dehydrate, Toast, Bake, Pizza, Keep Warm |
| Toast capacity | Up to 9 slices |
| Included accessories | Frying basket, baking tray, cooking grid, removable lower compartment |
| Cleaning | Hand wash with warm soapy water, do not use in dishwasher |
| Maintenance | Wipe the exterior with a damp cloth, clean the interior with soapy water |
| Safety | Do not immerse in water, use on a heat-resistant surface, keep out of reach of children |
| Power consumption | Approx. 1500 W (estimated) |
| Repairability | Spare parts available from the manufacturer |
Frequently Asked Questions - VitaCrisp Klarstein
User questions about VitaCrisp Klarstein
0 question about this device. Answer the ones you know or ask your own.
Ask a new question about this device
Download the instructions for your Deep fryer in PDF format for free! Find your manual VitaCrisp - Klarstein and take your electronic device back in hand. On this page are published all the documents necessary for the use of your device. VitaCrisp by Klarstein.
USER MANUAL VitaCrisp Klarstein
Unit 6 Riverside Business Centre
Brighton Road
Shoreham-by-Sea
BN43 6RE
United Kingdom
SICHERHEITSHINWEISE
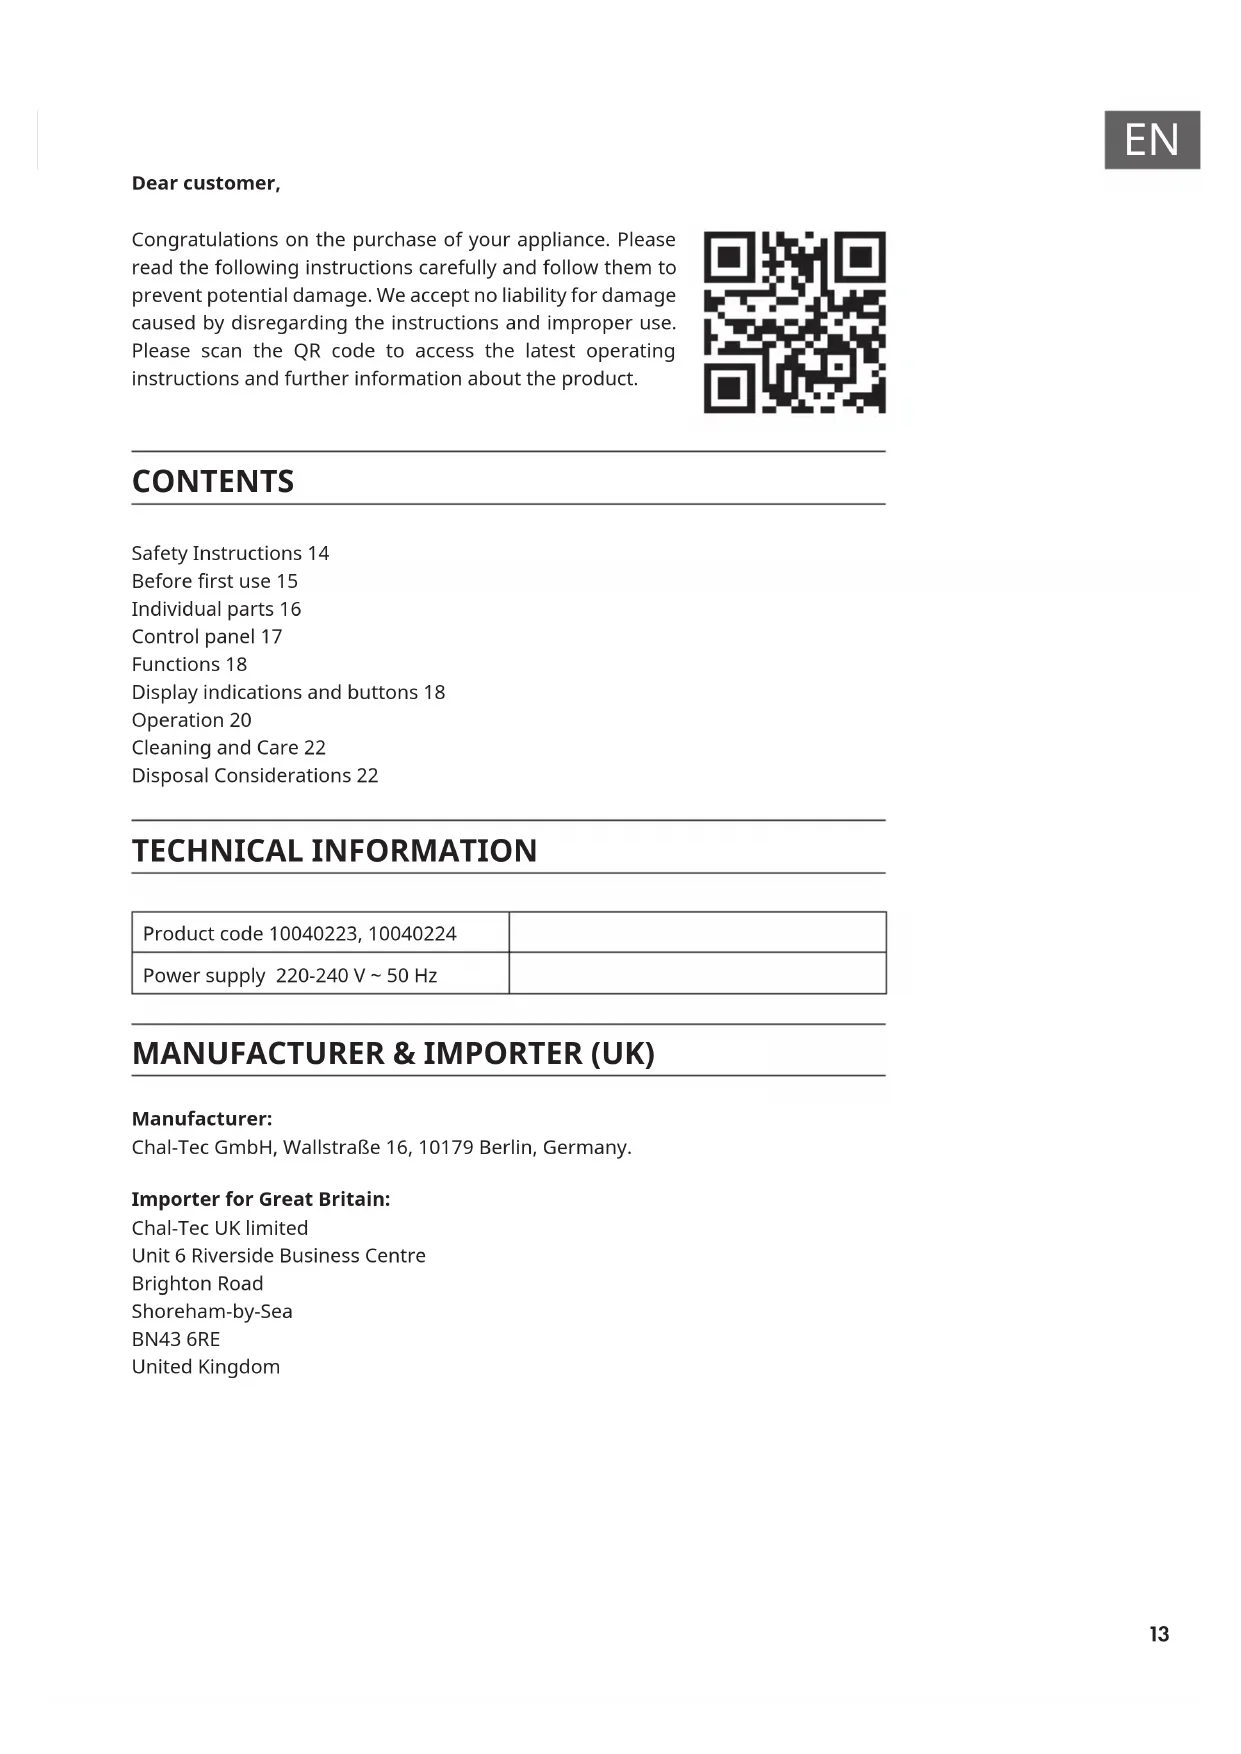
Congratulations on the purchase of your appliance. Please read the following instructions carefully and follow them to prevent potential damage. We accept no liability for damage caused by disregarding the instructions and improper use. Please scan the QR code to access the latest operating instructions and further information about the product.

CONTENTS
Safety Instructions 14
Before first use 15
Individual parts 16
Control panel 17
Functions 18
Display indications and buttons 18
Operation 20
Cleaning and Care 22
Disposal Considerations 22
TECHNICAL INFORMATION
| Product code 10040223, 10040224 | |
| Power supply 220-240 V ~ 50 Hz |
MANUFACTURER & IMPORTER (UK)
Manufacturer:
Chal-Tec GmbH, Wallstraße 16, 10179 Berlin, Germany.
Importer for Great Britain:
Chal-Tec UK limited
Unit 6 Riverside Business Centre
Brighton Road
Shoreham-by-Sea
BN43 6RE
United Kingdom
SAFETY INSTRUCTIONS
- Before using for the first time, check that the voltage of your socket corresponds to the voltage specified.
- To avoid electric shock, do not immerse the power cord or the device itself in water or other liquids.
- Keep children and pets away from the device while it is in operation.
- Switch off the device after use and pull the power plug out of the socket.
- The device should be operated on a power circuit separate from other devices. If the electrical circuit is overloaded with other devices, this device may not function properly.
- Use extreme caution when moving a container that contains hot food.
- Do not let the power cord hang over the edge of tables or work surfaces, and make sure that the power cord does not come into contact with the hot surfaces of the device.
- Always place the device securely in the centre of the table or work surface.
- Never touch hot device surfaces. Use the handles to move or lift.
The device may not be used by children. - The use of accessories that are not expressly recommended by the manufacturer can lead to injuries.
- Do not place or use the device on heat-sensitive glass surfaces, wooden surfaces or tablecloths. With these surfaces, it is essential to place a heat-insensitive plate with thermal protection under the device.
- Do not use the device if the power cord is damaged, the device is malfunctioning, or has been damaged in any other way.
- Before cleaning and when not using the device, switch it off and pull the power plug out of the socket. Let the device cool down first before removing or adding device parts.
- Do not place the device in the immediate vicinity of hot gas or electric ovens or in a heated oven.
- If the plug does not fit properly, be sure to consult a qualified electrician to reduce the risk of electric shock. Never attempt to tamper with the power plug in any way.
- Do not clean the device with metallic scouring pads. Small metal parts could break off and short out electrical components in the device, which could result in an electric shock and damage the device.
-
To minimise the risk of electric shock, prepare food only in the coated, non-stick container provided.
-
The device is designed for domestic use only.
- Only use the device for its intended purpose.
- Keep these operating instructions for future reference.
- Children over 8 years as well as mentally, sensory and physically impaired persons may only use the device if they have been informed in detail about the functions and safety precautions by a supervisor responsible for them beforehand and understand the associated risks.

CAUTION
Risk of burns! When hot air frying, hot steam is released through the air outlets. Keep your hands and face a safe distance from steam and air vents. Also watch out for hot steam and air when removing parts of the device from the device.
BEFORE FIRST USE
- Remove all packaging material, promotional labels and tape from the appliance and dispose of them.
- Remove all the accessories from the packaging and read this instruction manual carefully. Pay particular attention to the operating instructions, warnings and safety instructions in order to avoid damage to property and/or personal injury.
- Before using the appliance for the first time, clean the frying basket, the cooking pan, the baking grid and the removable bottom tray in warm soapy water, rinse everything with clean water and then dry all the accessories thoroughly. Do not clean the appliance/accessories in the dishwasher.
- It is recommended to place all the accessories in the oven and run it on the hot air setting for 20 minutes at maximum temperature setting without adding food. Please make sure that the area where the appliance is used is adequately ventilated, as packaging residues may be removed from the appliance when it is first used and a strong odour may occur. This is completely safe and does not affect the performance of the appliance.
INDIVIDUAL PARTS
| Appliance Removable bottom compartment (must always be placed under the lower heating element) | Baking rack (to be placed on the lower level) | |
| Baking tray (must always be placed above the baking grid). For fatty, oily or marinated foods | Frying basket (always place in the upper level) For dry foods |

How to place the accessories
FUNCTIONS
AIR FRY (hot air)
Can be used for chicken wings, fries and chicken nuggets.
In this mode, food can be prepared with little to no oil.
AIR BROIL / AIR ROAST (hot air grill)
For food, with higher levels of protein and roasted vegetables.
In this mode, food can be prepared so that it is crispy on the outside and well-done on the inside.
DEHYDRATE (drying)
For healthy snacks, such as vegetables, fruit and also meat.
TOAST
For a maximum of 9 pieces of bread at a time.
BAKE (baking)
For cakes, biscuits and frozen pizza.
PIZZA
For frozen pizza or fresh pizza.
KEEP WARM
Food can be kept warm for up to 2 hours.
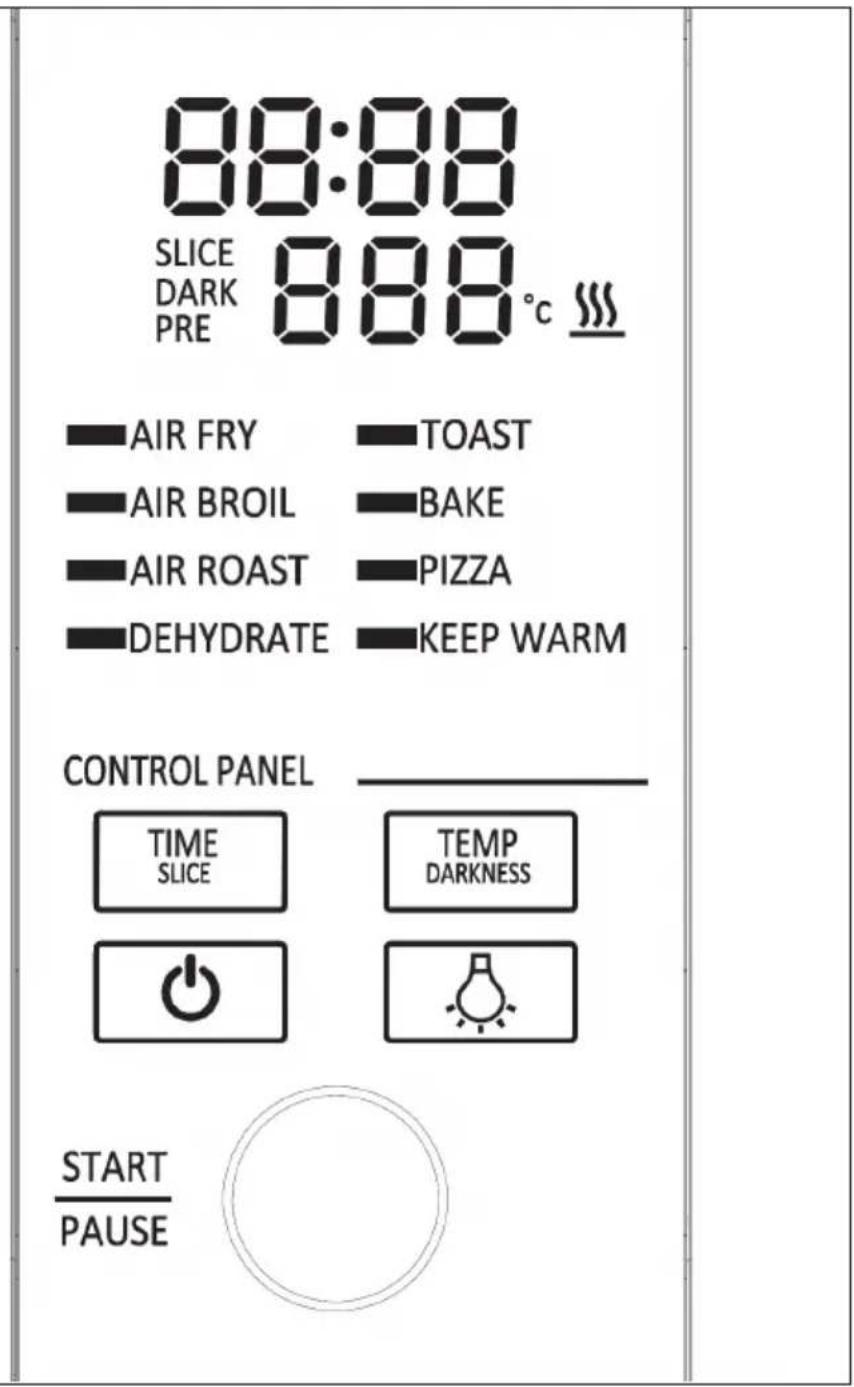
DISPLAY INDICATIONS AND BUTTONS
Display indications
- Time display: Displays the preparation time.
- Temperature display: Indicates the preparation temperature.
Notes on the display indications
Time and temperature always revert to the last setting used when the oven was operated for the last time.
- "PRE": Flashes on the screen until the appliance has been preheated to 120^ . This takes about 2 - 3 minutes.
- "Flip": Displayed on the screen when the appliance is cooled down sufficiently to be put into storage or cleaned.
- The symbol is displayed on the screen when the appliance is hot.
- SLICE/DARK: is displayed on the screen when the toast function is used.
Key functions
- START/PAUSE: Press this button to start or pause the preparation process.
- Time/temperature control: To select a cooking function or adjust the time and temperature (or set the number of toast slices and the browning level when using the toast and bagel function), rotate the control dial.
Note: Press and hold the START/PAUSE button for three seconds to return to the mode selection.
- TIME/SLICE: To select the preparation time, press the TIME button and rotate the control dial to adjust the preparation time. When using the toast or bagel function, this button selects the number of slices instead of the time.
- TEMP/ DARKNESS button: Press the TEMP button to adjust the temperature and rotate the dial to adjust the temperature. When using the toast or bagel function, this button is used to set the browning level instead of the temperature.
Note: The preparation time and preparation temperature can be adjusted at any time during preparation. Press and hold the TEMP/DARKNESS button for five seconds when the appliance is not in preparation mode.
- LIGHT BUTTON: Press and hold the button to switch the oven's interior light on and off.
Note: The light is switched on automatically when there are 30 seconds of preparation time left. - POWER: Press this button to switch the appliance on/off.
OPERATION
Note: The preparation time or temperature of the modes (AIR FRY, AIR BROIL, AIR ROAST, DEHYDRATE, TOAST, BAKE, PIZZA, KEEP WARM) can be adjusted at any time during preparation. When the time or temperature is adjusted, the new setting replaces the previous mode setting. The new setting is applied the next time the mode is used.
| 1 | Place the food in the: ·Frying basket or ·Frying basket with baking tray or ·Baking tray or ·directly on the baking rack Then place the accessories with the food in the appliance. |
| 2 | Rotate the control dial to select the function. The factory-set time and temperature setting are displayed. |
| 3 | Once you have set the desired time and temperature, press the START/ PAUSE button to start operation. |
| 4 | If you want to adjust the preparation time and temperature, press the TEMP/DARKNESS button and use the control dial to select the temperature. Press this button for 3 seconds to save the settings. |
| Note: The temperature setting of the KEEP WARM mode cannot be modified. Once TOAST mode operation has been started, the temperature cannot be adjusted until the function has been reset. | |
| 5 | The appliance makes a beeping sound as soon as the preparation time is completed. |
| 6 If | the food is not yet cooked, increase the cooking time. |
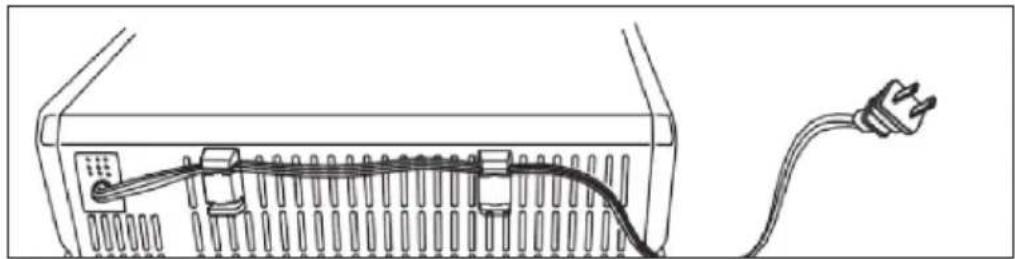
Storing the power cable
There are 2 blocks on the back of the appliance. The power cable can be fixed inside these blocks.
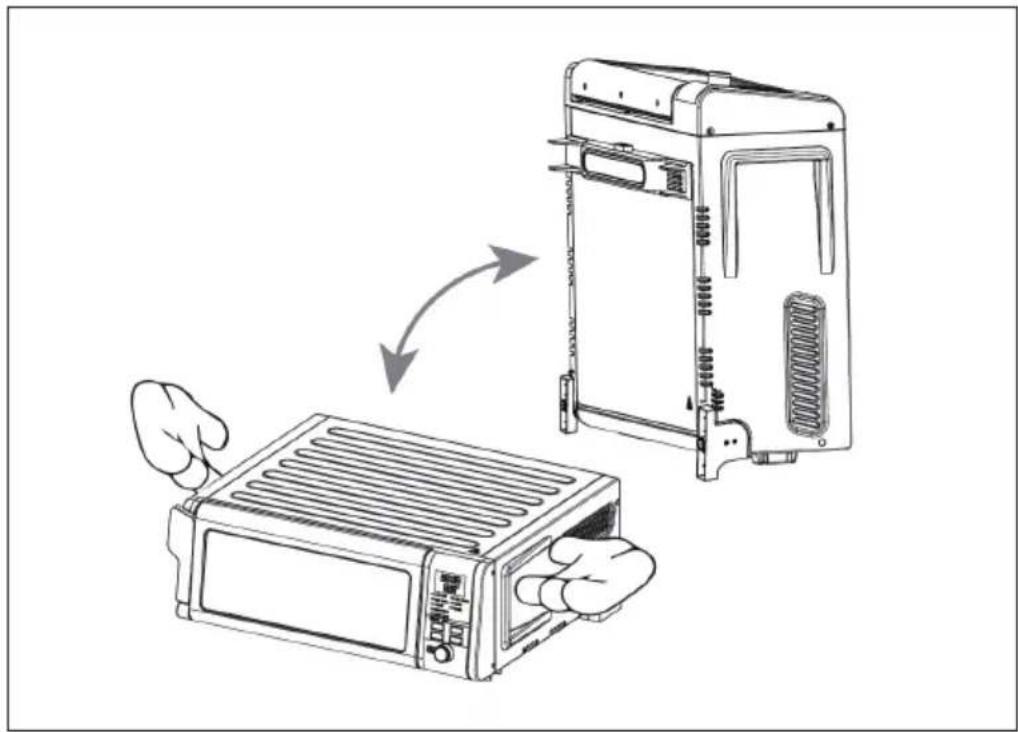
Storing the appliance
Do not stow the furnace while it is still hot. Wait until the oven has cooled down completely. To lift the appliance, firmly hold it by the handles on each side.
CLEANING AND CARE
- Remove the plug from the socket and let the device cool down for at least 30 minutes.
- Remove the accessories.
- Clean the device after each use. Do not clean the accessories or the inside of the device with pointed or sharp kitchen utensils or abrasive cleaners, as these damage the coating.
- Wipe the outside of the device with a damp cloth.
Deep Cleaning
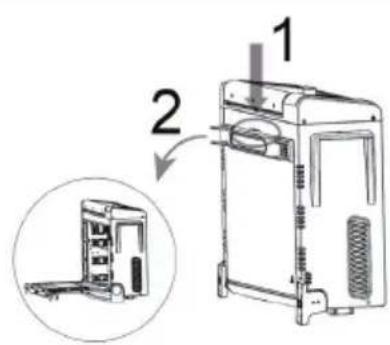
After cleaning, press the push button to open the rear door (see illustration).
- Use warm soapy water and a soft cloth to clean the inside of the oven.
- Do not use abrasive cleaners, scrub brushes or chemical cleaners as they may damage the oven.
DISPOSAL CONSIDERATIONS
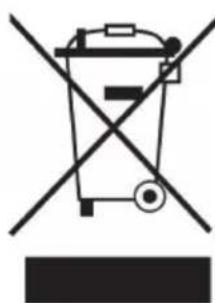
If there is a legal regulation in your country regarding the disposal of electrical and electronic equipment, this symbol on the product or on the packaging indicates that this product must not be disposed of with household waste. Instead, it must be taken to a collection point for the recycling of electrical and electronic equipment. By disposing of this product in accordance with the regulations, you protect the environment and the health of those around you from negative consequences. For information on recycling and disposal of this product, contact your local government or household waste disposal service.
Cher client, chere clientele,
Unit 6 Riverside Business Centre
Brighton Road
Shoreham-by-Sea
BN43 6RE
Royaume Uni
CONSIGNES DE SECURITE
DEHYDRATE (deshydration)
Chal-Tec UK limited.
Unit 6 Riverside Business Centre
Brighton Road
Shoreham-by-Sea
BN43 6RE
Reino Unido
PRODUTTORE E IMPORTATORE (UK)
Produttore:
Chal-Tec GmbH, Wallstraße 16, 10179 Berlin, Germania.
Unit 6 Riverside Business Centre
Brighton Road
Shoreham-by-Sea
BN43 6RE
Regno Unito