MeetingBoard - Monitor Yealink - Free user manual and instructions
Find the device manual for free MeetingBoard Yealink in PDF.

User questions about MeetingBoard Yealink
0 question about this device. Answer the ones you know or ask your own.
Ask a new question about this device
Download the instructions for your Monitor in PDF format for free! Find your manual MeetingBoard - Yealink and take your electronic device back in hand. On this page are published all the documents necessary for the use of your device. MeetingBoard by Yealink.
USER MANUAL MeetingBoard Yealink
Quick Start Guide (Wall-Mounted) V1.1


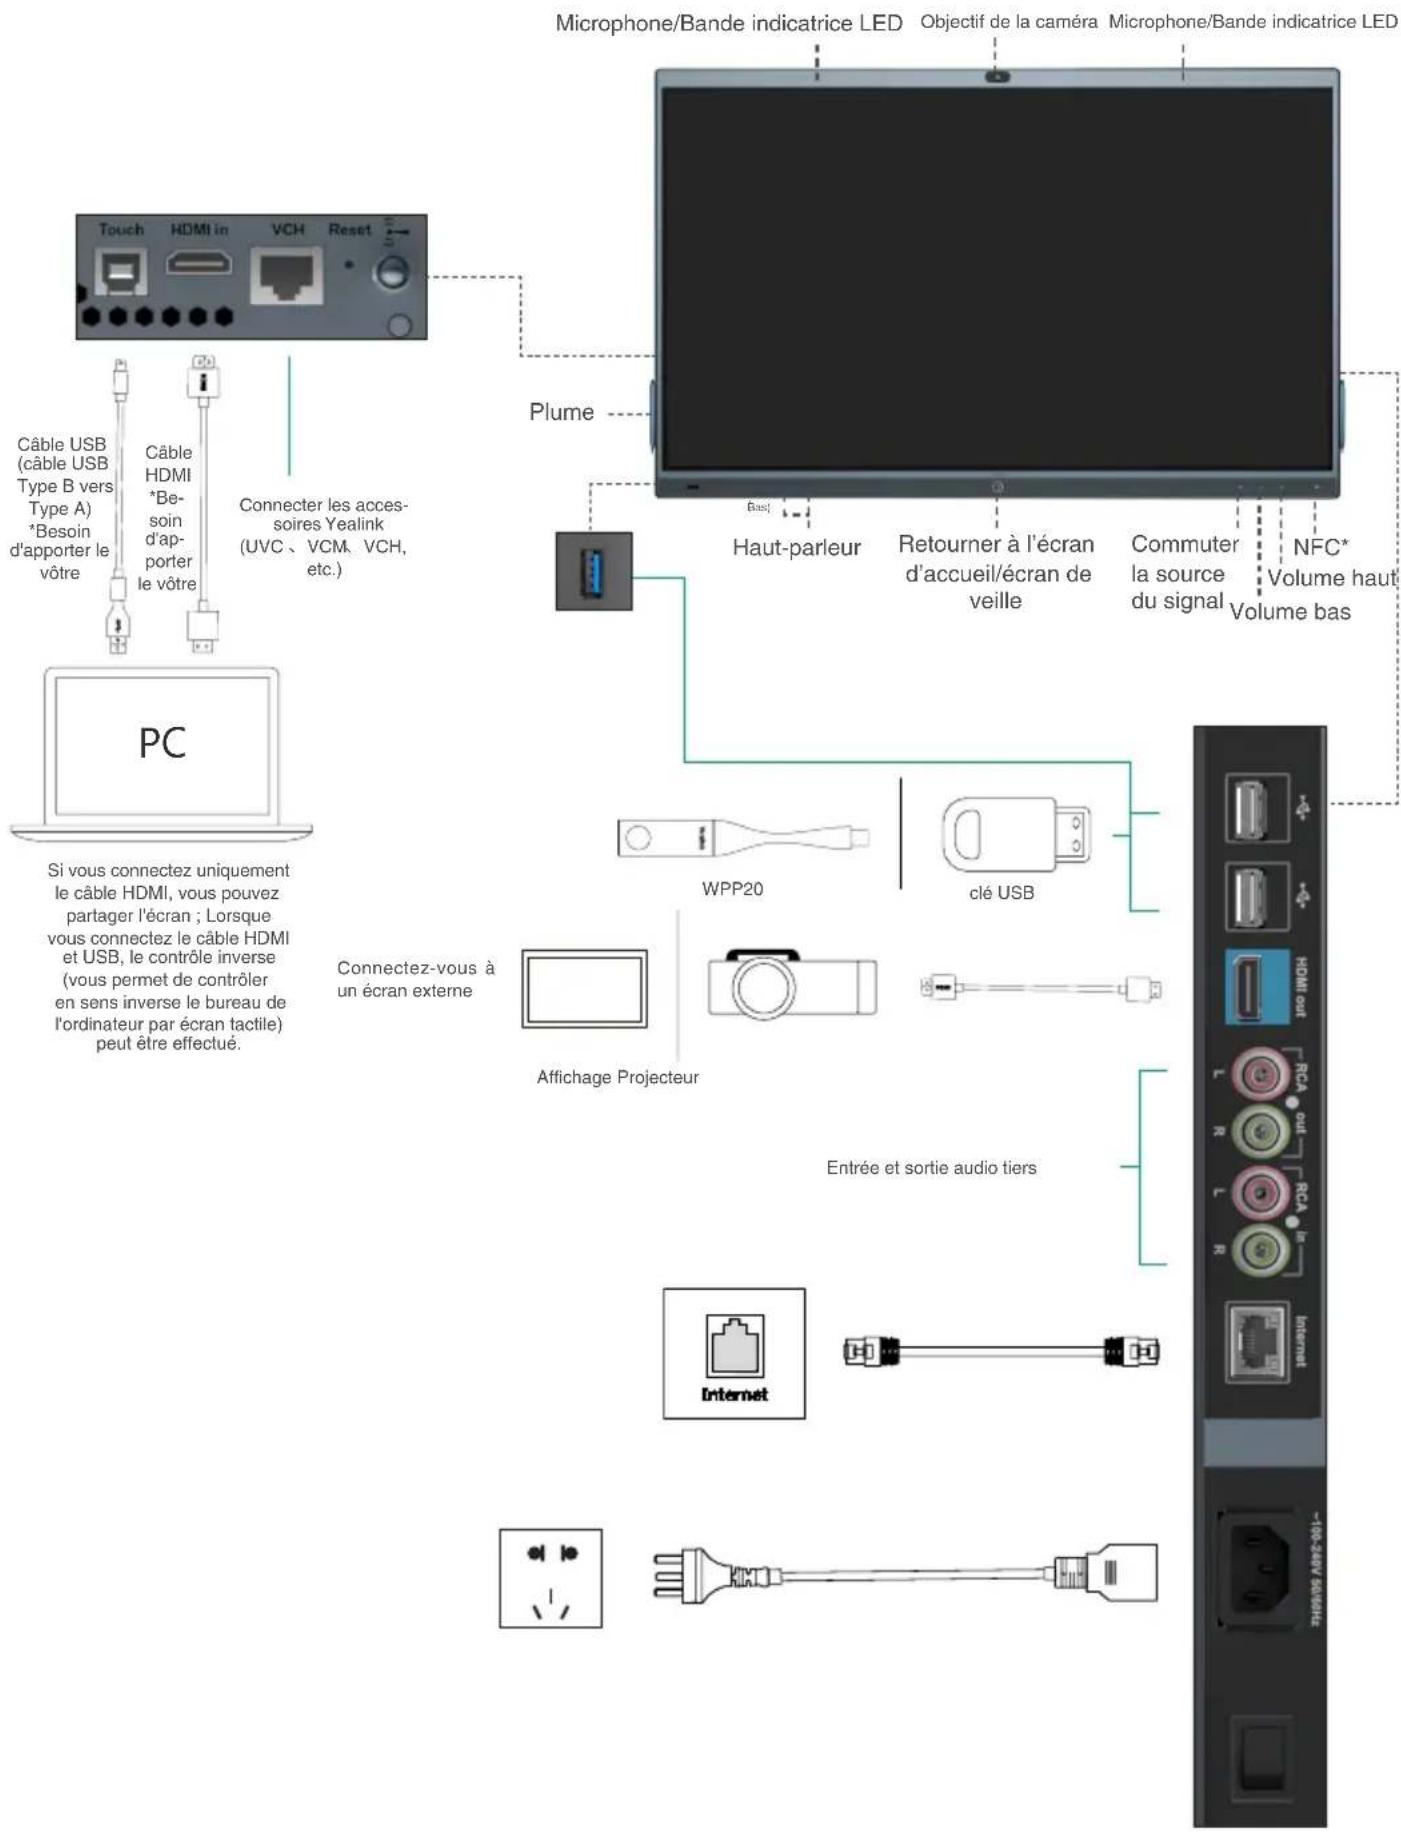
natural_image
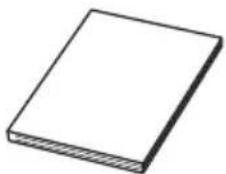
Illustration of a modern tablet with a camera on top, displaying abstract wave design (no text or symbols)Please read this guide before installation to avoid unnecessary personal injury and damage to the endpoint.
Table of Contents
English....1
Deutsch....9
Français....17
Español....25
1 Package Contents
The pictures of the endpoint and accessories in this guide are for reference only.
Please use the accessories in the package, and follow the guide for installation. Yealink assumes no responsibility for any damage caused by improper installation methods.
Standard Accessories
natural_image
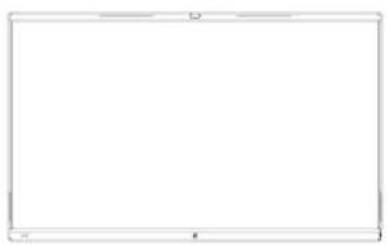
Blank white rectangle with rounded corners and a small 'B' mark at the top (no text or symbols)MeetingBoard 65/86
(a)
(b)
Wall-mounted bracket
*65-inch and 86-inch wall-mounted bracket are different in size and cannot be mixed.

Expansion bolt x 8 (8\*80mm)
*For vertical, load-bearing solid wall or concrete wall

Self-tapping screw x 8 (6*50mm)
**For planks or other reinforced walls
Metal gasket x 8 ( 8^*1.6mm )
*For fixing self-tapping screws

Screw x 4 (M8*20mm)
*For locking the back of the endpoint
natural_image
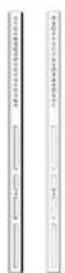
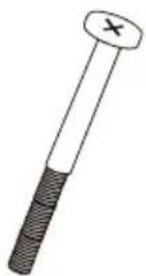
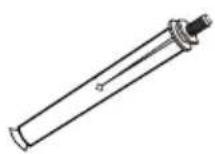
Simple line drawing of a nail with a cross mark on the top (no text or symbols)Security screw x 2 (M5*100mm)

Pen x 4

natural_image
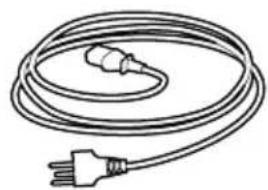
Line drawing of a coiled electrical plug with a terminal outlet (no text or symbols)3M Power Cable

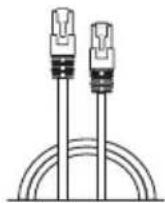
3M Network cable

Cable Ties
natural_image
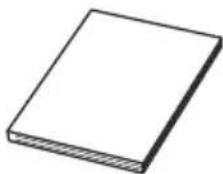
Simple line drawing of a rectangular block with a hatched bottom edge (no text or symbols)Quick Start Guide (Wall-Mounted)
If you are using a floor stand for installation, please refer to Quick Start Guide (Floor-Mounted).

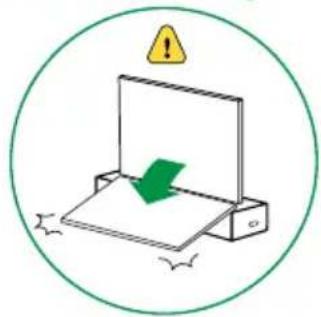
Take and place all components gently to avoid damage.
natural_image
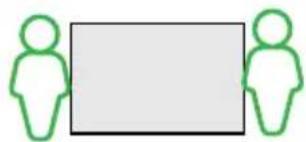
Two green human silhouettes facing each other with a blank rectangular block (no text or symbols)
natural_image
Two green human silhouettes facing each other with a blank rectangular block (no text or symbols)MeetingBoard 65 MeetingBoard 86
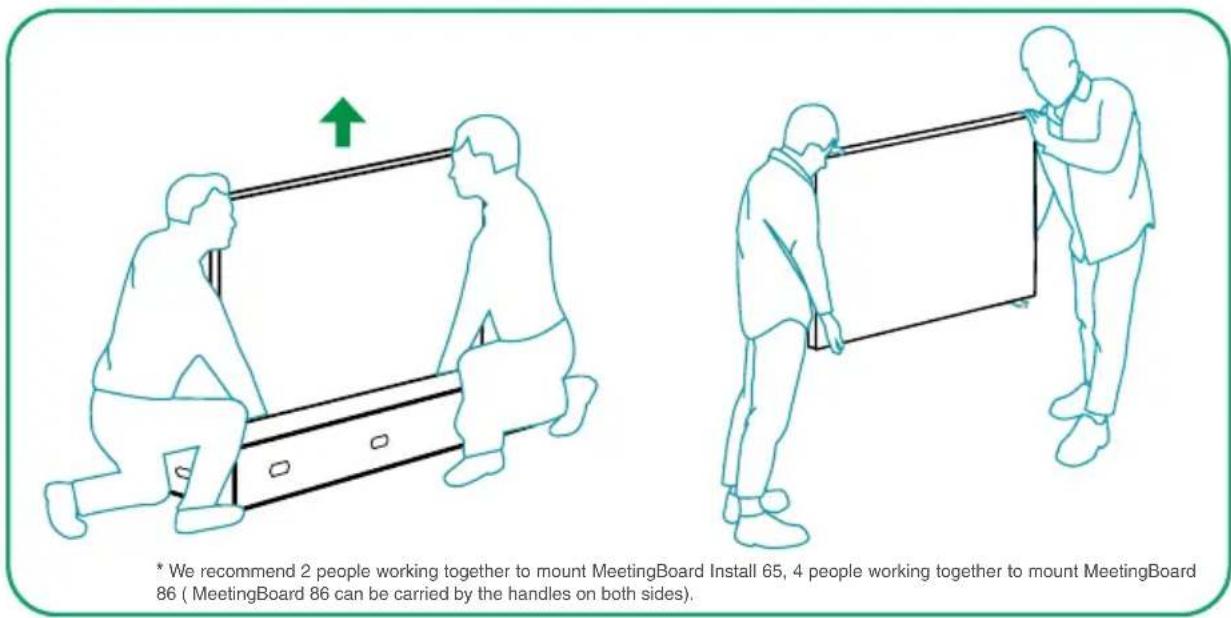
We recommend 2 people working together to mount MeetingBoard 65, 4 people working together to mount MeetingBoard 86.
1 Determine wall-mounted bracket (a) installation position

- Please install on a vertical, load-bearing solid wall or concrete wall (use expansion screw) or planks, other reinforced walls (use self-tapping screws) with more than 20 cm thickness.
- For other type of walls, please reinforce the wall and verify the feasibility before installation. Verification method: Install a screw to carry out a single screw load test for 1 minute (MeetingBoard 65 load-bearing 35 kg, MeetingBoard 86 load-bearing 45 kg), and the installation can continue if the screw is not loose.
- The wall-mounted bracket for MeetingBoard 65 and MeetingBorad 86 are only different in size, and the installation method is the same.
- The installation height data is for reference only. You can choose a suitable position as needed.
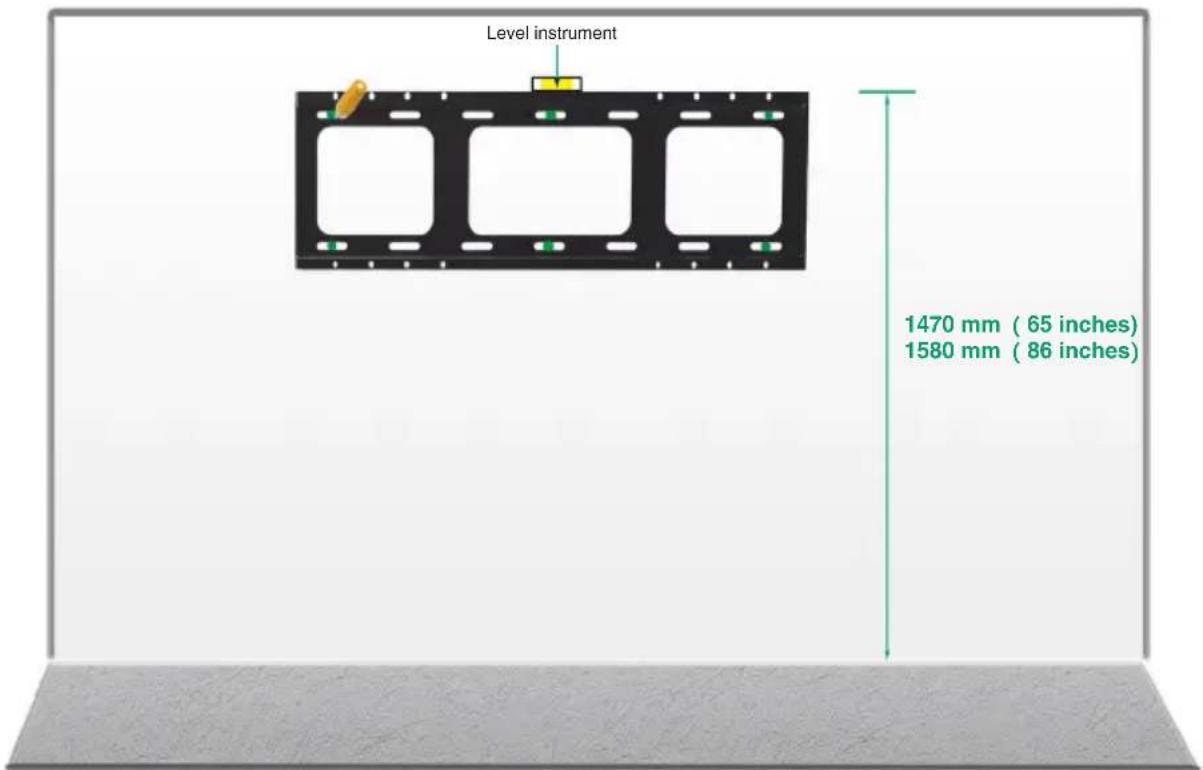
At least 6 screws for 65 MeetingBoard 65. At least 8 screws for MeetingBoard 85.
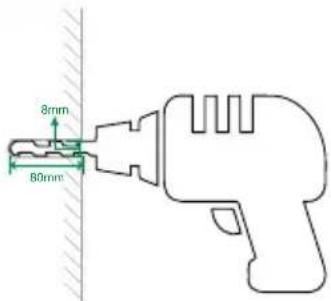
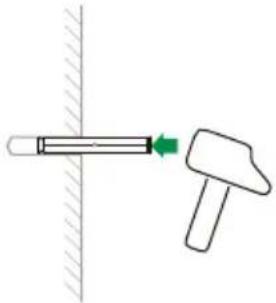
2 Fix the expansion screws/self-tapping screws at the marked positions on the wall

natural_image
Simple line drawing of a hammer striking a surface with a green arrow indicating motion (no text or symbols)If the wall is planks, other reinforced walls, install wall-mounted bracket with in-package self-tapping screws.
Methods: To install wall-mounted bracket, sleeve the self-tapping screw (6*50mm) into the metal gasket, then drill it into the wall.
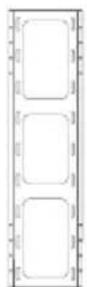
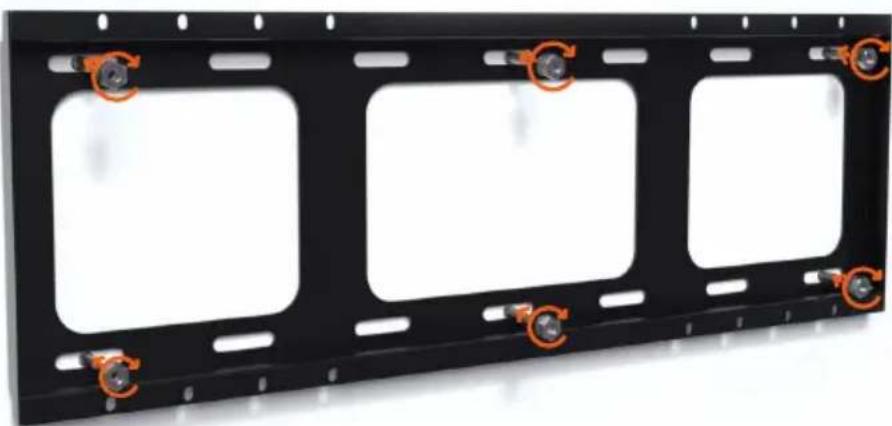
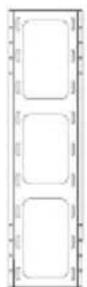
3 Install the wall-mounted bracket (a) to the wall

X8
Expansion screw nut part
natural_image
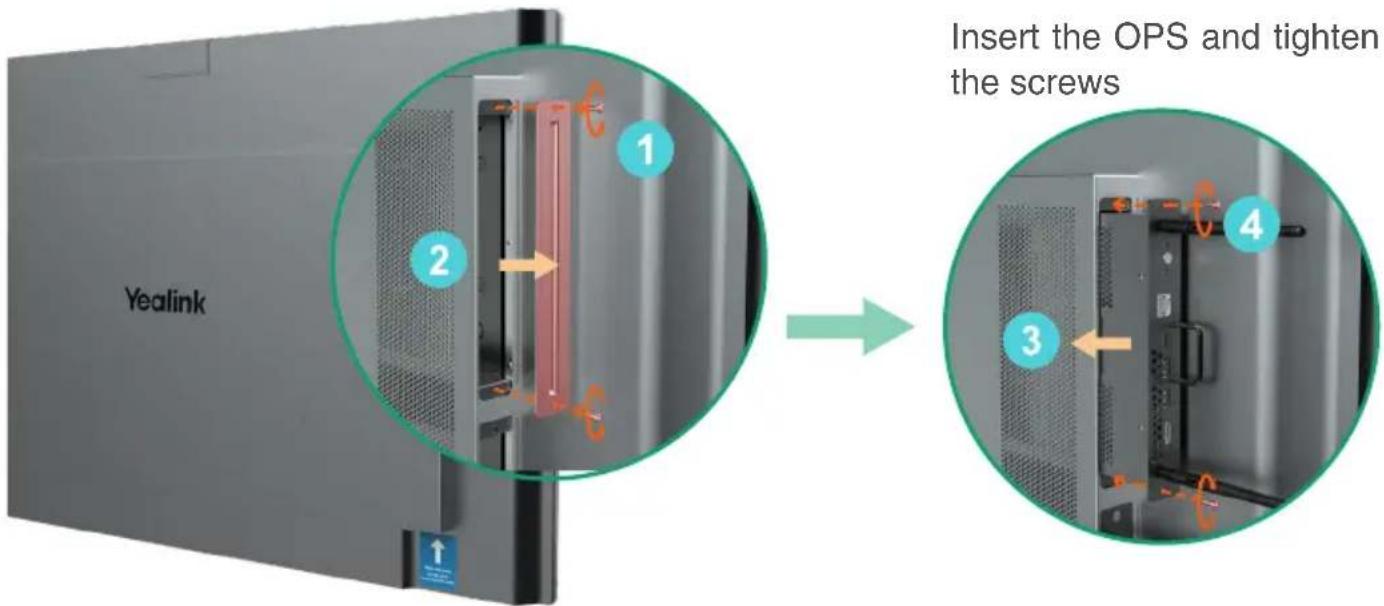
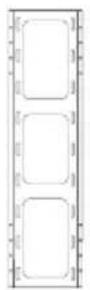
Metal frame with three rectangular cutouts and four mounting holes, marked with orange circular arrows indicating points of interest (no text or symbols present)4 Install Windows OPS (Optional)

- The endpoint has a built-in Android OS and supports installing OPS modules to use both Windows and Android OS.
- Windows OPS is optional. If you have not purchased, skip this step.
- When installing or uninstalling OPS, make sure that the endpoint is powered off. Otherwise, OPS may be abnormal.
natural_image
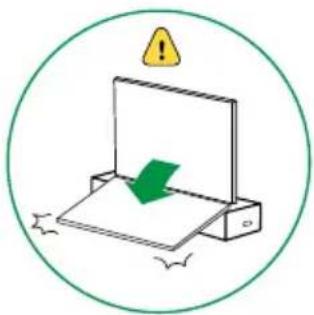
Simple diagram of a device with a green checkmark and warning symbol, enclosed in a circle (no text or labels)Remove the OPS cover

Install MB-CAM (Optional)

MB-CAM is optional. If you have not purchased, skip this step.
Remove the top cover of the endpoint
natural_image
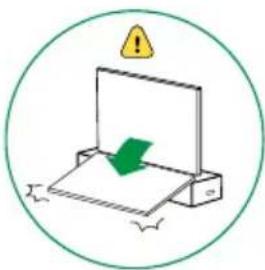
Illustration of a green checkmark on a flat surface inside a circular frame, with a yellow warning symbol above (no text or labels)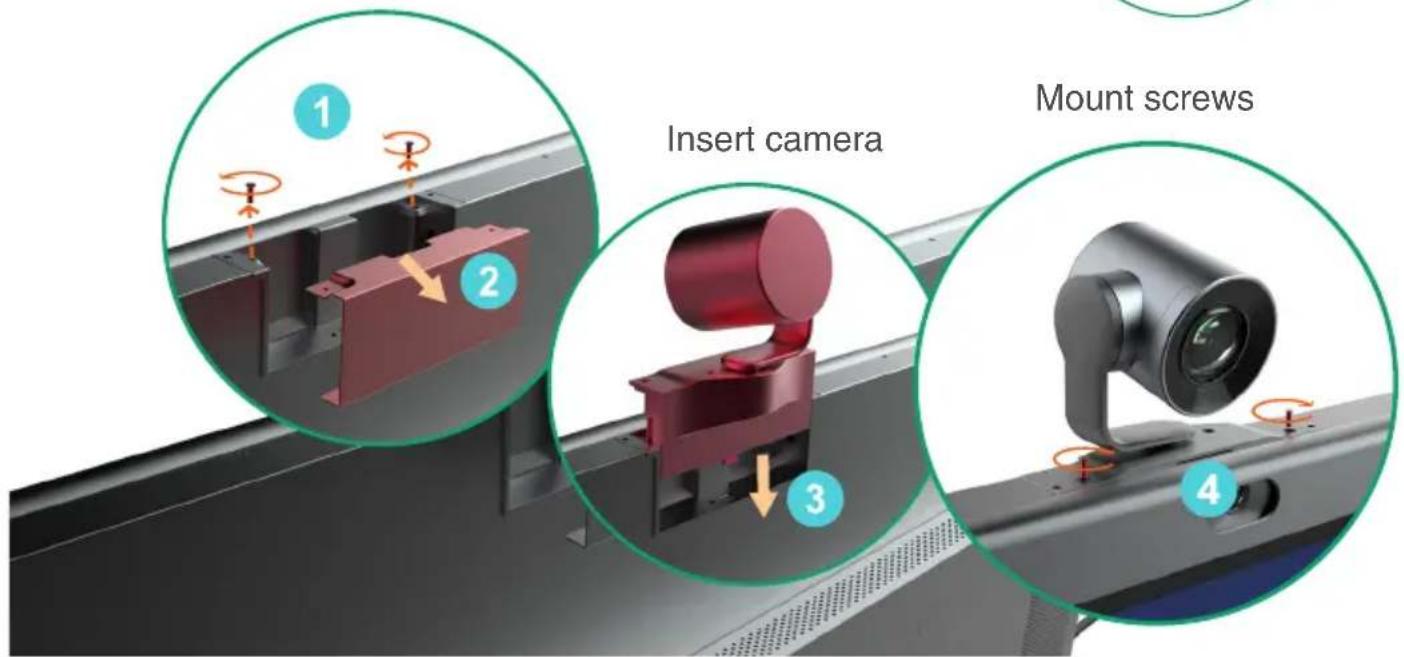
6
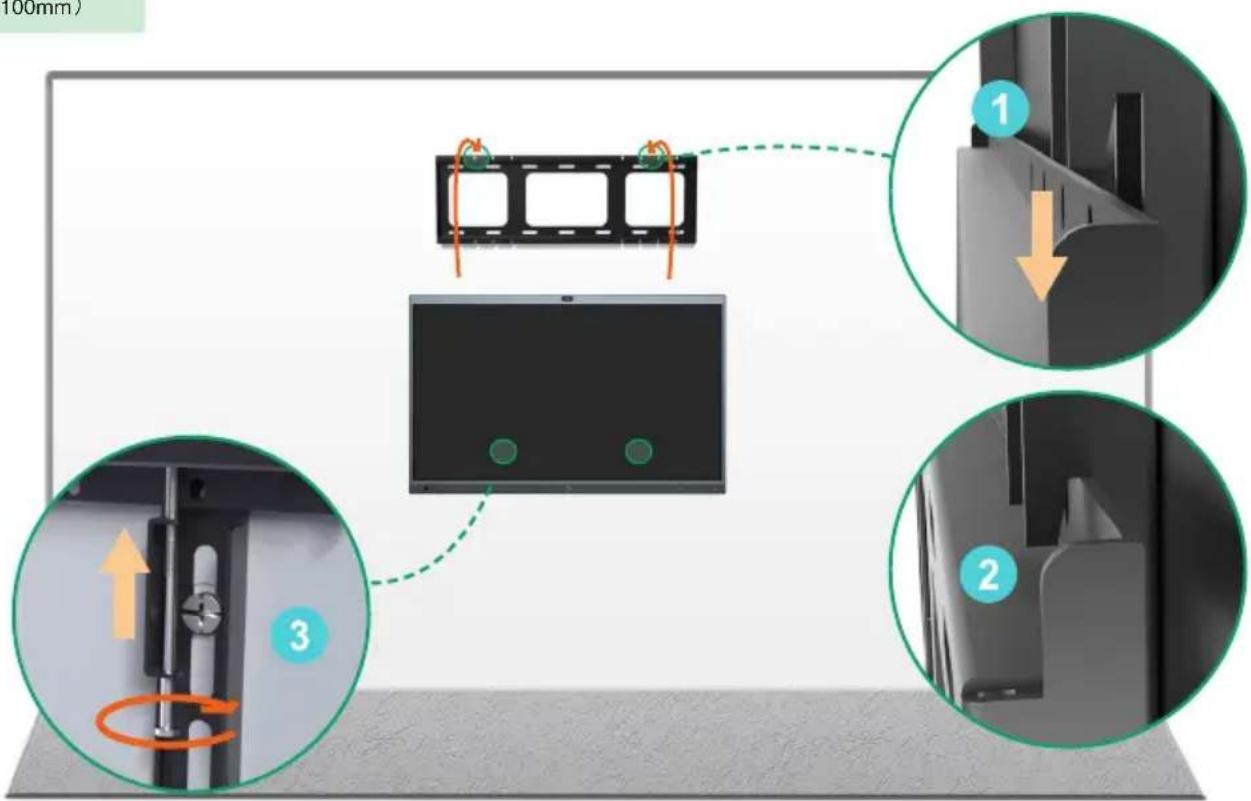
Install wall-mounted bracket (b) on the back of the endpoint
Tear the patch and remove the screws on the back of the endpoint

natural_image
Illustration of a mechanical device with a green checkmark and warning symbol (no text or labels)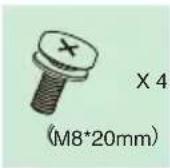
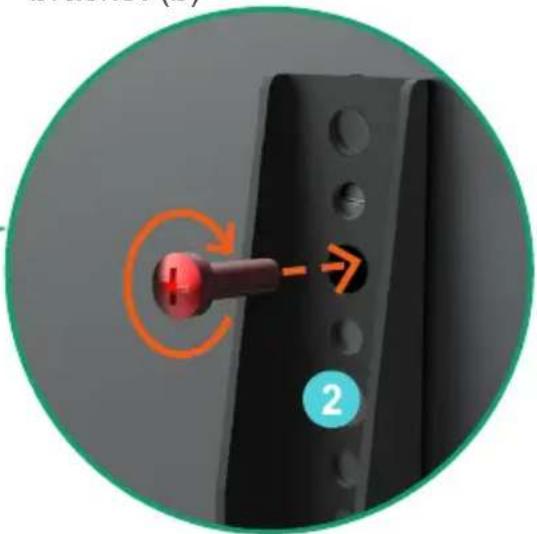
Install the wall-mounted bracket (b) and tighten the screws
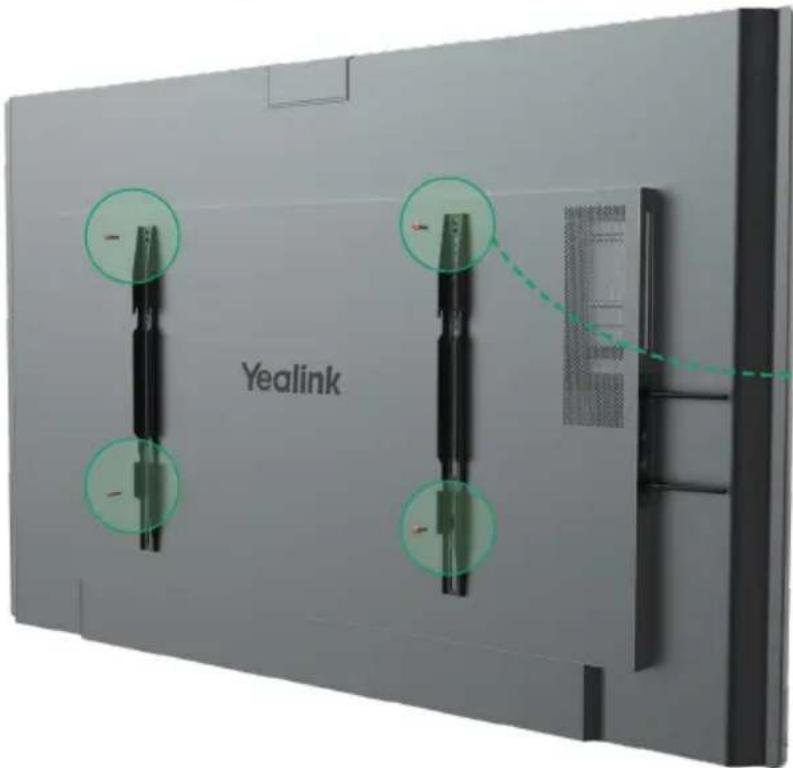
MeetingBoard 65: We recommended that the screw be installed to the fifth hole of the wall-mounted bracket (b)
MeetingBoard 86: We recommended that the screw be installed to the third hole of the wall-mounted bracket (b)
natural_image
Close-up of a black mechanical component with a red knob and orange circular arrow indicating rotation (no text or symbols)i
If the installation height is slightly inappropriate, you can adjust the installation hole position to meet your needs.
7 Mount the endpoint and lock the security screw on the back of the endpoint
i

If the power port and network port of the conference room are located on the back wall of the endpoint to be installed, connect the cables first before installing the endpoint.

The wall-mounted bracket (b) on both sides need to be snapped into the slots at the same time.
X2
(M5*100mm)
3 Hardware Component Instructions

*Coming Soon
4 Power on
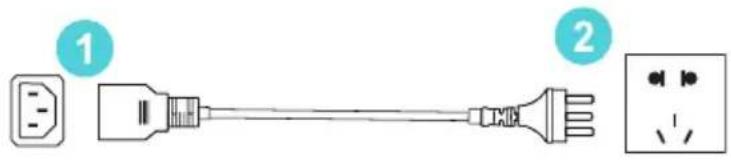
- Insert the end of the power cable into the power port of the endpoint.
- Insert the power cord plug into the outlet.
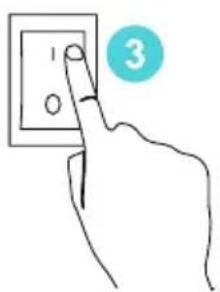
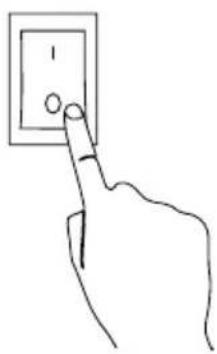
- Turn the rocker switch button on the right rear of the endpoint to "I" to turn on the endpoint.
Upon first power-on of the endpoint, follow the on-screen setup wizard to configure language, time, network, etc., to initialize the configuration. The initialization operations vary with software versions.

After the endpoint is started for the first time or restored to factory settings, go to settings on the touchscreen to configure the admin password (default password:0000).
5 LED Status
| Status | Roll green light from inside to outside at the same time | Slow-ly-flash-ing green | Rolls green light from left to right | Flashing red | Off Sol | d green Solid | red |
| Description | BootingShutting down | Sleep mode | Firmware upgradingFactory resetting | Abnormal | Power offNot in a call | Unmuted during a call | Muted during a call |
6 Power outage
natural_image
Hand pointing at a wall-mounted electrical outlet (no text or symbols visible)Turn the rocker switch button on the right rear of the endpoint to "O" to turn off the endpoint.
1 Verpackungsinhalt
natural_image
Blank white rectangle with rounded corners and no visible text, symbols, or markings.MeetingBoard 65/86
(a)

(b)

Wandhalterung
natural_image
Simple line drawing of a nail with a cross mark on top (no text or symbols)natural_image
Line drawing of a coiled electrical plug with a terminal terminal (no text or symbols)3M Stromkabel
3m Netzwerkkabel
Kabelbinder
natural_image
Simple line drawing of a rectangular block with a hatched bottom edge (no text or symbols)natural_image
Two green human silhouettes facing each other with a blank rectangular block (no text or symbols)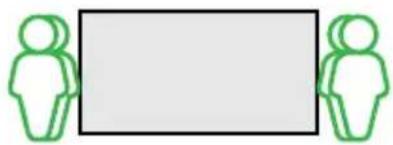
natural_image
Two green human silhouettes facing each other with a blank rectangular block (no text or symbols)natural_image
Simple line drawing of a hammer striking a cylindrical object on a vertical surface (no text or symbols)natural_image
Black metal frame with four rectangular cutouts and orange circular markers on each side (no text or symbols)natural_image
Simple diagram of a device with a green checkmark and warning symbol, enclosed in a circle (no text or labels)natural_image
Simple diagram of a device with a green checkmark and warning symbol, enclosed in a circle (no text or labels)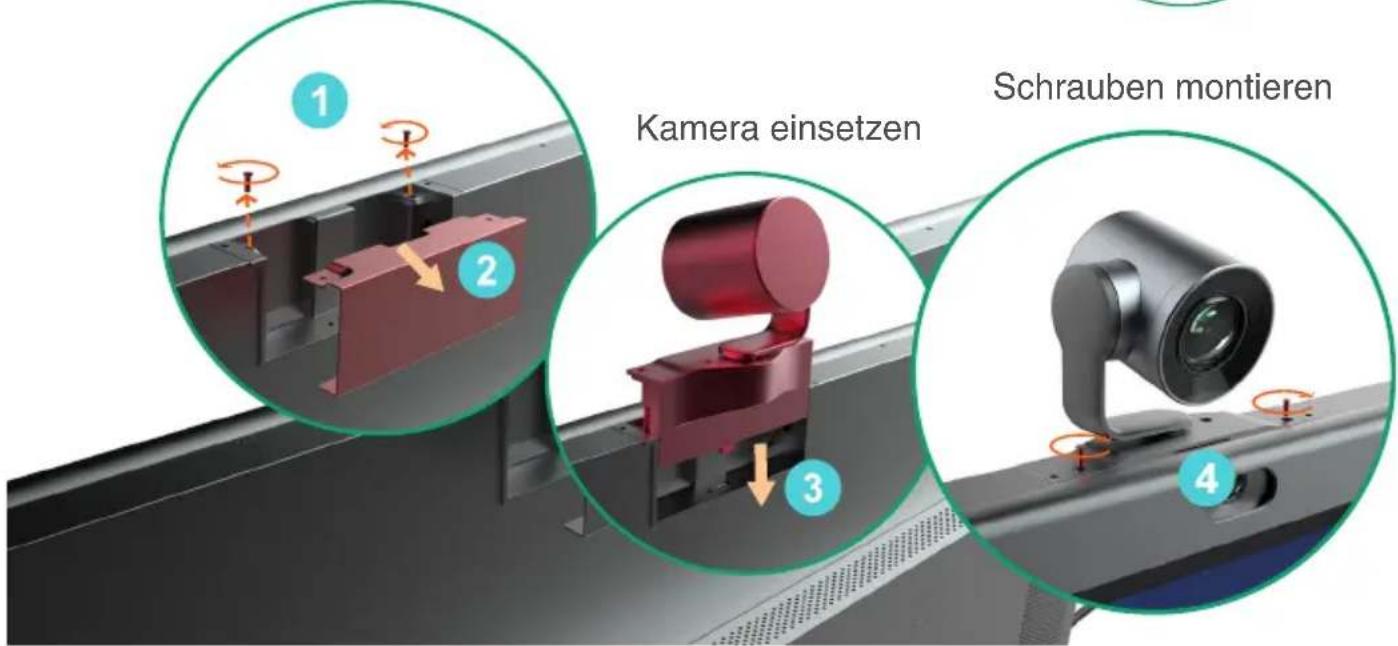
natural_image
Illustration of a mechanical device with a green checkmark and warning symbol (no text or labels)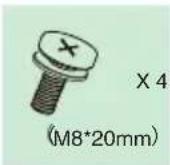
natural_image
Close-up of a mechanical component with a red knob and orange rotation arrow, labeled '2' (no text or symbols on the object itself)
natural_image
Hand holding a wall-mounted electrical outlet with a finger pointing to the button (no text or symbols visible)natural_image
Blank white rectangle with rounded corners and a small 'B' mark at the top (no text or symbols)MeetingBoard 65/86

(a)
(b)

Support de fixation murale
natural_image
Simple line drawing of a bolt with a cross mark on top (no text or symbols)(M8*20mm)


natural_image
Line drawing of a coiled electrical plug with a terminal terminal (no text or symbols)natural_image
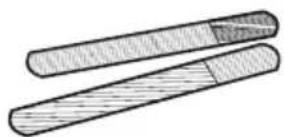
Two elongated cylindrical objects with hatched patterns, no text or symbols visibleSerre-câbles
natural_image
Simple line drawing of a rectangular block with a hatched bottom edge (no text or symbols)natural_image
Two green human silhouettes facing each other with a blank rectangular block (no text or symbols)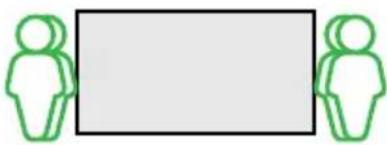
natural_image
Two green stylized human figures standing side by side next to a blank rectangular block (no text or symbols)natural_image
Simple line drawing of a hammer striking a cylindrical object with a green arrow indicating motion (no text or symbols)
natural_image
Black metal frame with four rectangular cutouts and orange circular markers on top (no text or symbols)4 Installer Windows OPS (facultatif)

natural_image
Illustration of a mechanical device with a green checkmark and warning symbol (no text or labels)natural_image
Simple diagram of a device with a green checkmark and warning symbol, enclosed in a circle (no text or labels)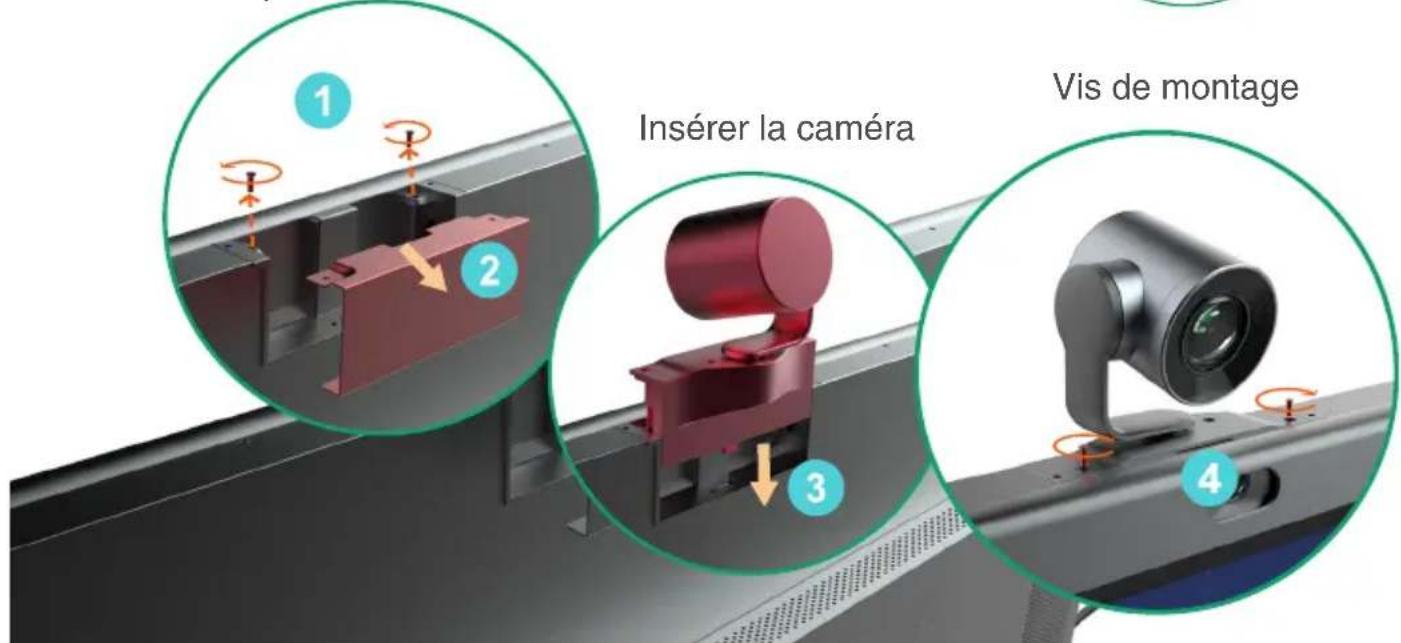
Vis de montage
6
natural_image
Illustration of a mechanical device with a green checkmark and warning symbol (no text or labels)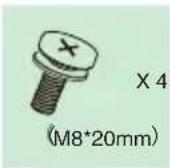
natural_image
Close-up of a mechanical component with a red knob and orange circular arrow indicating rotation (no text or symbols)i
3 Instructions relatives aux composants matériels
natural_image
Hand holding a wall-mounted electrical outlet with a finger pointing to it (no text or symbols visible)natural_image
Blank white rectangle with rounded corners and no visible text, symbols, or markings.MeetingBoard 65/86
)

(b)
Soporte de pared
natural_image
Simple line drawing of a nail with a cross mark on the top (no text or symbols)Tornillos seguros x 2 (M5*100mm)

Bolígrafo x 4
natural_image
Line drawing of a coiled electrical plug with a terminal terminal (no text or symbols)natural_image
Two elongated cylindrical objects with hatched patterns, no text or symbols visibleSujetacables

natural_image
Simple line drawing of a rectangular block with a hatched bottom edge (no text or symbols)natural_image
Two green human silhouettes facing each other with a blank rectangular block (no text or symbols)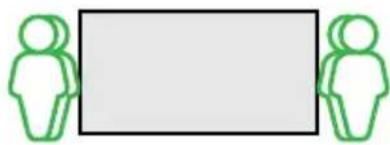
natural_image
Two green human silhouettes facing each other with a blank rectangular area (no text or symbols)natural_image
Simple line drawing of a hammer striking a cylindrical object on a vertical surface (no text or symbols)natural_image
Exterior view of a black metal frame with four rectangular cutouts and orange circular markers on the side (no text or symbols)4 Instalar Windows OPS (Opcional)

natural_image
Diagram of a mechanical device with a green checkmark and warning symbol, enclosed in a circle (no text or labels)natural_image
Illustration of a printer with a green checkmark and warning symbol above it, enclosed in a circular frame (no text or symbols on the diagram itself)
natural_image
Illustration of a mechanical device with a green checkmark and warning symbol (no text or labels)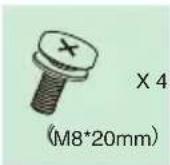
natural_image
Close-up of a black mechanical component with a red knob and orange circular arrow indicating rotation (no text or symbols)natural_image
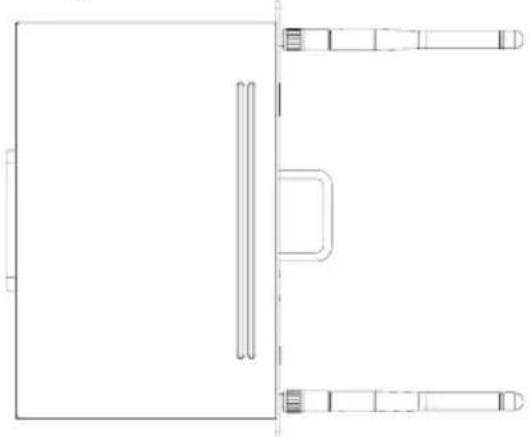
Hand pointing at a wall-mounted electrical outlet (no text or symbols visible)We recommended placement of the OPS antenna is as follows, with the highest signal strength:
natural_image
Pure technical line drawing of a mechanical or architectural component without any text, numbers, or symbolsHDMI™
HIGH-DEFINITION MULTIMEDIA INTERFACE
HDMI, the HDMI logo, and High-Definition Multimedia Interface are trademarks or registered trademarks of HDMI Licensing LLC.

Declaration of Conformity
We,
YEALINK(XIAMEN) NETWORK TECHNOLOGY CO.,LTD
Address: 309, 3rd Floor, No.16, Yun Ding North Road,
Huli District, Xiamen City, Fujian, P.R. China
Manufacturer: YEALINK(XIAMEN) NETWORK TECHNOLOGY CO.,LTD
Address: 309, 3rd Floor, No.16, Yun Ding North Road,
Huli District, Xiamen City, Fujian, P.R. C
DATE: 28th /May/2022
declare that the product
Type: Collaboration Board
Model: MeetingBoard 65, MeetingBoard 86
meets the essential requirements and other relevant provisions according to the following EC directive
Directive: 2014/30/EU, 2014/35/EU, RED 2014/53/EU
Conformity
The product complies with the following standards:
Safety : EN IEC 62368-1:2020+A11:2020
EMC:: EN 55032:2015
EN 55035:2017
EN61000-3-2: 2014
EN61000-3-3: 2013
Radio:ETSI EN 301 489-1 V2.2.0,
ETSI EN 301 489-17 V3.2.0,
ETSI EN 300 328 V2.1.1;
ETSI EN 301 893 V2.1.1
EN 300 440 V2.1.1
EN 303 687 V0.0.14
Health :EN 62311:2008; EN62479:2010
Directive 2011/65/EU and (EU)2015/863 of the European Parliament and of the Council of 8 June 2011 and 4 June 2015 on the restriction of the use of certain hazardous substances in electrical and electronic equipment(RoHS 2.0)
Directive 2012/19/EU of the European Parliament and of the Council of 4.July.2012 on Waste electrical and electronic equipment(WEEE)
Regulation (EC) No.1907/2006 of the European Parliament and of the Council of 18.December.2006 on Registration, Evaluation, Authorization, and Restriction of Chemicals (REACH)
NAME: Huahu Wang
DATE: 28th /May/2022
TITLE: Manager
Regulatory Notices
Operating Ambient Temperatures
- Operating temperature: +14 to 122°F (-10 to 50°C)
• Relative humidity: 5% to 90%, noncondensing
• Storage temperature: -22 to +160°F (-30 to +70°C)
Warranty
Our product warranty is limited only to the unit itself, when used normally in accordance with the operating instructions and the system environment. We are not liable for damage or loss resulting from the use of this product, or for any claim from a third party. We are not liable for problems with Yealink device arising from the use of this product; we are not liable for financial damages, lost profits, claims from third parties, etc., arising from the use of this product.
DC symbol
is the DC voltage symbol.
Restriction of Hazardous Substances Directive (RoHS)
This device complies with the requirements of the EU RoHS Directive. Statements of compliance can be obtained by contacting support@yoalink.com.
Safety Instructions
Save these instructions. Read these safety instructions before use!
The following basic safety precautions should always be followed to reduce risk of fire, electrical shock, and other personal injury.

General Requirements
- Before you install and use the device, read the safety instructions carefully and observe the situation during operation.
- During the process of storage, transportation, and operation, please always keep the device dry and clean.
- During the process of storage, transportation, and operation, please avoid collision and crash of the device.
- Please attempt not to dismantle the device by yourself. In case of any discrepancy, please contact the appointed maintenance center for repair.
- Without prior written consent, no organization or individual is permitted to make any change to the structure or the safety design of the device. Yealink is under no circumstance liable to consequences or legal issues caused by such changes.
- Please refer to the relevant laws and statutes while using the device. Legal rights of others should be respected as well.

Environmental Requirements
- Place the device at a well-ventilated place. Do not expose the device under direct sunlight.
- Keep the device dry and free of dusts.
- Place the device on a stable and level platform.
- Please place no heavy objects on the device in case of damage and deformation caused by the heavy load.
- Keep at least 10 cm between the device and the closest object for heat dissipation.
- Do not place the device on or near any inflammable or fire-vulnerable object, such as rubber-made materials.
- Keep the device away from any heat source or bare fire, such as a candle or an electric heater.
- Keep the device away from any household appliance with strong magnetic field or electromagnetic field, such as a microwave oven or a refrigerator.

Operating Requirements
- Do not let a child operate the device without guidance.
- Do not let a child play with the device or any accessory in case of accidental swallowing.
- Please use the accessories provided or authorized by the manufacturer only.
- The power supply of the device shall meet the requirements of the input voltage of the device. Please usethe provided surge protection power socket only.
• Before plugging or unplugging any cable, make sure that your hands are completely dry. -
Do not spill liquid of any kind on the product or use the equipment near water, for example, near a bathtub, washbowl, kitchen sink, wet basement or near a swimming pool.
-
Do not tread on, pull, or over-bend any cable in case of malfunction of the device.
- During a thunderstorm, stop using the device and disconnect it from the power supply. Unplug the power plug and the Asymmetric Digital Subscriber Line (ADSL) twisted pair (the radio frequency cable) to avoid lightning strike.
- If the device is left unused for a rather long time, disconnect it from the power supply and unplug the power plug.
- When there is smoke emitted from the device, or some abnormal noise or smell, disconnect the device from the power supply, and unplug the power plug immediately. Contact the specified maintenance center for repair.
- Do not insert any object into equipment slots that is not part of the product or auxiliary product.
- Before connecting a cable, connect the grounding cable of the device first. Do not disconnect the grounding cable until you disconnect all other cables.

Cleaning Requirements
- Before cleaning the device, stop using it and disconnect it from the power supply.
- Use a piece of soft, dry and anti-static cloth to clean the device.
- Keep the power plug clean and dry. Using a dirty or wet power plug may lead to electric shock or other perils.

ENVIRONMENTAL RECYCLING
natural_image
Simple line drawing of a trash bin with two crossed lines indicating no waste or prohibition (no text or symbols)Never dispose of the device with domestic waste
Ask your Town Council about how to dispose of it in an environmentally friendly way. The cardboard box, plastic packaging and player components may be recycled in accordance with prevailing recycling regulations in your country.
Always adhere to prevailing regulations
Those who fail to do so may be fined or prosecuted in accordance with the law. The crossed out garbage can that appears on the device means that when it has reached the end of its useful life, it should be taken to a special waste disposal centre and treated separately to general urban waste.

Troubleshooting
The unit cannot supply power to Yealink device.
There is a bad connection with the plug.
-
Clean the plug with a dry cloth.
-
Connect it to another wall outlet.
The usage environment is out of operating temperature range.
- Use in the operating temperature range.
The cable between the unit and the Yealink device is connected incorrectly.
- Connect the cable correctly.
You cannot connect the cable properly.
-
You may have connected a wrong Yealink device.
-
Use the correct power supply.
Some dust, etc., may be in the port.
- Clean the port.
Contact your dealer or authorized service facility for any further questions.
Contact Information
YEALINK NETWORK TECHNOLOGY CO.,LTD.
309, 3rd Floor, No.16, Yun Ding North Road, Hull District, Xiamen City, Fujian, P.R.C
YEALINK (EUROPE) NETWORK TECHNOLOGY B.V.
Strawinskylaan 3127, Atrium Building, 8th floor, 1077ZX Amsterdam, The Netherlands
YEALINK (USA) NETWORK TECHNOLOGY CO., LTD.
999 Peachtree Street Suite 2300, Fulton, Atlanta, GA, 30309, USA
Made in China
Sicherheitshinweise
309, 3rd Floor, No. 16, Yun Ding North Road, Huli District, Xiamen City, Fujian, VR China
YEALINK (EUROPE) NETWORK TECHNOLOGY B.V.
Strawinskylaan 3127, Atrium Building, 8th floor, 1077ZX Amsterdam, Niederlande
YEALINK (USA) NETWORK TECHNOLOGY CO., LTD.
999 Peachtree Street Suite 2300, Fulton, Atlanta, GA, 30309, USA
natural_image
Symbol of a trash bin with crossed lines indicating no waste or discharge, and a solid black rectangle below (no text or labels)309, 3rd Floor, No.16, Yun Ding North Road, Huli District, Xiamen City, Fujian, Chine
YEALINK (EUROPE) NETWORK TECHNOLOGY B.V.
Strawinskylaan 3127, Atrium Building, 8th floor, 1077ZX Amsterdam, Pays-Bas
YEALINK (USA) NETWORK TECHNOLOGY CO., LTD.
999 Peachtree Street Suite 2300, Fulton, Atlanta, GA, 30309, Etats-Unis
Fabrique en Chine
309, 3rd Floor, No.16, Yun Ding North Road, Huli District, Xiamen City, Fujian, Repubblica
Popolare cinese
YEALINK (EUROPE) NETWORK TECHNOLOGY B.V.
Strawinskylaan 3127, Atrium Building, 8th floor, 1077ZX Amsterdam, Paesi Bassi
YEALINK (USA) NETWORK TECHNOLOGY CO., LTD.
999 Peachtree Street Suite 2300, Fulton, Atlanta, GA. 30309, USA
Made in China
About Yealink
Yealink (Stock Code: 300628) is a global brand that specializes in video conferencing, voice communications and collaboration solutions with best-in-class quality, innovative technology and user-friendly experience. As one of the best providers in more than 140 countries and regions, Yealink ranks No.1 in the global market share of SIP phone shipments (Global IP Desktop Phone Growth Excellence Leadership Award Report, Frost & Sullivan, 2019).
Technical Support
Visit Yealink WIKI (http://support.yealink.com/) for firmware downloads, product documents, FAQ, and more. For better service, we sincerely recommend you to use Yealink Ticketing system (https://ticket.yealink.com) to submit all your technical issues.