IAN 103988 - Balance bike Playtive - Free user manual and instructions
Find the device manual for free IAN 103988 Playtive in PDF.
User questions about IAN 103988 Playtive
0 question about this device. Answer the ones you know or ask your own.
Ask a new question about this device
Download the instructions for your Balance bike in PDF format for free! Find your manual IAN 103988 - Playtive and take your electronic device back in hand. On this page are published all the documents necessary for the use of your device. IAN 103988 by Playtive.
USER MANUAL IAN 103988 Playtive
Instructions for use
图
SPRINGCYKEL
Bruksanvising
()
DRAISIENNE
Nose d'utilisation
LAUPAD
Bedienungsanleitung
A
POTRUPYORA
Kayloohie
D
LObecykel
Brugervelledning
ML
LOOPFIETS
Gebruksaonwijzing


中
Before reading, hold out the ilustrative page and get to know all of the functions of your unit.
Emn IokmstkkiyBshjaen binae noi hatao sjokkaan kaitcn kalkin teimtohbin.
(1)
Öpplən sidam mad erklaringarnim iin da laser manuacne och gird radan baskar mad alla suprastruus funkturum.
图
Krip akri mud fluviatrnnnco aninck laeane nng aeg gag alfeolpgd hnrllg mad cirh coopertets floridnes.
f 1
Ioppoeil
GS/IE Instructions and Safety Notice Page 08
Fl Kiyto in nrgnolus-oeet Snu 11
Contents/Parts Description 8
Technical Data 8
Intended Use 8
Safety Instructions 8-9
Risk of injury 8
Safety instructions for use 9
Assembly 9
Install mudguard 9
Install front wheel 9
Install frame 9
Install basket 9
Install handlebar 9
Install saddle 9
Install protective handlebar cushion 9
Sticker set 9
Settings 10
Handlebar height 10
Saddle height 10
Brake 10
Care, storage, maintenance 10
Disposal Instructions 10
3 years warranty 10
SE
Montering of kurven 18
Montering of styret 18
i Congratulations! With your purchase you have decided on a high-quality product. Get to know the product before you start to use it. Carefully read the following instructions for use.Use the product only as described and only for the given areas of application. Keep these instructions safe.When passing the product on to a third party, always make sure that the documentation is included.
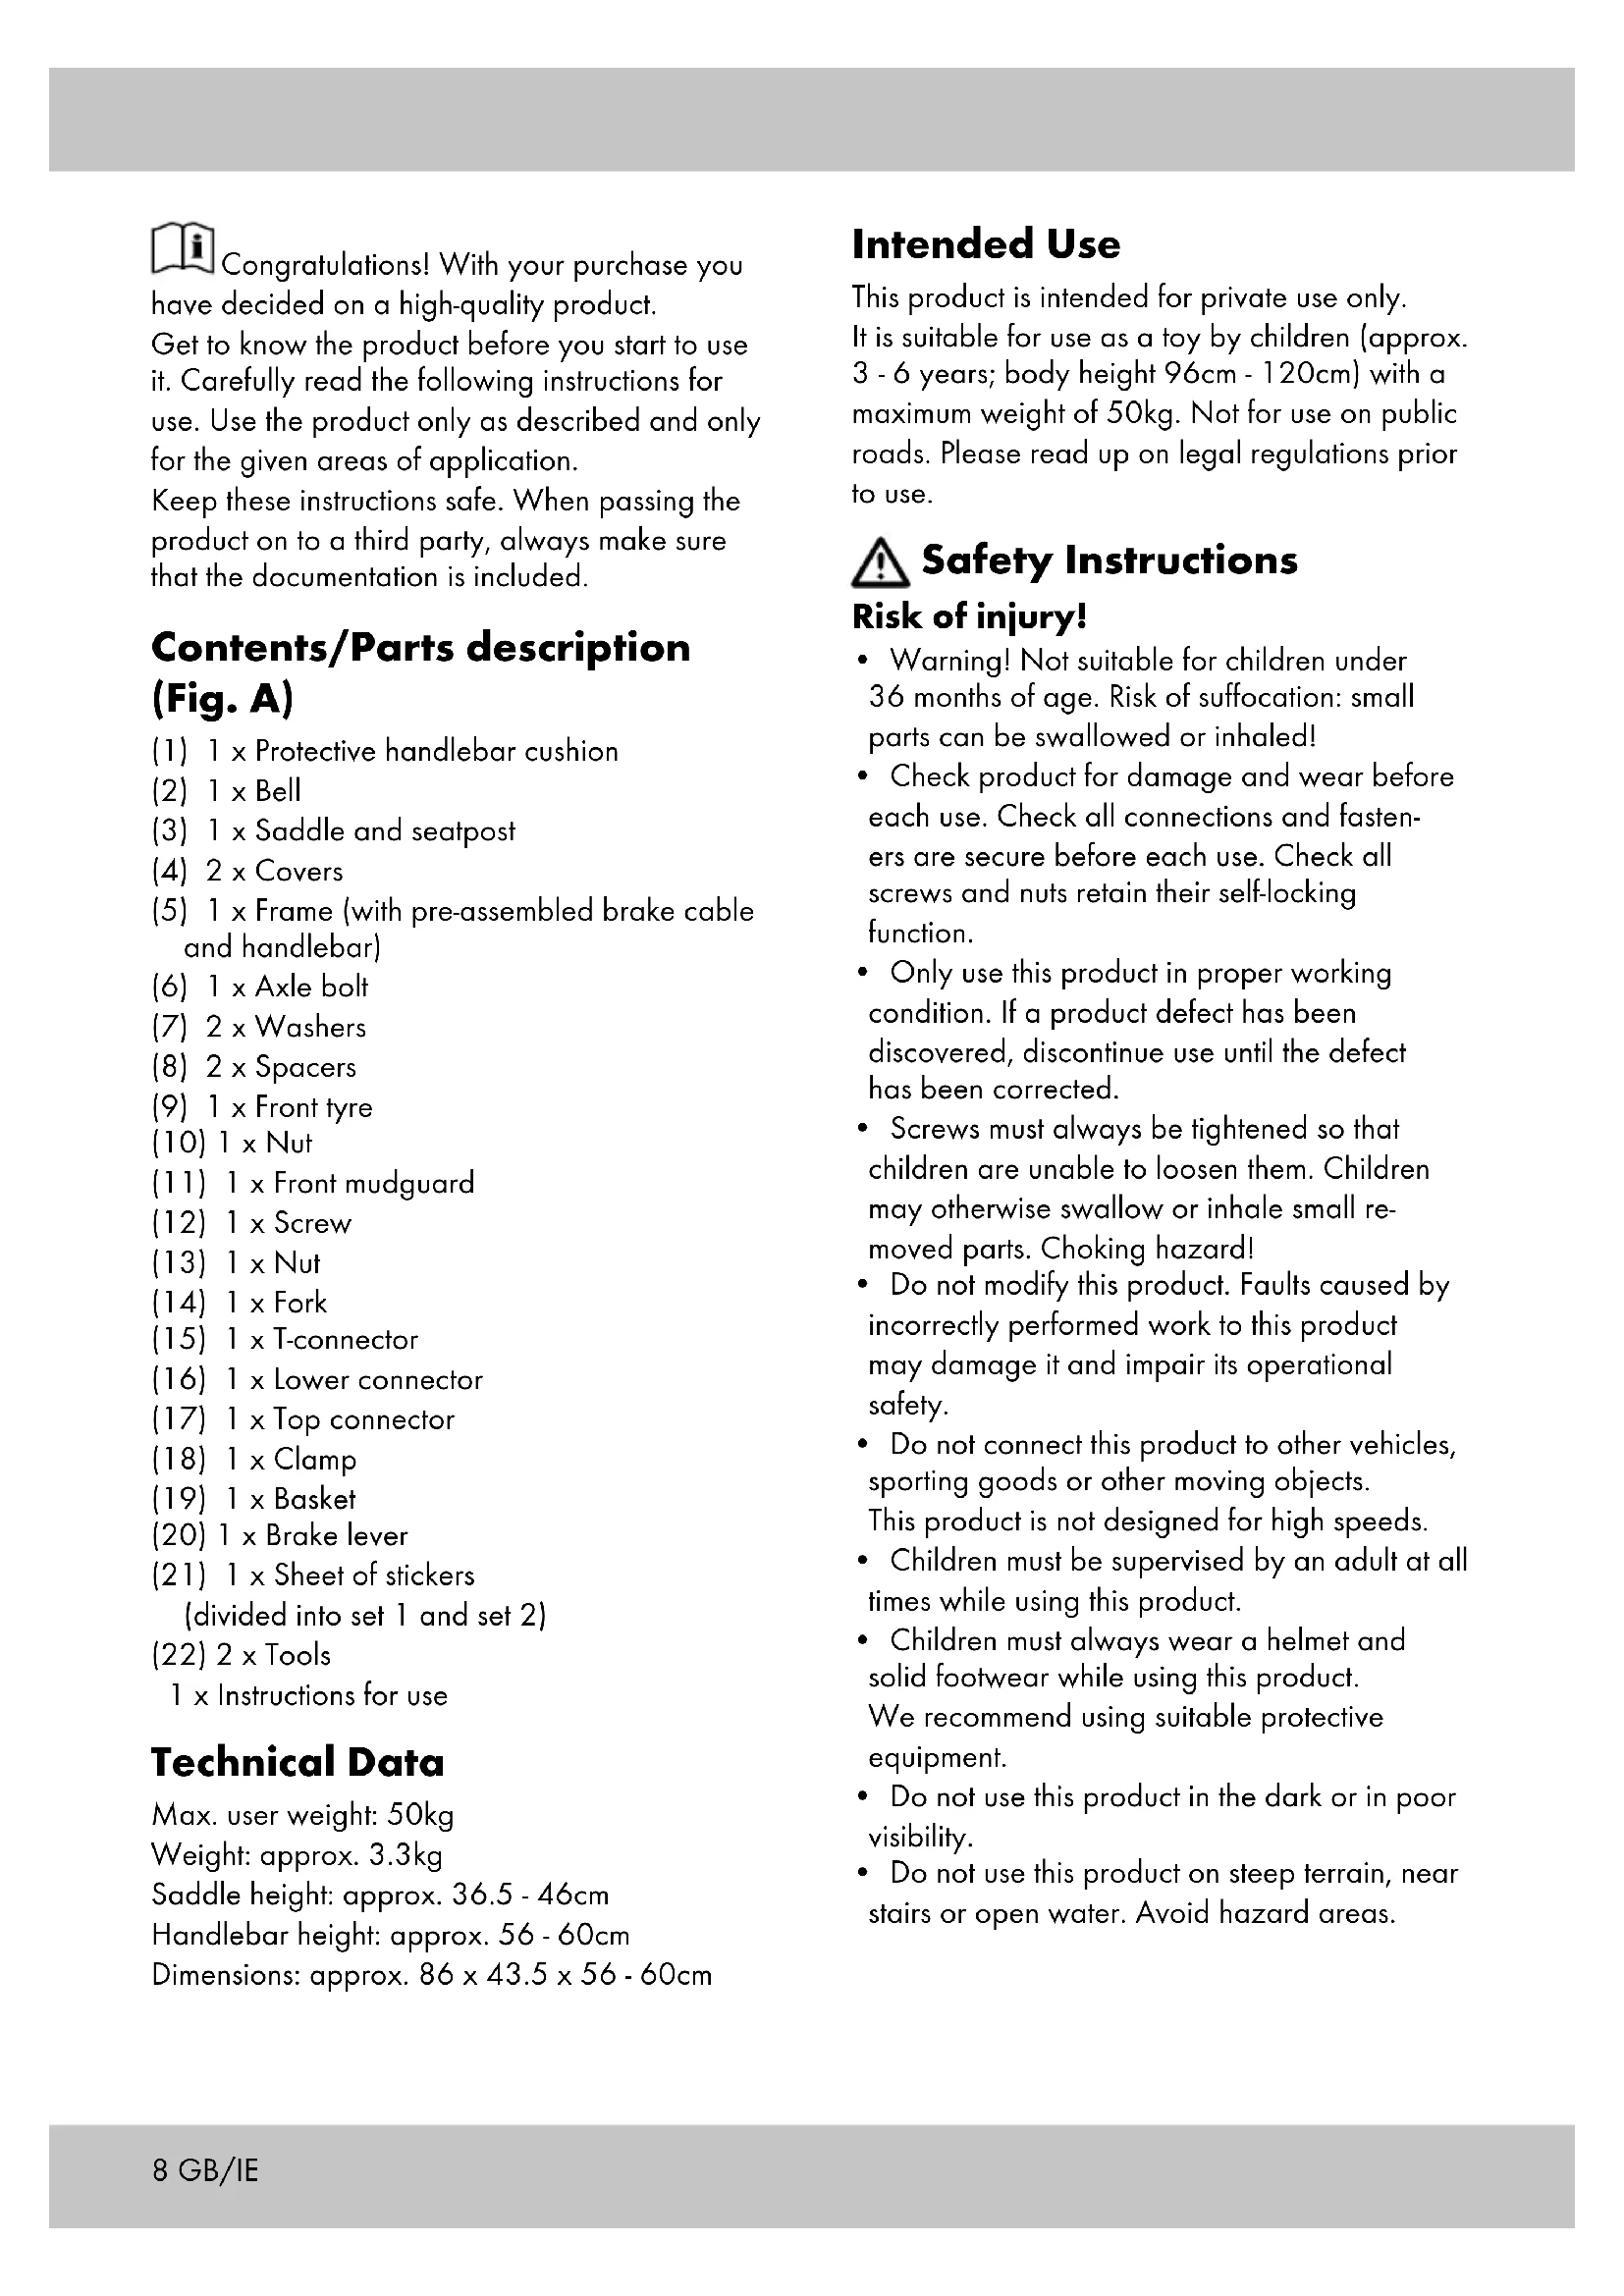
Contents/Parts description (Fig. A)
(1) 1 × Protective handlebar cushion
(2) 1 × Bell
(3) 1 × Saddle and seatpost
(4) 2 × Covers
(5) 1 × Frame (with pre-assembled brake cable and handlebar)
(6) 1 × Axle bolt
(7) 2 × Washers
(8) 2 × Spacers
(9) 1 x Front tyre
(10) 1 × N_ut
(11) 1 × Front mudguard
(12) 1 × Screw
(13) 1 × Nut
(14) 1 × Fork
(15) 1 × T -connector
(16) 1 × Lower connector
(17) 1 × Top connector
(18) 1 × Clamp
(19) 1 × Basket
(20) 1 × Brake lever
(21) 1 × Sheet of stickers (divided into set 1 and set 2)
(22) 2 × Tools
1 x Instructions for use
Technical Data
Max. user weight: 50kg
Weight: approx. 3.3kg
Saddle height: approx. 36.5 - 46cm
Handlebar height: approx. 56 - 60cm
Dimensions: approx. 86 × 43.5 × 56 - 60cm
Intended Use
This product is intended for private use only. It is suitable for use as a toy by children (approx. 3 - 6 years; body height 96cm - 120cm ) with a maximum weight of 50kg . Not for use on public roads. Please read up on legal regulations prior to use.
Safety Instructions
Risk of injury!
- Warning! Not suitable for children under 36 months of age. Risk of suffocation: small parts can be swallowed or inhaled!
- Check product for damage and wear before each use. Check all connections and fasteners are secure before each use. Check all screws and nuts retain their self-locking function.
- Only use this product in proper working condition. If a product defect has been discovered, discontinue use until the defect has been corrected.
- Screws must always be tightened so that children are unable to loosen them. Children may otherwise swallow or inhale small removed parts. Choking hazard!
- Do not modify this product. Faults caused by incorrectly performed work to this product may damage it and impair its operational safety.
- Do not connect this product to other vehicles, sporting goods or other moving objects. This product is not designed for high speeds.
Children must be supervised by an adult at all times while using this product.
Children must always wear a helmet and solid footwear while using this product. We recommend using suitable protective equipment. - Do not use this product in the dark or in poor visibility.
- Do not use this product on steep terrain, near stairs or open water. Avoid hazard areas.

Safety instructions for use
- Be aware that children are not always able to correctly assess their own abilities and certain dangerous situations. When distracted by games they are playing, children can get into hazardous situations beyond the distributor's/manufacturer's responsibility.
- Instruct children on the proper use of this product and alert them to potential risks.
Children must be able to control braking at all times. Practice braking by foot and by brake before using the product. - Smooth surfaces are slip hazards. Remember that using this product always involves the risk of collisions.
Assembly

CAUTION!
The product must always be assembled by an adult.

CAUTION!
Keep children away from the product and packing materials during assembly. Small parts which could be swallowed or inhaled and plastic bags may present choking hazards.
1. Install mudguard
Attach the front mudguard (11) to the fork (14) with screw (12) and nut (13) (Fig. B).
Ensure the slot on the fork is facing the longer side of the mudguard.
2. Install front wheel
Attach the front wheel (9) to the fork with 2 × spacers (8), 2 × washers (7) and the axle screw (6) (Fig. C).
3. Install the frame
3a) Attach the T-connector (15) to the fork (Fig. D).
Ensure the slot is facing the longer side of the mudguard.
3b) Attach the lower connector (16) to the fork (Fig. E).
Ensure it is slotted securely to the T-connector.
3c) Attach the frame (5) to the fork (Fig. F). Ensure it is slotted securely.
3d) Attach the top connector (17) to the fork (Fig. G).
4. Install basket
Attach the basket (19) to the fork (Fig. H).
5. Install handlebar
5a) Attach the clamp (18) to the fork (Fig. 1). Ensure slotted securely.
5b) Attach a cover (4) to the handle tube (Fig. J).
5c) Insert the handle tube into the fork (Fig. K). Please note the maximum extension marking.
Use the tool (22) to tighten the nut on the clamp and slide the cover over the clamp.
6. Install saddle
6a) Attach a cover to the saddle with seatpost (3) (Fig. L).
6b) Insert the seatpost into the opening on the frame (Fig. M).
Please note the maximum extension marking.
Tighten the nut with the tool to secure the saddle, then slide the cover over the nut.
7. Install protective handlebar cushion
Attach the protective handlebar cushion (1) to the handlebar with the hook and loop fastener (Fig. N).
8. Sticker Set
Apply the sticker set 1 or set 2 (21) in the specified locations (Fig. O).
Settings
Handlebar height
Please note the maximum extension.
Slide up the cover. Loosen the clamp until you are able to slide the handlebar up and down and adjust the handlebar to the correct height. Tighten the clamp, then slide the cover over the clamp (Fig. P).
Saddle height
Note:
The seat is at the right height when the child is able to safely touch the ground with his/her feet.
Please note the maximum extension.
Slide up the cover. Loosen the nut until you are able to slide the seat up and down and adjust the seat to the correct height. Tighten the nut and slide the cover back down (Fig. Q).
Brake
Brake handle
The maximum distance from the handle to the brake handle is 60mm . Adjust the distance between the brake handle (20) and the handle by adjusting the locking screw (Fig. R).
Brake force
CAUTION!
The brake force must be adjusted so that the rear wheel runs freely when the brake lever is released and is blocked when applied.
Press the brake arm (S1) in the direction of the arrow. Turn the adjusting and locking nut (S2) counter clockwise to reduce the braking force, turn the adjusting and locking nut clockwise to increase the braking force (Fig. S).
Care, storage, maintenance
We recommend thoroughly cleaning the product with water after use.
IMPORTANT! Clean with water only, never with harsh cleaning agents. Wipe dry with a cleaning cloth. Always store the dry and clean product in a temperate room. Apply a drop of oil to the bearing bushings on the handlebar and wheels every 3 months.
Disposal Instructions
Please dispose of packaging and product in an environmentally friendly manner! Dispose of product through an approved disposal facility or through your local council. Please note the recycling regulations in your area.
3 years warranty
The product was produced with great care and under constant supervision. You receive a three-year warranty for this product from the date of purchase. Please retain your receipt.
The warranty applies only to material and workmanship and does not apply to misuse or improper handling. Your statutory rights, especially the warranty rights, are not affected by this warranty.
With regard to complaints, please contact the following service hotline or contact us by e-mail.
Our service employees will advise as to the subsequent procedure as quickly as possible.
We will be personally available to discuss the situation with you.
Any repairs under the warranty, statutory guarantees or through goodwill do not extend the warranty period. This also applies to replaced and repaired parts. Repairs after the warranty are subject to a charge.
IAN:103989
GB Service Great Britain
Tel.: 0871 5000 720 (£ 0.10/Min.)
E-Mail: deltasport@lidl.co.uk
IE Service Ireland
Tel.: 1890 930 034
(0,08 EUR/Min., (peak))
(0,06 EUR/Min., (off peak))
E-Mail: deltasport@lidl.ie
You can also find spare parts for your product at:
www.delta-sport.com, category Service - Lidl Spare Parts
Service
www.delta-sport.com, rubiek Service - reserve