DIOBELLB01 - Doorbells DIO - Free user manual and instructions
Find the device manual for free DIOBELLB01 DIO in PDF.
| Product type | Connected doorbell with camera |
| Brand | DIO |
| Model | DIOBELLB01 |
| Dimensions (doorbell) | 65 x 125 x 35 mm |
| Doorbell power supply | 4 AA batteries (not included) |
| Chime power supply | 2 AA batteries (not included) |
| Camera resolution | 2 megapixels |
| Viewing angle | 140° |
| Audio | Two-way (built-in microphone and speaker) |
| Connectivity | WiFi 2.4 GHz, range up to 30 m (depending on conditions) |
| Network protocols | TCP/IP, HTTP, DHCP, DNS, RTSP |
| Wireless security | WPA-PSK/WPA2-PSK, AES128 encryption |
| Protection rating | IP54 (splash and dust resistant) |
| Operating temperature | -20°C to 50°C (doorbell), 0°C to 35°C (chime) |
| Chime frequency | 433,92 MHz |
| Standby consumption (chime) | ≤ 600 µA |
| Mobile application | DiO One (iOS and Android) |
| Maintenance and cleaning | Clean with a soft, dry cloth. Avoid pressurized water. |
| Spare parts and repairability | Standard AA batteries. For other parts, contact Chacon support. |
| General information | Household use only. Compliant with CNIL regulations for video surveillance. |
Frequently Asked Questions - DIOBELLB01 DIO
User questions about DIOBELLB01 DIO
0 question about this device. Answer the ones you know or ask your own.
Ask a new question about this device
Download the instructions for your Doorbells in PDF format for free! Find your manual DIOBELLB01 - DIO and take your electronic device back in hand. On this page are published all the documents necessary for the use of your device. DIOBELLB01 by DIO.
USER MANUAL DIOBELLB01 DIO
1. Registering your warranty
To register your warranty, fill in the online form at www.chacon.com/ warranty
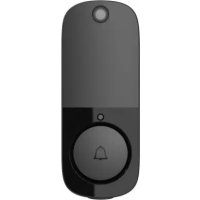
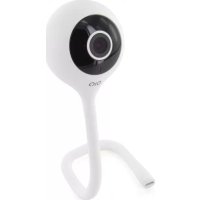
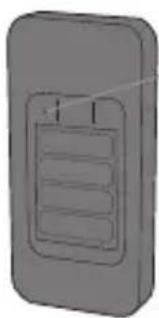
2. Description of the product

Doorbell
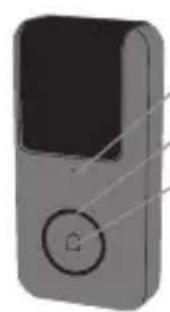
Micro
LED indicator
Button
DiOBELL-B01

Lens
Micro
LED indicator
Button
DiOBELL-BO2
Reset button
Note
In order to reset the device, press and hold the reset button for 5 seconds.
The doorbell rings when the process is complete.
DiOBELL-B01 + B02
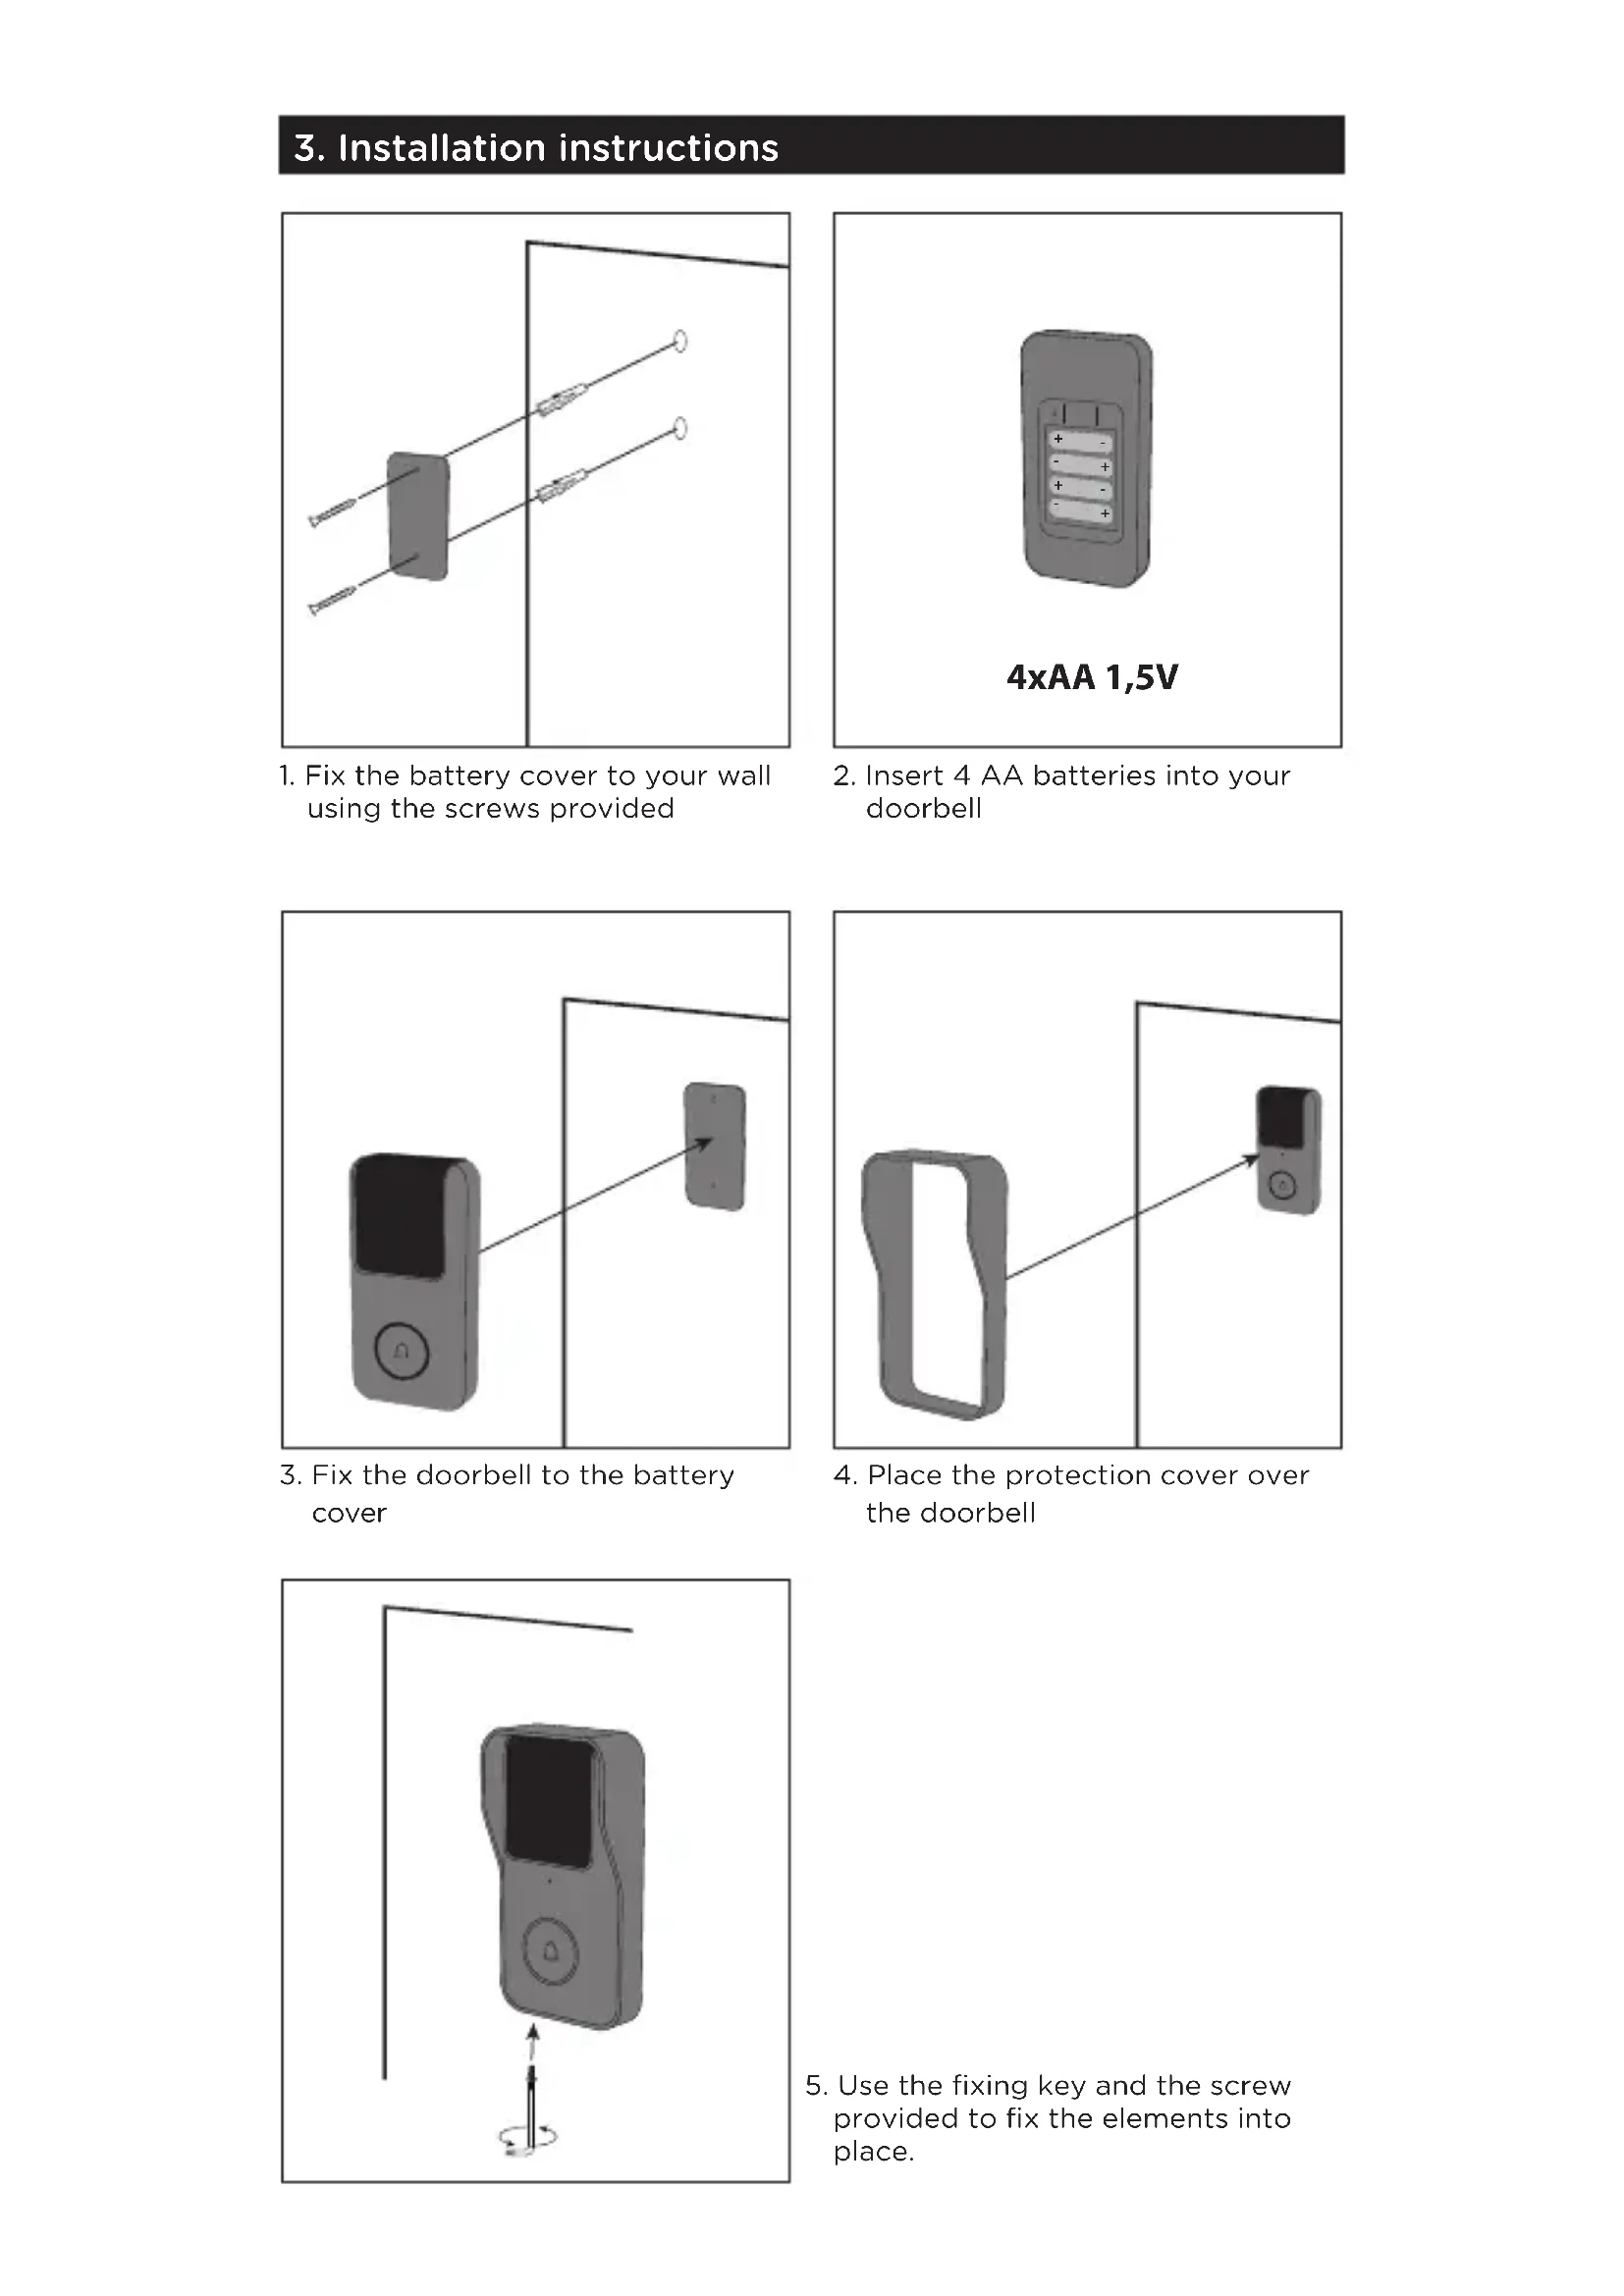
3. Installation instructions
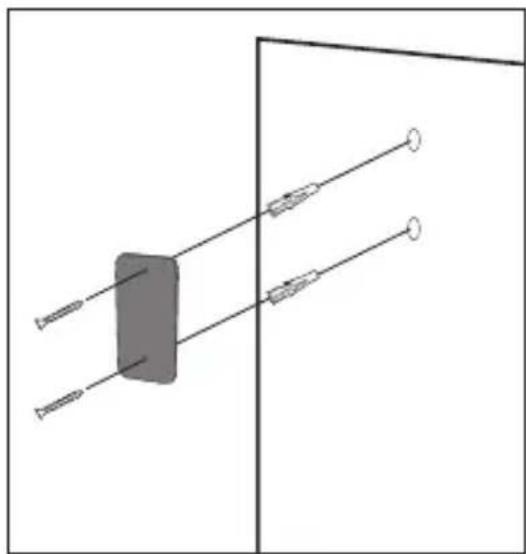
1. Fix the battery cover to your wall using the screws provided
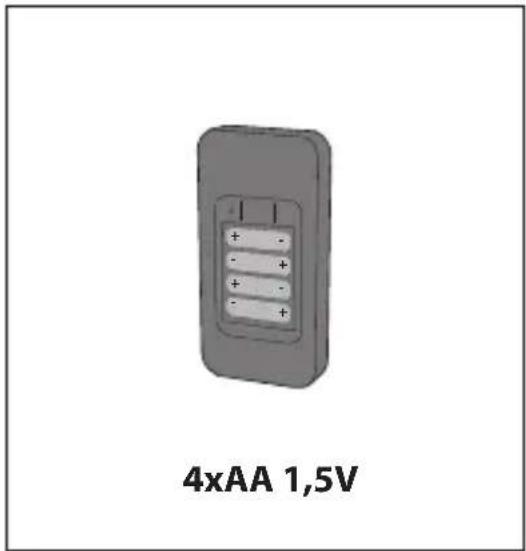
2. Insert 4 AA batteries into your doorbell
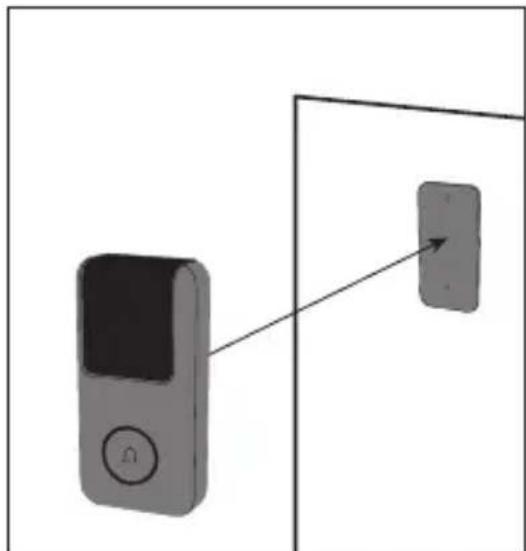
3. Fix the doorbell to the battery cover
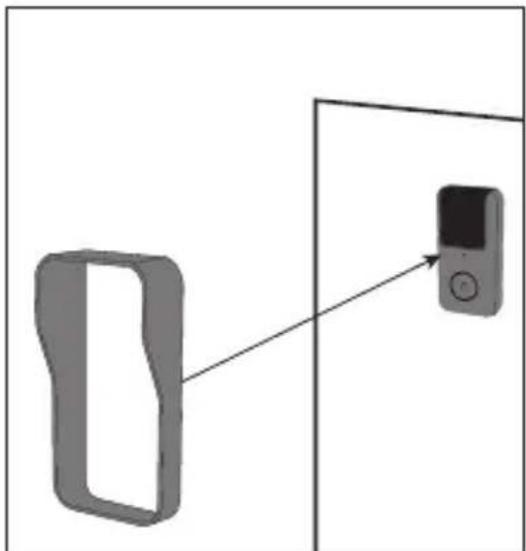
4. Place the protection cover over the doorbell
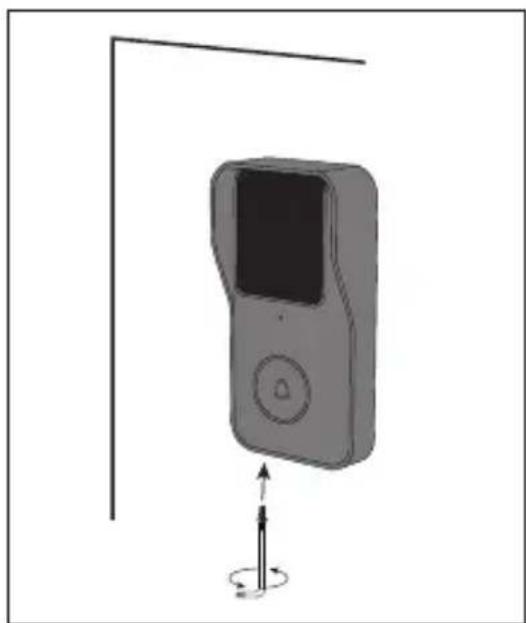
5. Use the fixing key and the screw provided to fix the elements into place.
Note
In order to reset the device, press and hold the reset button for 5 seconds.
The doorbell rings when the process is complete.
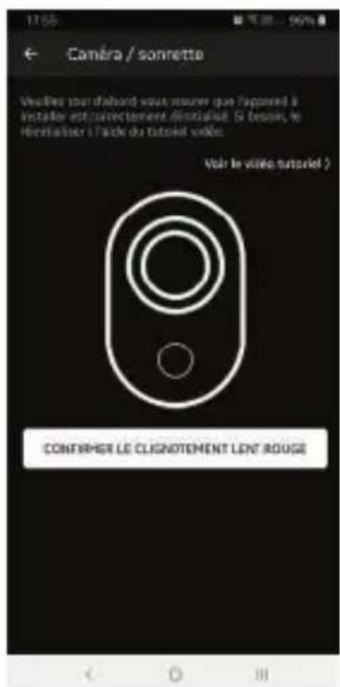
| Flashing red light (slow) Waiting for | configuration |
| Flashing red light (fast) Searching for WiFi | WiFi |
| Constant blue light Camera connected to WiFi | to WiFi |
| Flashing blue light Access point mode |
4. Configuring the doorbell
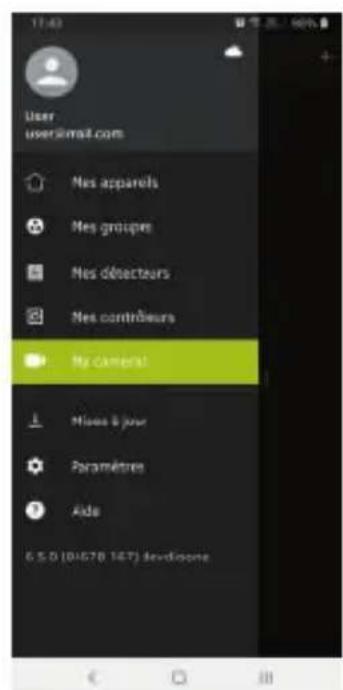
A. Adding the doorbell in the app
Step 1 Connect your smartphone to the WiFi network
Step 2 Download the DiO one app from the Apple Store or the Android Play Store, depending on your device.
Step 3 Run the DiO one app and register when you use it for the first time.
Step 4 Follow the steps described in the app to add your doorbell.
Note: Only Wi-Fi access point mode is available for the DIOBELL-B01, please follow the on-screen instructions for pairing.

Note
- If you have multiple doorbells, please repeat step 4 to add them one by one.
- To change the WiFi network, restore the camera's factory settings and follow step 4 to add the doorbell.
For more detailed information, you can download the user manual from www.chacon.com
B. Pairing the chime
Step 1 Insert two AA batteries into the chime
Step 2 Press the button on your doorbell within 120 seconds
5. General Conditions of Sale and Use
Specifications
| Wired doorbell | |
| Lens type 1 / 2.9” CMOS | |
| Resolution 2 megapixels | |
| Lens: 2.4 mm | |
| View angle 140° | |
| Bandwidth 16 Kbps ~ 2 Mbps | |
| Aperture 1 / 25 ~ 1 / 100,000 per second | |
| Audio Two-way | |
| Minimum luminosity 0.01 Lux@F1.2 | |
| WiFi encryption WPA-PSK/WPA2-PSK | |
| Security AES128 | |
| Operating temperature -20°C~50°C | |
| Power supply | 4 AA batteries |
| Protocols | TCP/IP, HTTP, DHCP, DNS, RTSP |
| Size (mm) | 65 x 125 x 35 |
| Protection rating | IP54 |
| Wireless chime | |
| Radio frequency | 433.92 MHz |
| Power supply | 2 AA batteries |
| Consumption in standby mode | ≤ 600 uA |
| Operating temperature 0°C~35°C | |
6. Support
www.chacon.com/support