Reference 803 - Hi-fi system Numan - Free user manual and instructions
Find the device manual for free Reference 803 Numan in PDF.
User questions about Reference 803 Numan
0 question about this device. Answer the ones you know or ask your own.
Ask a new question about this device
Download the instructions for your Hi-fi system in PDF format for free! Find your manual Reference 803 - Numan and take your electronic device back in hand. On this page are published all the documents necessary for the use of your device. Reference 803 by Numan.
USER MANUAL Reference 803 Numan
Member of Berlin Brands Group
Handwerkerstr. 11
15366 Dahlwitz-Hoppegarten
Deutschland
Berlin Brands Group UK Ltd
PO Box 1145
Oxford, OX19UW
United Kingdom
Dear customer,
Congratulations on your purchase. Please read the following instructions carefully and follow them to prevent potential damage. We accept no liability for damage caused by disregarding the instructions or improper use. Please scan the QR code to access the latest operating instructions and for further information about the product.

CONTENTS
Safety Instructions 24
Technical Data 25
Suitable amplifier 28
Accessories 31
Stand mounting 33
Mounting the speaker cover 39
Disposal Considerations 40
Manufacturer & Importer (UK) 40
SAFETY INSTRUCTIONS
General Instructions
- Lightning - If you do not use the device for a longer period of time or in the event of electrical storms, unplug the device from the power outlet or disconnect the device from the antenna connection. This prevents damage to the product due to lightning and overvoltage.
- Overloading - Do not overload electrical outlets, extension cords or integral sockets as this may result in a fire or electric shock.
- Foreign objects and liquid entry - Never push objects of any kind into the unit through openings as they may touch dangerous voltage points or short out parts that could cause a fire or electric shock. Never spill liquids of any kind on the unit.
- Repair and maintenance - Do not attempt to service this product yourself as opening or removing covers may expose you to dangerous voltages or other hazards. Leave all maintenance work to qualified service personnel.
- Damage requiring servicing - Unplug the appliance from the wall outlet and refer servicing to qualified service personnel when any of the following situations occur:
a) If the mains cable or plug is damaged.
b) If liquid has been spilled or objects have fallen onto the product.
c) If the product has been exposed to rain or water.
d) If the product has been dropped or damaged.
e) If the product has a significantly reduced performance.
- Spare parts - If spare parts are needed, make sure that the specialist company replacing the parts only uses spare parts that are approved by the manufacturer or have the same characteristics as the original part. Unauthorised substitutions may result in fire, electric shock or other hazards.
- Heat - Do not place the unit near any heat sources such as radiators, heat registers, stoves, or other products (including amplifiers).
Note: Children over 8 years as well as mentally, sensory and physically impaired persons may only use the device if they have been informed in detail about the functions and safety precautions by a supervisor responsible for them beforehand and understand the associated risks.
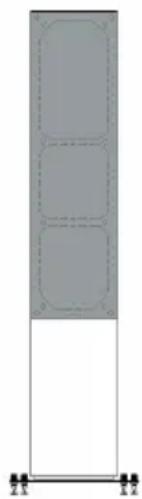
Reference 801 Standing Speaker
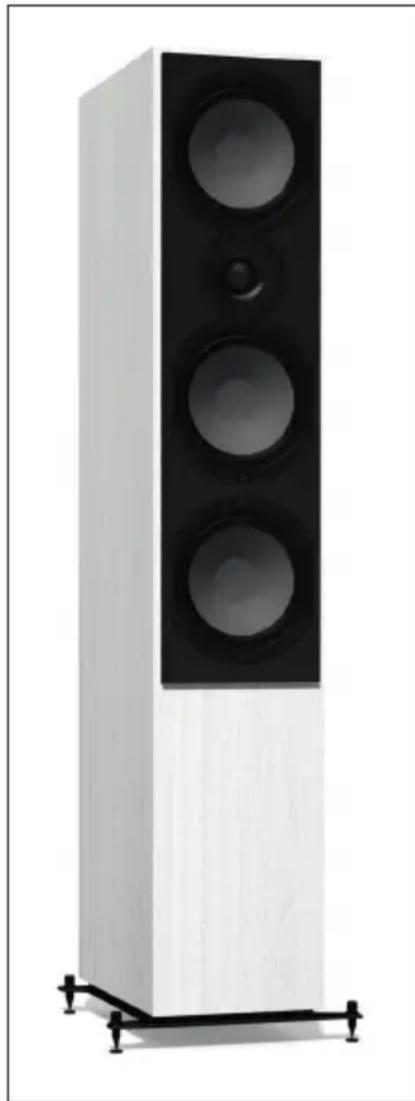
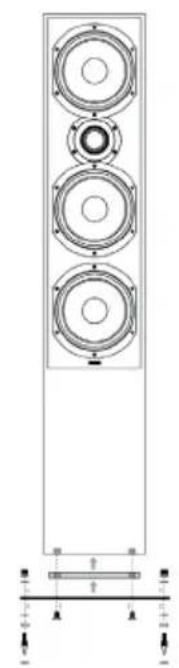
The Reference 801 is a powerful three-way floor-standing speaker with two woofers, a midrange speaker and a tweeter with integrated sound control and is perfect for HiFi and home cinema systems in rooms up to 50 - 60m^2 .We recommend free-standing installation with a distance of at least 70~cm from all walls. To enjoy the full dynamics of these speakers, we recommend a high-quality and powerful integrated amplifier, especially for the Reference 801, according to the power recommendation at the end of this manual.
| RMS output power 150 W / 300 W | |
| Resistance 4 Ω | |
| Dimensions without feet (W x D x H) 21.0 | x 32.5 x 107.0 cm |
| Weight 21.3 kg |
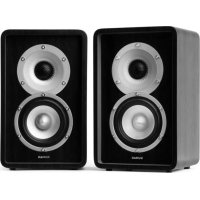
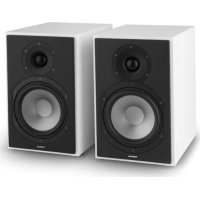
Reference 802 Shelf Speaker

The Reference 802 shelf speaker can supply rooms up to 25-30 m² with the entire frequency spectrum. For larger rooms and high listening volumes, we recommend the use of a subwoofer. Place the speaker on a stand, sturdy table or shelf, leaving about 30 cm to all sides to avoid excessive, imprecise bass response. Please also note the power recommendation for amplifiers on the last page of this manual. If you use the Reference 802 as a rear speaker, 30 watts per channel at 4 ohms is already sufficient.
| RMS output power 80 W / 120 W | |
| Resistance 4 Ω | |
| Dimensions without feet (W x D x H) 21.0 | x 30.8 x 33.1 cm |
| Weight 2 x 7.4 kg |
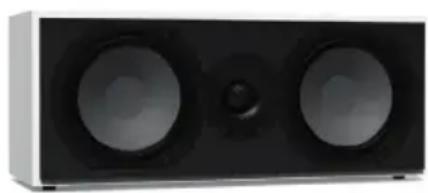
The Reference 803 is a centre speaker for home cinema systems and multi-channel music enjoyment. It offers particularly clear and nuanced speech reproduction and a surprisingly full sound and can therefore also be used as a universal mono speaker. Place the speaker on a shelf underneath or in front of your TV or hang it on the wall with solid screws and plugs.
| RMS output power 120 W / 200 W | |
| Resistance 4 Ω | |
| Dimensions without feet (W x D x H) 50.6 x 18.0 x 21.0 cm | |
| Weight 8.7 kg | |
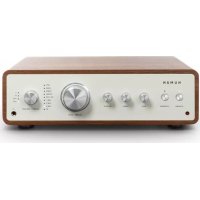
SUITABLE AMPLIFIER
The speakers of the Reference series are typical 4 ohm speakers that harmonise with any HiFi amplifier without damaging it. We recommend an amplifier with an output power according to the table below; in case of doubt, the value may also be slightly exceeded. Please note: When listening at high volumes, it is more likely to damage a speaker with an amplifier that is too low in power than with a device that "has too much power". Reference speakers can actually play music louder than many other HiFi speakers. If you still hear distortion, reduce the volume slightly.
| Model Amplifier output power | |
| 801 standing speaker 100-300 W | |
| 802 shelf speaker 100-150 W | |
| 803 centre speaker 100-200 W |
Connection Reference 801
We recommend that you use speaker cable with a diameter of at least 2.5mm^2 for the Reference 801 floor-standing speaker. The shorter the cable, the better the sound. Cables up to about 5m in length are absolutely safe to use. For a conventional connection without bi-wiring, please connect the upper and lower connection pairs with the supplied bridges as shown in the illustration.
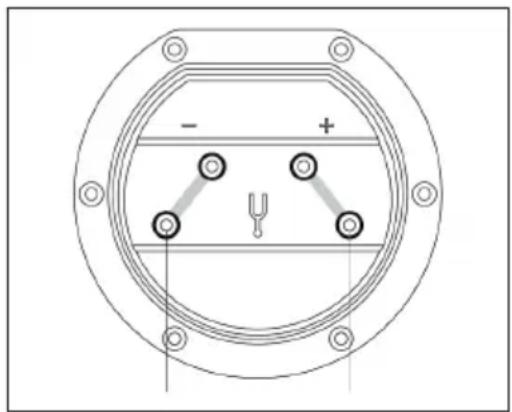
Then connect one end of your speaker cable to the two lower terminals of your speaker. Now, when connecting the other end to the amplifier, be sure to connect the PLUS terminal (usually RED) of the amplifier to the PLUS terminal of the connection panel - and MINUS (usually BLACK) to the MINUS.
Incorrect connections on individual speakers will not damage the amplifier or speakers, but the sound will seem "diffuse" and poor in low bass. Therefore, if you are dissatisfied with the sound characteristics after connecting, first check all connections!
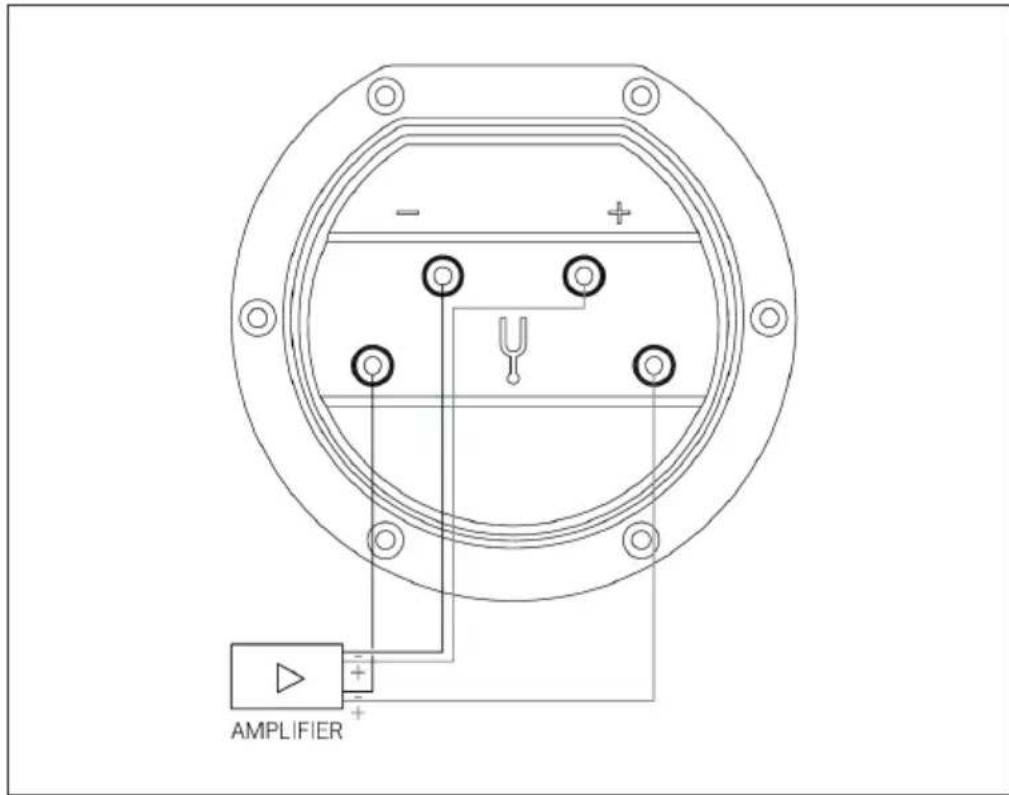
Reference 801 - Bi-Wiring (Double Wiring)
Separate speaker cables for the high/mid range and the bass range can further improve the sound of the Reference 801. If your amplifier has 2 pairs of PLUS and MINUS connectors per stereo channel that can be operated simultaneously, please connect your Reference 801 as shown in the illustration.
Connection Reference 802 & 803
We recommend that you use speaker cable with a diameter of at least 1.5 mm² for the Reference 802 bookshelf speaker or the Reference 803 centre speaker. The shorter the cable, the better the sound. Cables up to about 5 m in length are absolutely safe to use.
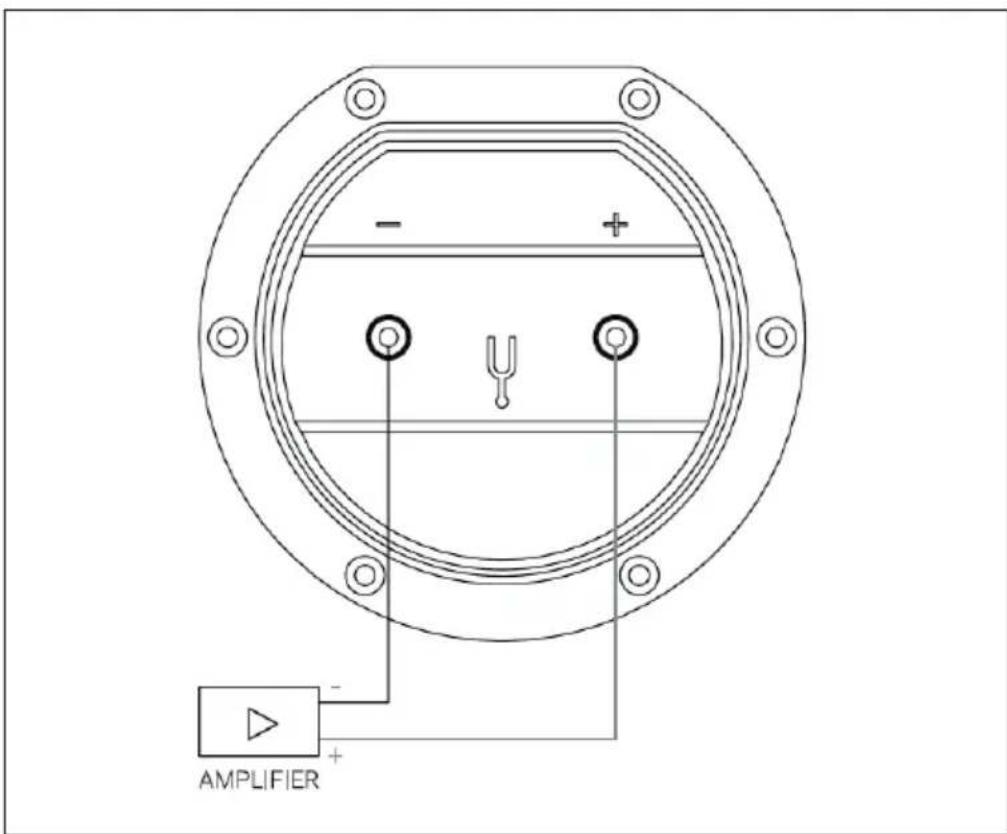
Please first connect one end of your cable to the two terminals on your speaker. Then when you connect the other end to the amplifier, please make sure to connect the PLUS terminal (usually RED) of the amplifier to the POSITIVE terminal of the connection panel - and NEGATIVE (usually BLACK) to NEGATIVE.
Incorrect connections on individual speakers will not damage your amplifier or your speakers, but the sound will seem "diffuse" and lack in bass at the same time. Therefore, if you are dissatisfied with the sound characteristics after connecting, first check all connections!
Feet
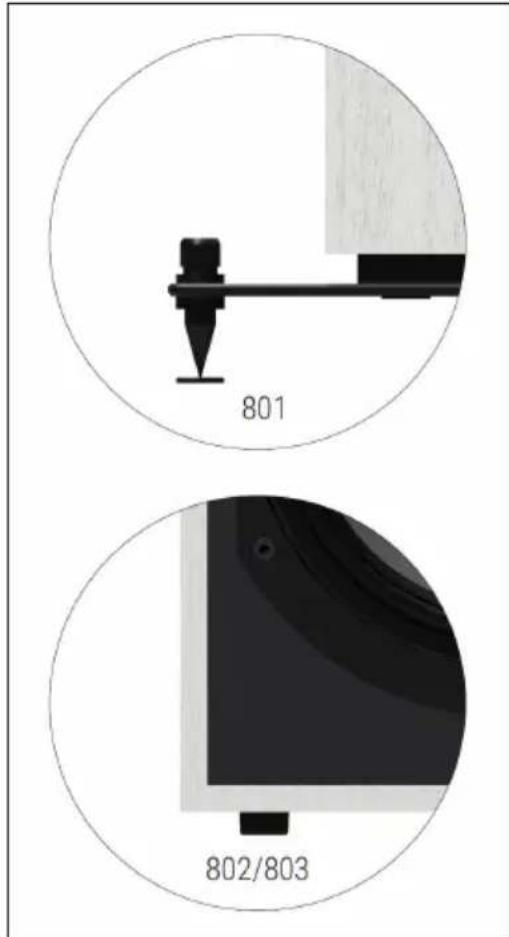
Reference 801:
For optimal sound and a firm stand, a stand with spikes is included.
Reference 802/803
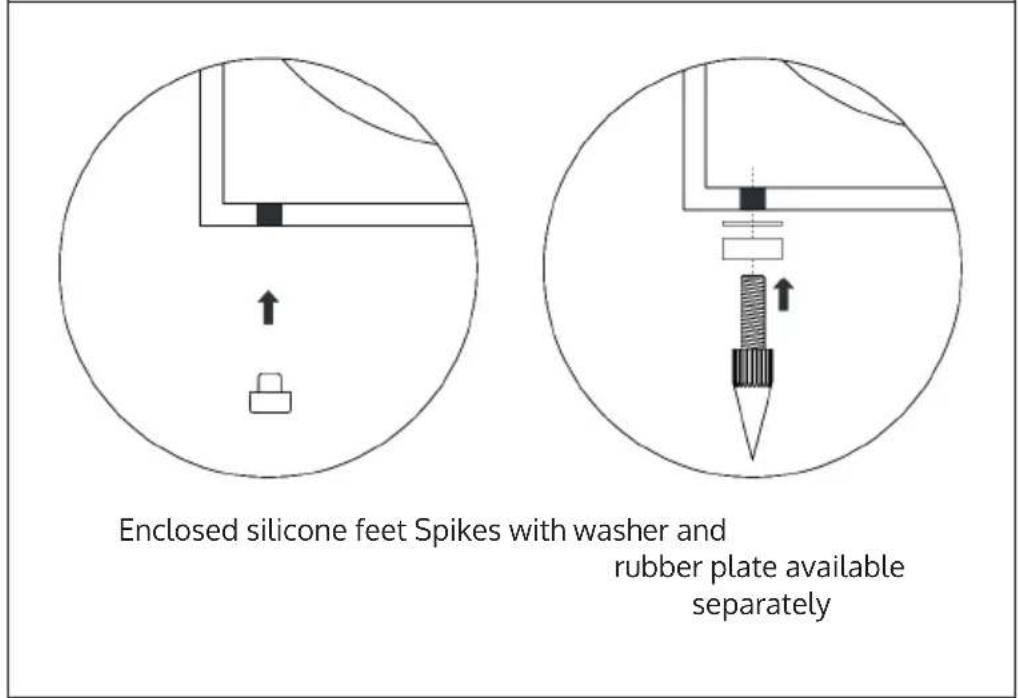
These speakers are supplied with silicone feet. These inhibit vibrations and thus have a vibration-decoupling effect. If necessary, you can replace the silicone feet with spikes with an M8 thread (additional spikes are not included).
Speaker covers
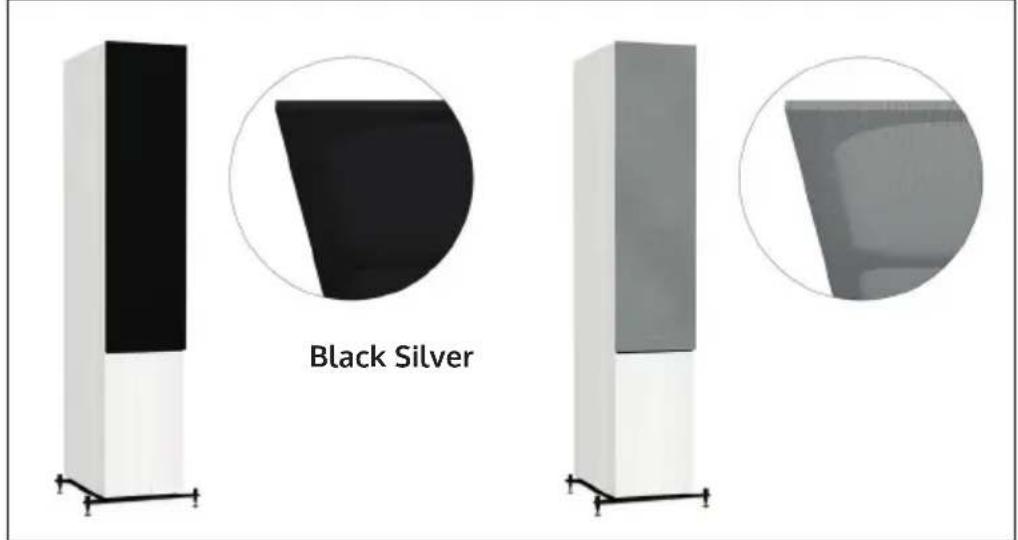
When you purchase Reference speakers, you will receive covers with a magnetic mounting system in the colour of your choice. You can easily attach these if necessary.

STAND MOUNTING
Stand mounting Reference 801
| Mandrel nut Rubber plate with protective film Washer Mandrel Base plate | The following shows one way to mount the stand securely. Please observe the sequence and the respective tips for the assembly steps. At least TWO PEOPLE are required for safe assembly. Caution: Risk of injury and damage! The spikes are very sharp, you can hurt yourself or damage your floor. |
Remove the protective film from the rubber plates (A) and mount the feet as shown (B).
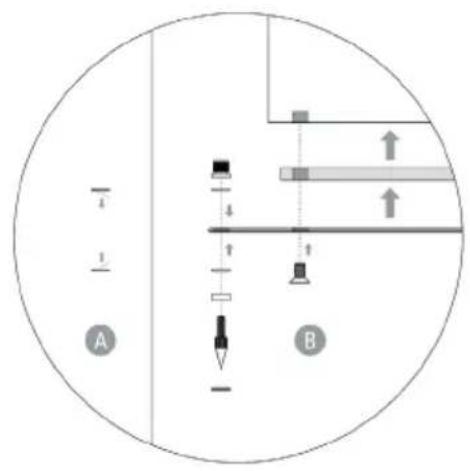
| 1 | Before mounting the Reference 801, please place a suitable underlay on a table to protect it and have two people place the speaker on one side. |
| 2 | Please place the metal and wooden base plates on top of each other with the holes as shown on the left (B) and then screw both plates to the housing. Use the enclosed Allen key for this purpose. |
| 3 | After mounting the base plate, place the speaker in the correct position in the room on a ceiling. You can still easily push the Reference 801 to its final position. |

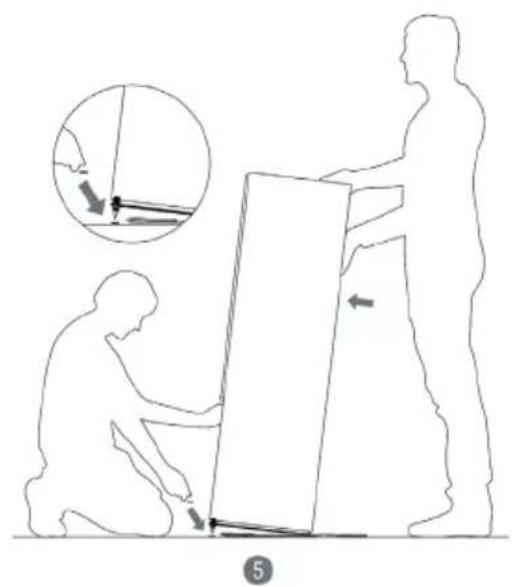
| 4 | Tilt the speaker slightly towards one of the edges (front edge/rear edge). Mount the spikes according to the illustration |
| 5 | Then place the speaker with the two mounted spikes on the two spike protection plates on the floor (push the base back a little). |
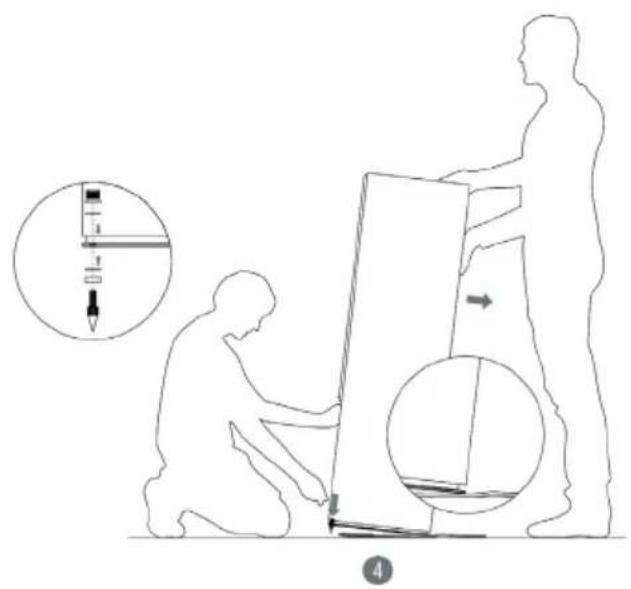
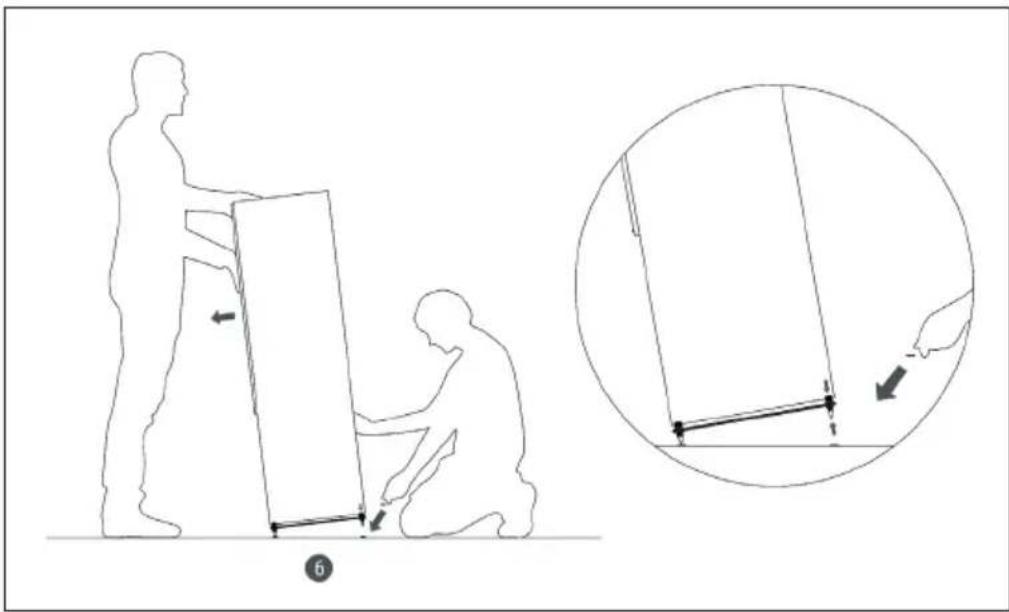
6 Repeat steps 4 and 5 for the remaining spikes. By adjusting the spikes, you can compensate for any uneven ground.
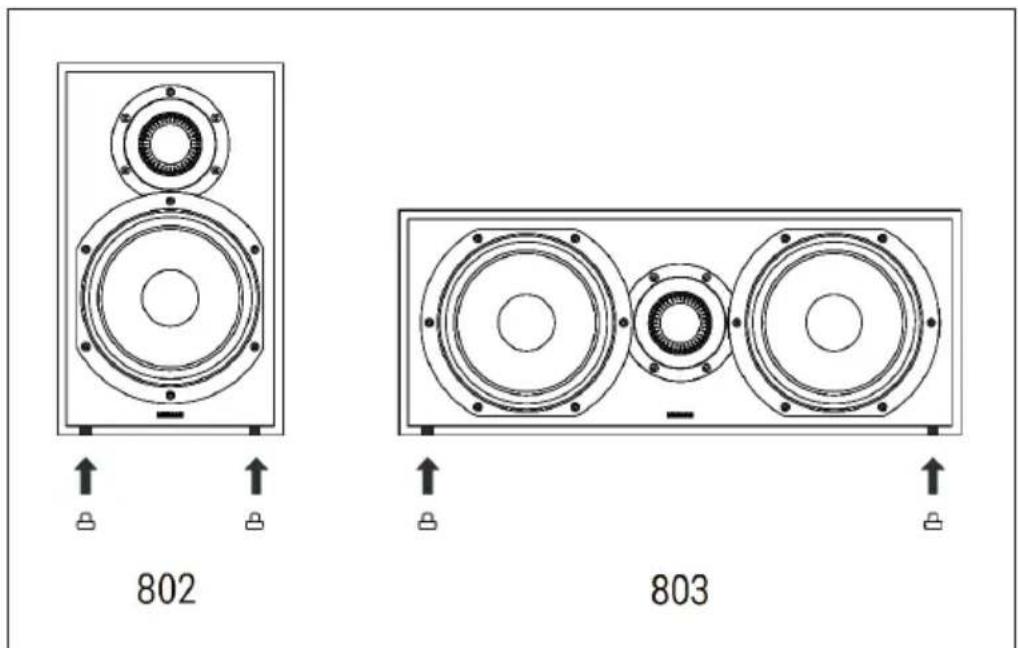
Feet mounting Reference 802 & 803
Please mount the enclosed silicone feet by screwing them lightly into the M8 insert. The silicone feet can also be replaced with separately available spikes if required.
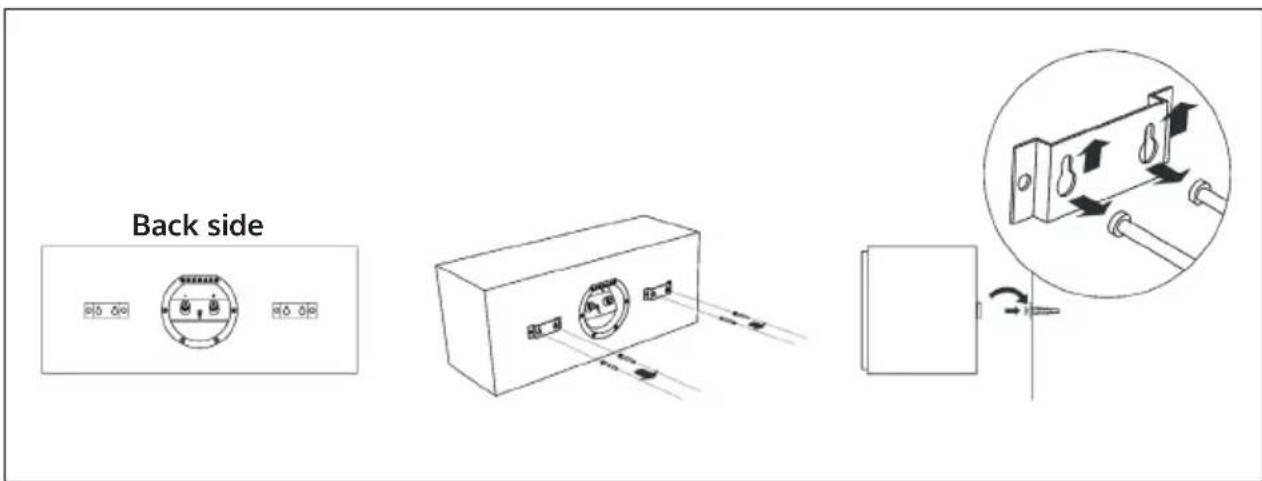
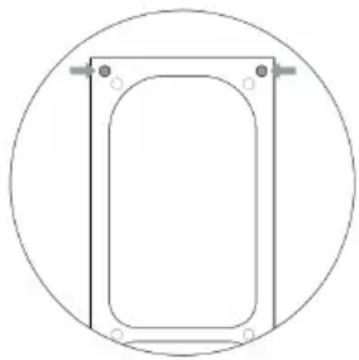
Wall mounting Reference 803
You can also mount the Reference centre speaker 803 on the wall with solid screws and plugs. Please follow the illustration below. Hang the Reference centre 803 on the wall.
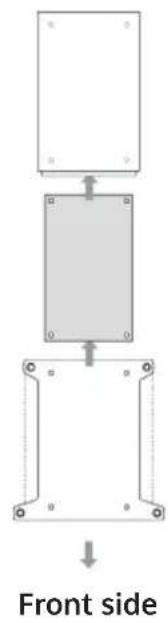
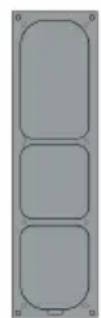
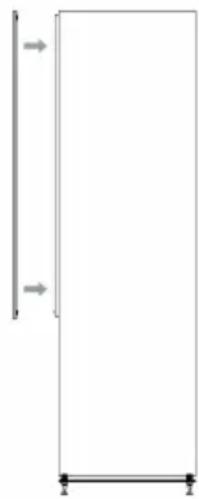
MOUNTING THE SPEAKER COVER
| 1 Enclosed rubber plates serve to protect the baffle. | |
| 2 | The magnetic mounting system should make installation easy. If the covers are fitted correctly (top/bottom), they "snap" into place. Please check that the covers are securely seated on the housing. |
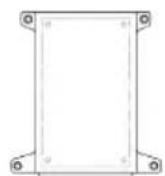
Rear view cover with rubber plate
1
Rear view cover Rear view cover
2
DISPOSAL CONSIDERATIONS

If there is a legal regulation in your country regarding the disposal of electrical and electronic equipment, this symbol on the product or on the packaging indicates that this product must not be disposed of with household waste. Instead, it must be taken to a collection point for the recycling of electrical and electronic equipment. By disposing of this product in accordance with the regulations, you protect the environment and the health of those around you from negative consequences. For information on recycling and disposal of this product, contact your local government or household waste disposal service.
MANUFACTURER & IMPORTER (UK)
Manufacturer:
Chal-Tec GmbH, Wallstraße 16, 10179 Berlin, Germany.
Importer for Great Britain:
Berlin Brands Group UK Ltd
PO Box 1145
Oxford, OX1 9UW
United Kingdom
Estimado cliente:
Berlin Brands Group UK Ltd
PO Box 1145
Oxford, OX1 9UW
United Kingdom
Cher client, chere clientele,
Berlin Brands Group UK Ltd
PO Box 1145
Oxford, OX1 9UW
United Kingdom
Gentile clientele,
PRODUTTORE E IMPORTATORE (UK)
Produtlore:
Chal-Tec GmbH, Wallstraße 16, 10179 Berlin, Germania.
Berlin Brands Group UK Ltd
PO Box 1145
Oxford, OX1 9UW
United Kingdom