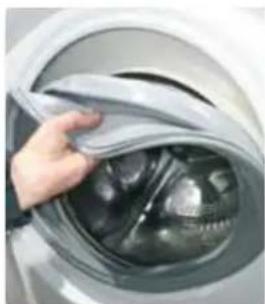
RTXSG47TMCRE16 - Washing machine HAIER - Free user manual and instructions

Find the device manual for free RTXSG47TMCRE16 HAIER in PDF.
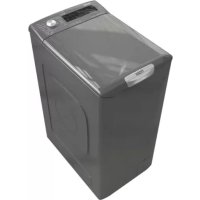
HAIER RTXSG47TMCRE16 - Washing machine
📄 86 pages English EN Download 💬 AI Question 10 questions ⚙️ Specs
Notice HAIER RTXSG47TMCRE16 - page 22
Pick your language and provide your email: we'll send you a specifically translated version.
Product type Washing machine
Brand Haier
Model RTXSG47TMCRE16
Washing capacity 7 kg (estimated)
Maximum spin speed 1200 rpm (estimated)
Dimensions (W x D x H) 60 x 55 x 85 cm (estimated)
Net weight 65 kg (estimated)
Power supply 230 V / 50 Hz / 10 A
Energy class A (estimated)
Annual water consumption 9900 L (estimated)
Noise level (wash/spin) 56 dB / 76 dB (estimated)
Wash programs Main wash, prewash, rinse, spin, special programs (estimated)
Special functions Delay start, child lock, stop on drain (estimated)
Door type Door lock with emergency release
Door gasket Removable gasket with clamping rings
Detergent drawer Retractable drawer with snap-on front
Cleaning Clean the gasket, drum and detergent drawer regularly
Maintenance Check filters, hoses and door gasket
Spare parts Door gasket, door lock, hinge, detergent drawer available
Repairability Repairability index: 8.2/10 (estimated)
Number of pages in manual 86 pages

Frequently Asked Questions - RTXSG47TMCRE16 HAIER

How to install my Haier RTXSG47TMCRE16 washing machine?
Place the machine on a flat and stable surface. Remove the transport bolts located at the back. Connect the water inlet and drain hose, then plug in the power cord. Refer to the manual for more details.
What programs are available on this model?
Programs include cotton, synthetics, delicates, wool, rinse, spin, and drain. Select the program suitable for your laundry using the selector dial.
How to clean the door gasket?
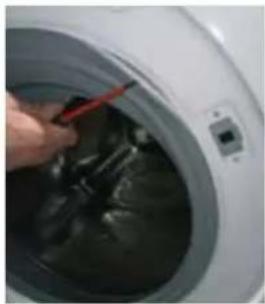
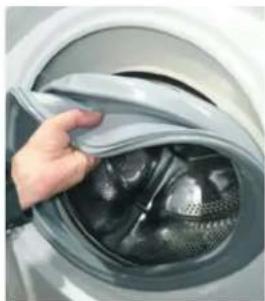
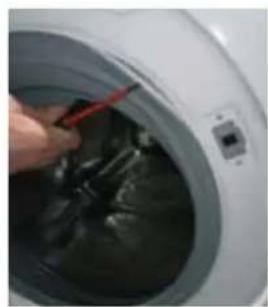
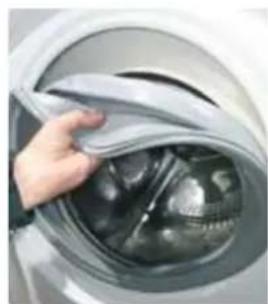
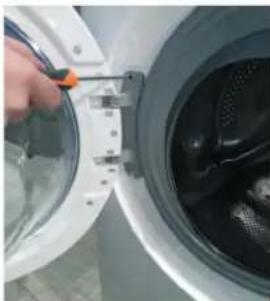
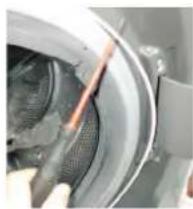
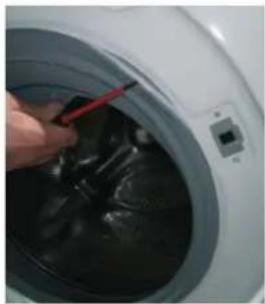
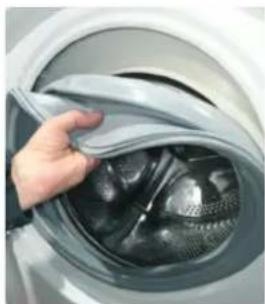
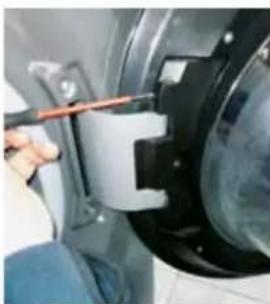
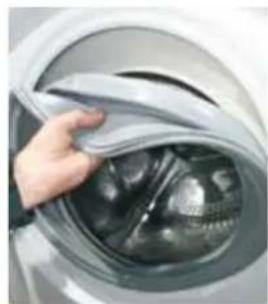
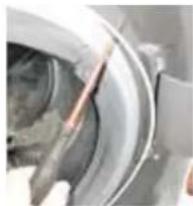
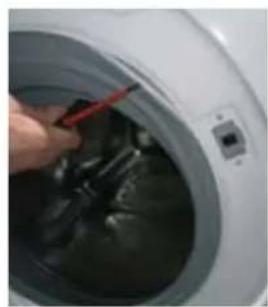
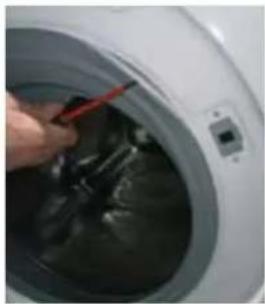
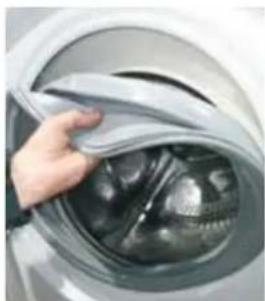
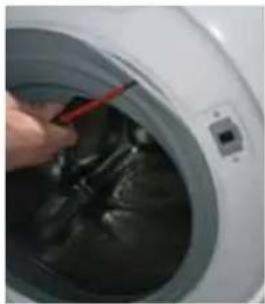
Use a flathead screwdriver to remove the outer ring, then detach the gasket flap. Clean with a damp cloth and check the folds. Reassemble in reverse order.
What to do if the door does not open?
Wait for the cycle to end and child lock to be disabled. If the lock remains stuck, use the emergency release located under the control panel.
How to replace the door lock?
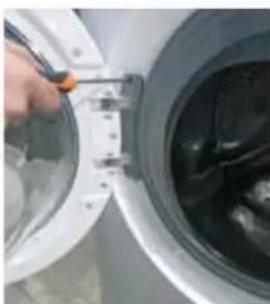
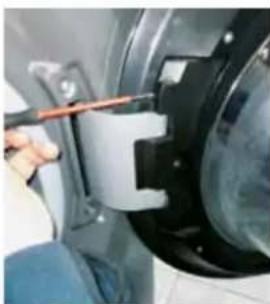
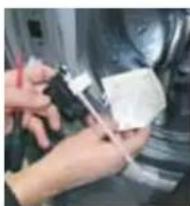
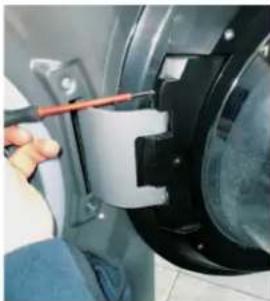
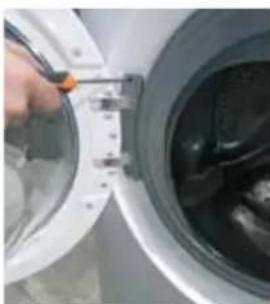
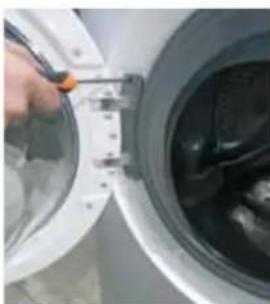
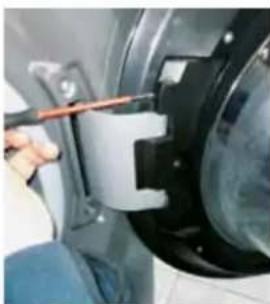
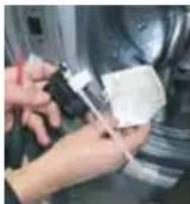
Unplug the appliance. Remove the outer ring of the gasket, then disconnect the wiring noting connections. Remove the Torx screws, install the new lock and reconnect.
Where is the drain pump filter?
The filter is located at the bottom right of the machine, behind a hatch. Open the hatch, unscrew the filter and clean it. Check for any obstructions.
How to descale my washing machine?
Use a specific washing machine descaler or white vinegar. Run an empty program at 90°C. Repeat every 3 months.
What to do if the machine does not turn on?
Check the power outlet, fuse and water supply. Make sure the door is properly closed. If the problem persists, contact customer service.
How to replace the door gasket?
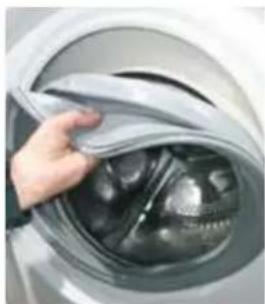
Remove the outer ring with a flathead screwdriver, then unhook the gasket from the drum and cabinet. Install the new gasket aligning the notches, then tighten the rings.
How to remove the detergent drawer?
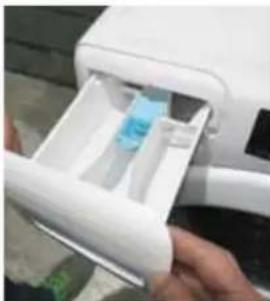
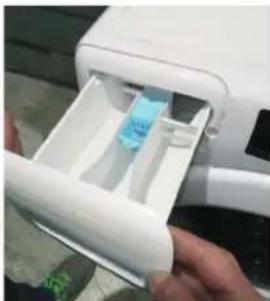
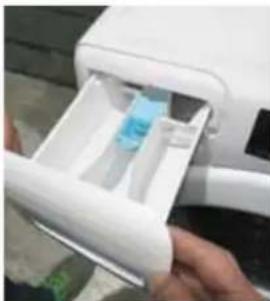
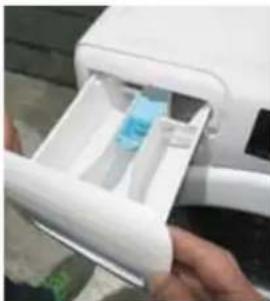
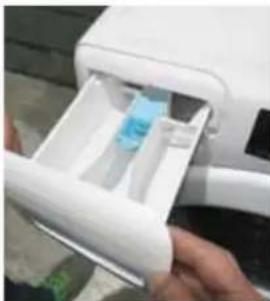
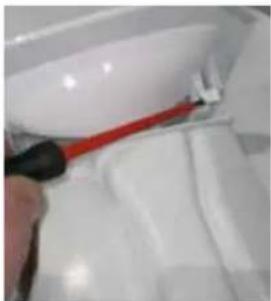
Open the drawer, pull it firmly outward. Unclip the front by pressing the hooks. Clean the compartments and reassemble.

User questions about RTXSG47TMCRE16 HAIER

0 question about this device. Answer the ones you know or ask your own.

Ask a new question about this device

Your email remains private: it is only used to notify you if someone answers your question.

No questions yet. Be the first to ask one.

Download the instructions for your Washing machine in PDF format for free! Find your manual RTXSG47TMCRE16 - HAIER and take your electronic device back in hand. On this page are published all the documents necessary for the use of your device. RTXSG47TMCRE16 by HAIER.

USER MANUAL RTXSG47TMCRE16 HAIER

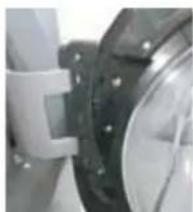
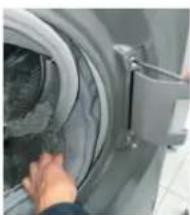
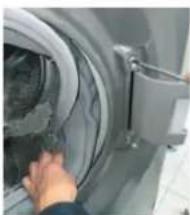
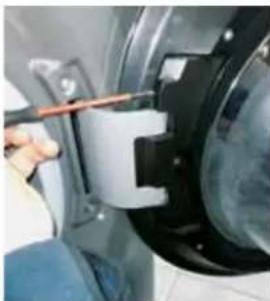
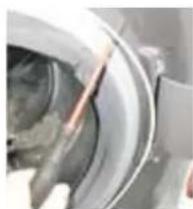
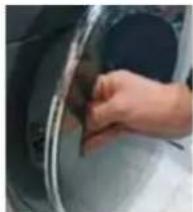
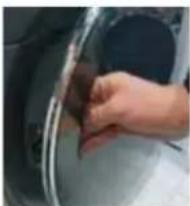
5 Remove the pin
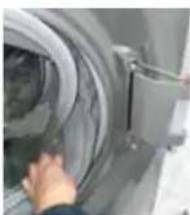
Close-up of a hand opening a large cylindrical device (no visible text or symbols)

1

2

3

4

5

6

7

8

9

Doors

INSTRUCTIONS

DOORS | TYPE 1 TOOLS - TORX 25 KEY
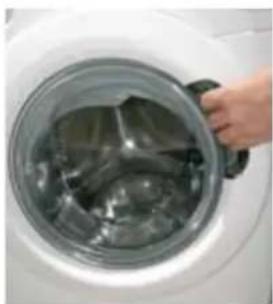
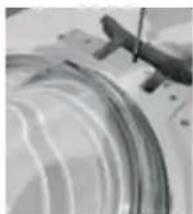
Hand placing a large glass bowl into a white appliance (no text or symbols visible).

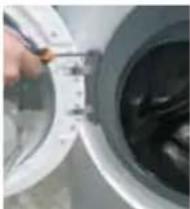
1 Open the door

Close-up of a hand using a tool to clean or install a washing machine (no visible text or symbols).

1 Open the door

Close-up of a person using a tool to adjust or install a mechanical component (no visible text or symbols).

1 | Open the door

Close-up of a mechanical component with concentric rings and a handle (no visible text or symbols).

1 | Open the door

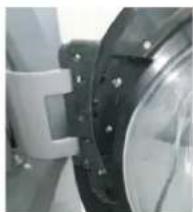
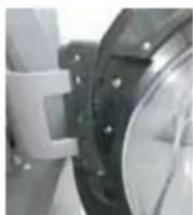
Close-up of a mechanical component with flanged circular features and bolted joints. No visible text or symbols.

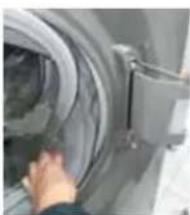
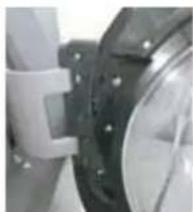
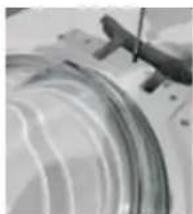
5 | Remove the pin

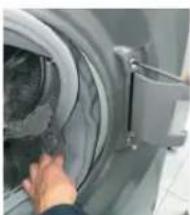
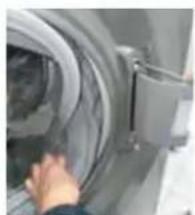
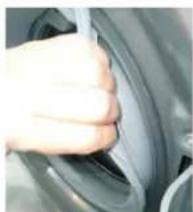
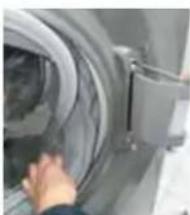
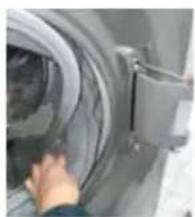
Close-up of a hand opening a large cylindrical device. No visible text or symbols.

1 | Open the door

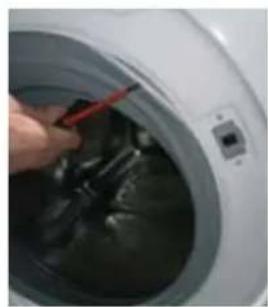
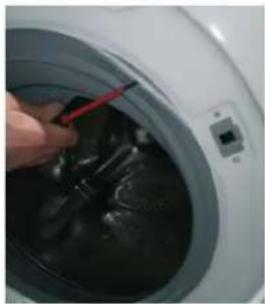
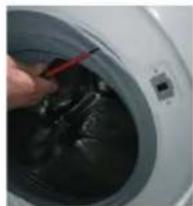
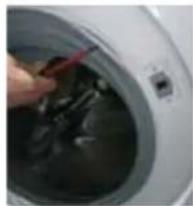
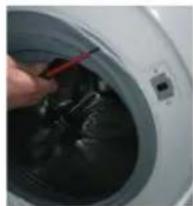
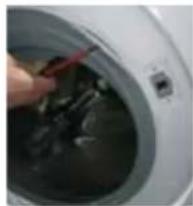
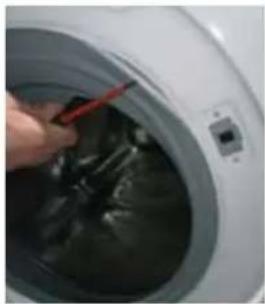
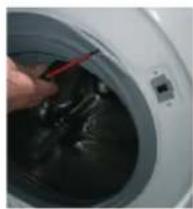
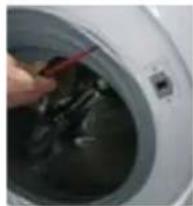
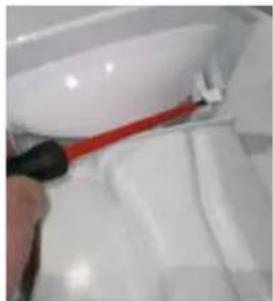
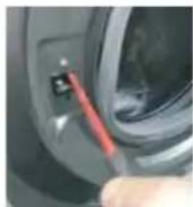
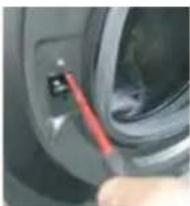
Close-up of a hand using a red tool to clean or store liquid inside a washing machine. No visible text or symbols.

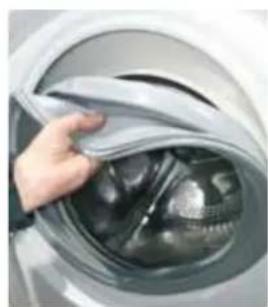
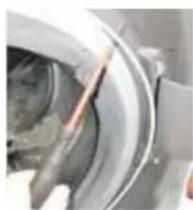
5 Remove the seal

Hand opening a washing machine into a circular basin (no visible text or symbols)

1

2

3

1

Open the door

Close-up of a hand using a red tool to clean or store liquid inside a washing machine, no visible text or symbols.

2

3

4

5

6

7

8

9

1

2

3

4

5

6

7

8

9

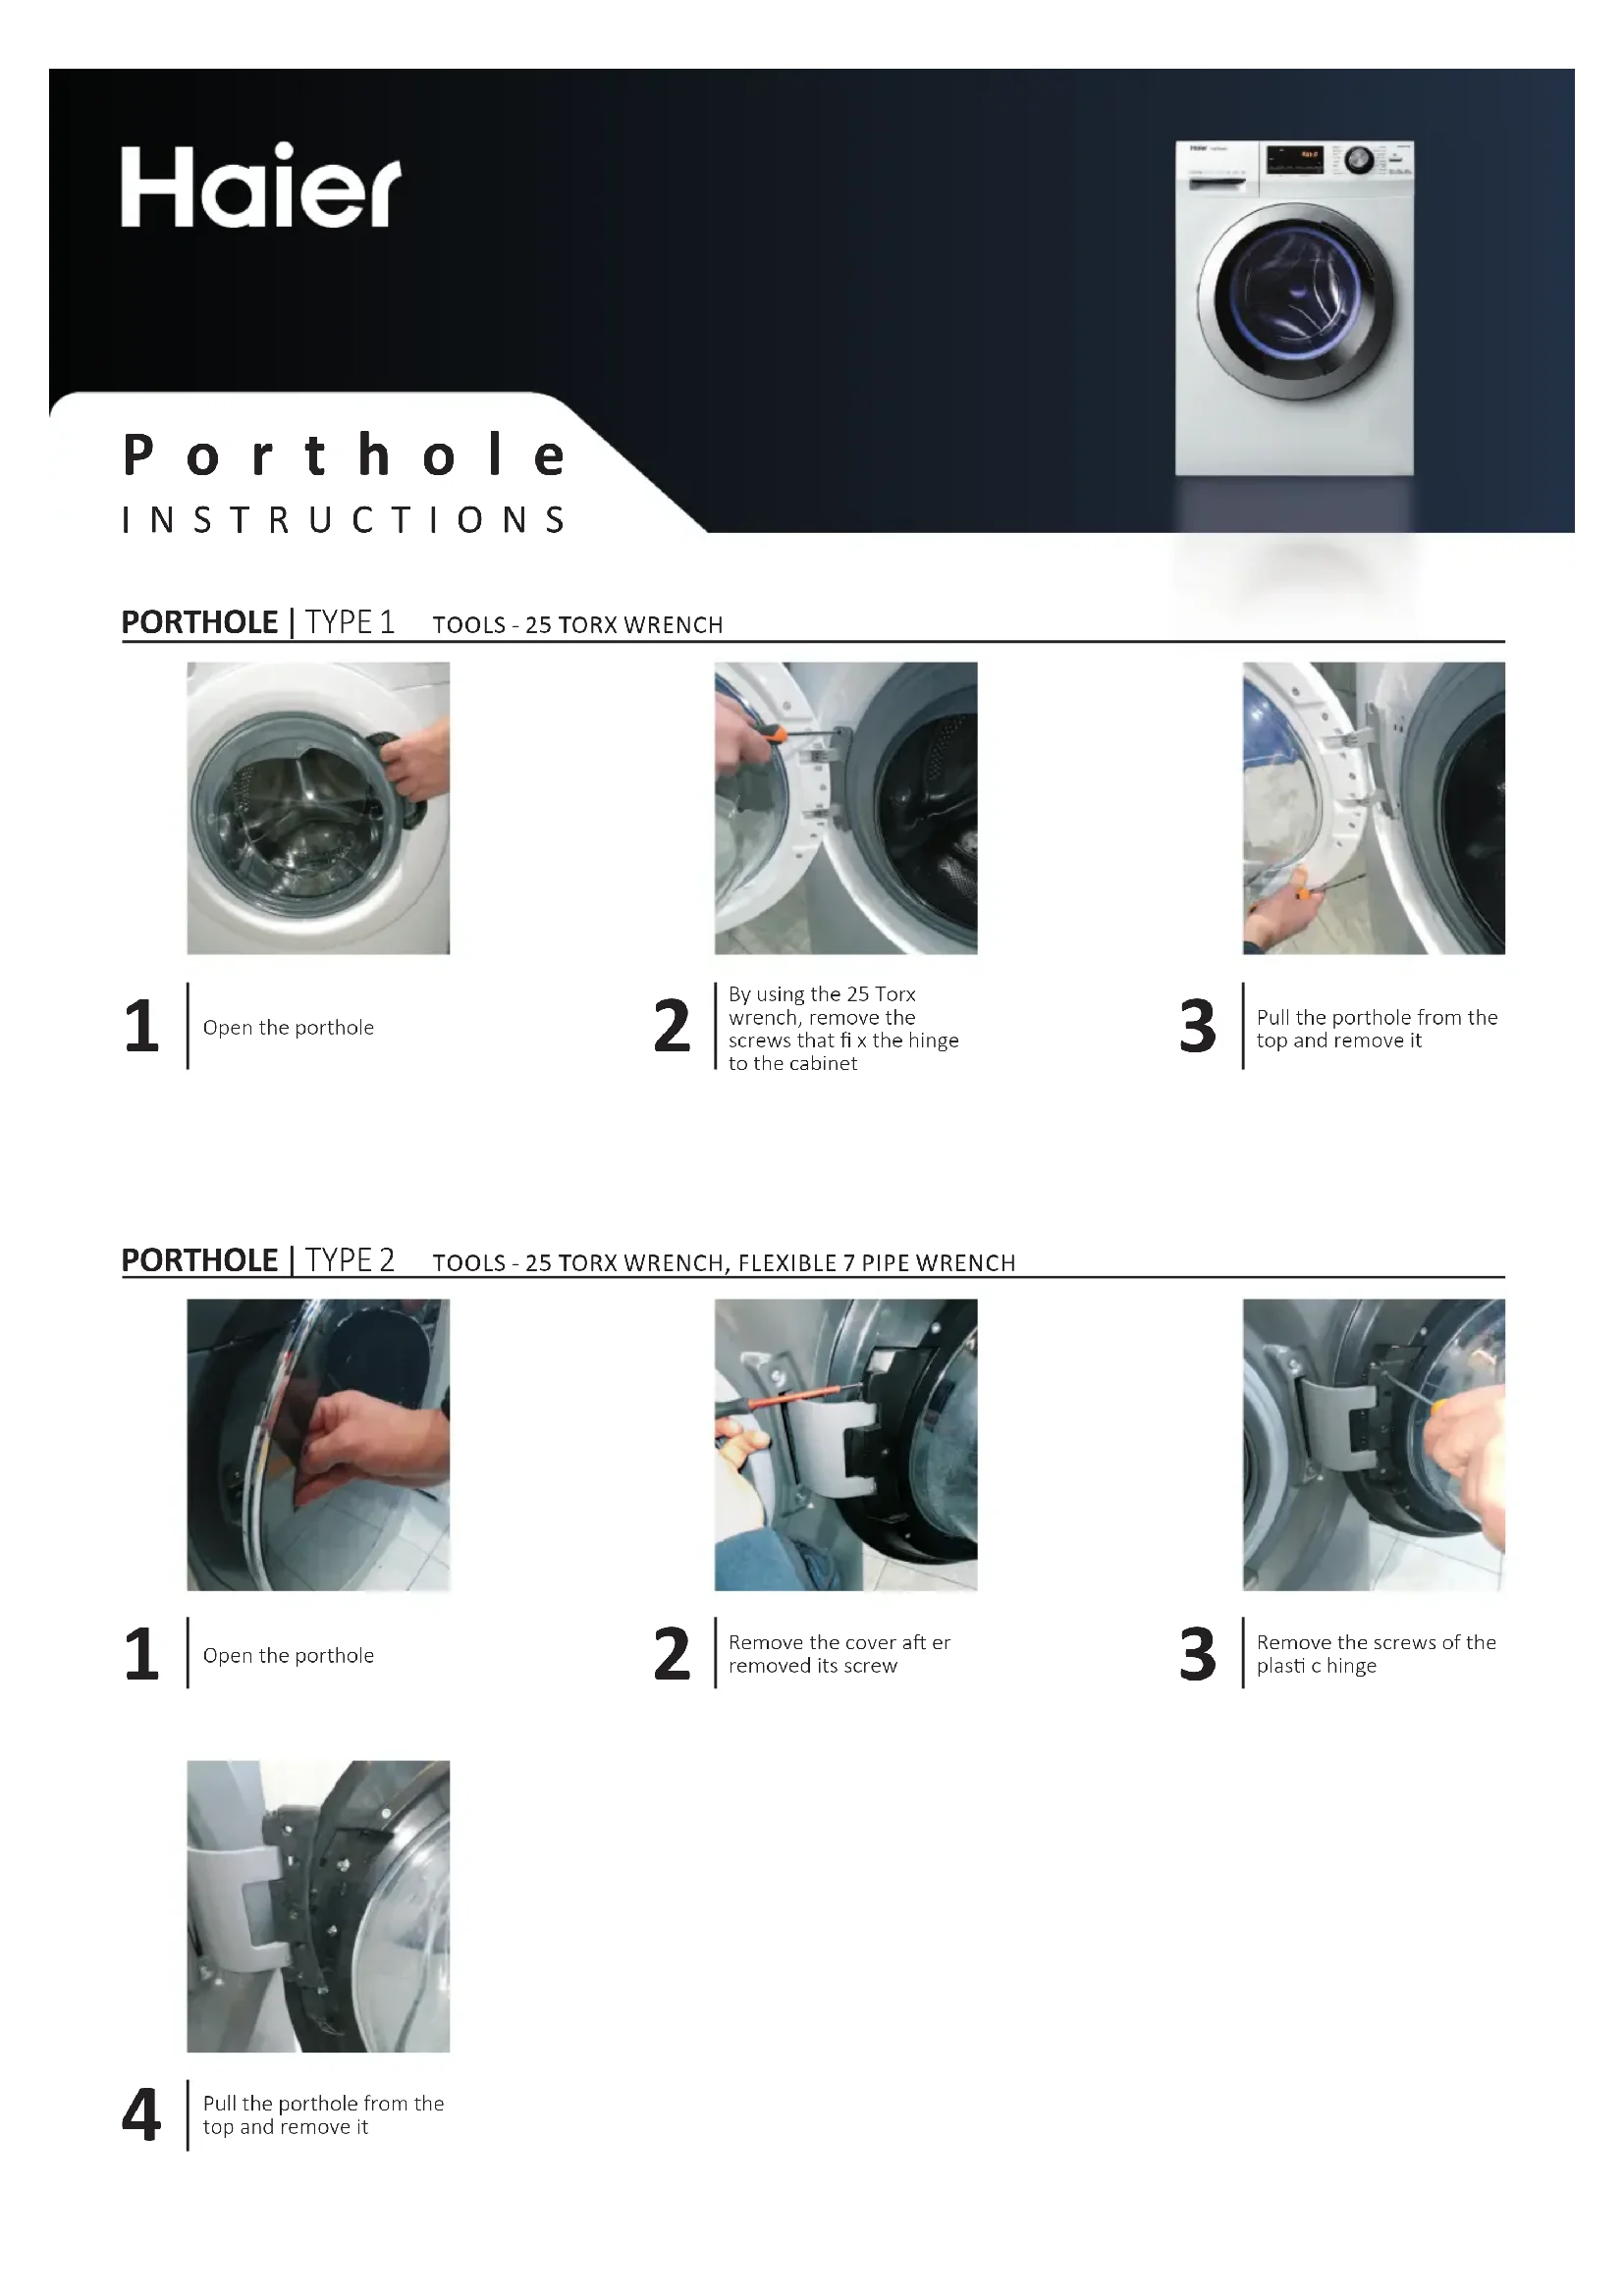
1 Open the porthole
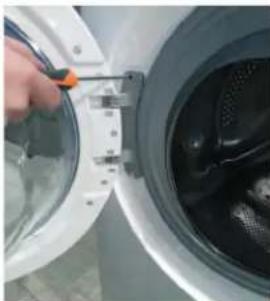
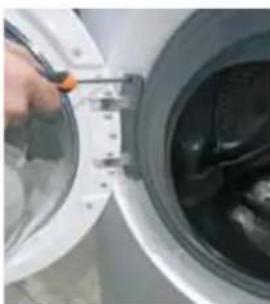
Close-up of a hand installing or adjusting a component on a white washing machine door (no visible text or symbols)

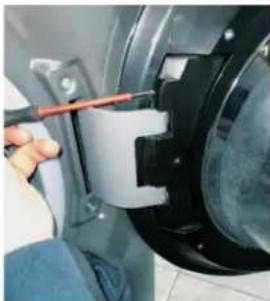
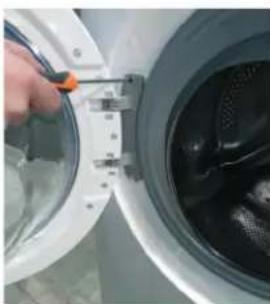
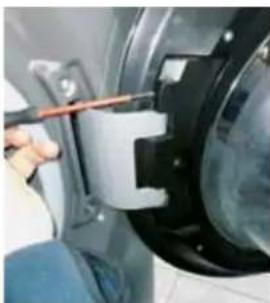
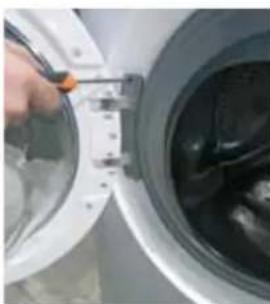
2 | By using the 25 Torx wrench, remove the screws that fix the hinge to the cabinet

Close-up of a hand adjusting a white spherical device with metal clips (no visible text or symbols)

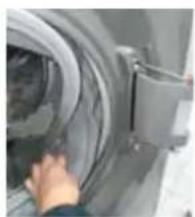
3 Pull the porthole from the top and remove it

PORTHOLE | TYPE 2 TOOLS - 25 TORX WRENCH, FLEXIBLE 7 PIPE WRENCH
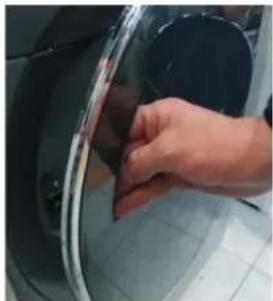
Close-up of a hand pressing down on a glass container (no visible text or symbols)

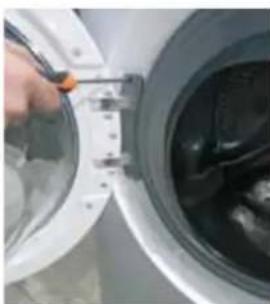
1 Open the porthole

Close-up of a hand using a tool to adjust or install a mechanical component (no visible text or symbols)

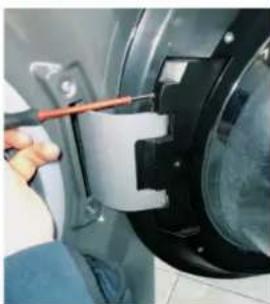
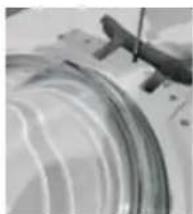
2 Remove the cover after removing its screw
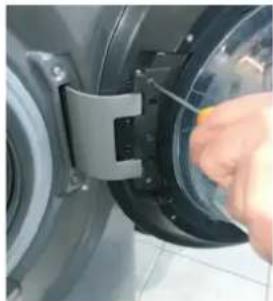
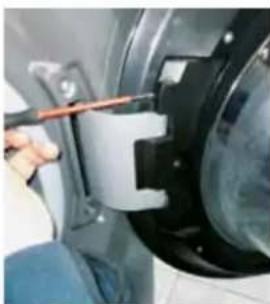
Close-up of a hand using a tool to adjust or install a mechanical component, no visible text or symbols

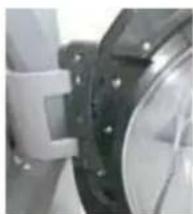
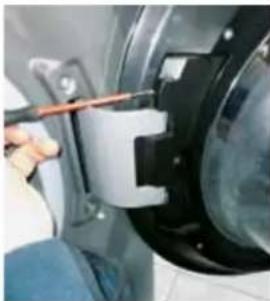
3 Remove the screws of the plastic hinge
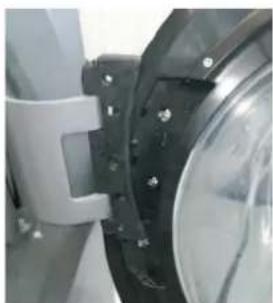
Close-up of a mechanical component with metallic parts and bolts (no visible text or symbols)

4 Pull the porthole from the top and remove it

Hinge

INSTRUCTIONS

HINGE | TYPE 1 TOOLS - 25 TORX WRENCH
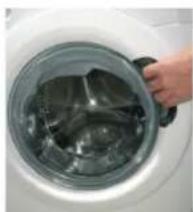
Hand placing a hand into a washing machine with metal components (no visible text or symbols)

1 Open the porthole

Close-up of a mechanical component with curved metallic parts and a handle (no visible text or symbols)

4 Remove all the screws of the porthole
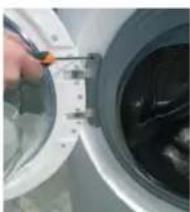
Close-up of a hand using a tool to clean or store air quality inside a washing machine (no visible text or symbols)

2 By using the 25 pipe wrench, remove the screws that fix the hinge to the cabinet
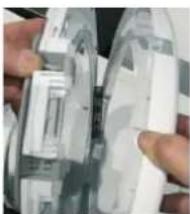
Close-up of hands holding a transparent mechanical component with internal channels (no visible text or symbols)

5 Separate the frame from the counter frame
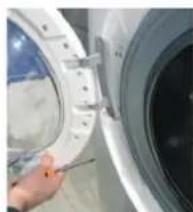
Close-up of a hand using a tool to clean or inspect the interior of a white spherical object (no visible text or symbols)

3 Pull the porthole from the top and remove it
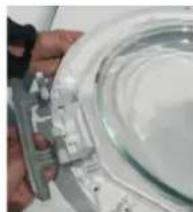
Close-up of a hand holding a glass container with metal clamps (no visible text or symbols)

6 Replace the hinge, taking care not to lose the bushes

HINGE | TYPE 2 TOOLS - 25 TORX WRENCH, FLEXIBLE 7 PIPE WRENCH
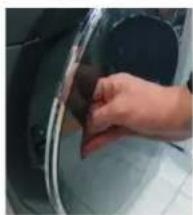
Close-up of a hand adjusting a circular object with a metallic rim (no visible text or symbols)

1 Open the porthole

Close-up of a mechanical component with flanged ends and bolt holes (no visible text or symbols)

4 Pull the porthole from the top and remove it
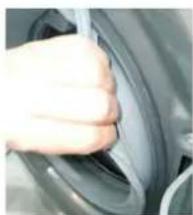
Close-up of a hand pressing down on a car wheel rim (no visible text or symbols)

7 Once the strap is removed, detach the flap from the gasket, to allow access to the inside of the product
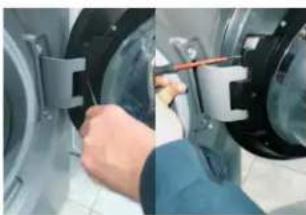
Close-up of a hand adjusting a mechanical component with a tool (no visible text or symbols)

2 Remove the cover after removing its screw
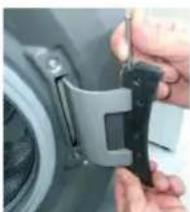
Close-up of hands installing a mechanical component on a car (no visible text or symbols)

5 Remove the pin

Close-up of hands installing or adjusting a large cylindrical component on a machine (no visible text or symbols)

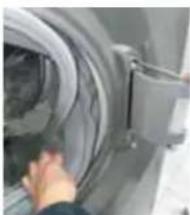
8 Remove the external screws from the hinge
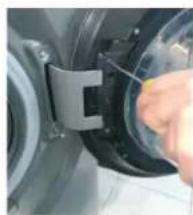
Close-up of a hand adjusting a mechanical component with a circular housing (no visible text or symbols)

3 Remove the screws of the plastic hinge
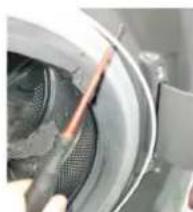
Close-up of a hand holding a tool near a mechanical component (no visible text or symbols)

6 Remove the door clip

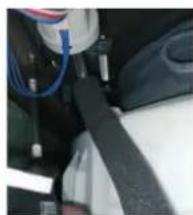
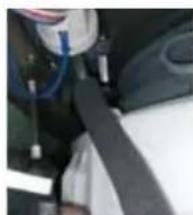
Close-up of a car's seatbelt with blue hoses and black strap (no visible text or symbols)

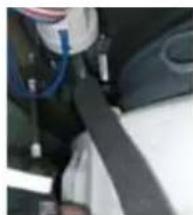
9 Remove the screws inside the cabinet with the 7 pipe wrench. Remove the hinge

Door lock

INSTRUCTIONS

DOOR LOCK | TYPE 1 TOOLS - CROSS-HEADED SCREWDRIVER, TONG, FLAT SCREWDRIVER
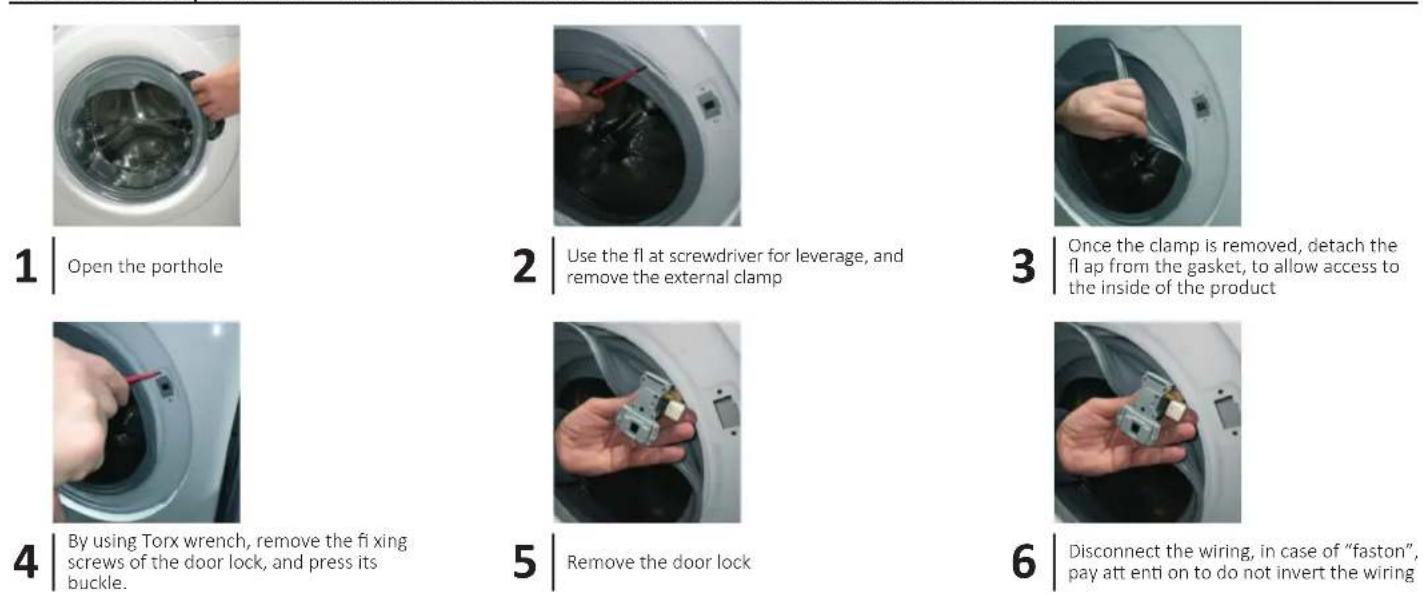
HAIER RTXSG47TMCRE16 - DOOR LOCK | TYPE 1 TOOLS - CROSS-HEADED SCREWDRIVER, TONG, FLAT SCREWDRIVER - 1
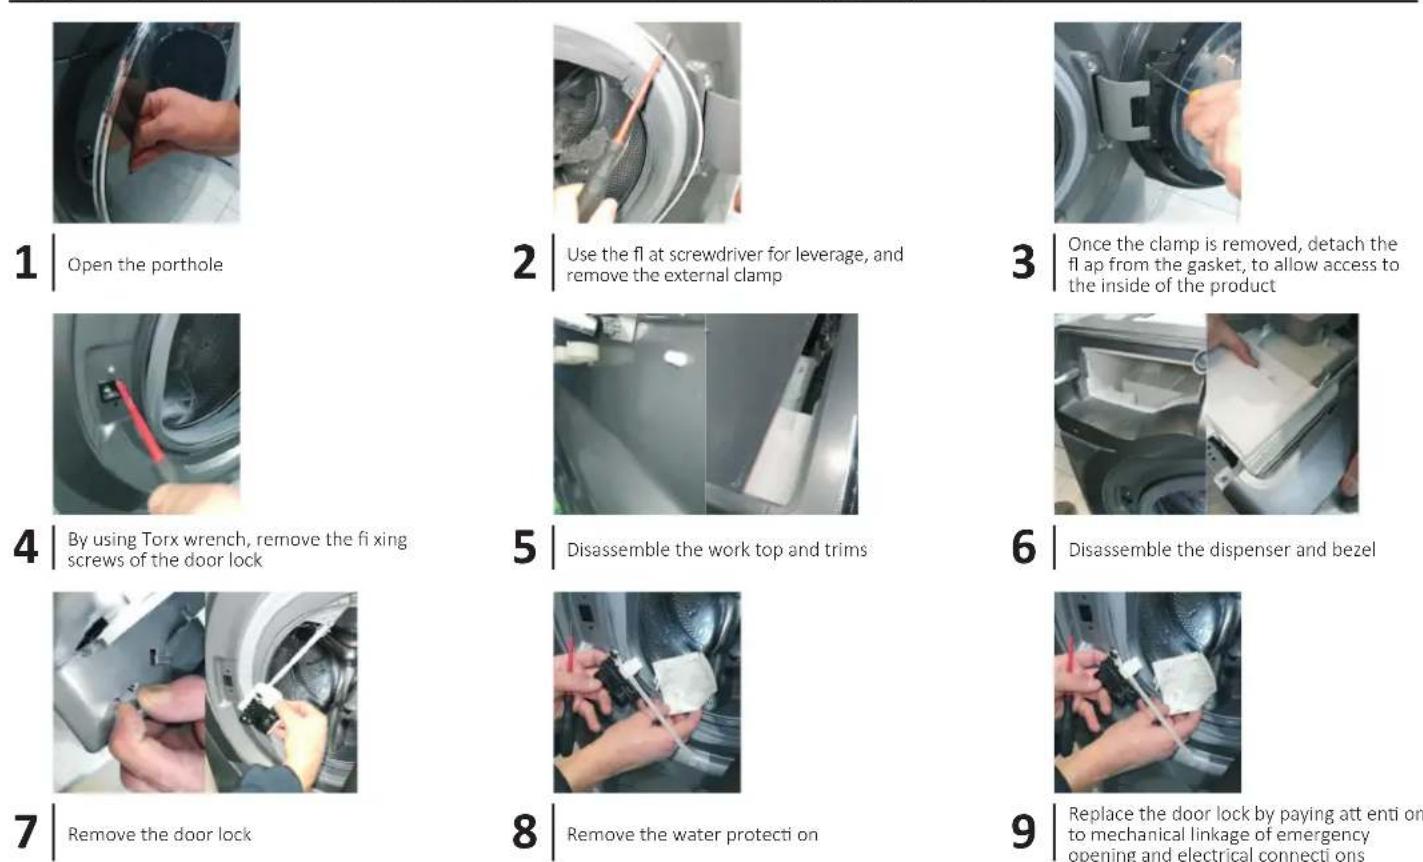
DOOR LOCK | TYPE 2 TOOLS - CROSS-HEADED SCREWDRIVER, TONG, FLAT SCREWDRIVER

HAIER RTXSG47TMCRE16 - DOOR LOCK | TYPE 2 TOOLS - CROSS-HEADED SCREWDRIVER, TONG, FLAT SCREWDRIVER - 1

Door's gasket

INSTRUCTIONS

DOOR'S GASKET TOOLS - TORX WRENCH, TONG, FLAT SCREWDRIVER, TWO 7 PIPE WRENCHES
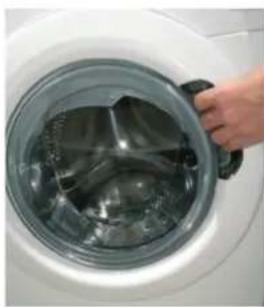
Hand opening a white washing machine with metal washers (no text or symbols visible)

1

Open the porthole

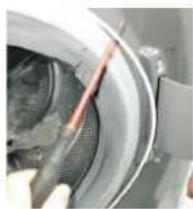
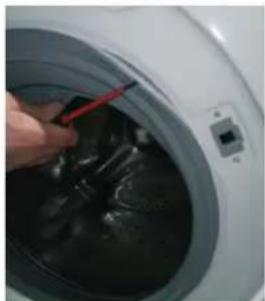
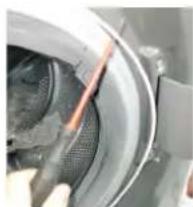
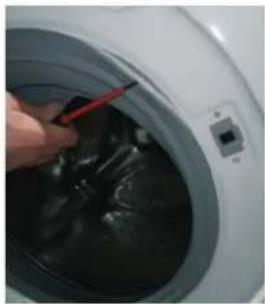
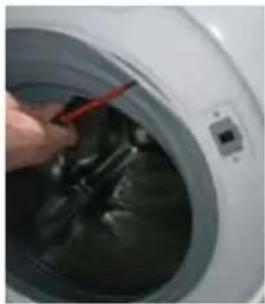
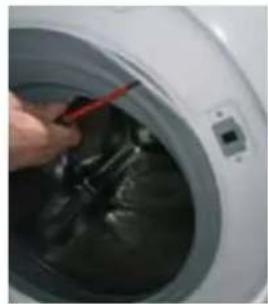
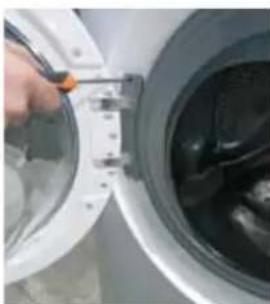
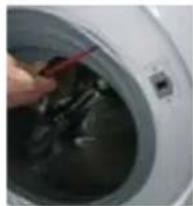
Close-up of a hand inserting a red plastic into a washing machine (no visible text or symbols)

2

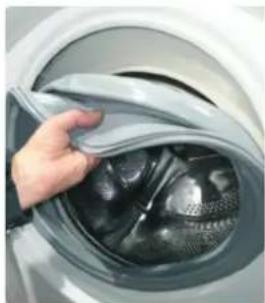
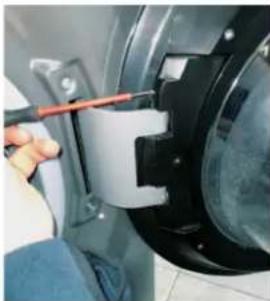
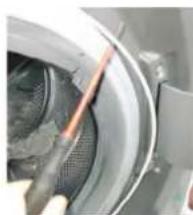
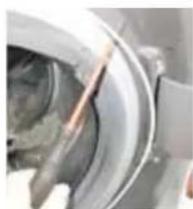
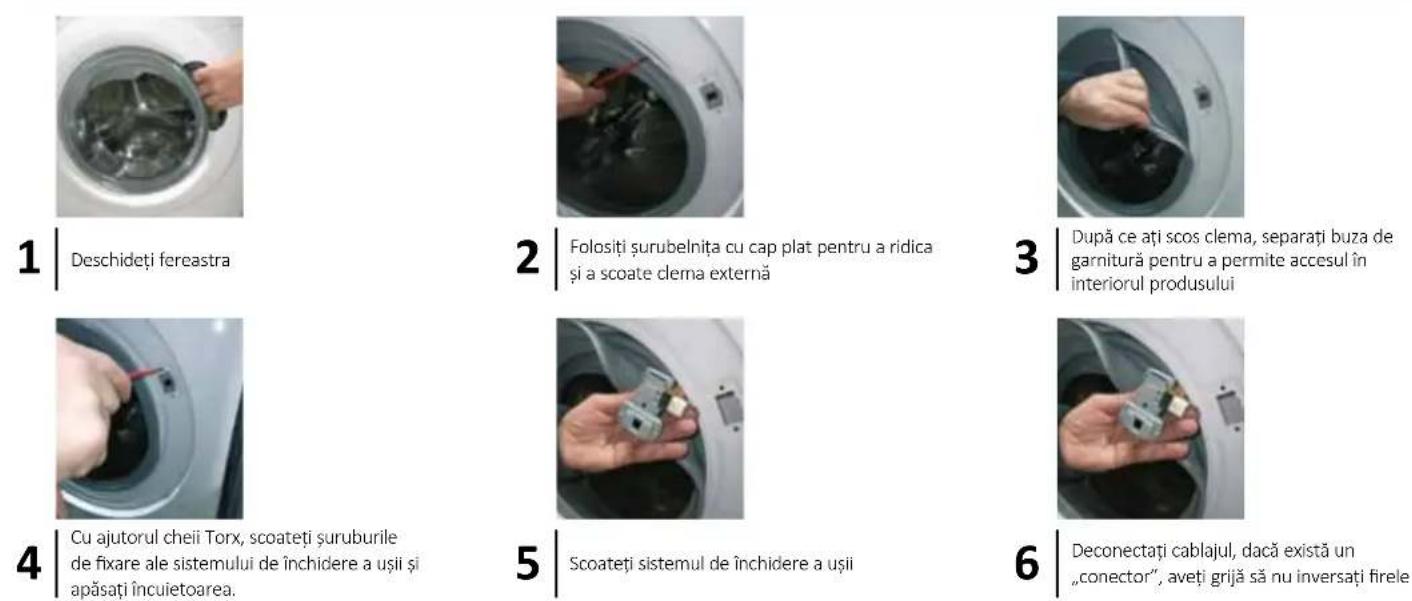
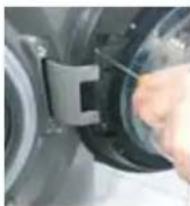
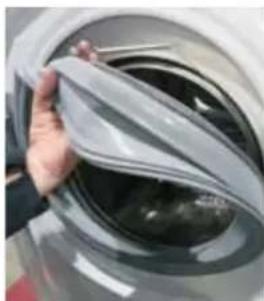
Use the flat screwdriver for leverage, and remove the external clamp
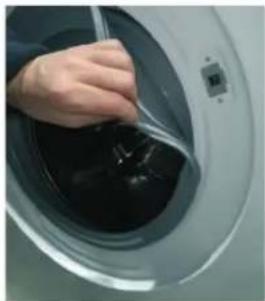
Hand washing a dark liquid inside a washing machine (no text or symbols visible)

3

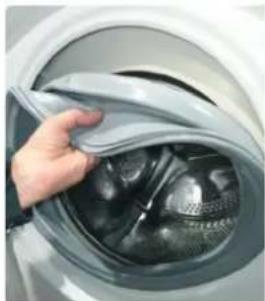
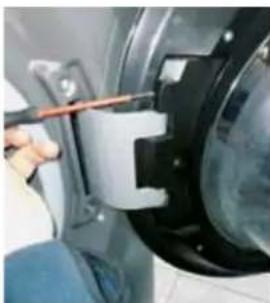
Once the clamp is removed, detach the flap from the gasket, to allow access to the inside of the product
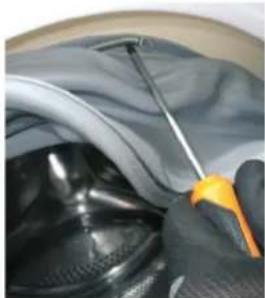
Close-up of gloved hands using a screwdriver to repair a dark fabric or material (no visible text or symbols)

4

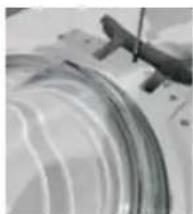
By using flat screwdriver, remove the clamp on the tube
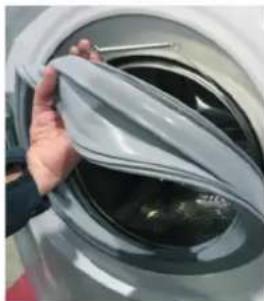
Close-up of a hand cleaning a car wheel rim (no text or symbols visible)

5

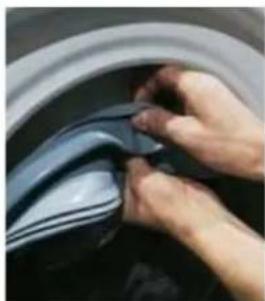
Remove the gasket

Hand opening a washing machine into a circular vent (no text or symbols visible)

6

Place the new gasket, paying attention to the positioning notches
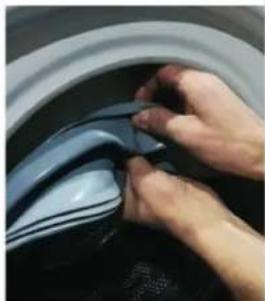
Close-up of hands cleaning a car wheel rim with a blue cloth (no text or symbols visible)

7

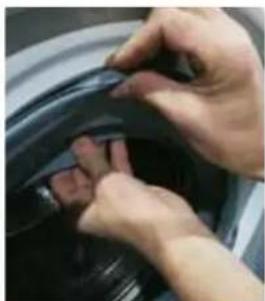
Insert wiring clamp on the tube side
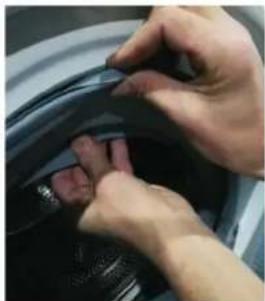
Close-up of hands adjusting a dark mechanical component (no visible text or symbols)

8

Tighten the clamp flush on the tube by using the tooling
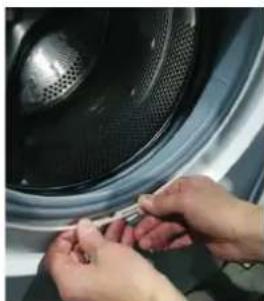
Close-up of hands installing or adjusting a small component near a car wheel (no visible text or symbols)

9

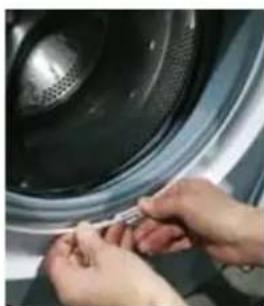
Fit the gasket on the cabinet. Fix the external clamp and tighten it (if needed with tong)

Detergent drawer

INSTRUCTIONS

DETERGENT DRAWER
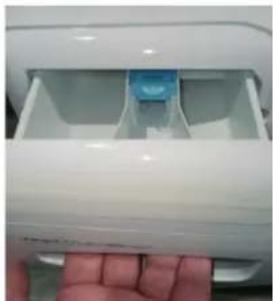
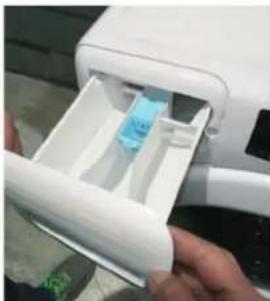
Close-up of a hand holding a white plastic container with a blue plastic lid (no text or symbols visible)

1

Open the detergent drawer

Close-up of a hand inserting a plastic bag into a white plastic container (no visible text or symbols)

2

By using two hands, pull it out firmly
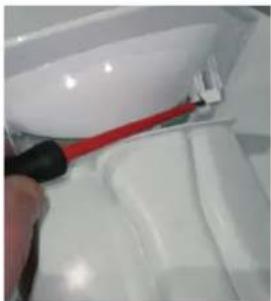
Close-up of a hand using a red tool to adjust or install a white plastic container (no visible text or symbols)

3

Unhook the mask from the detergent drawer, being careful not to break the hooks

Front door

INSTRUCTIONS

5 | Separate the main frame from the secondary frame
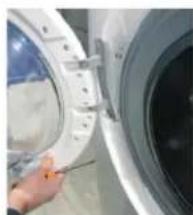
Close-up of a hand using a tool to clean or inspect the interior of a white spherical object (no text or symbols visible)

1

2

3

4

5

Remove the gasket

Hand opening a washing machine into a circular vent (no text or symbols visible)

6

7

8

9

1

2

3

1 Open the porthole

Close-up of a hand installing or adjusting a component on a washing machine door (no visible text or symbols)

1 Open the porthole

Close-up of a person using a tool to adjust or install a mechanical component (no visible text or symbols)

3 Remove the screws from the plastic hinge
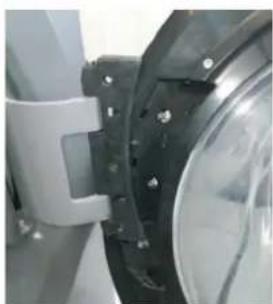
Close-up of a mechanical component with black brackets and a circular housing, no visible text or symbols.

5 Remove the rod

Close-up of a hand opening a large cylindrical device with a handle attachment, no visible text or symbols.

3 | Remove the screws from the plastic hinge
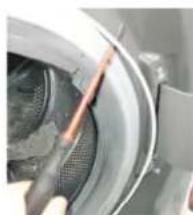
Close-up of a mechanical component with a tool inserted. No visible text or symbols.

Open the porthole

Close-up of a hand washing dark liquid inside a washing machine. No visible text or symbols.

3

6

Open the porthole

Close-up of a hand using a tool to clean or inspect the interior of a mechanical component. No visible text or symbols.

3

6

9

1

Open the porthole

Close-up of a hand using a red tool to clean or wash dark liquid inside a washing machine (no text or symbols visible)

2

3

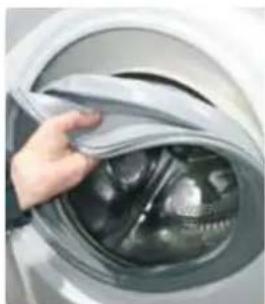
Remove the gasket

Hand opening a washing machine with a cloth cover (no text or symbols visible)

PROZOR

UPUTE

PROZOR | TIP 1 TOOL - TORX WRENCH 25
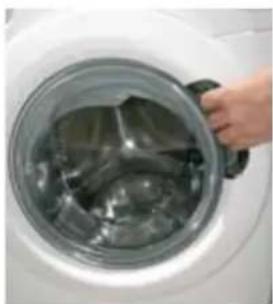
A hand places a large glass bowl into a white appliance. No text or symbols are visible.

1 | Open the window

Close-up of a hand using a tool to clean or install a washing machine. No visible text or symbols.

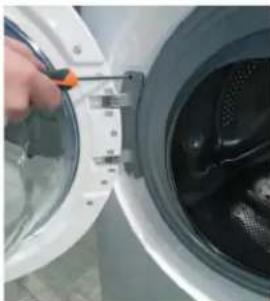
2 | Using the Torx wrench 25, remove the screws that attach the hinge to the frame
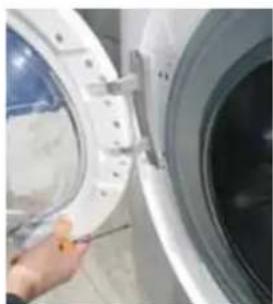
Close-up of a hand adjusting a white door panel with metal clips. No visible text or symbols.

3 Pull the window from the top and remove it

WINDOW | TYPE 2 TOOLS - TORX KEY 25, FLEXIBLE TUBE KEY 7
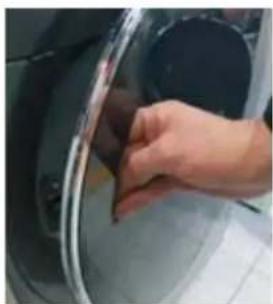
Close-up of a hand inserting a plastic component into a circular container. No visible text or symbols.

1 | Open the window

Close-up of a person using a tool to adjust or install a mechanical component. No visible text or symbols.

2 Remove the cover after removing its screw
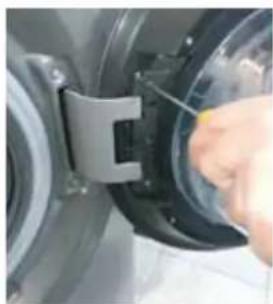
Close-up of a hand using a tool to adjust or install a mechanical component. No visible text or symbols.

3 Remove the screws of the plastic hinge
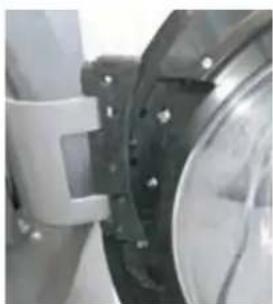
Close-up of a mechanical component with flanged circular parts and mounting brackets. No visible text or symbols.

4 Pull the window from the top and remove it

H i n g e I n s t r u c t i o n s

HINGE | TYPE 1 TOOLS - TORX KEY 25
A hand places a large bowl into a white appliance with visible steam. No text or symbols are visible.

1 | Open the window

Close-up of a metallic tool interacting with a curved metallic component. No visible text or symbols.

4 Remove all window screws

Close-up of a hand using a tool to clean or store contents inside a washing machine. No visible text or symbols.

5 Separate the frame from the subframe
Close-up of a hand using a tool to clean or inspect the interior of a large white industrial machine. No visible text or symbols.

3 Pull the window from the top and remove it
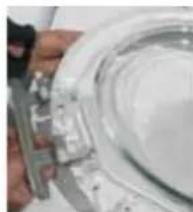
Close-up of a hand holding a glass container with metal clamps. No visible text or symbols.

6 Replace the hinge and be careful not to lose the bushings

HINGE | TYPE 2 TOOLS - TORX KEY 25, FLEXIBLE TUBE KEY 7
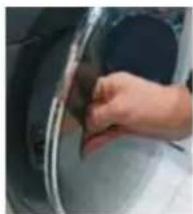
Close-up of a hand using a tool to clean or store items around a circular object. No visible text or symbols.

1 | Open the window

Close-up of a mechanical component with bolt holes and a metallic rim. No visible text or symbols.

4 | Pull the window from the top part and remove it
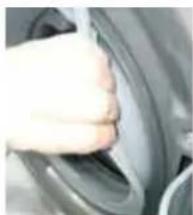
Close-up of a hand pressing down on a car wheel rim (no visible text or symbols)

7 | After the tape is removed, separate the cover from the seal to allow access to the inside of the product
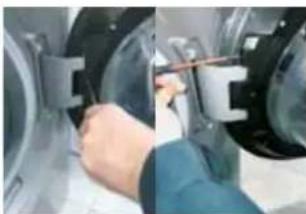
Close-up of a person adjusting a mechanical component (no visible text or symbols)

2 | Remove the cover after removing its screw
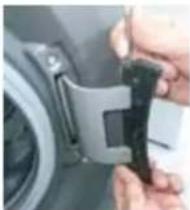
Close-up of hands installing a black plastic clip into a car (no visible text or symbols)

5 | Remove the pin

Close-up of a hand opening a large cylindrical device with a cable (no visible text or symbols)

3 | Remove the screws of the plastic hinge
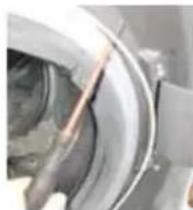
Close-up of a mechanical component with a curved metallic part and a rod inserted (no visible text or symbols)

6 | Remove the clip on the door

Close-up of a car seatbelt with blue cable and black strap (no visible text or symbols)

9 | Remove the screws from the inside of the housing using a 7 mm socket wrench. Remove the hinge

Door lock I N S T R U C T I O N S

DOOR LOCK | TYPE 1 TOOLS - PHILLIPS SCREWDRIVER, PLIERS, FLAT SCREWDRIVER
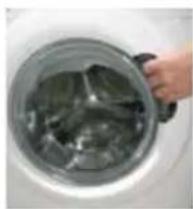
Hand holding a metal pot containing dark, irregularly shaped objects (no text or symbols visible)

1 | Open the window

Close-up of a hand washing dark liquid inside a large washing machine (no visible text or symbols)

3 | After the clip is removed, separate the cover from the seal to allow access to the inside of the product
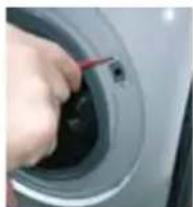
Close-up of a hand using a red tool to clean or store air quality inside a car door (no visible text or symbols)

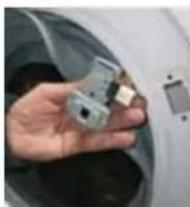
4 | Using a Torx wrench, remove the door lock mounting screws and press the clip.
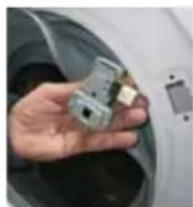
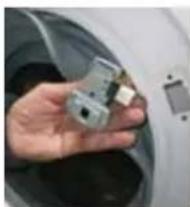
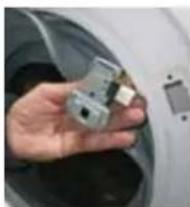
Hand holding a small electronic component inside a washing machine (no visible text or symbols)

5 | Remove the door lock

Hand holding a small electronic component inside a washing machine (no visible text or symbols)

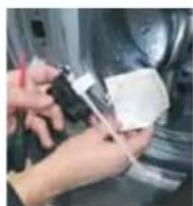
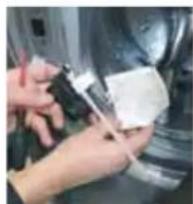
6 | Disconnect the wiring, and in the case of "faston" connectors, be careful not to reverse the wiring

DOOR LOCK | TYPE 2 TOOLS - PHILLIPS SCREWDRIVER, PLIERS, FLAT SCREWDRIVER
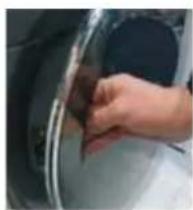
Close-up of a hand adjusting a car wheel rim (no visible text or symbols)

1 Open the window

Close-up of a mechanical component with a tool inserted, no visible text or symbols

3 | After the clasp is released, separate the lining from the seal to allow access to the inside of the product
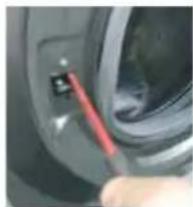
Close-up of a hand holding a red tool near a car wheel (no visible text or symbols)

4 | Using a Torx key, remove the door lock fixing screws
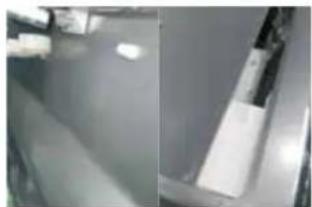
Two-panel image showing a metallic component with reflective surfaces and a dark rectangular block, no visible text or symbols.

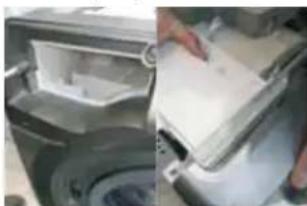
5 Disassemble the top worktop and trims
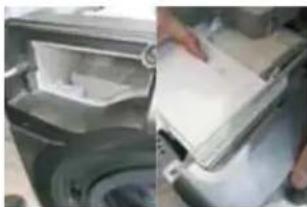
Two-panel photo showing a washing machine interior and a hand placing a white plastic bag on the back (no visible text or symbols)

6 | Disassemble the dispenser and frame
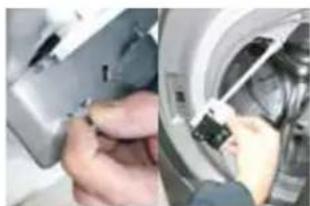
Close-up of hands using a computer to adjust or install a small electronic component (no visible text or symbols)

7 Remove the door lock

Close-up of hands using a tool to adjust or install a mechanical component (no visible text or symbols)

8 | Remove the water guard

Close-up of hands using a tool to adjust or install a mechanical component (no visible text or symbols)

1 | Open the window

Close-up of a hand pressing down on a dark liquid inside a washing machine (no visible text or symbols)

5 | Remove the seal

Hand cleaning a washing machine with a cloth cover (no text or symbols visible)

6 | Install the new seal and pay attention to the positioning grooves
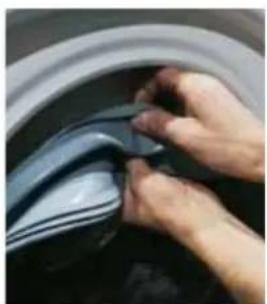
Close-up of hands washing a dark blue garment with a cloth (no text or symbols visible)

8 Using a tool, tighten the clamp on the pipe
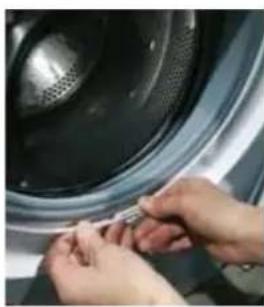
Close-up of hands installing or adjusting a component near a washing machine (no visible text or symbols).

9 | housing. Attach the external clamp and tighten it (with pliers if necessary)

Detergent drawer

I N S T R U C T I O N S

DETERGENT DRAWER
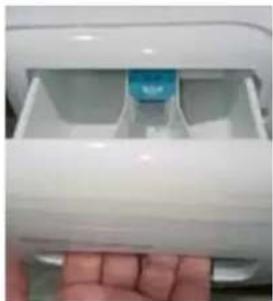
Close-up of a hand holding a white plastic container with a blue plastic clip (no text or symbols visible).

1 Open the detergent drawer

Close-up of a hand inserting a plastic bag into a white plastic container (no text or symbols visible).

3 | Unhook the mask from the detergent drawer and be careful not to break the hooks

INSTRUCTIONS

OBLÒ | TYPE 1 TOOLS - TORX T25 SCREWDRIVER
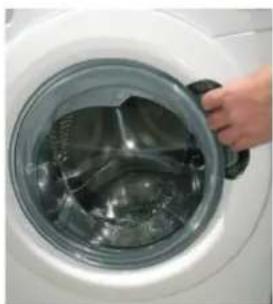
Hand holding a large stainless steel washing machine (no text or symbols visible).

1 | Open the porthole

Close-up of a hand installing or adjusting a component on a white washing machine door (no visible text or symbols).

1 | Open the porthole

Close-up of a hand using a tool to adjust or install a mechanical component (no visible text or symbols).

1

Open the porthole

Close-up of a mechanical component with concentric rings and a handle (no visible text or symbols).

4

2

5

3

6

1

Open the porthole

Close-up of a mechanical component with flanged ends and bolted joints (no visible text or symbols)

4

7

2

5

Remove the pin

Close-up of a hand opening a large cylindrical device with a handle attachment (no visible text or symbols)

8

3

6

9

Open the porthole

Close-up of a hand washing a washing machine with a red tool inserted (no visible text or symbols)

2

3

5

6

Open the porthole

Close-up of a car wheel rim being cleaned with a tool, no visible text or symbols

2

3

5

6

8

9

1

Open the porthole

Close-up of a hand washing a washing machine with a red tool inserted (no visible text or symbols)

2

3

4

5

6

7

8

9

1 Open the door glass
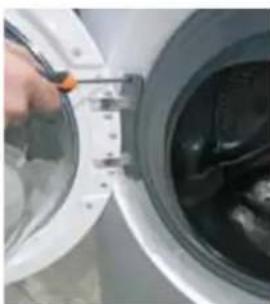
Close-up of a hand using a tool to clean or install a washing machine (no visible text or symbols)

1 Open the door glass

Close-up of a person using a tool to adjust or install a mechanical component (no visible text or symbols)

1 Open the door glass

Close-up of a metallic mechanical component with concentric rings and a handle, no visible text or symbols.

1 Open the door glass

Close-up of a mechanical component with flanged ends and bolted joints, no visible text or symbols.

1 Open the door glass

Close-up of a hand using a tool to clean or wash dark liquid inside a washing machine (no visible text or symbols)

1 Open the door glass

Close-up of a mechanical component with a tool inserted, no visible text or symbols

6 | Disassemble the dispenser and the ring
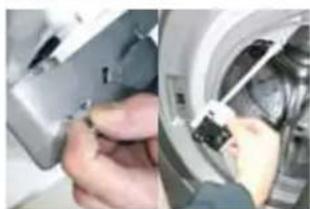
Close-up of hands using a handheld device to adjust or install a mechanical component (no visible text or symbols)

1

Open the door glass

Close-up of a hand using a red tool to clean or store liquid inside a washing machine (no visible text or symbols)

2

3

4

5

6

7

8

9

1

Open the detergent drawer
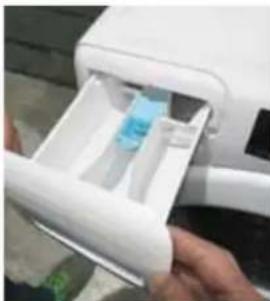
Close-up of a hand inserting a plastic bag into a white plastic container (no text or symbols visible)

2

3

1 Open the window

Close-up of a hand using a tool to clean or install a washing machine (no visible text or symbols)

1 Open the window

Close-up of a person using a tool to adjust or install a mechanical component (no visible text or symbols)

1 Open the window

Close-up of a mechanical component with curved surfaces and a handle (no visible text or symbols)

5 Remove the pin

Close-up of a hand cleaning a large curved pipe or container.

1

Open the window

Close-up of a hand using a red tool to clean or store liquid inside a washing machine.

2

3

4

5

Remove the gasket

Hand opening a washing machine with a cloth cover.

6

7

8

9

1 Open the door

Close-up of a hand installing or adjusting a component on a white washing machine door.

2 Using the torque wrench 25, remove the screws that fix the hinge to the machine
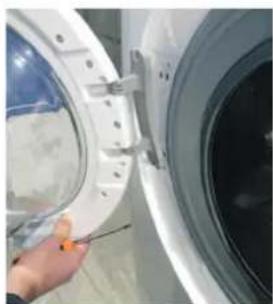
Close-up of a hand adjusting a white spherical device with metal clips.

1 Open the door

Close-up of a hand using a tool to adjust or install a mechanical component.

3 Remove the screws from the plastic hinge
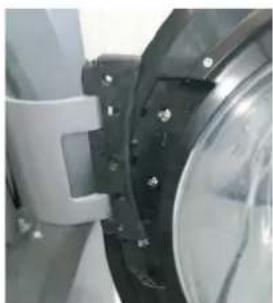
Close-up of a mechanical component with metallic parts and bolts.

1 Open the door

Close-up of a hand using a tool to adjust or install a white washing machine cover.

2 Using the pipe wrench 25, remove the screws that fix the hinge to the machine
Close-up of a hand holding a tool near a large white industrial machine.

1 Open the door

Close-up of a hand using a tool to adjust or install a mechanical component.

3 | Remove the plastic hinge screws

Close-up of a mechanical component with flanged circular parts and bolted joints.

5 Remove the pin

Close-up of a car wheel rim with a tool inserted, showing the blade and meshing.

6 Remove the door clip

Close-up of a hand adjusting a car wheel rim.

1 Open the door

Close-up of a hand washing dark liquid inside a washing machine.

1 Open the door

Close-up of a hand holding a tool near a car wheel rim (no visible text or symbols)

1

Open the door

Close-up of a hand inserting a red plastic into a washing machine (no visible text or symbols)

2

3

4

5

Remove the seal

Hand opening a washing machine into a circular vent (no text or symbols visible)

6

7

8

9

1 Open the detergent drawer

Close-up of a hand inserting a plastic bag into a white plastic container (no text or symbols visible)

1 Open the window

Close-up of a person using a tool to adjust or install a mechanical component (no visible text or symbols)

1 | Open the window

Close-up of a metallic mechanical component with curved grooves and a handle (no visible text or symbols)

5 | Separate the frame from the counter-frame
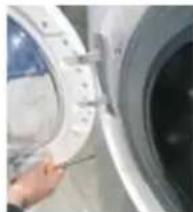
Close-up of a hand using a tool to clean or inspect the interior wall of a large white door.

INSTRUCTIONS

DOOR LOCKING SYSTEM | TYPE 1 TOOLS - PHILLIPS SCREWDRIVER, PLIERS, FLAT-HEAD SCREWDRIVER
HAIER RTXSG47TMCRE16 - DOOR LOCKING SYSTEM | TYPE 1 TOOLS - PHILLIPS SCREWDRIVER, PLIERS, FLAT-HEAD SCREWDRIVER - 1
DOOR LOCKING SYSTEM | TYPE 2 TOOLS - PHILLIPS SCREWDRIVER, PLIERS, FLAT-HEAD SCREWDRIVER

Close-up of a hand pressing down on a car wheel rim.

1

2

3

4

5

Remove the gasket

Hand opening a washing machine into a circular basin (no visible text or symbols)

6

7

8

9

INSTRUCTIONS

DETERGENT DRAWER
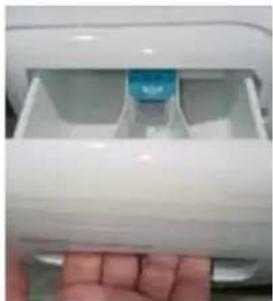
Close-up of a hand holding a white plastic container with a blue plastic clip (no text or symbols visible)

1 Open the door

Close-up of a hand inserting a plastic clip into a washing machine (no text or symbols visible)

1 Open the door

Close-up of a person using a tool to adjust or install a mechanical component, no visible text or symbols

2 | Remove the cover after removing its screws
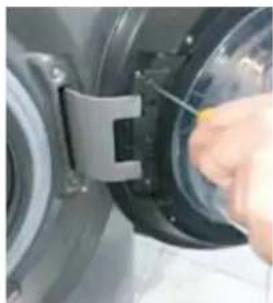
Close-up of a hand using a tool to adjust or install a mechanical component (no visible text or symbols)

1 Open the door

Close-up of a metallic mechanical component with curved grooves and a handle (no visible text or symbols)

1 | Open the door

Close-up of a mechanical component with metallic flanges and bolt holes.

7 After removing the belt, remove the flap from the seal to allow access to the inside of the product
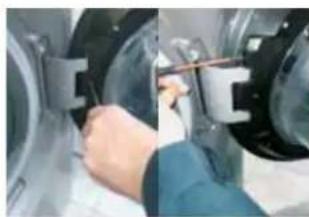
Close-up of a hand adjusting a mechanical component with a tool.

2 | Remove the cover after removing its screws
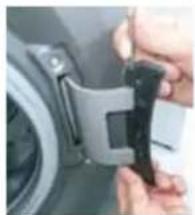
Close-up of hands installing a mechanical component on a device.

5 | Remove the pin

Close-up of a person's hand opening a large mechanical component.

8 Remove the external screws from the hinge
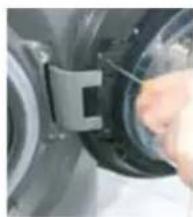
Close-up of a mechanical component with a hand adjusting a circular component.

9 | Remove the screws inside the cabinet with a 7mm socket wrench. Remove the hinge

Door closer

DOOR CLOSER | TYPE 1 TOOLS - PHILLIPS SCREWDRIVER, PLIERS, FLAT SCREWDRIVER

1
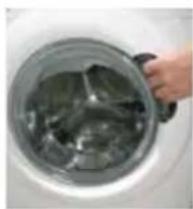
Hand holding a metal pot containing dark, irregularly shaped objects.

Open the door

Close-up of a hand cleaning dark fabric inside a washing machine.

3

Using a Torx key, remove the mounting screws on the door closer and press its latch.
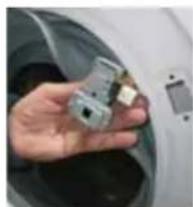
Hand holding a small electronic component inside a washing machine.

Remove the door closer

Hand holding a small electronic component inside a washing machine (no visible text or symbols)

6

Open the door

Close-up of a mechanical component with a tool inserted, no visible text or symbols

3

Disassemble the top part and covers
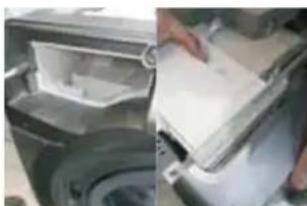
Two-panel photo showing a washing machine with a hand placing a white lid, no visible text or symbols

6

Disassemble the divider and frame

7
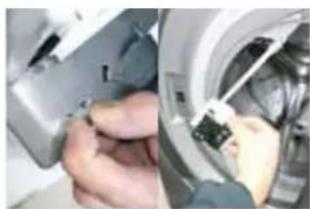
Close-up of hands installing or adjusting a mechanical component with a small black component (no visible text or symbols)

Remove the door lock

Close-up of hands using a tool to clean or store items on a machine (no visible text or symbols)

9

1 | Open the door

Close-up of a hand using a red tool to clean or store air quality inside a washing machine (no visible text or symbols)

5 Remove the seal

Hand washing a washing machine with a cloth cover (no visible text or symbols)

6 | Install the new seal, being careful with the installation slots
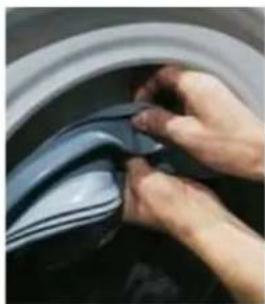
Close-up of hands cleaning a dark blue garment with a white collar (no text or symbols visible)

7 Set the wiring clip on the side of the pipe
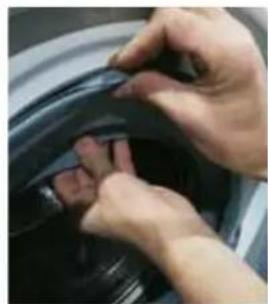
Close-up of hands cleaning a black car wheel rim (no text or symbols visible)

1 Open the detergent drawer

Close-up of a hand inserting a plastic bag into a white plastic container (no text or symbols visible)

Door

INSTRUCTIONS

DOOR | TYPE 1 TOOLS - TORX KEY 25
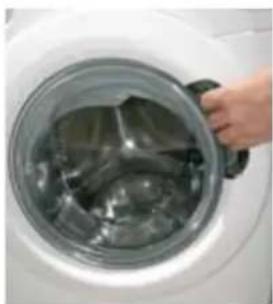
Hand placing a large glass bowl into a white appliance (no text or symbols visible)

1 Open the door

Close-up of a hand using a tool to clean or install a washing machine (no visible text or symbols)

1 | Open the door

Close-up of a person using a tool to adjust or install a mechanical component (no visible text or symbols)

1 | Open the door

Close-up of a mechanical component with curved surfaces and a handle.

5 | Separate the frame from the holder
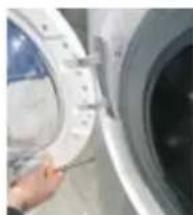
Close-up of a hand adjusting a white door panel with a tool.

6 | Replace the hinge, being careful not to lose the bushings

DOOR SEAL | TYPE 2 TOOLS - TORX 25 KEY, FLEXIBLE, 7 TUBULAR WRENCHES
Close-up of a hand placing a small object into a circular container.

1 | Open the door

Close-up of a mechanical component with flanged ends and a central hub.

5 Pull out the pin

Close-up of hands cleaning a large circular object with a metal bracket.

6 Pull out the door clip

Close-up of a car seatbelt with blue cables and a black strap.

1 | Open the door

Close-up of a mechanical component with a tool inserted (no visible text or symbols).

3 | After removing the clip, remove the cover from the seal to access the product
Close-up of a hand holding a small electronic component with a red tool, next to a car wheel (no visible text or symbols).

8 Replace the water guard

Close-up of hands using a tool to clean or inspect the interior wall of a washing machine (no visible text or symbols).

9 | Replace the door lock, being careful of the mechanical emergency release rod and electrical connections

Door seal

INSTRUCTIONS

DOOR SEAL TOOLS - TORX KEY, PLIERS, FLAT SCREWDRIVER, TWO 7 TUBULAR WRENCHES
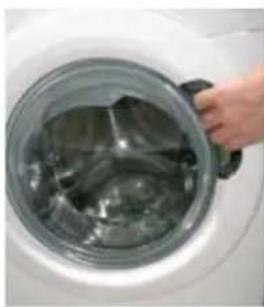
Hand holding a large appliance with metallic components inside, viewed from above (no visible text or symbols).

1 | Open the door

Close-up of a hand inserting a black plastic into a washing machine (no text or symbols visible).

3 | After removing the clip, remove the cover from the seal to access the product
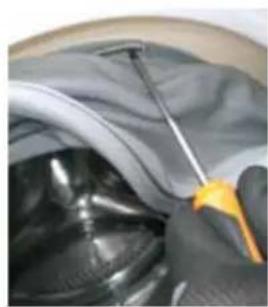
Close-up of gloved hands using a tool to adjust or install a dark fabric or mechanical component (no visible text or symbols).

4 Using a flat screwdriver, remove the clip on the tube
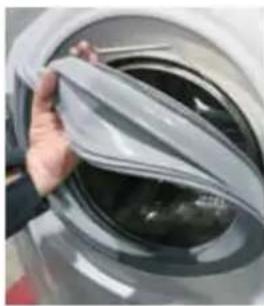
Close-up of a hand holding a transparent lid over a car wheel (no visible text or symbols).

6 | seal, being careful of the positioning notches
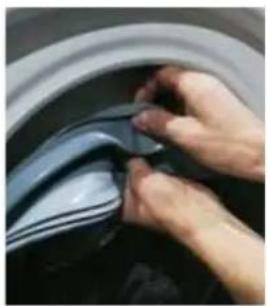
Close-up of hands cleaning a dark fabric or cloth in a washing machine.

1 Open the detergent drawer

Close-up of a hand inserting a plastic bag into a white plastic container.

2 Pull it out firmly with both hands

Close-up of a hand using a red tool to clean or store white objects.

1 Open the glass door

Close-up of a hand inserting a plastic clip into a washing machine.

3 Pull the door from the top and remove it

GLASS DOOR | TYPE 2 TOOL - 25 ALLEN KEY, FLEXIBLE PLUMBER'S WRENCH 7
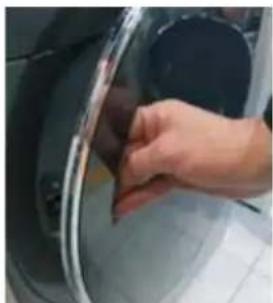
Close-up of a hand adjusting a circular mechanical component.

1 Open the glass door

Close-up of a person using a tool to adjust or install a mechanical component.

2 Remove the cover after unscrewing its screw
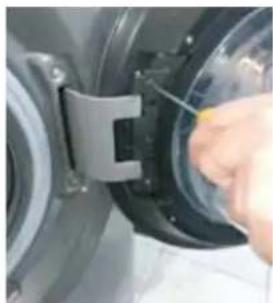
Close-up of a hand using a tool to adjust or install a mechanical component.

4 Pull the door from the top and remove it

H i n g e

I N S T R U C T I O N S

HINGE | TYPE 1 TOOL - 25 ALLEN KEY
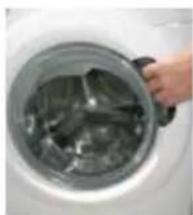
Hand holding a large pot containing a metal bowl with steam rising.

1 | Open the glass door

Close-up of a metallic mechanical component with curved surfaces and a handle.

4 | Remove all screws from the glass door
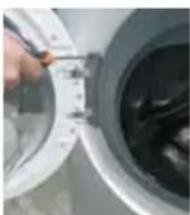
Close-up of a hand using a tool to clean or store contents inside a washing machine (no visible text or symbols)

3 Pull the door from the top and remove it
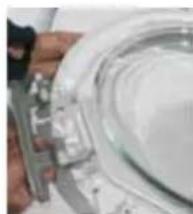
Close-up of a hand holding a glass container with metal fittings (no visible text or symbols)

6 | Replace the hinge, being careful not to lose the bushings

HINGE | TYPE 2 TOOL - 25 HEX KEY, FLEXIBLE PLUMBER'S WRENCH 7
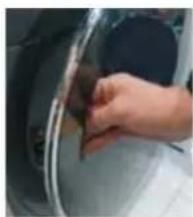
Close-up of a hand inserting a small object into a circular container (no visible text or symbols)

1 Open the glass door

Close-up of a mechanical component with metallic flanges and bolt holes (no visible text or symbols)

4 Pull the door from the top and remove it
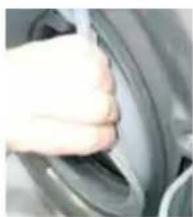
Close-up of a hand holding a car tire (no visible text or symbols)

7 Once the tape is removed, separate the cover from the gasket to allow access to the interior of the product
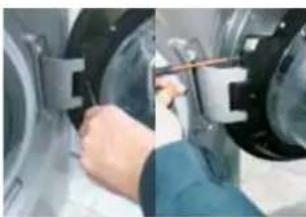
Close-up of a hand adjusting a mechanical component with a tool (no visible text or symbols)

2 | Remove the cover after unscrewing its screw
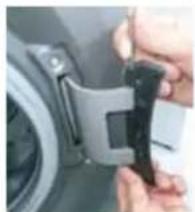
Close-up of hands installing a black plastic clip attached to a car (no visible text or symbols)

5 | Remove the pin

Close-up of a person's hand opening a large mechanical component (no visible text or symbols)

8 Remove the external screws from the hinge
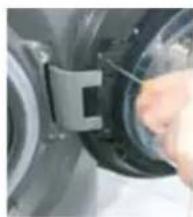
Close-up of a hand adjusting a mechanical component with a black bracket (no visible text or symbols)

6 Remove the clip on the door

Close-up of a car seatbelt buckle and seat, showing black bands and blue connectors (no text or symbols visible)

9 | Remove the screws from the inside of the cabinet using the plumber's wrench 7 Remove the hinge

L o c k

I N S T R U C T I O N S

LOCK | TYPE 1 TOOL - PHILLIPS SCREWDRIVER, PLIERS, FLATHEAD SCREWDRIVER
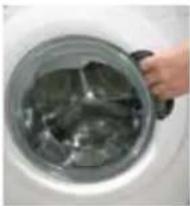
Hand holding a metal pot containing dark liquid, placed inside a white appliance (no text or symbols visible)

1 Open the glass door

Close-up of a hand inserting dark liquid into a washing machine (no visible text or symbols)

2 Use the flathead screwdriver as a lever and remove the external clamp
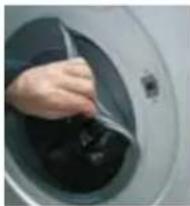
Close-up of a hand cleaning a dark liquid in a washing machine (no text or symbols visible)

3 Once the clamp is removed, separate the cover from the gasket to allow access to the interior of the product
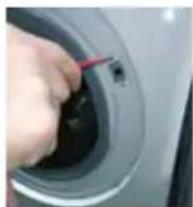
Close-up of a hand using a screwdriver to adjust or install a car door (no visible text or symbols)

4 | Using a hex key, loosen the screws on the door lock and press its latch.
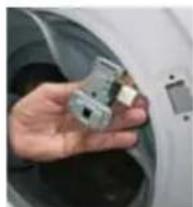
Hand holding a small electronic component inside a washing machine (no visible text or symbols)

5 Remove the lock

Hand holding a small electronic component inside a washing machine (no visible text or symbols)

6 | Disconnect the wiring, and the contact clamp, being careful not to reverse the wiring

LOCK | TYPE 2 TOOLS - PHILLIPS SCREWDRIVER, PLIERS, FLATHEAD SCREWDRIVER
Close-up of a hand adjusting a car wheel rim (no visible text or symbols)

1 | Open the glass door

Close-up of a mechanical component with a tool inserted, no visible text or symbols

2 Use a flathead screwdriver as a lever and remove the outer clamp
Close-up of a hand adjusting a mechanical component with a black clip (no visible text or symbols)

3 Once the clamp is removed, separate the cover from the gasket to allow access to the interior of the product
Close-up of a hand pressing a red tool on a car wheel (no visible text or symbols)

5 | Disassemble the worktop and panels
Two-panel photo showing a microwave oven and a hand placing a white plastic lid (no visible text or symbols)

6 | Disassemble the dispenser and frame
Close-up of hands installing or adjusting a mechanical component with a small black component (no visible text or symbols)

7 Remove the lock

Close-up of hands using a tool to clean or repair a mechanical component (no visible text or symbols)

8 Remove the water guard

Close-up of hands using a tool to adjust or install a component, no visible text or symbols

9 | Replace the door lock, paying attention to the mechanical emergency opening link and the electrical connection

Door gasket

I N S T R U C T I O N S

DOOR GASKET TOOLS - HEX KEY, PLIERS, FLATHEAD SCREWDRIVER, TWO PIPE WRENCHES 7
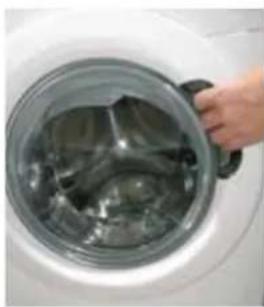
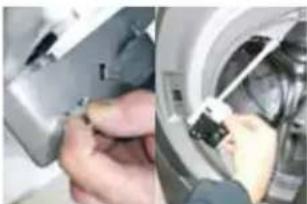
Hand placing a large fan into a washing machine (no visible text or symbols)

1

Open the glass door

Close-up of a hand using a red tool to clean or wash liquid inside a washing machine (no text or symbols visible)

2

Use a flathead screwdriver as a lever and remove the outer clamp
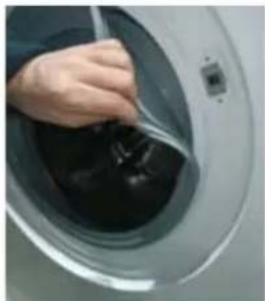
Hand washing a dark liquid inside a large washing machine (no text or symbols visible)

3

Once the clamp is removed, separate the cover from the gasket to allow access to the inside of the product
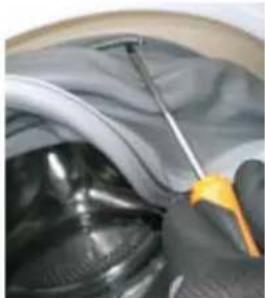
Close-up of gloved hands using a tool to adjust or install a dark fabric or mechanical component (no visible text or symbols)

4

Using a flathead screwdriver, remove the clamp from the tube
Close-up of a hand cleaning a car wheel rim (no text or symbols visible)

5

Remove the gasket

Hand placing a cloth over a washing machine (no visible text or symbols)

6

Install the new gasket, paying attention to the positioning notches
Close-up of hands cleaning a dark blue car wheel rim (no text or symbols visible)

7

On the tube side, insert the wiring clamp
Close-up of hands cleaning a dark tire (no text or symbols visible)

8

Tighten the clamps on the pipe using a tool.
Close-up of hands installing or adjusting a small component near a car wheel (no visible text or symbols)

9

Place the gasket on the cabinet. Fix the outer clamp and tighten it (with pliers if necessary).

Detergent drawer

I N S T R U C T I O N S

DETERGENT DRAWER
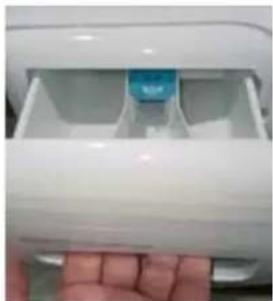
Close-up of a hand holding a white plastic container with a blue plastic clip (no text or symbols visible)

1 Open the detergent drawer

Close-up of a hand inserting a plastic bag into a white plastic container (no text or symbols visible)

2 Using both hands, pull it firmly

Close-up of a hand using a red tool to clean or store white plastic products (no visible text or symbols)

3 Unhook the detergent drawer cover, being careful not to break the hooks

Lubricant

INSTRUCTIONS

LUBRICANT | TYPE 1 TOOLS - 25 TORQUE WRENCH
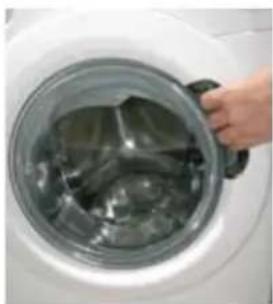
Hand placing a large glass bowl into a white appliance with metal washes (no text or symbols visible)

1

Open the lubricant

Close-up of a hand using a tool to clean or store air quality inside a washing machine (no visible text or symbols)

2

3

1

Open the valve

Close-up of a hand using a tool to adjust or install a mechanical component (no visible text or symbols)

2

3

4

1 Open the valve

Close-up of a metallic mechanical component with curved surfaces and a handle (no visible text or symbols)

1 Open the valve

Close-up of a mechanical component with metallic flanges and bolt holes (no visible text or symbols)

5 | Remove the pin

Close-up of a person's hand opening a large mechanical component (no visible text or symbols)

1 Open the valve

Close-up of a hand washing dark fabric inside a washing machine, no visible text or symbols.

1 Open the valve

Close-up of a mechanical component with a tool inserted, no visible text or symbols.

1

Open the valve

Close-up of a hand using a red tool to clean or store liquid inside a washing machine, no visible text or symbols.

2

3

4

5

Remove the cover

Hand opening a large washing machine with a cloth cover, no visible text or symbols.

6

7

8

9

1

2

3

Table of contents Click a title to access it
Manual assistant
Powered by Anthropic
Waiting for your message
Product information

Brand : HAIER

Model : RTXSG47TMCRE16

Category : Washing machine