SF400P11 - Lighting ELRO - Free user manual and instructions
Find the device manual for free SF400P11 ELRO in PDF.



User questions about SF400P11 ELRO
0 question about this device. Answer the ones you know or ask your own.
Ask a new question about this device
Download the instructions for your Lighting in PDF format for free! Find your manual SF400P11 - ELRO and take your electronic device back in hand. On this page are published all the documents necessary for the use of your device. SF400P11 by ELRO.
USER MANUAL SF400P11 ELRO
Home is not a place, it's a feeling
EXPLANATION
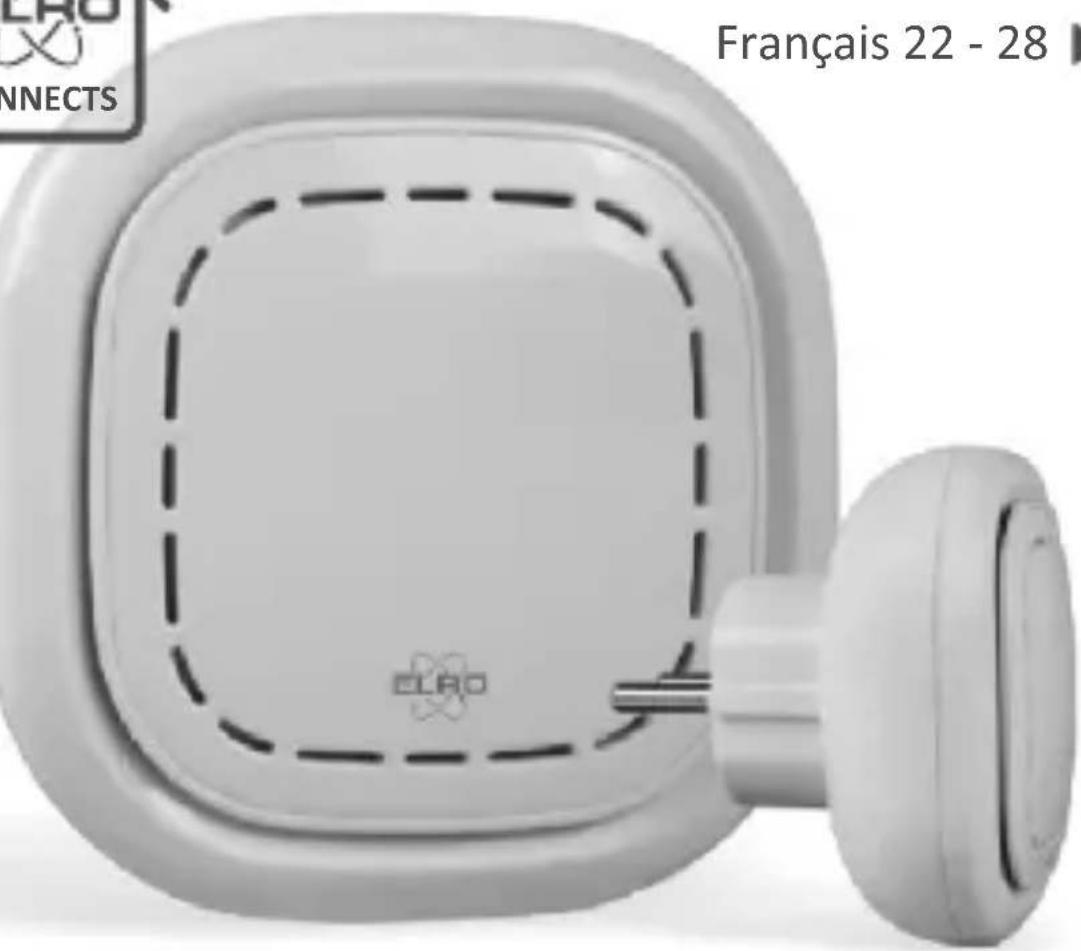
The ELRO K1 Connector is the centre of your ELRO Connects system. It connects all your ELRO Connects products to the free ELRO Connects App. With the ELRO Connects App you get full control of your home, making it a more comfortable and safe environment for you and your family. ELRO Connects is a plug & play system, developed for anyone to use and enjoy.
3 step installation
1. Download the ELRO Connects App
Download the "ELRO Connects" app from the Apple App Store or Google Play Store. To enjoy all the functions of the ELRO Connects system, make sure to allow the app to send push notifications and use your current location.
2. Register an Account
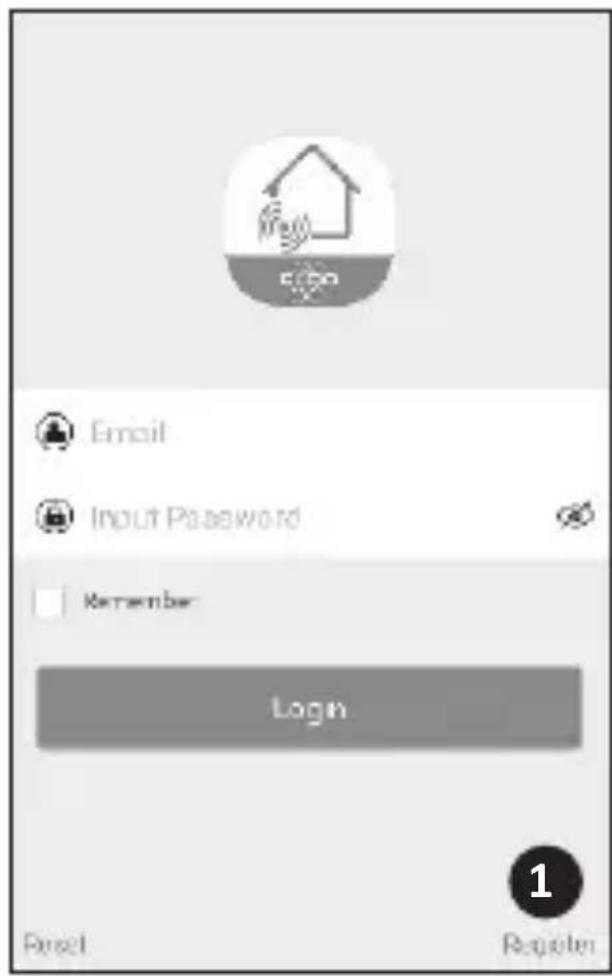
When opening the app for the first time, the login screen will pop-up. Please click the "Register" button (1) on the bottom right corner of the app. In the new screen, type in your e-mail address (2).
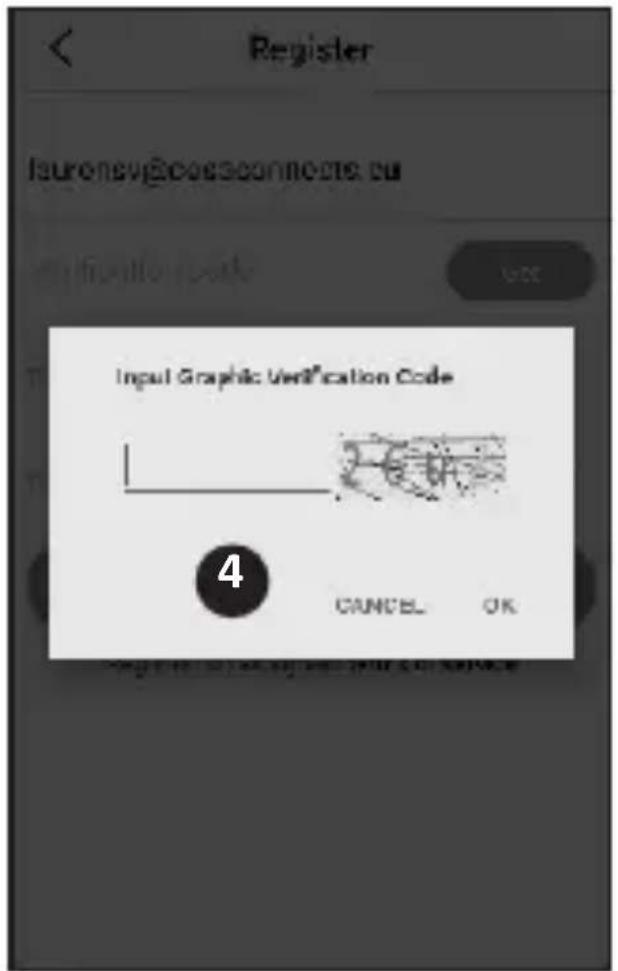
To verify your e-mail address, please tap the "Get" button (3). Now a pop-up will appear in which you need to fill in the displayed graphic verification code (4). (Be aware of Capital and Lower case!)
After you've entered the graphic's verification code, you'll receive an e-mail from the ELRO Connects App.
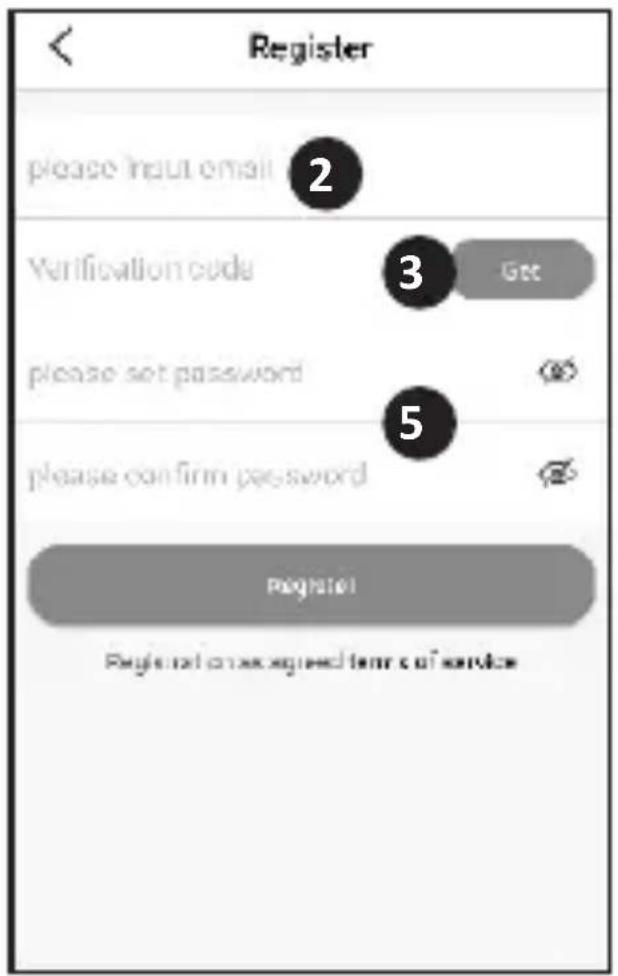
If you check the email on your phone you will have to re-open the ELRO Connects App again, fill in your e-mail address again and. the verification code you received in your e-mail needs to be filled in in the app left from the "Get" button (3).
-English 2-
Next, type in the password (5) you want to use (at least 8 digits, a mix of upper/ lower case letters and numbers and/or special characters). Re-enter the password in the field underneath and tap the "Register" button. You can check the password by pressing on the eye! Confirm by pressing registration. The login screen will appear. Now you can login to the app using the information the e-mail address and password you just provided.
3. Connect the K1 Connector to the app
Now you'll be taken to the "Add Gateway" screen. Plugin the K1 Connector into a wall socket, wait for the LED indicator to turn green.
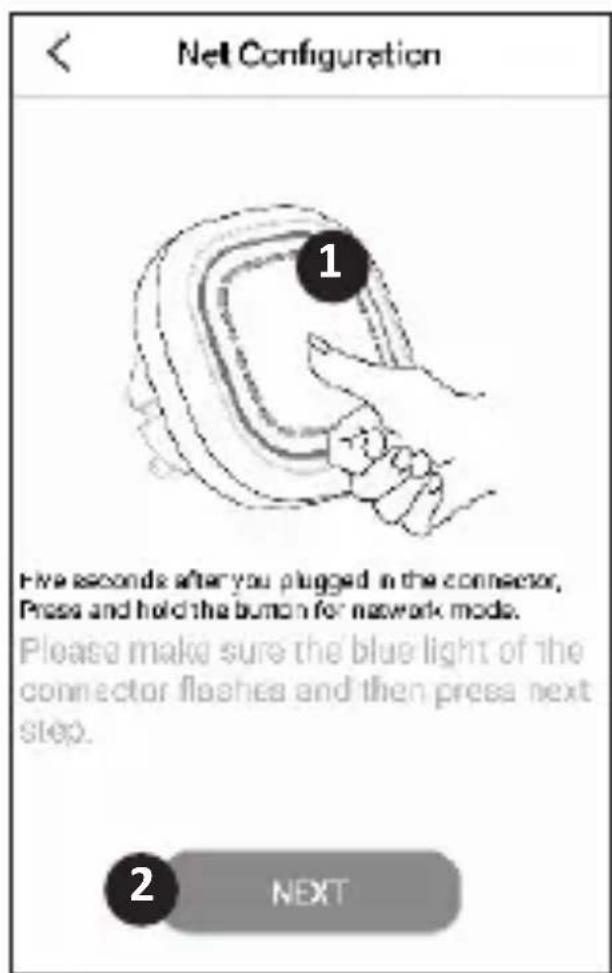
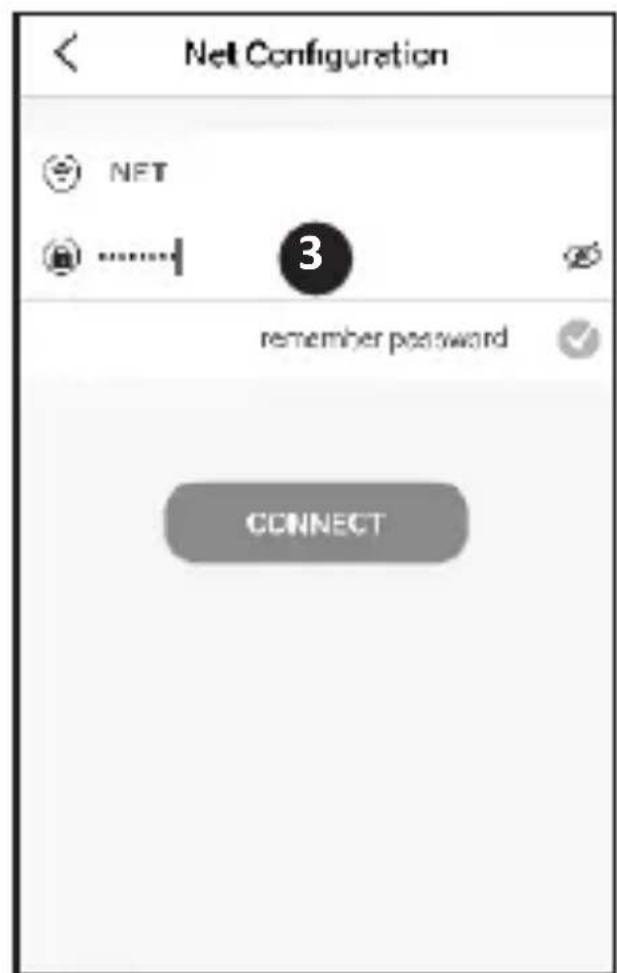
Next, press the K1 Connector's button (1) for min. 3 seconds until the blue LED light flashes slowly. Then, tap the "NEXT" button (2). In the next screen, type in your Wifi network password (3) and tap "CONNECT". Now the app will search your network for the K1 Connector and connect it to the app. This will take approximately 1 minute. Afterwards you'll be informed that the connection was a success.
Connect ELRO Connects products to the app
Connecting the different ELRO Connects products to your app is very easy and will take you very little time.
First, go to the Device List by tapping the "Device" button (1) at the bottom right corner of your Home screen. Next, tap the "+" on the upper right corner (2).
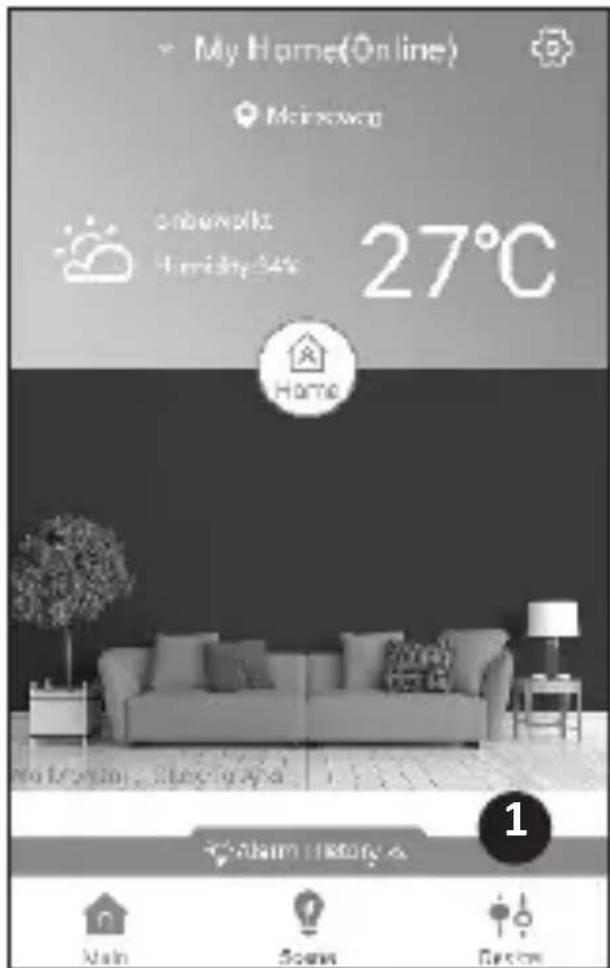
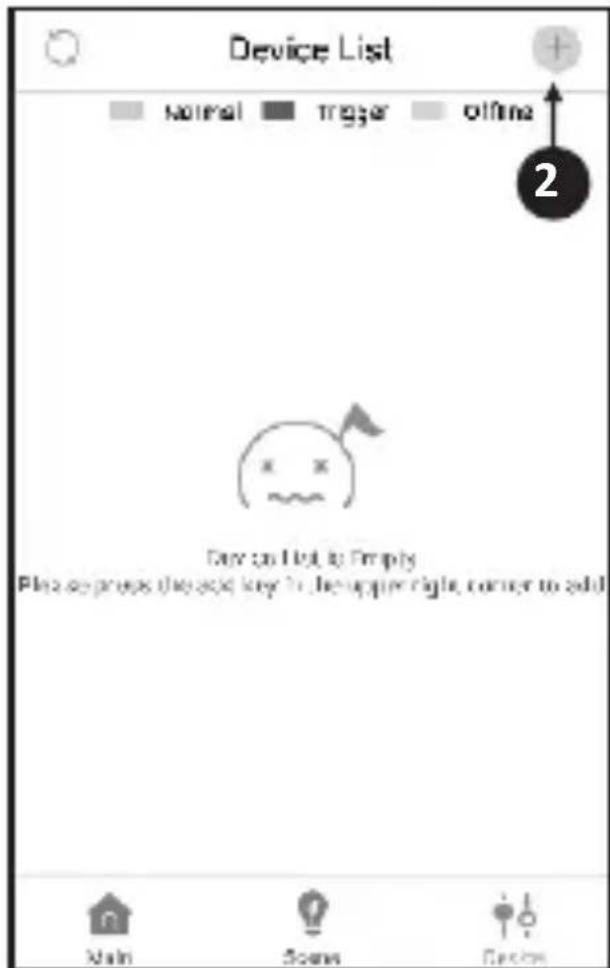
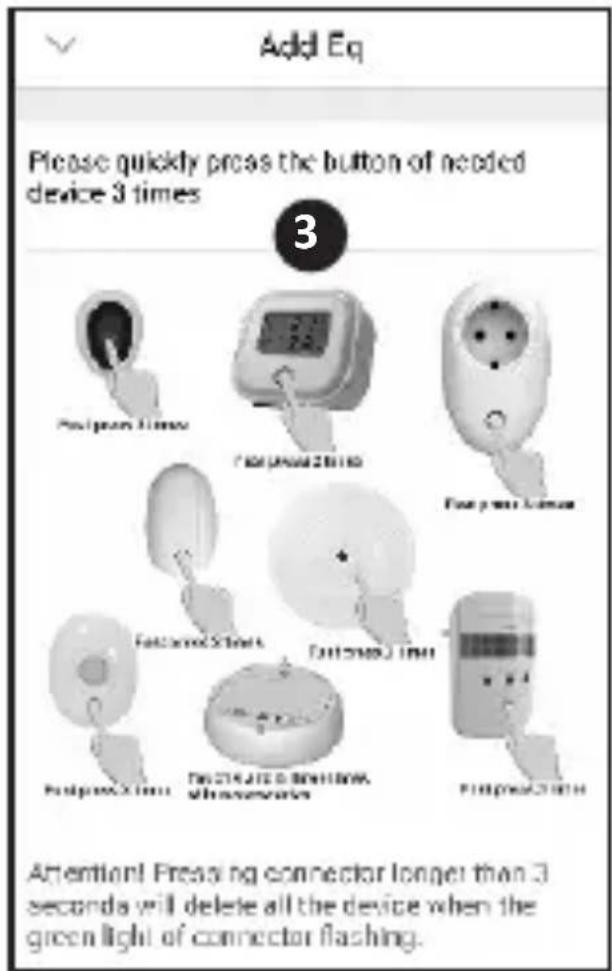
Now quickly press the button on your ELRO Connects device 3 times (3). When the connection with the ELRO Connects device is successful the LED of the K1 Connector will quickly blink 10 times and you'll receive a notice in the app.
Please note
The ELRO Connects Water Detector (FW3801R) doesn't have a button. Use a screwdriver to touch both sensors 3 times in the connection process.
Congratulations!
You successfully connected an ELRO Connects product to your app. You can now name the product and use it in your app to control with your smartphone, use in scenes etc.
If you have any questions or when you require more information on the ELRO Connects system and/or ELRO Connects products, please visit our website at www.elro.eu.
Operation Modes
Your ELRO Connects app has 3 pre-installed operation modes "Home, "Away" and "Sleep". You can switch between these operation modes by tapping the button in the middle of your Home screen and select the desired mode.
Scenes
On the Home screen, please tap the "Scene" button at bottom of this screen. Here you can set up different scenes for your ELRO Connects system. When making a scene you can make certain sensors or conditions trigger actions from connected products. For example, you can make a motion sensor turn on a light connected to your plugin unit. To create a scene, simply tap the "+" in the "automating list". Here a screen pops up in which you can add conditions and link them to an action that you want to follow from it.
Timers
On the Home screen, please tap the "Scene" button at bottom of this screen. To set a timer, tap the "Timer" button on the top left corner of your screen. Here you can set a time at which an operation mode automatically starts. For example, you can set the "Sleep" mode to be activated each day at 23:00.
For more information regarding Scenes, Timers, Modes and the latest updates, please visit our website at www.elro.eu.
Disposal of the device The adjacent symbol of a crossed-out wheelie bin means that this device is subject to Directive
2012/19/EU. This directive states that this device may not be disposed of in normal household waste at the end of its usable life, but must be handed over to specially set-up collection locations, recycling depots or disposal companies. This disposal is free of charge for the user. Protect the environment and dispose of this device properly. You can obtain further information from your local disposal company or the city or local authority.
| SF40GA11 K1 Connector | |
| Power Input : AC 240V, 50/60Hz | |
| Power consumption : ≤ 1W (Standby) | |
| Networking : WiFi | 802.11n/g/b, WPA/WPA2 | |
| : RF | 868MHz | |
| Wireless distance : WiFi | Refer to Router for instructions | |
| : RF | ≥ 100 m | |
| Environment : -10°C ~ +50°C <95% RH (Non-condensate) |
ELRO Europe | www.elro.eu
Postbus 9607 - Box E800
1006 GC Amsterdam - The Netherlands

GUARANTEE
Deutsch 08 - 14

Nederlands 15 - 21

Français 22 - 28

K1 CONNECTOR
ELRO CONNECTS
ERKLÄRUNG
SF40GA11 K1 Connector
SF40GA11 Home is not a place, it's a feeling
UITLEG
SF40GA11 Home is not a place, it's a feeling
EXPLICATION
PLUG IN SWICTH
ELRO CONNECTS K1
SAPPII Home is not a place, it's a feeling
EN - EXPLANATION
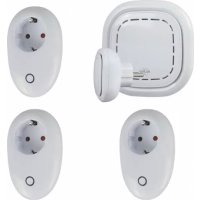
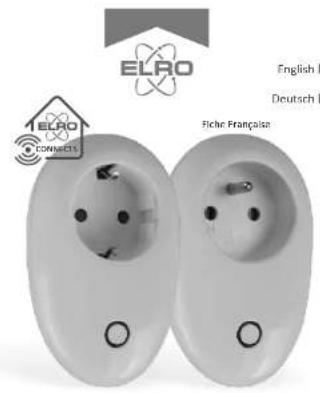
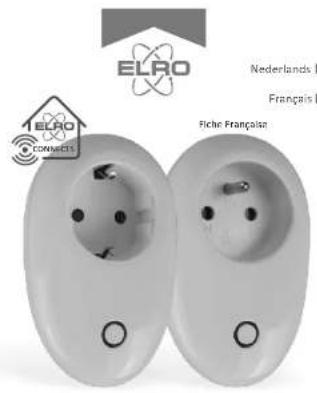
This ELRO Connects Plug-in Switch is an addition for your ELRO Connects Smart Home System. With the Plug-in Switch it's possible to control plugged in lighting or electrical appliances with the ELRO Connects App. Also it's possible to set timers and let plugged in lighting/appliances react to ELRO Connects Sensors, such as motion sensors or door/Window contacts.
Connect to the ELRO Connects App
Connecting the different ELRO Connects Plug-in Switch to your app is very easy and will take you very little time.
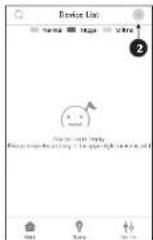
- First, open the EURO Connects App and go to the Device List by tapping the "Device" button (1) at the bottom right corner of your Home screen.
Next, tap the "+” on the upper right corner (2).
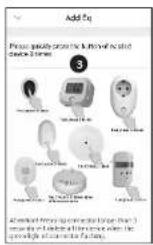
Now quickly press the button on your ELRO Connects Plug in Switch [3]. When the connection with the ELRO Connects Plug in Switch is successful, the LED of the K1 Connector will quickly blink 10 times and you'll receive a notice in the app.
Congratulations!
You successfully connected the product to your app. You can now name the sensor and use it in your app to receive notifications, use in scenes etc.
| SF40PL11 Specifications | |
| Input : AC 240V, 50/60Hz | |
| Output : AC 240V, 50/60Hz Max. 10A | |
| Standby power : <0.5W | |
| Frequency : 868MHz | |
| RP distance : Up to 100m | |
| Switching life : Up to 50,000 times | |
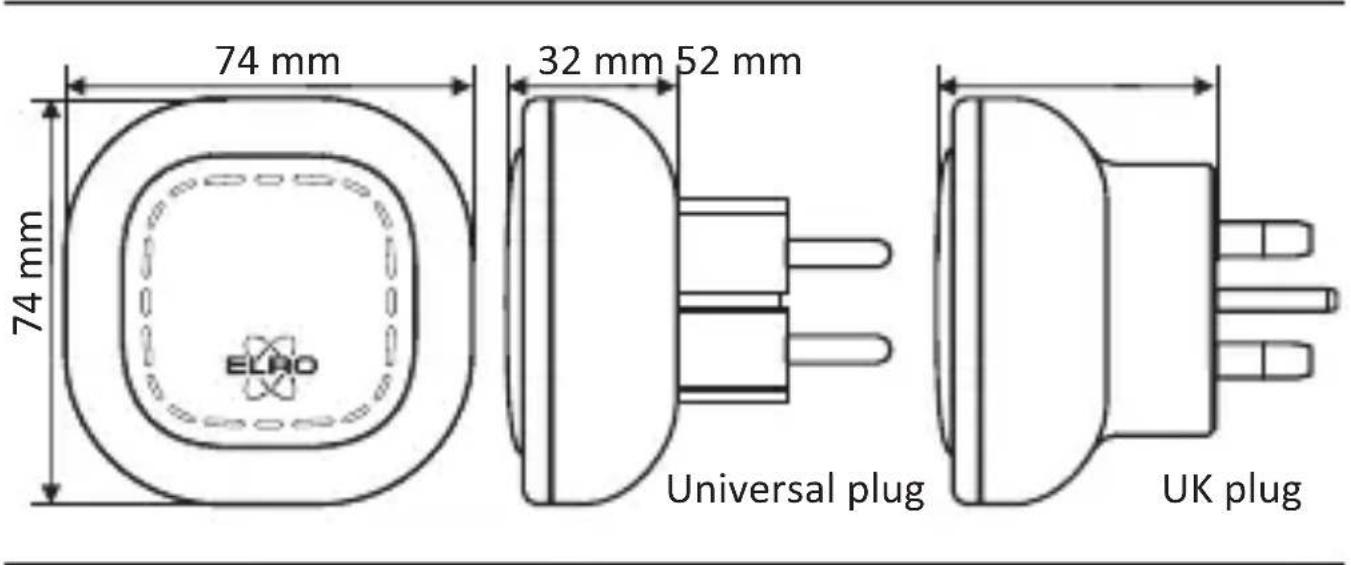
| Size : 77x58 x 32 mm |
FIRD Europe | www.freda.nl
Postbus 9637 - Box FBD0
1206 GC Amsterdam
The Netherlands

GUARANTEE

Disposal of the device. The adjacent symbol of is crossed out wheelie bin means that this device is Subject to Directive 2012/19/EU. This directive states that this device may not be disposed of in normal household waste at the end of its usable life, but must be handed over to specially set up collection locations, recycling depots or disposal companies. This disposal is free of charge for the user. Protect the environment and dispose of this device properly. You can obtain further information from your local disposal company or the city or local authority.
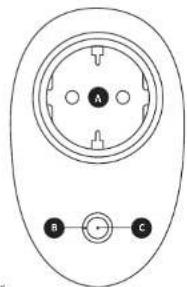
A-Socket
B-Indicator
ON -Output power is ON
OFF = Output power is OFF
C=Button
Press =Manually change ON and OFF status
A = Steckdose
4 = Betriebsanzige
PLUG IN SWICTH
ELRO CONNECTS K1
SFREPI.11 Home is not a place, it's a feeling
NL-UITLEG
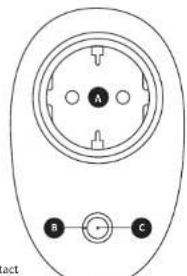
A-Stopcontact
4-Indicator
ON -Stroomultgang is AAN
OFF =Stropmuitgang is
C=Knop
Drukken = Handmatig AAN en UIT status veranderen
A = Prise
B=Indication
LILC Europe | www.lifecor.org
Postbus 9567 - Box L1500
1006 GE Amstomdard
The Netherlands