
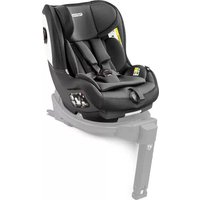
Viaggio Flex 120 - Car seat PEG PEREGO - Free user manual and instructions
Find the device manual for free Viaggio Flex 120 PEG PEREGO in PDF.
| Product Type | Child booster seat (Groups 2/3) |
| Brand | Peg Perego |
| Model | Viaggio Flex 120 |
| Category | Car seat |
| Weight limits | 18 – 54 kg (40 – 120 lbs) |
| Height limits | 99 – 160 cm (39 – 63 in) |
| Use | Forward-facing only |
| Main attachment | Rigid ISOFIX connectors (UAS) + vehicle 3-point seat belt |
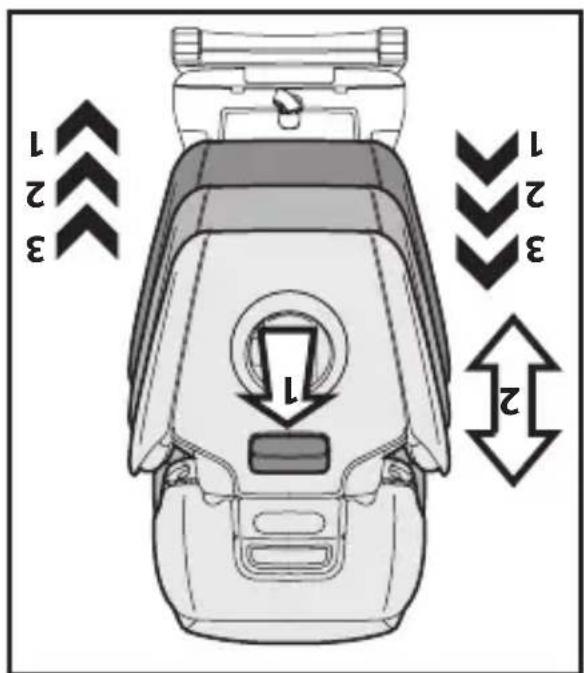
| Number of headrest positions | 5 |
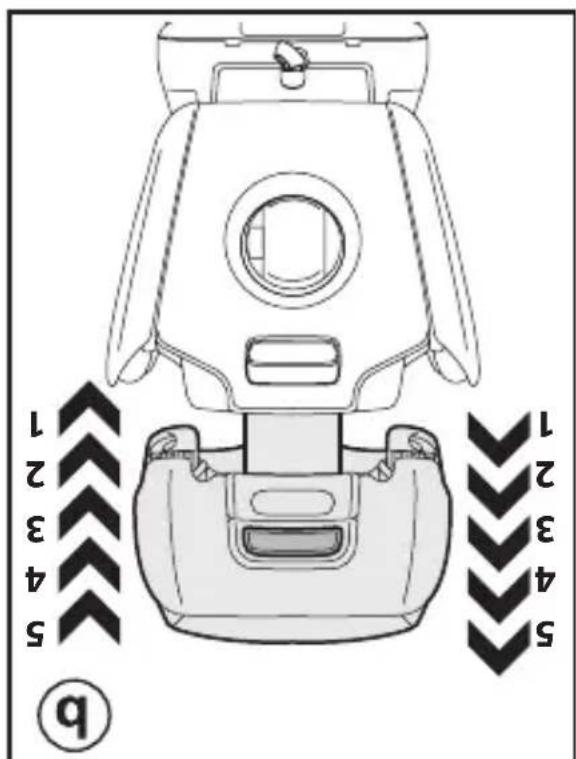
| Number of backrest width positions | 3 (closed, intermediate, open) |
| Number of backrest height positions | 3 |
| Recline | Yes, for extra comfort |
| Cup holders | 2 integrated side cup holders |
| Compliance | CMVSS 571-213.2 (Canada) |
| Cover care | Machine washable at 30°C (87°F) |
| Replacement parts | Available upon request (contact customer service) |
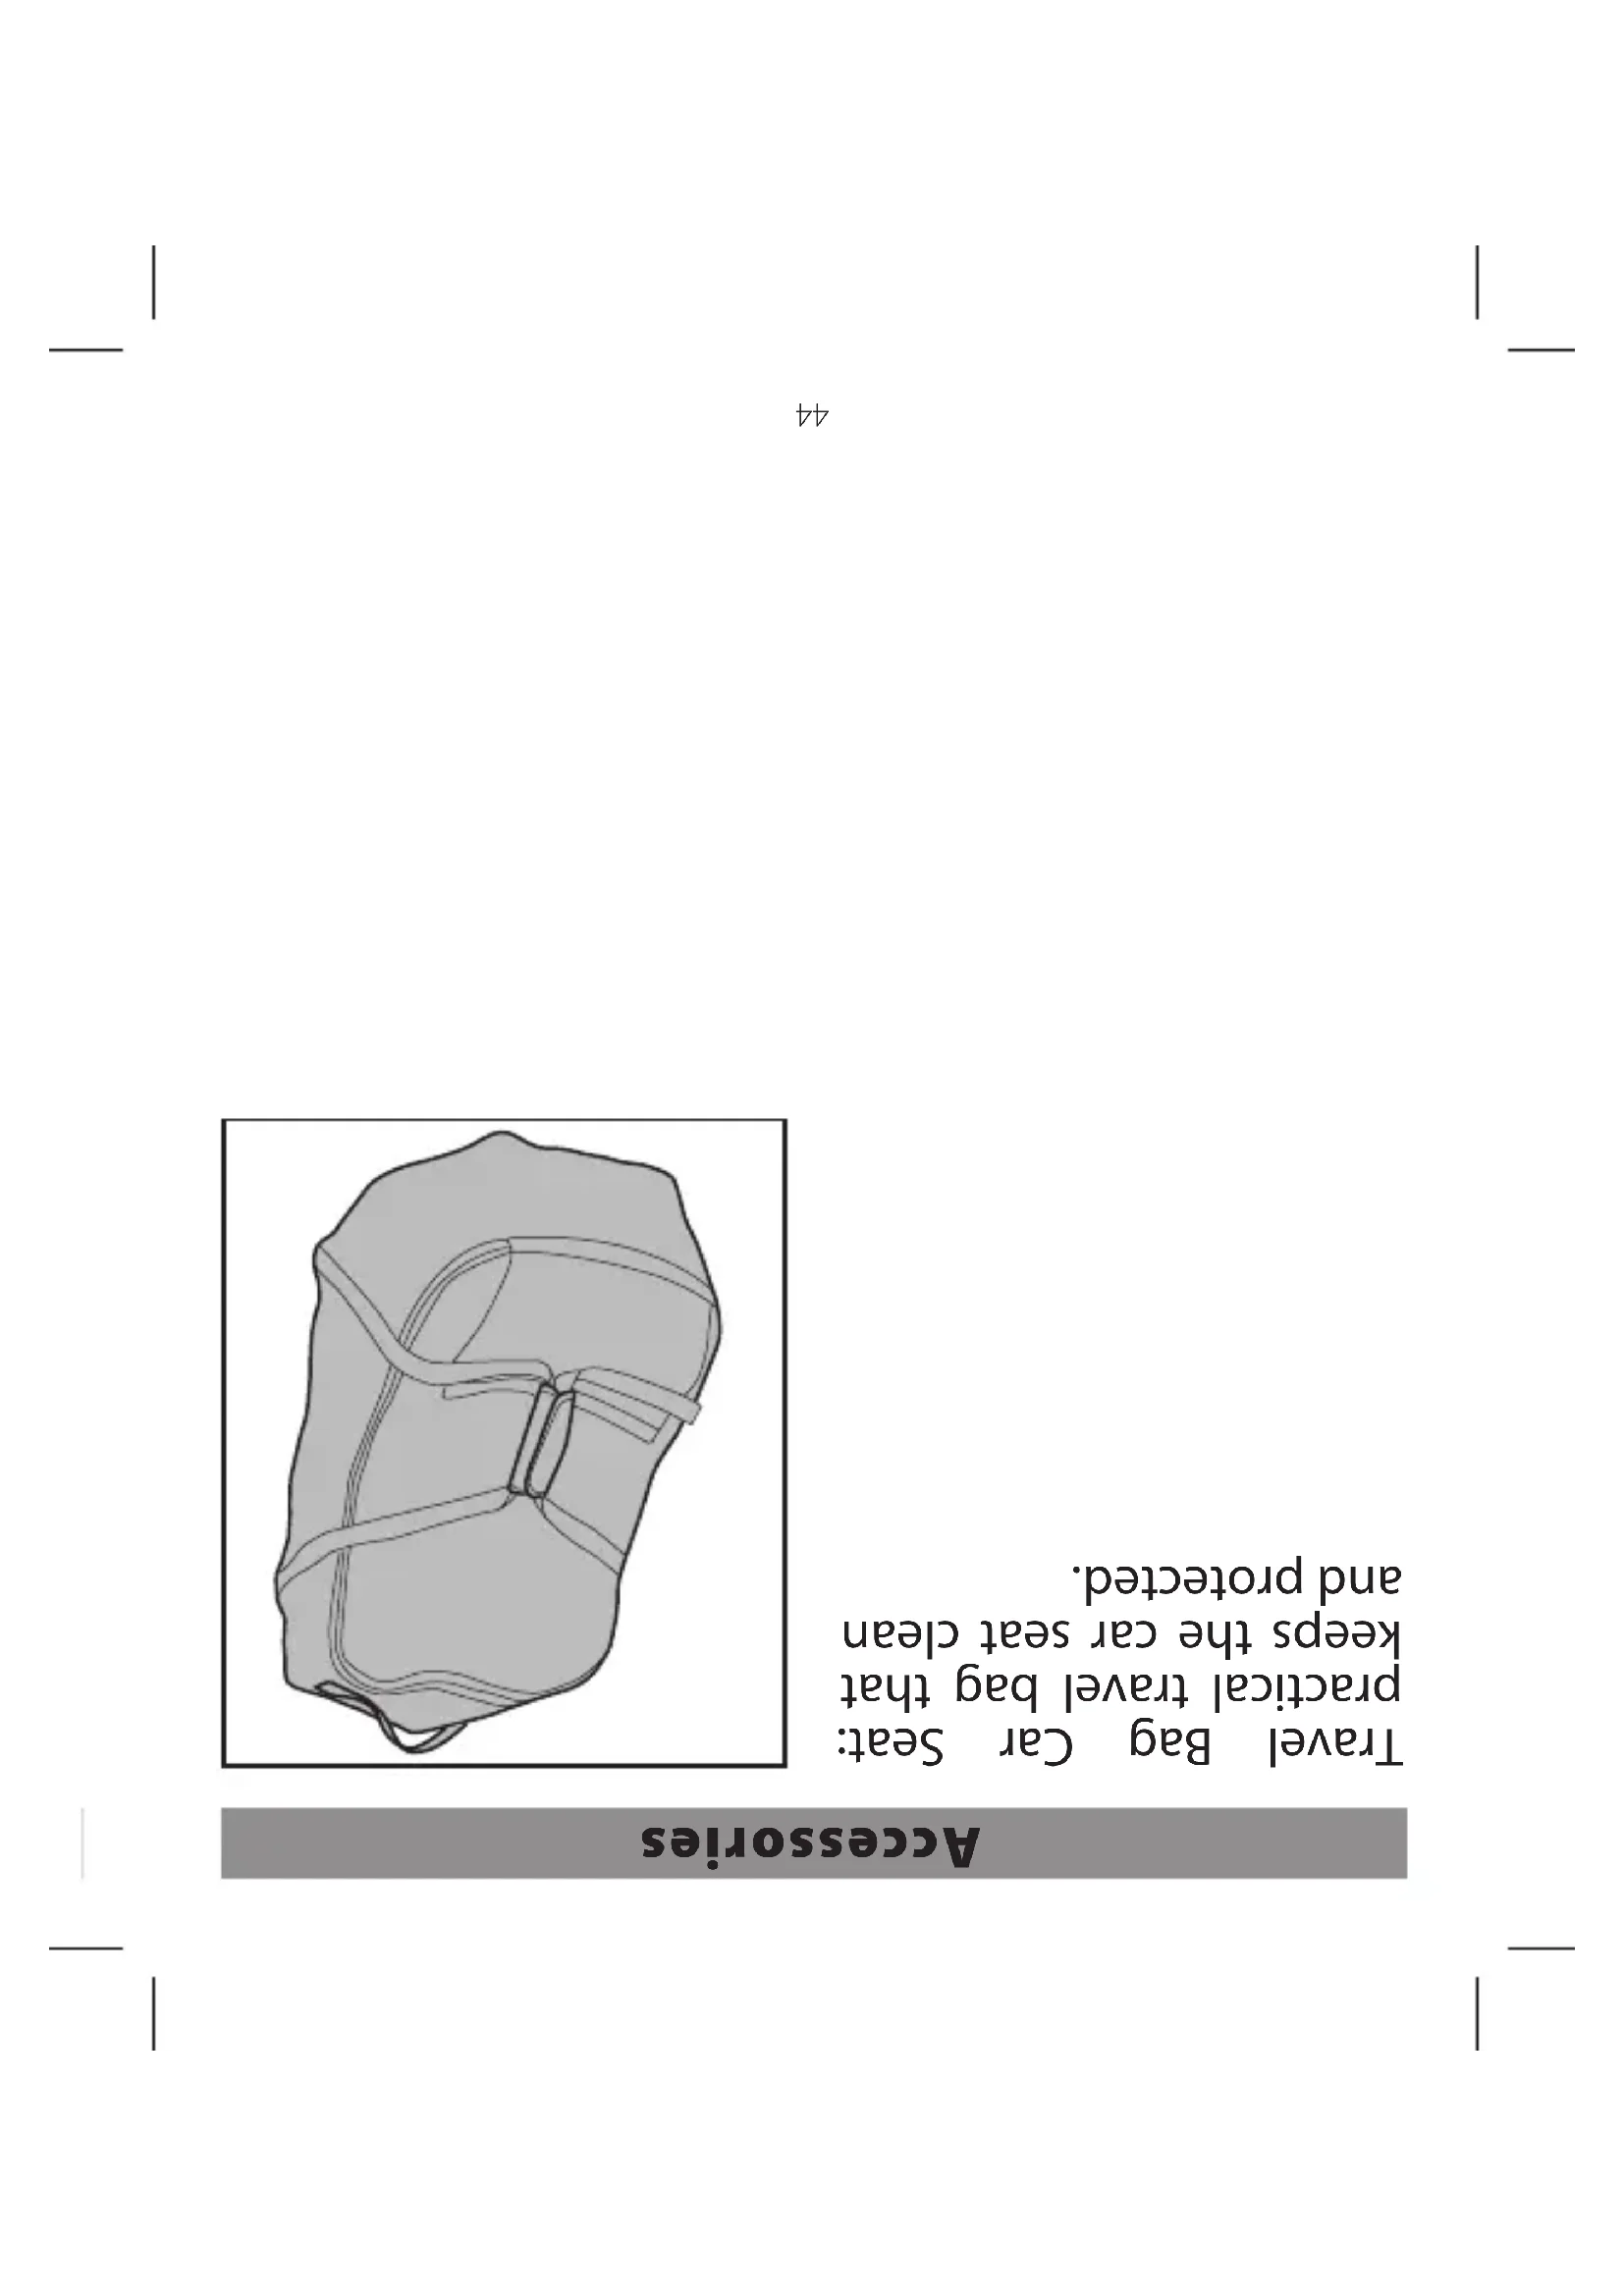
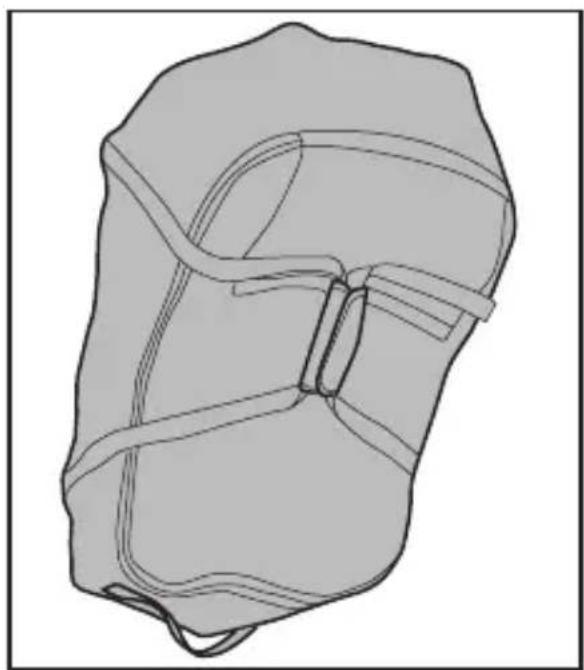
| Optional accessories | Travel Bag Car Seat |
| Lifespan | 12 years after manufacturing date |
| Canada customer service | 1-800-661-5050 (toll-free) |
| Manufacturer | Peg-Perego S.p.A., Arcore, Italy |
| Padding materials | EPS foam under the cover |
| Approximate weight | Approximately 6 kg |
Frequently Asked Questions - Viaggio Flex 120 PEG PEREGO
User questions about Viaggio Flex 120 PEG PEREGO
0 question about this device. Answer the ones you know or ask your own.
Ask a new question about this device
Download the instructions for your Car seat in PDF format for free! Find your manual Viaggio Flex 120 - PEG PEREGO and take your electronic device back in hand. On this page are published all the documents necessary for the use of your device. Viaggio Flex 120 by PEG PEREGO.
USER MANUAL Viaggio Flex 120 PEG PEREGO
Peg-Perego CANADA, Inc. 585 Granite Court Pickering Ontario Canada L1W3K1
Ouappelezle1-800-661-5050(numberovert)
Viaggio Flex 120 is designed to be installed on the following vehicle classes:
- multi-purpose passenger vehicle
passenger car
Declaration of conformity
Product name
VIAGGIO FLEX 120 VIAGGIO FLEX 120
Product reference number
IMVF00CA35*
Reference Standards (origin)
CMVSS 571-213.2 (Canada)
Declaration of conformity
Peg-Perego S.p.A. declares under its sole responsibility that the article to which this declaration relates has undergone internal testing and has been approved, in accordance with regulations in force, by external, independent testing laboratories.
Date and place of issue
Arcore, 21st July 2016
Peg-Peregoo S.p.A.
Via De Gasperi, 50
20862 Arcore (MB), ITALY
FR_Français
66nne nnnn nnnn nnnn nnnn nnnn nnnn nnnn nnnn nnnn nnnn nnnn nnnn nnnn nnnn nnnn nnnn nnnn nnnn nnnn nnnn nnnn nnnn nnnn nnnn nnnn nnnn nnnn nnnn nnnn nnnn nnnn nnnn nnnn nnnn nn
poepepepepepepepepepepepepepepepepepepepepepepepepepepepepepepepepepepepepepepepepepepepepepepepepepepepepepepepepepepepepepepepepepepepepepepepepepepepepepepepepepepepepepepepepe pe
sss
T 00000000000000000000000000000000000000000

aunbny uumous
eunbs ybnmoi
'puey nwnsnpe y
oq eod cenr
y 6
eueuieuw pue 6uea
乙
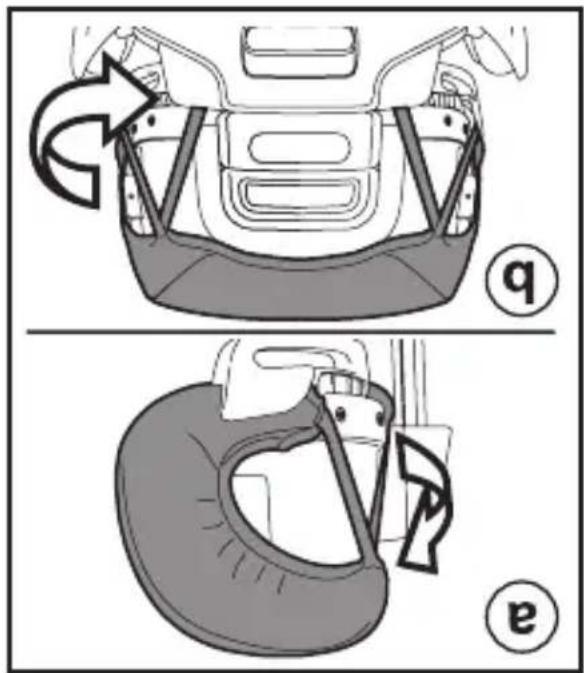
aenrnnnne nnnnne 6nnae pepe (q-b) eonno nane pue (e-b) apns no onnns oomss sssseepd npckpupu and pue spspey
sntnne nne nee eee
eueeueeueueuee eae
spsn nnnnne nnnnne nnnnne nnnnne nnnnne nnnnne nnnnne nnnnne nnnnne nnnnne nnnnne nnnnne nnnnne nnnnne nnnnne nnnnne nnnnne nnnnne nnnnne nnnnne nnnnne nnnnne nnnnne nnnnne nnnnne nnnnnee nnnnne nnnnne nnnnne nnnnne nnnnne nnnnne nnnnne nnnnne nnnnne nnnnne nnnnne nnnnne nnnnne nnnnne nnnnne nnnnne nnnnne nnnnne nnnnne nnnnne nnnnne nnnnne nnnnne nnnnne nannnee
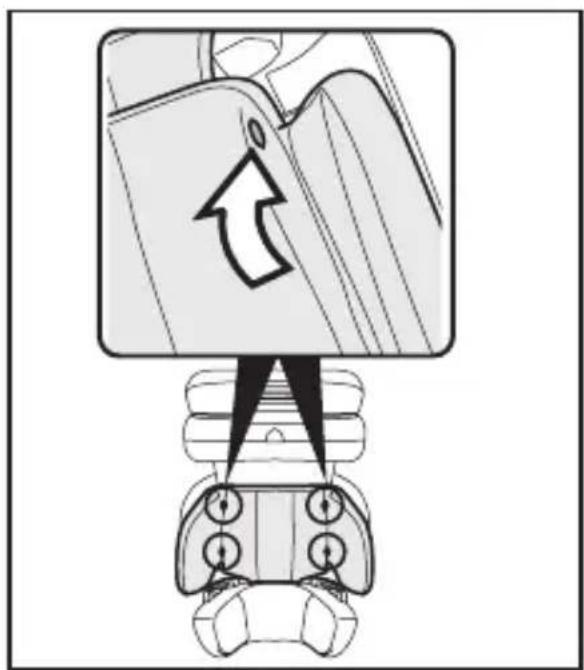
aonbiny uumous se moq no coow huy 6uunsuee eae yu sots sdspe duy uespuus pue sess oos m apis ayepm AuyBIS S
eueaeue ue 6uea
0
e e 1
eae
eueuieuw pue 6uea
6
(q-6y)
10s 3eudde y
u! 1d 6nss
(e6y) 7nns
o6nss
(2) 101s rnrnnn nnnn nn nnnn nnnn nnnn nnnn nnnn nnnn nnnn nnnn nnnn nnnn nnnn nnnn nnnn nnnn nnnn nnnn nnnn nnnn nnnn nnnn nnnn nnnn nnnn nnnn nnnn nnnn nnnn nnnn nnnn nnnn nnnn nnnn nnnn nnnn nnne
aeppeesepeeppeeppeeppeeppeeppeeppeeppeeppeeppeeppeeppeeppeeppeeppeeppeeppeeppeeppeeppeeppeeppe
Aqedcoespe
S
sRpsd n oM y m p a s 02X e6eI
(q-6y)
onpod 4y 4u
isnoaenwis pue rou
yoo (e-6y) apuey
ynd tees aee
oOnnwnxew
sene nne
6bu e yM pey
s! 02X F66!

s m 60n o
se paeinb a si ouenrdo s1
(2) spremumop tsekq e
aewes ae ynsd pue (L) apuey annd
e enoanoeonp
pe (2) sasreep
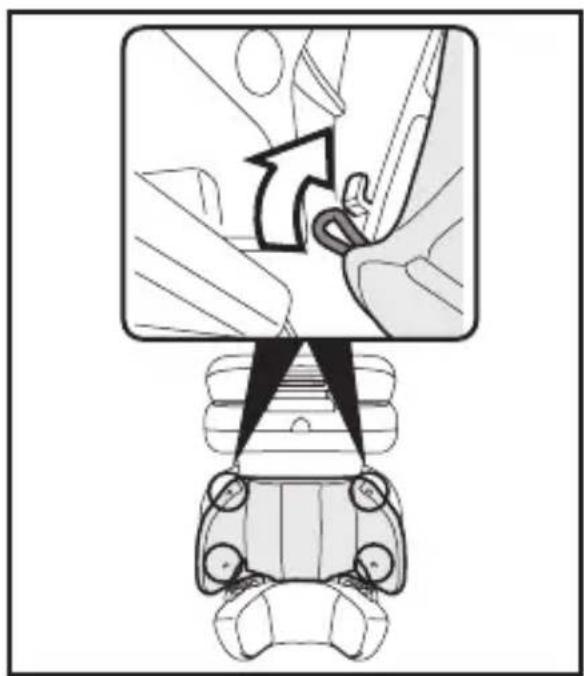
pe (L) spiemdn sasreep
aoye reay onp
aynsd sounisod e u
pensippe qy New
peeppeeppeeppeeppeeppeeppeeppeeppeeppeeppeeppeeppeeppeeppeeppeeppeeppeeppeeppeeppeeppeeppeeppeeppeeppeeppeeppeeppeeppeeppeeppeeppeeppeeppeeppe
E L
eae
:LNVADW
P 1
eeppeeppeeppeeppeeppeeppeeppeeppeeppeeppeeppeeppeeppeeppeeppeeppeeppeeppeeppeeppeeppeeppeeppeeppeeppeeppeeppeeppeeppeeppeeppeeppeeppeeppeeppeeppeeppeeppeeppeeppeeppeeppeeppeeppeeppeeppeeppeeppeeppeeppeep
4e7 p!6!R
8
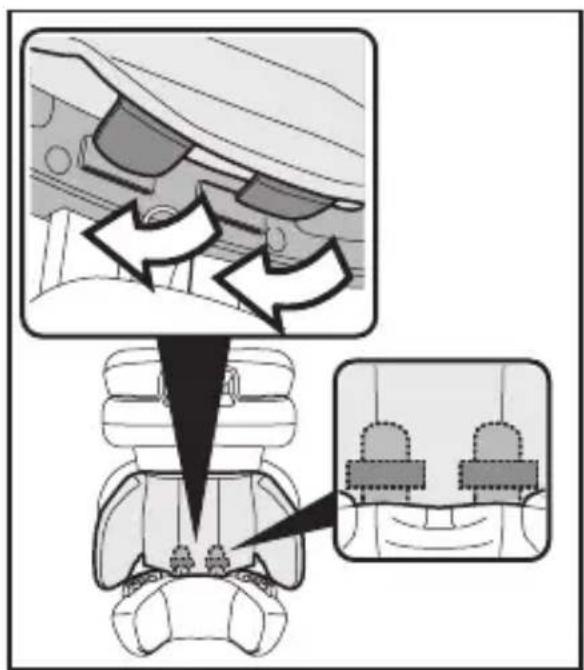
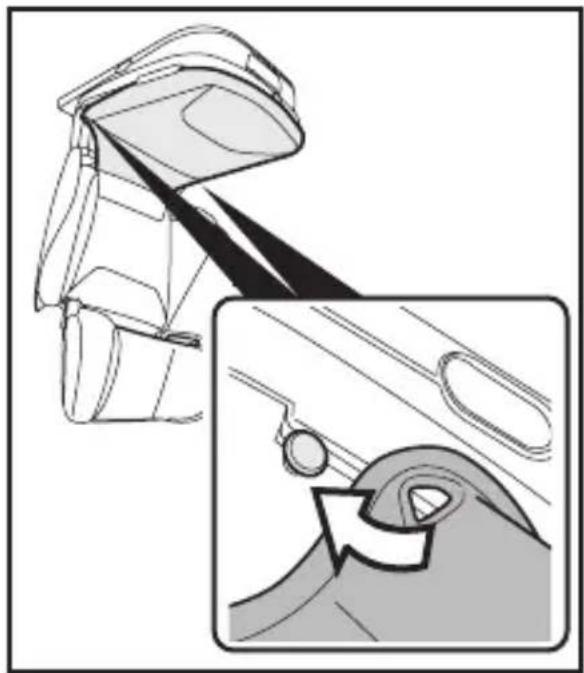
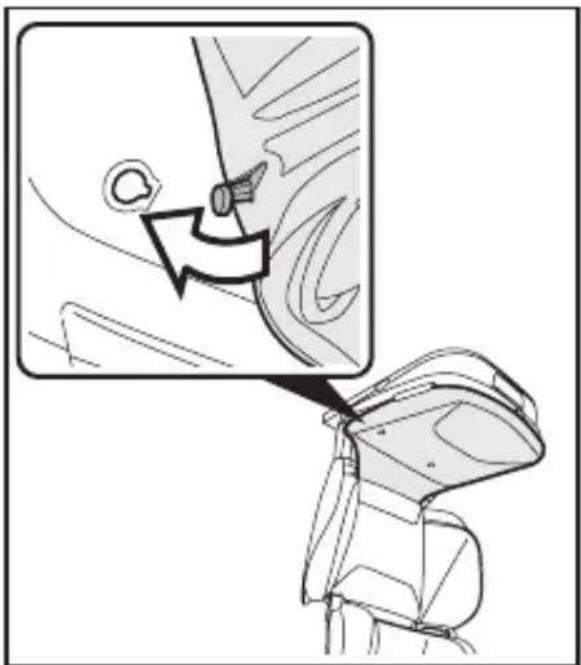
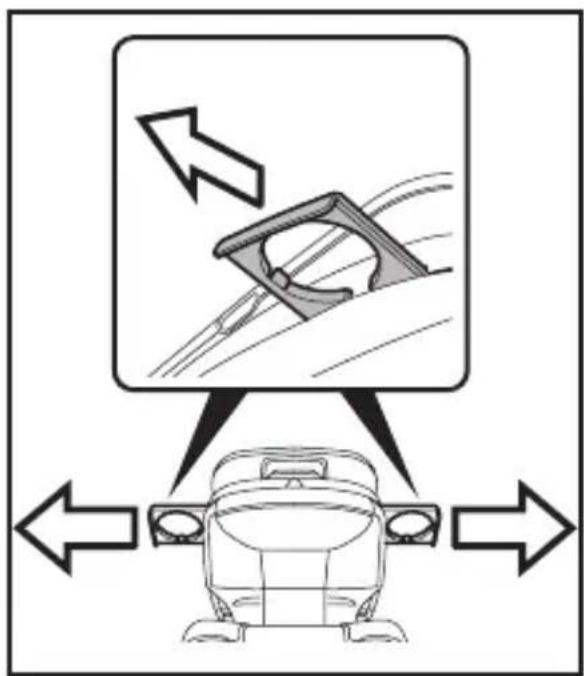
sued 6now won Aeme sae6uy dex
eeppeeppeeppeeppeeppeeppeeppeeppeeppeeppeeppeeppeeppeeppeeppeeppeeppeeppeeppeeppeeppeeppeeppeeppeeppeeppeeppeeppeeppeeppeeppeeppeeppeeppeeppeeppeeppeeppeeppe
eou
Aeeppeeppeeppeeppeeppeeppeeppeeppeeppeeppeeppeeppeeppeeppeeppeeppeeppeeppeeppeeppeeppeeppeeppeeppeeppe
moIou op noA I pAnfui AIsnoaes aq pinocnnon
e e
n nn nnnn nnnn nnnn nnnn nnnn nnnn nnnn nnnn nnnn nnnn nnnn nnnn nnnn nnnn nnnn nnnn nnnn nnnn nnnn nnnn nnnn nnnn nnnn nnnn nnnn nnnn nnnn nnnn nnnn nnnn nnnn nnnn nnnn nnnn nnne
pappepepepepepepepepepepepepepepepepepepepepepepepepepepepepepepepepepepepepepepepepepepepepepepepepepepepepepepepepepepepepepepepepepepepepepepepepepepepepepepepepepepepepepepepepepepepepepepepepepe pe
Jenuee Ws! u! sounnnsu
pee neon nnnnne ees
:DNINrVaM


oiδδeA
SEZIL09LVDIE
esn rnsuonnnsuN
08a19d8e
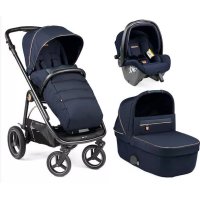
Brand : PEG PEREGO
Model : Viaggio Flex 120
Category : Car seat