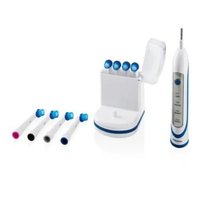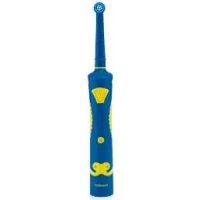
NKZBO 600 B2 - Electric toothbrush NEVADENT - Free user manual and instructions
Find the device manual for free NKZBO 600 B2 NEVADENT in PDF.



User questions about NKZBO 600 B2 NEVADENT
0 question about this device. Answer the ones you know or ask your own.
Ask a new question about this device
Download the instructions for your Electric toothbrush in PDF format for free! Find your manual NKZBO 600 B2 - NEVADENT and take your electronic device back in hand. On this page are published all the documents necessary for the use of your device. NKZBO 600 B2 by NEVADENT.
USER MANUAL NKZBO 600 B2 NEVADENT
shop.hoyerhandel.com

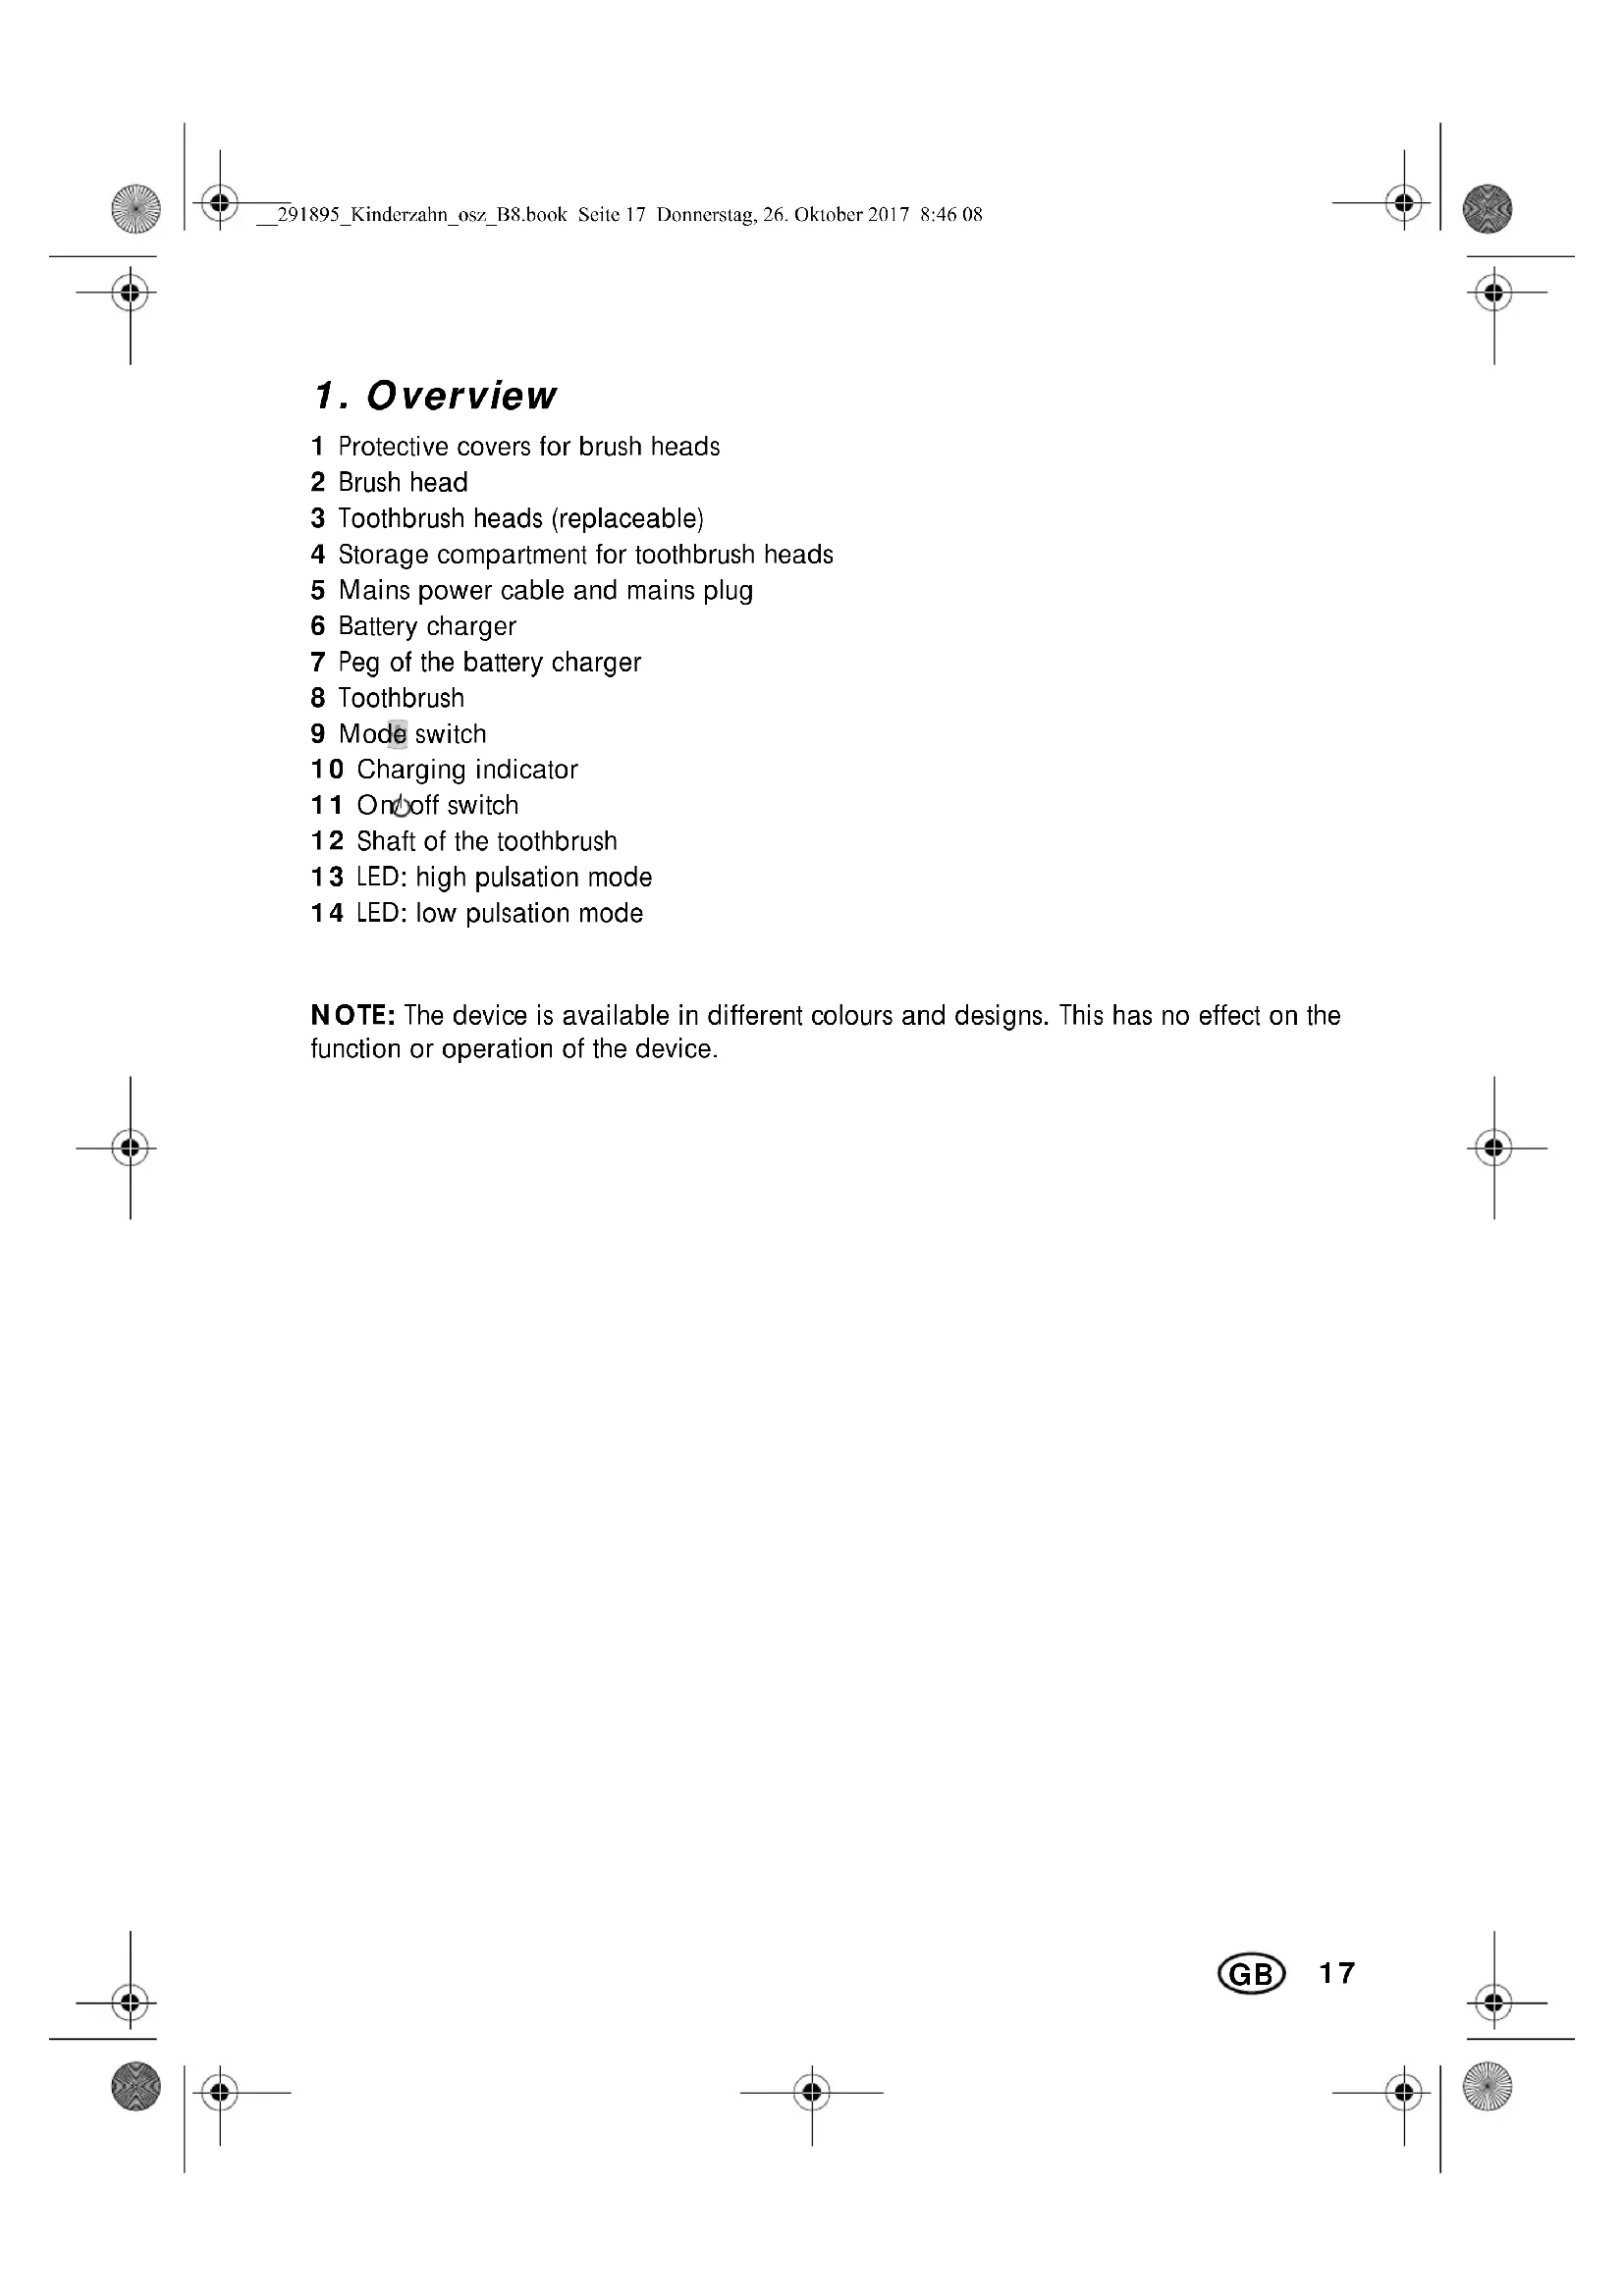
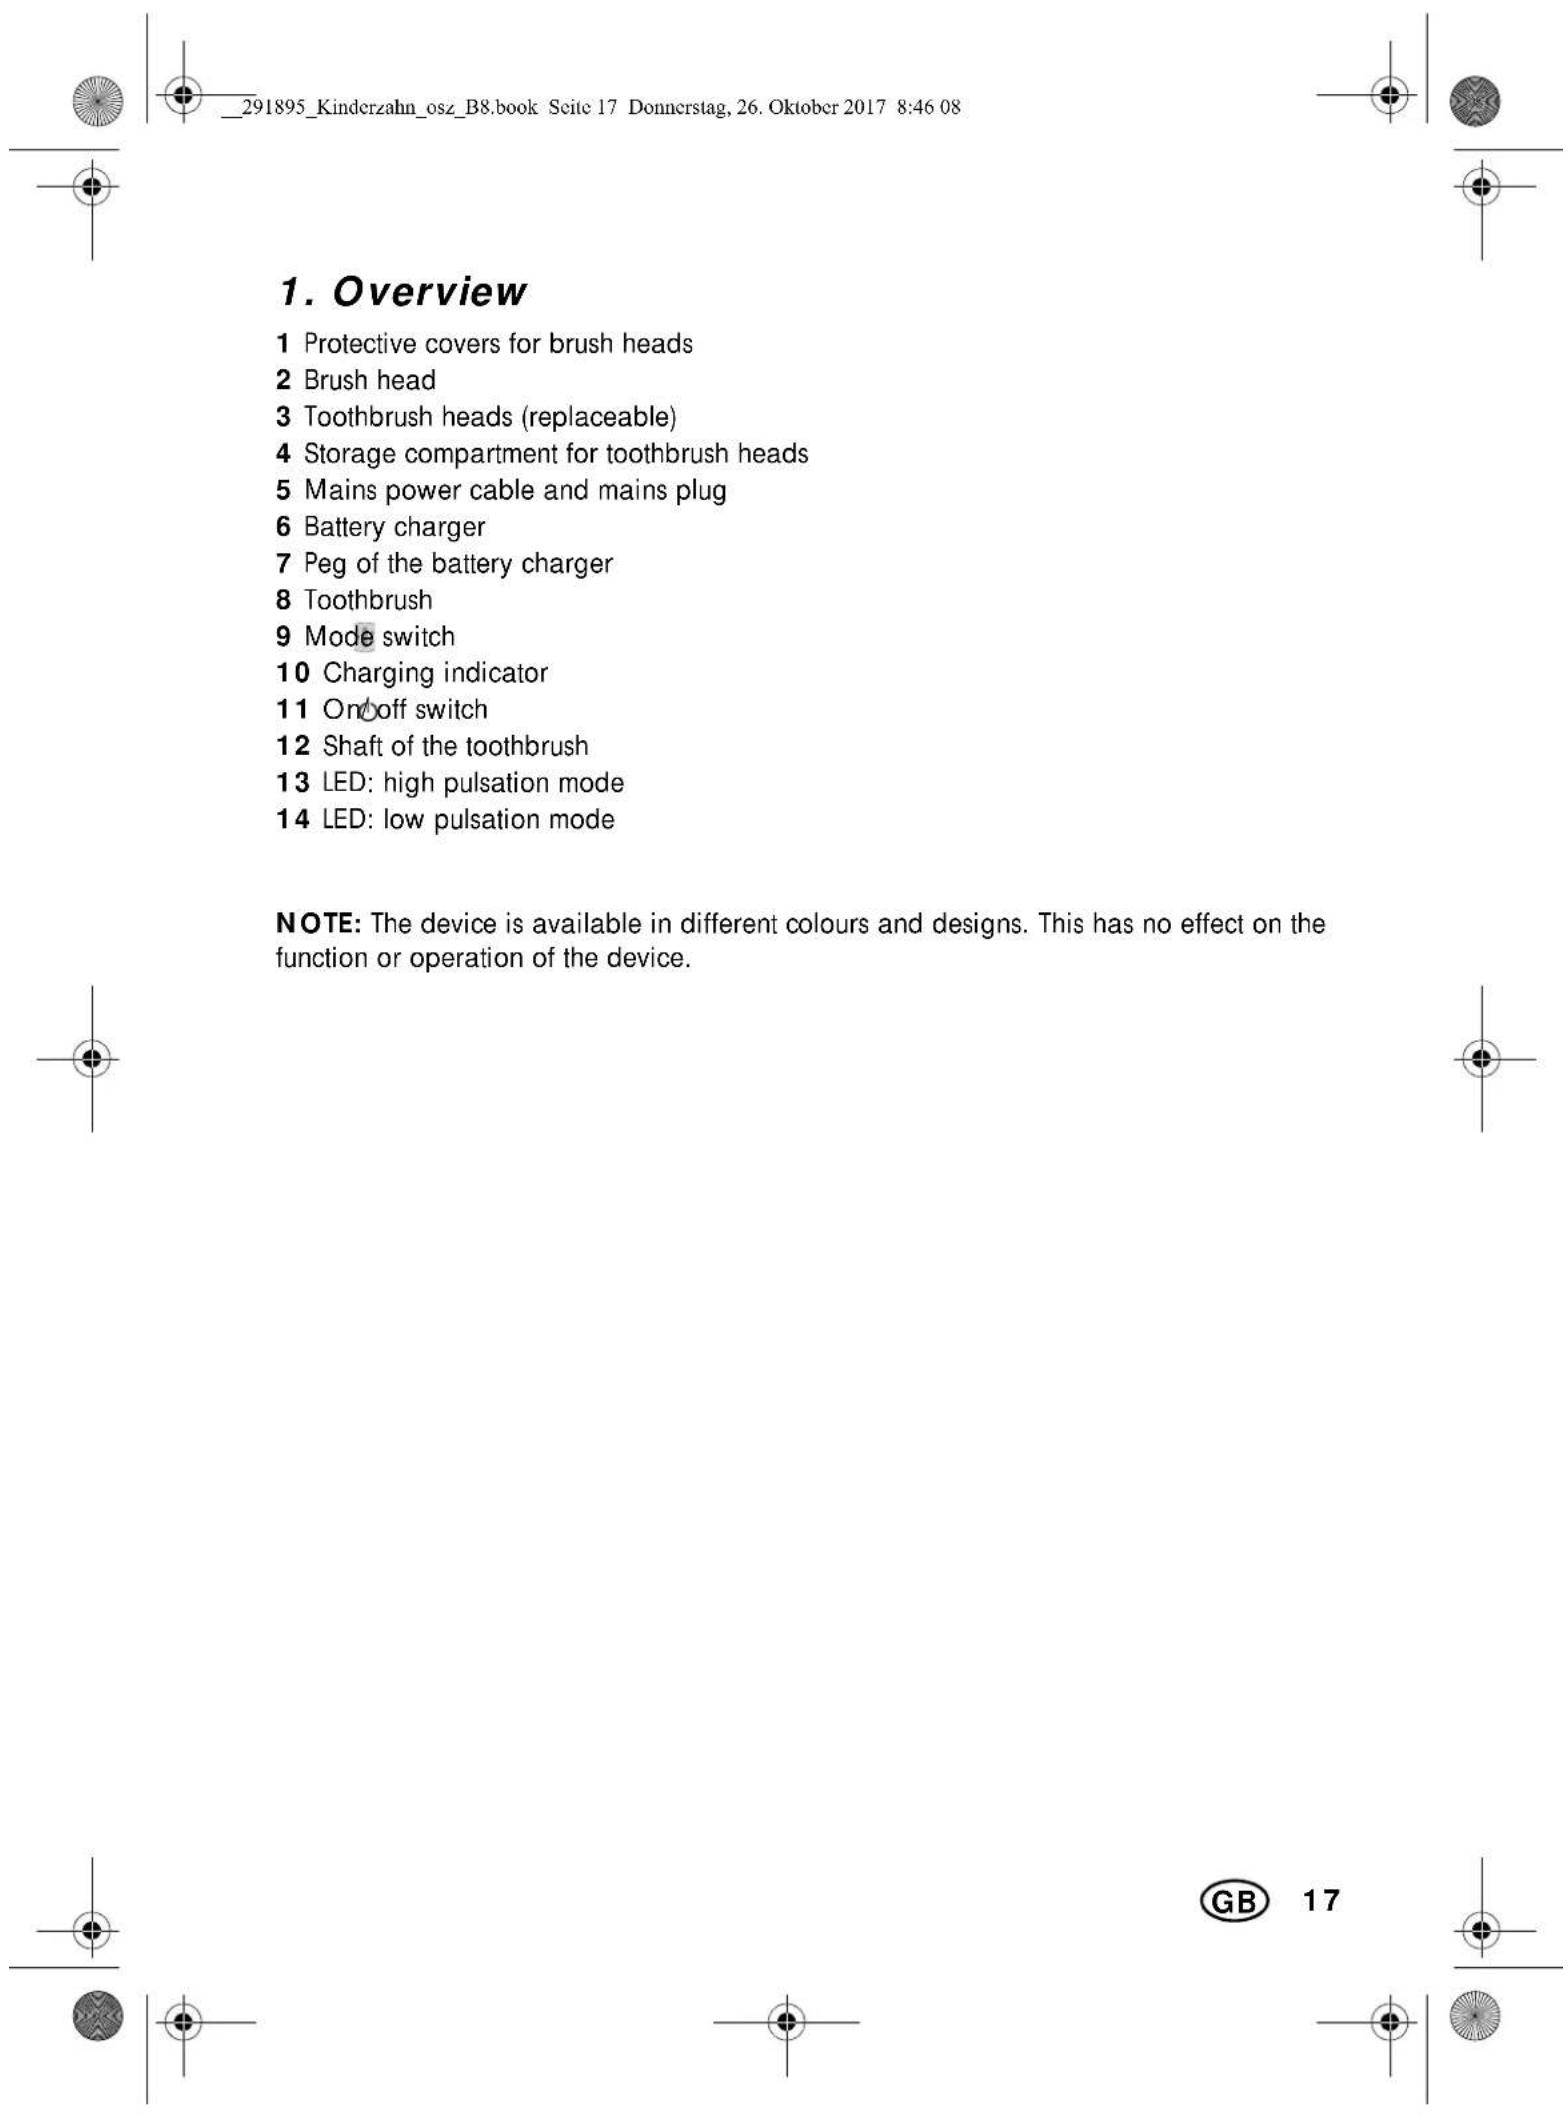
- Overview 17
- Intended purpose 18
- Safety instructions 18
- Items supplied 20
- Charging the battery 21
- Toothbrush heads 21
6.1 Selecting a toothbrush head 21
6.2 Replacing the toothbrush head 21
- Operation 22
7.1 Introductory aids for children 22
7.2 Selecting a mode 23
7.3 Switching slow start on and off 23
7.4 Brushing teeth 23
7.5 This is how your child brushes properly 24
- Cleaning / Hygiene requirements 24
9.Storage 24 - Disposal 25
- Troubleshooting 25
- Ordering toothbrush heads 26
- Technical specifications 26
- Warranty of the HOYER Handel GmbH 27
Thank you for your trust!
Congratulations on the purchase of your new toothbrush for children.
For a safe handling of the device and in order to get to know the entire scope of features:
- Thoroughly read these user instructions prior to initial use.
- Above all, observe the safety instructions!
The device should only be used as described in these operating instructions. - Keep these user instructions for reference.
- If you pass the device on to someone else, please include these instructions. The user instructions are a part of the product.
We hope you enjoy using your new toothbrush for children!
All brand and manufacturer names are the property of their respective owners. They are specified solely in order to simplify the explanation of the points illustrated.
2. Intended purpose
The toothbrush for children is intended solely for tooth cleaning and oral hygiene in humans.
The device is designed for private, domestic use. This device must not be used for commercial purposes.
3. Safety instructions
Warnings
If necessary, the following warnings will be used in these user instructions:

DANGER! High risk: failure to observe this warning may result in injury to life and limb.
WARNING! Moderate risk: failure to observe this warning may result in injury or serious material damage.
CAUTION: low risk: failure to observe this warning may result in minor injury or material damage.
NOTE: circumstances and specifics that must be observed when handling the device.
Instructions for safe operation
- This device can be used by children and people with restricted physical, sensory or intellectual abilities or people without adequate experience and/ or understanding, if they are supervised or instructed on how to use this device. Cleaning and user maintenance must not be performed by children unless they are supervised.
Children must not play with the device. - The mains power cable of this device cannot be replaced. If the cable should become damaged, the device itself must be disposed of.

DANGER as small parts may be swallowed
The marking rings on the toothbrush heads are small parts that can be swallowed. Keep these away from children under the age of 36 months.

DANGER for children
Children must not play with packing material. Do not allow children to play with plastic bags. There is a risk of suffocation.

DANGER to and from pets and livestock
- Electrical devices can represent a hazard to pets and livestock. In addition, animals can also cause damage to the device. For this reason you should keep animals away from electrical devices at all times.

DANGER! Risk of electric shock due to moisture
The toothbrush, the battery charger, the mains power cable and the mains plug must not be immersed in water or any other liquids.
- Protect the device from moisture, water drops and water splashes: failure to observe this instruction may result in an electrical shock hazard.
- Never touch the device with wet hands.
Make sure that the surface under the device is dry.
- If the battery charger has fallen into water, pull out the mains plug immediately, and only then remove the battery charger from the water. In this case do not use the battery charger again, but have it checked by a specialist workshop.
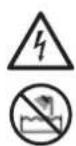
DANGER! Risk of electric shock
The battery charger is connected to the mains voltage, and must therefore not be used in the shower, in the bath, or over wash basins filled with water.
The installation of a residual current device with a nominal trip current not exceeding 30mA in the building wiring offers additional protection. Contact a skilled electrician in this regard.
Do not start using the device if the device, the battery charger or the mains power cable shows visible damage, or if the device has previously been dropped.
The mains power cable of this device cannot be replaced. If the cable should become damaged, the device itself must be disposed of.
- Only connect the mains plug to a properly installed and easily accessible wall
socket whose voltage corresponds to the specifications on the rating plate. The wall socket must continue to be easily accessible after the device is plugged in.
The hand unit of the toothbrush must only be charged using the battery charger supplied.
- Ensure that the mains power cable cannot be caught or crushed, and that it cannot be damaged by sharp edges or hot points.
To fully disconnect the battery charger from the mains power supply, pull out the mains plug.
- When removing the mains plug from the wall socket, always pull the plug and never the cable.
- Disconnect the mains plug from the wall socket, ...
... if there is a fault,
... when you are not using the device,
... before you clean the device and ...
... during thunderstorms.
To avoid any risk, do not make modifications to the device. Repairs must be carried out by a specialist workshop or the Service Centre.
- When using an extension cable, this must correspond to the applicable safety regulations.
CAUTION
- Users could possibly experience mild bleeding of the gums during the first days of electric toothbrush usage. Should the bleeding continue over several days, a dentist should be consulted.
Exert only light pressure when brushing to prevent damage to the gums and to increase the service life of the bristles.
4. Items supplied
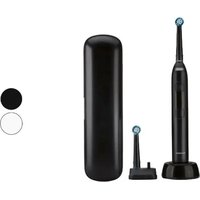
1 toothbrush 8
2 + 2 toothbrush heads 3 (2x large brush head 2, 2x small brush head 2)
2 protective covers 1
1 battery charger 6
1 storage compartment for toothbrush heads 4
1 set of operating instructions
- Remove all packing material.
- Check that the device is undamaged.

DANGER from batteries
Protect the battery against mechanical damages. Fire hazard!
Do not expose the device to direct sunshine or heat. The ambient temperature should not be lower than 10^ and higher than 40^ .
Thebattery may only be charged with the original accessory (power unit).
5. Charging the battery
- Plug the mains plug 5 of the battery charger into a suitable wall socket. The wall socket must continue to be easily accessible after the device is plugged in.
- Place the switched-off toothbrush 8 onto the peg of the battery charger 7. The charging indicator 10 is lit red throughout the entire charging process. When the optimal charging state has been reached, the charging indicator 10 turns green.
Battery signals: charging indicator and sound
- Toothbrush on battery charger: charging indicator 10 is lit green: the battery is fully charged.
- Toothbrush on battery charger: charging indicator 10 is lit red: the battery is being charged.
- Toothbrush switches itself off: charging indicator 10 flashing red and three signal tones are heard. Charge the battery.
The battery becomes weak during the brushing process: charging indicator 10 flashing red and three signal tones are heard. Charge the battery.
NOTES:
- Fully charge the battery before using it for the first time.
- Place the toothbrush 8 on the peg of the battery charger 7 after use. This ensures that the toothbrush always works at full power. The battery is not damaged by regular charging.
6. Toothbrush heads
6.1 Selecting a toothbrush head
The items supplied include 4 toothbrush heads 3:
- 2 with small brush heads 2 (recommended for children above 4 years) and
- 2 with large brush heads 2 (recommended for children above 7 years).
- Check which size is suitable for the mouth of your child.
6.2 Replacing the toothbrush head
Take a suitable toothbrush head 3 and press it firmly onto the shaft of the toothbrush 12. A very narrow gap remains between the toothbrush head 3 and the toothbrush 8. This is normal.
- In order to remove, simply pull the tooth-brush head 3 off upwards.
NOTE: We recommend that you replace the toothbrush head 3 every 3 months or after infections (see "Ordering toothbrush heads" on page 26).
7. Operation
CAUTION:
- Users could possibly experience mild bleeding of the gums during the first days of electric toothbrush usage. Should the bleeding continue over several days, a dentist should be consulted.
- If your child has had dental surgery in the last two months, consult a dentist before using the toothbrush.
Exert only light pressure when brushing to prevent damage to the gums and to increase the service life of the bristles.
7.1 Introductory aids for children
The toothbrush for children has a number of functions that are intended to make learning to brush with an electric toothbrush easier, particularly for small children.
Power settings (modes)
The toothbrush has a normal mode and a beginner mode.
Mode with low pulsation (beginner mode), left LED 14: The vibration of the toothbrush is comparatively gentle. This allows the child to slowly get used to the intensity. After one or two weeks, you should switch to normal mode with higher pulsation. Recommended for younger or anxious children.
Mode with high pulsation (normal mode), right LED 13: Normal vibration. This mode is active on delivery (see "Selecting a mode" on page 23). Recommended for older children.
Timer
The timer switches the toothbrush off automatically when the brushing time of 2 min
utes has been reached. Three acoustic signals tell the child that the brushing time is over. For further signals, see "This is how your child brushes properly" on page 24.
Slow start
The toothbrush has a slow start function for the initial familiarisation phase.
- In slow start mode, the intensity of the pulsation is reduced, and in beginner mode (left LED 14) the brushing time is reduced to 1 minute.
Over the first 14 brushing cycles, the intensity is gradually increased, and in beginner mode the brushing time is progressively increased to 2 minutes. For this to work, each brushing cycle must be continued until the toothbrush switches off automatically. - The slow start function is activated upon delivery for both modes (see "Switching slow start on and off" on page 23). This function should only be active during the first familiarisation phase, because the pulsation is reduced. In order to switch off the function, see "Switching slow start on and off" on page 23.
7.2 Selecting a mode
The toothbrush has 2 different modes. To switch between modes, the toothbrush must be switched off.
Mode with low pulsation, left LED 14,
Mode with high pulsation, right LED 13.
- Remove the toothbrush 8 from the battery charger 6.
- Press the mode switch 9 to change the mode. The active mode is indicated by the LED 13 or the LED 14.
7.3 Switching slow start on and off
- Place the toothbrush 8 onto the battery charger 6.
-
Press the on/off switch 11 until you hear an acoustic signal.
-
one acoustic signal: the function is being switched off.
- two acoustic signals: the function is being switched on.
7.4 Brushing teeth
- Moisten the bristles, squeeze some toothpaste on and switch on the toothbrush 8 only when the brush head 2 is already in your mouth.
- Press the on/off switch 11 to turn the toothbrush on.
- Slowly guide the brush head 2 from tooth to tooth without exerting too much pressure (see "This is how your child brushes properly" on page 24). Carefully clean all tooth surfaces, the inner surfaces of the teeth and the tooth edges.
- When the set time has expired, 3 acoustic signals sound and the toothbrush switches itself off. The LED 14 continues to flash for 30 seconds and then goes out.
NOTE: We recommend that you replace the toothbrush head 3 every 3 months or after infections (see "Ordering toothbrush heads" on page 26).

7.5 This is how your child brushes properly
NOTE: The toothbrush is also suitable for cleaning orthodontic braces. In this case, however, the bristles wear out more quickly.
The recommended brushing time is 2 minutes. When this time has been reached, the toothbrush switches itself off.
- The brushing time is divided into 4 identical periods. (For a brushing time of 2 minutes, this is 30 seconds each per mouth section: bottom right, bottom left, top right, top left.)
- The toothbrush indicates these intervals by beeping and short interruptions of the vibration. After each interruption, another section of the mouth is brushed. After 2 minutes the toothbrush switches itself off. (After a shorter time in slow start mode.)
It is recommended that children under the age of 8 should be supervised for the first 1 to 2 weeks while brushing their teeth with the electric toothbrush.
How to explain it to your child
- Explain to your child the 4 areas in the mouth (bottom right, bottom left, top right, top left).
- Tell your child that each time the toothbrush beeps and the vibration is briefly interrupted, they should brush another area of the mouth.
- Tell your child that they should brush until the toothbrush switches itself off.
8. Cleaning / Hygiene requirements

DANGER! Risk of electric shock!
Before cleaning the battery charger 6, pull the mains plug 5 out from the mains socket.
Do not immerse the toothbrush 8 and battery charger 6 in water! The battery charger 6 must be completely dry before you reconnect it to the wall socket.
To ensure the hygienic functionality of the toothbrush heads 3 they must be rinsed thoroughly after every use.
- Remove the toothbrush head 3 once per week and clean it in hot water.
- Rinse the toothbrush 8 as well and wipe it dry.
- For transport, push the protective cover 1 over the brush head 2, which should be dry if possible.
If the head of the brush 2 has to be transported when it is still damp, remove the protective cover 1 as quickly as possible after you have transported the toothbrush and allow the head of the brush 2 to dry.
- Wipe the battery charger 6 with a damp cloth if necessary, and rub it dry.
9. Storage
- Disconnect the device from the mains and store it in a dry location.
10. Disposal
This product is subject to the provisions of European Directive 2012/19/EC. The symbol showing a wheelie bin crossed through indicates that the product requires separate refuse collection in the European Union. This applies to the product and all accessories marked with this symbol. Products identified with t may not be discarded with normal hold waste, but must be taken to a point for recycling electric and elepliances. Recycling helps to reducsumption of raw materials and pr environment.
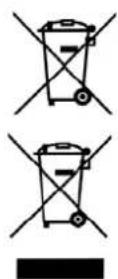
The battery integrated into this device must not be disposed of in household waste. The device must be disposed of properly with the battery installed.
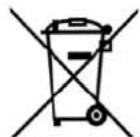
Li-ions
11. Troubleshooting
If your device fails to function as required, please try this checklist first. Perhaps there is only a minor problem, and you can solve it yourself.

WARNING! Risk of injury!
Do not attempt to repair the device yourself under any circumstances.
| Fault | Possible causes / Action |
| The device can-not be switched on. | Is the battery empty? |
| Charging indicator 10 does not light up. | The battery charger is not connected to the mains power. |
Packaging
When disposing of the packaging, make sure you comply with the environmental regulations applicable in your country.
12. Ordering toothbrush heads
You can order additional toothbrush heads 3 on the internet:
shop.hoyerhandel.com

- Scan the QR code with your smartphone/ tablet.
- The QR code will take you to a website where you can reorder.
13. Technical specifications
| Model: NKZBO 600 A1/B1 |
| Mains voltage: 100-240V ~ 50/60Hz |
| Protection class: II |
| Power rating: 1.4W |
| Battery: 1x3.7 V Li-Ion 600 mAh 2.22 Wh |
| Dimensions: (L x B x H): approx. 42.5 x 72 x 200 mm |
| Weight: approx. 290 g |
| Protection class of battery charger: IPX7 (protected against the effects of temporary immersion) |
| Protection class of handset: IPX4 (protected against water splashes) |
| Ambient conditions: 10 °C to 40 °CHumidity 40 to 85% relative |
Technical Symbols
| Double insulation | |
| GS | Certified Safety. Devices must comply with the generally acknowledged rules of technology and the German Product Safety Act (Produktssicherheitsgesetz - ProdSG). |
| CE | With the CE marking, HOYER Handel GmbH declares the con-formity with EU guidelines. |
Subject to technical modifications.

Service Centre
GB Service Great Britain
Tel.: 0871 5000 720 (£ 0.10/ Min.)
E-Mail: hoyer@lidl.co.uk
IE Service Ireland
Tel.: 1890 930 034
(0,08 EUR/ Min., (peak))
(0,06 EUR/ Min., (off peak))
E-Mail: hoyer@lidl.ie
MT Service Malta
Tel.: 80062230
E-Mail: hoyer@lidl.com.mt
CY Service Cyprus
Tel.: 80094409
E-Mail: hoyer@lidl.com.cy
IAN:291895

Supplier
Please note that the following address is no service address. First contact the aforementioned Service Centre.
HOYER Handel GmbH
Taskoprustraße 3
DE-22761 Hamburg
GERMANY
Sommaire
shop.hoyerhandel.com

shop.hoyerhandel.com

shop.hoyerhandel.com

- Naskenujte vaśim smartphonem/ tabletem QR kód.
- Pres QR kód se dostanete na nasi weboyou stranku, kde muzete provest doob-jednávku.
shop.hoyerhandel.com

shop.hoyerhandel.com