DCS850L - Surveillance Camera D-LINK - Free user manual and instructions
Find the device manual for free DCS850L D-LINK in PDF.
User questions about DCS850L D-LINK
0 question about this device. Answer the ones you know or ask your own.
Ask a new question about this device
Download the instructions for your Surveillance Camera in PDF format for free! Find your manual DCS850L - D-LINK and take your electronic device back in hand. On this page are published all the documents necessary for the use of your device. DCS850L by D-LINK.
USER MANUAL DCS850L D-LINK
natural_image
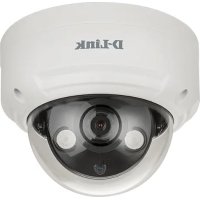
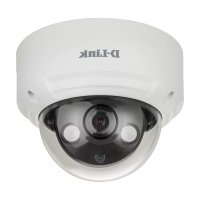
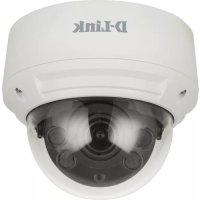
White D-Link remote control camera with pink lens and white base (no visible text or symbols on device body)Before you Begin
- Please save this guide for future reference.
- Read these instructions before using your camera.
- Do not manually adjust the angle of the camera.
- Do not cover the ventilation holes.
- Do not cover this product with a blanket.
- Do not allow children to play with this product.
- Do not place this product near water or other liquids, such as near a sink, shower, or bathtub.
- Do not attempt to open or disassemble this product.
- Cleaning: You should only clean this camera with a dry cloth. Do not allow the camera to get wet.
- This product is not a replacement for responsible adult supervision.

WARNING - STRANGULATION HAZARD
Children have STRANGLED in cords. Keep adapter cord out of reach of children (minimum of 3 ft or 1 m away). NEVER place the camera or adapter cord inside the crib or child sleeping area. Do not use extension cords. This product is NOT intended to replace proper supervision of children.
D-Link and the D-Link logo are trademarks or registered trademarks of D-Link. All other third-party marks mentioned herein may be trademarks of their respective owners.
© 2014 D-Link. All Rights Reserved.
Package Contents

natural_image
Vertical sequence of gray icons representing various electronic devices and components (no text or symbols)DCS-850L Wi-Fi Baby Camera
Wall Mount Kit
Power Adapter
Additional Accent Rings
Mounting Bracket
Quick Install Guide
If any of the above items are missing, please contact your reseller.
Minimum Requirements
Mobile Requirements:
• Refer to the mydlink Baby app page on the App Store and Google Play
Computer Requirements:
- Computer with 1.3GHz processor or above and at least 128 MB RAM
- Microsoft Windows® 8, 7 , Vista®, or Mac OS® X (10.6 or higher)
- Internet Explorer ^ 7, Firefox ^ 12, Safari ^ 6, or Chrome ^TM 20 or higher with Java installed and enabled
Network Requirements:
• 802.11g/n Wi-Fi network
(Wireless N network recommended for optimal performance)
Remote Viewing:
- Internet access required for remote viewing
(Direct Connection requires no Internet connection and no router)
Hardware Overview
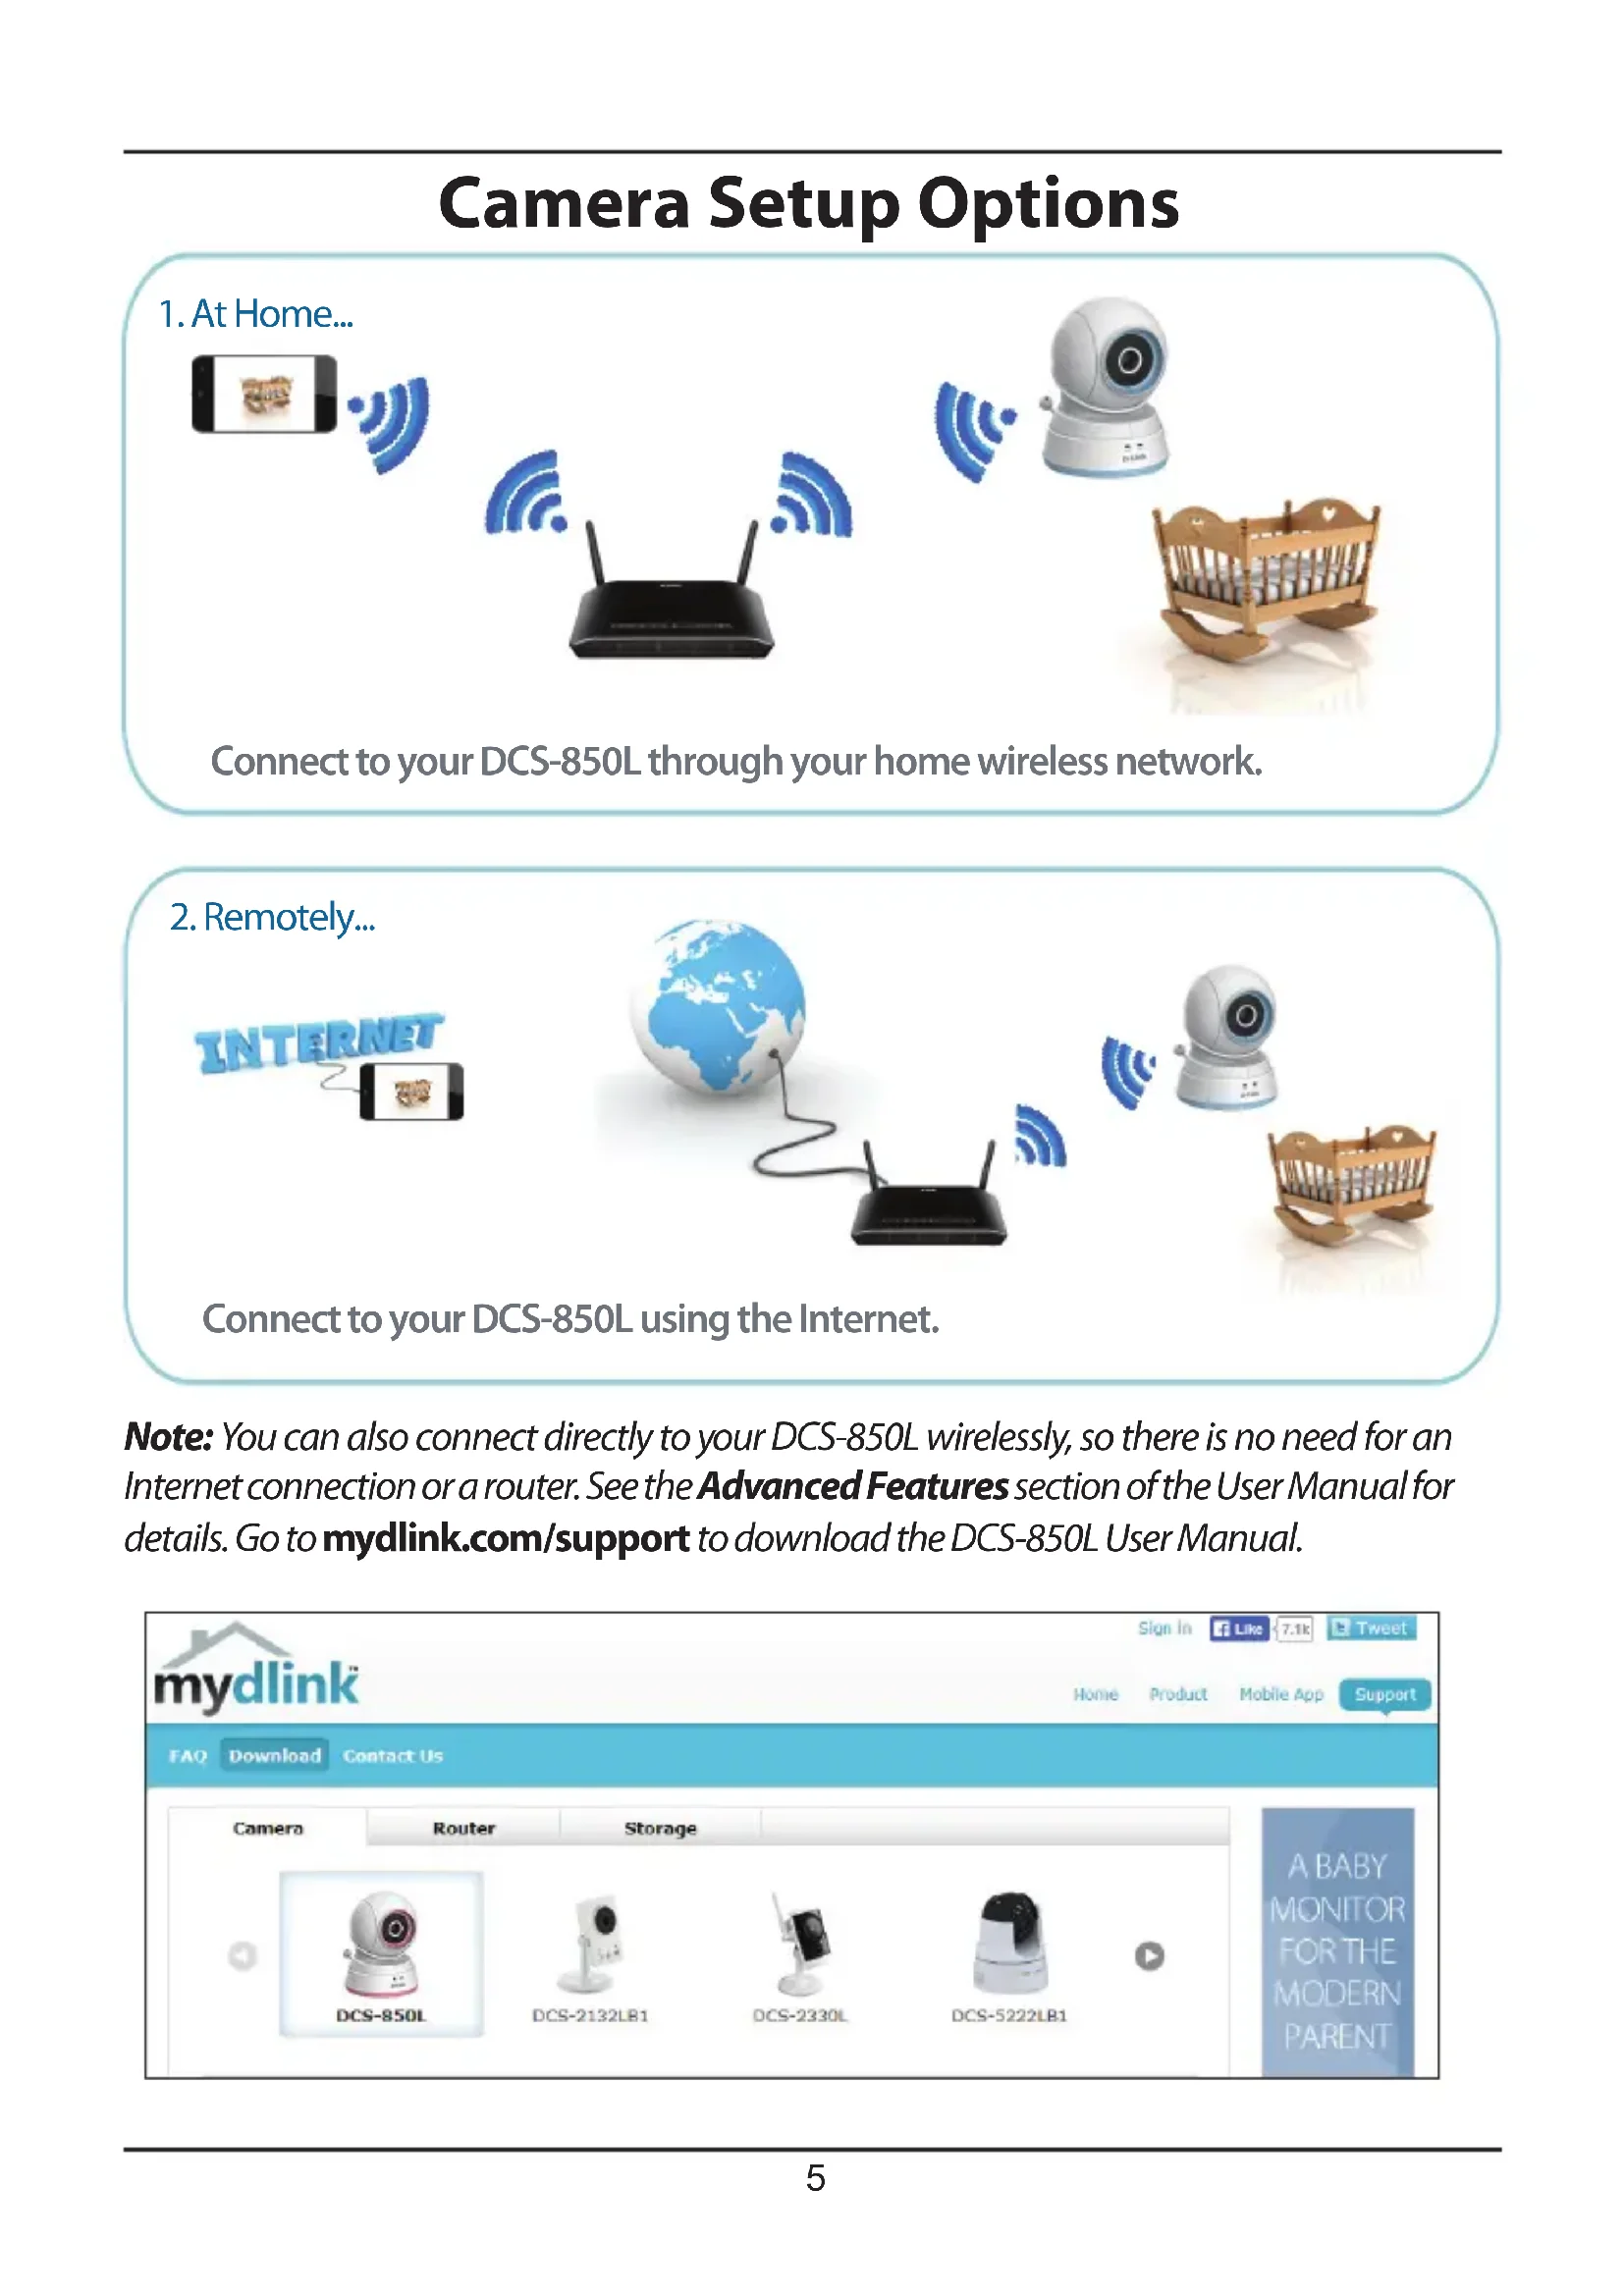
Front View
text_image
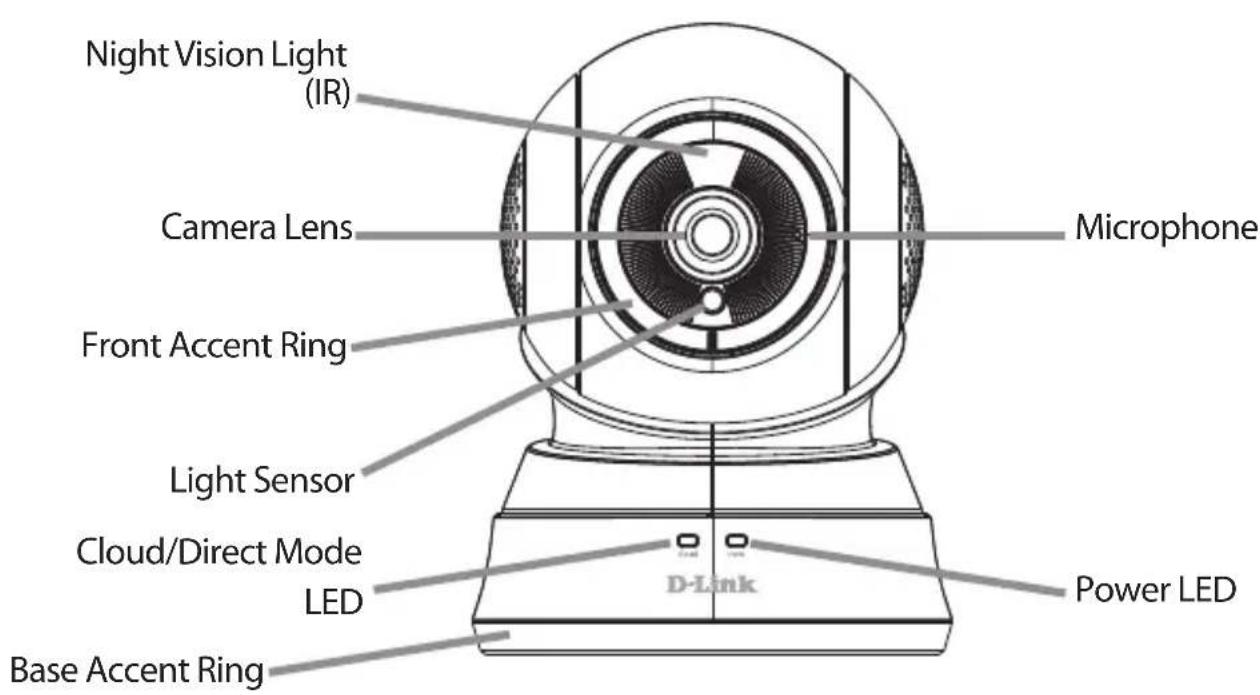
Night Vision Light (IR) Camera Lens Front Accent Ring Light Sensor Cloud/Direct Mode LED Base Accent Ring Microphone D-Link Power LEDBack View
text_image
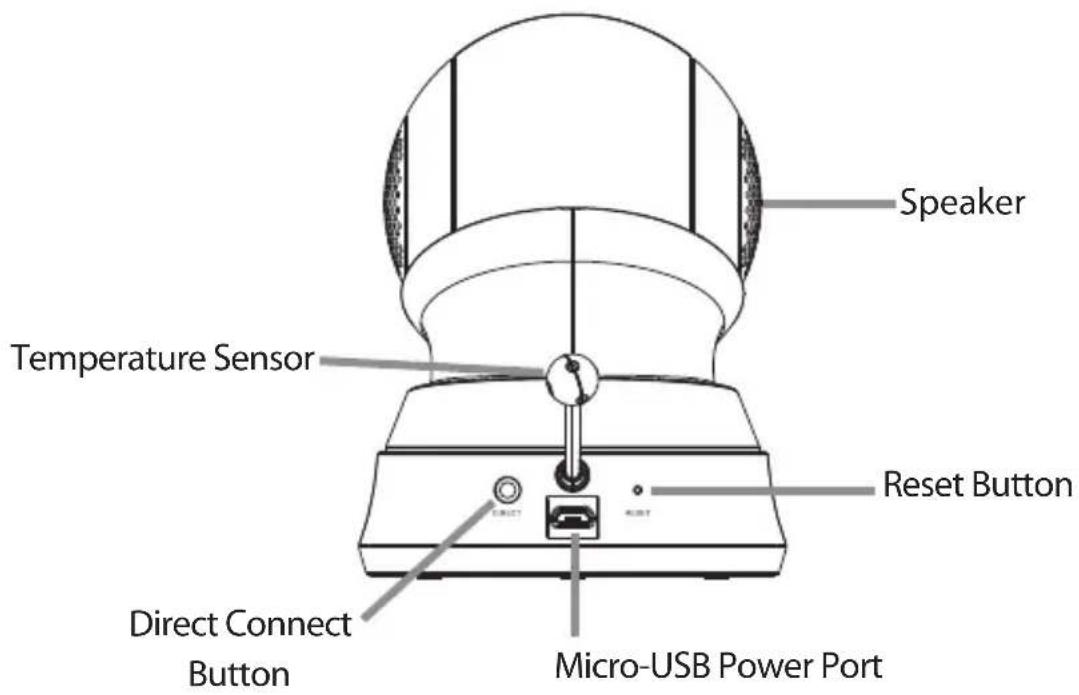
Speaker Temperature Sensor Reset Button Direct Connect Button Micro-USB Power PortCamera Setup Options
- At Home...
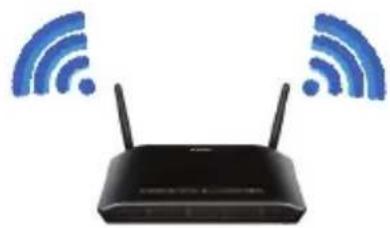
natural_image
Black wireless router with two antennas and two blue Wi-Fi signal icons above it (no text or symbols on the device itself)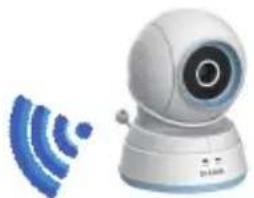
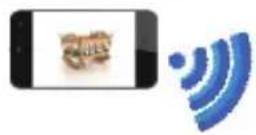
natural_image
White remote control camera with blue signal waves icon (no text or symbols)
natural_image
Wooden baby crib with heart-shaped backrest and wooden crates (no text or symbols)Connect to your DCS-850L through your home wireless network.
- Remotely...


natural_image
Illustration of a wireless router connected to a globe with network signal icons (no text or symbols)

Connect to your DCS-850L using the Internet.
Note: You can also connect directly to your DCS-850L wirelessly, so there is no need for an Internet connection or a router. See the Advanced Features section of the User Manual for details. Go to mydlink.com/support to download the DCS-850L User Manual.
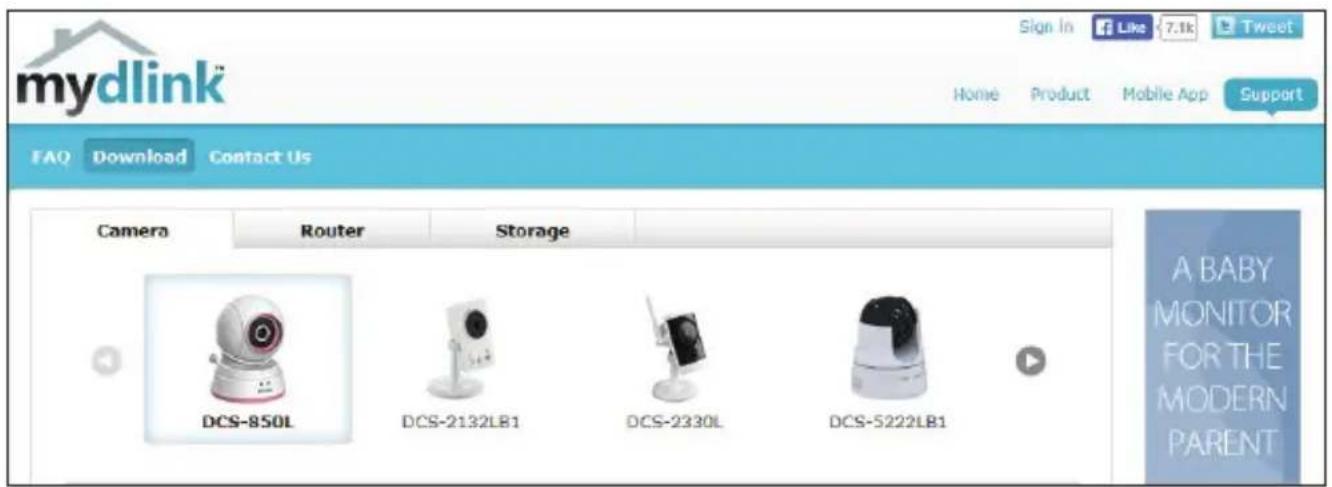
text_image
mydlink Sign In Like 7.1k Tweet Home Product Mobile App Support FAQ Download Contact Us Camera Router Storage DCS-850L DCS-2132LB1 DCS-2330L DCS-5222LB1 A BABY MONITOR FOR THE MODERN PARENTInstallation

WARNING - STRANGULATION HAZARD
Children have STRANGLED in cords. Keep the adapter cord out of reach of children (minimum of 3 ft or 1 m away). NEVER place the camera or adapter cord inside the crib or child sleeping area. Do not use extension cords. This product is NOT intended to replace proper supervision of children.
1 Download the free mydlink Baby Camera Monitor app on your smartphone or tablet.
text_image
Available on the App Store
text_image
ANDROID APP ON Google play
text_image
mydlink™ mydlink™ Baby2 Once the mydlink Baby app is installed, simply tap on the icon to open the app. The first screen you will see is the Setup Wizard.

text_image
mydlink mydlink™ Baby3 Tap Set Up New Camera to launch the Setup Wizard. The wizard will guide you step-by-step through the configuration process.
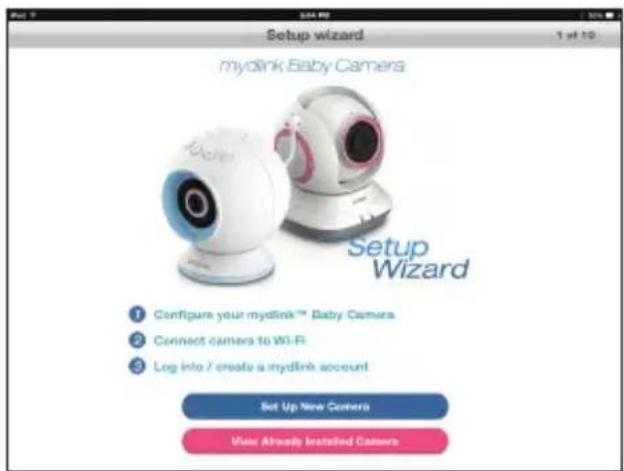
text_image
Setup wizard mydlink Baby Cameras Setup Wizard ① Configure your mydlink™ Baby Camera ② Connect camera to Wi-Fi ③ Log into / create a mydlink account Set Up New Camera View Already Installed CameraNote: If you experience issues registering this device with your mydlink account, or if you purchased an open box or resold unit, perform a hard reset by pressing and holding the reset button on the device for 10 seconds while the device is powered on. If you are returning the device to the place of purchase, please perform the hard reset procedure to clear the device of any personal data.
Mount the Camera
Please refer to the steps below to assist you with mounting the camera.

We suggest that you configure the camera before mounting.

Warning: Indoor use only. Do not mount the camera in a location where it may be in contact with water as it may damage the product and/or cause injury.
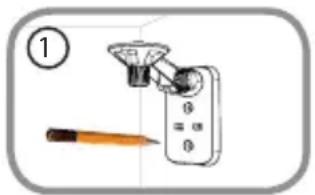
- Place the mounting bracket where you want to position the camera and use a pencil to mark the points where you will drill the holes.
- Use a 6mm drill bit to drill the two holes where you marked. The holes should be 25mm deep (about 1 in deep). Insert the screws into the holes.
Note: If the wall is made out of concrete, before inserting the screws, insert the provided plastic anchors to support the screws.
- If you prefer, you can conceal the cable behind the mounting bracket. Run the cable through the back of the mounting bracket, securing it with the built-in guides. Make sure you leave enough cable protruding to allow you to connect it to the camera.
- Fasten the mounting bracket to the wall using the screws provided.

Do not overtighten the screws as this may damage the bracket.
- Using the supplied thumbscrew, fasten the camera to the mounting bracket. Connect the power cable to the camera.
- Adjust the angle of the arm on the mounting bracket as desired. Tighten the thumbscrew to lock the arm into place.
text_image
①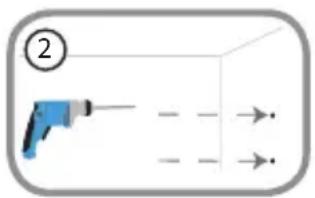
text_image
② → →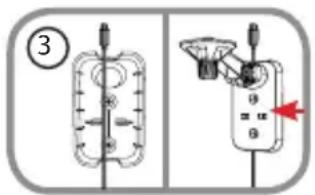
text_image
Diagram showing two electrical switch configurations with labeled parts and a red arrow indicating direction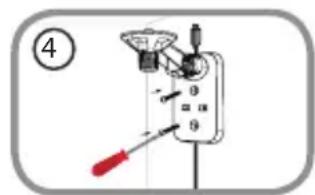
text_image
Diagram of a mechanical device with labeled parts and a red tool, marked with number 4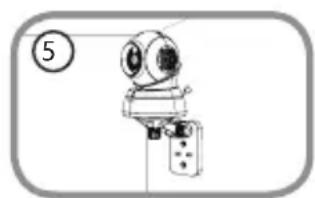
natural_image
Simple line drawing of a mechanical device with no text or symbols
text_image
⑥FAQs
1. How do I change the accent ring?
Rotate the access ring counter clockwise, then lift it off. Put the new ring on and rotate it clockwise until it clicks into place.
2. How do I select a different lullaby?
Use the mydlink Baby app to change the lullaby. Tap on the Music icon on the camera's Live View screen. Choose a lullaby from the list, or you can select Play All.
3. I started the mydlink Baby Camera Monitor app, but I can't find my camera.
- Make sure your camera is turned on and receiving power.
- If you have set up your camera before, make sure your smartphone or tablet is connected to the same router as your camera.
- If you are setting up a new camera, make sure your smartphone or tablet is connected to the camera's Wi-Fi network (not to your wireless router). This also applies when you enable Direct Connect to use the camera away from home. (See the "Advanced Features" section of the User Manual for details.)
- The Wi-Fi network name should be [myBabyCam-XXXX], where XXXX is a 4-digit code (the last 4 digits of your camera's MAC address).
- The Wi-Fi password is printed on a label on the bottom of your camera.
- You can also find your camera's Wi-Fi network details on a label attached to the back of this Quick Install Guide.
- If you still can't find your camera, reset your camera by pressing its reset button for 10 seconds while your camera is plugged in (see question 6 below).
4. What does it mean when the Power LED is red?
When you power on the camera, the Power LED will be solid red. When you reset the camera, the Power LED will be flashing red.
5. Why do I see a white haze when viewing Live Video in night vision mode?
The night vision light on the camera may be reflecting off a nearby surface. Try repositioning and aiming the camera.
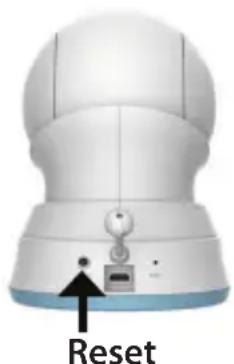
6. What can I do if I forget my password?
If you forget your password, you must reset the camera. Unfortunately, this process will change all your settings back to factory default. To reset the camera, locate the reset button on the back of the camera. With the camera powered on, use an unfolded paper clip to hold the button down for 10 seconds.
natural_image
Front view of a white spherical device with a blue base and a labeled 'Reset' button, no other text or symbols visible.7. How can you power the camera?
The camera can be powered with the provided power adapter or you can use an external USB battery for total portability. (USB battery is not included. Requires 5V/2A output.)
8. How do I access the camera remotely?
Set up a new mydlink account and/or register the camera with mydlink during the initial setup. Once the process is complete, you can access the login screen for your mydlink account from the Home page by sliding the Home icon switch to the right. Enter the E-mail address and Password for your mydlink account and tap Log in.
You will be able to monitor your baby from anywhere, as long as your smartphone or tablet is connected to the Internet (over Wi-Fi or over the cellular network).
Note: If you do not enable mydlink services, you will only be able to view the camera within your home's wireless coverage area.
9. Should the app be running constantly on my device?
The app can run in the background, allowing you to hear your baby continuously, even when the phone is locked. The smartphone or tablet can still be used normally while the app is running. If you do not want to hear audio from the camera when the app is open, you can turn off the Background audio on the Configuration menu. If you close the app, the camera audio will be turned off.
10. How do I adjust the sensitivity of motion and audio detection?
From the Live View page, tap on the screen to reveal the icons, and tap the Configuration icon (💡) to go to the Configuration menu. Tap the Events arrow to access the motion and audio detection settings.

text_image
Configuration 1.05.05 ( build 5.6 ) Camera info Wireless settings SSID : cloud Events Sound: On/ Motion:On/ Temperature:Off Lullaby 5 Minutes LED light Day/night mode Auto All day All night Background audio Event sound OFF 1 2 3 4 5 6 Format SD Card Format11. How do I activate push notifications?
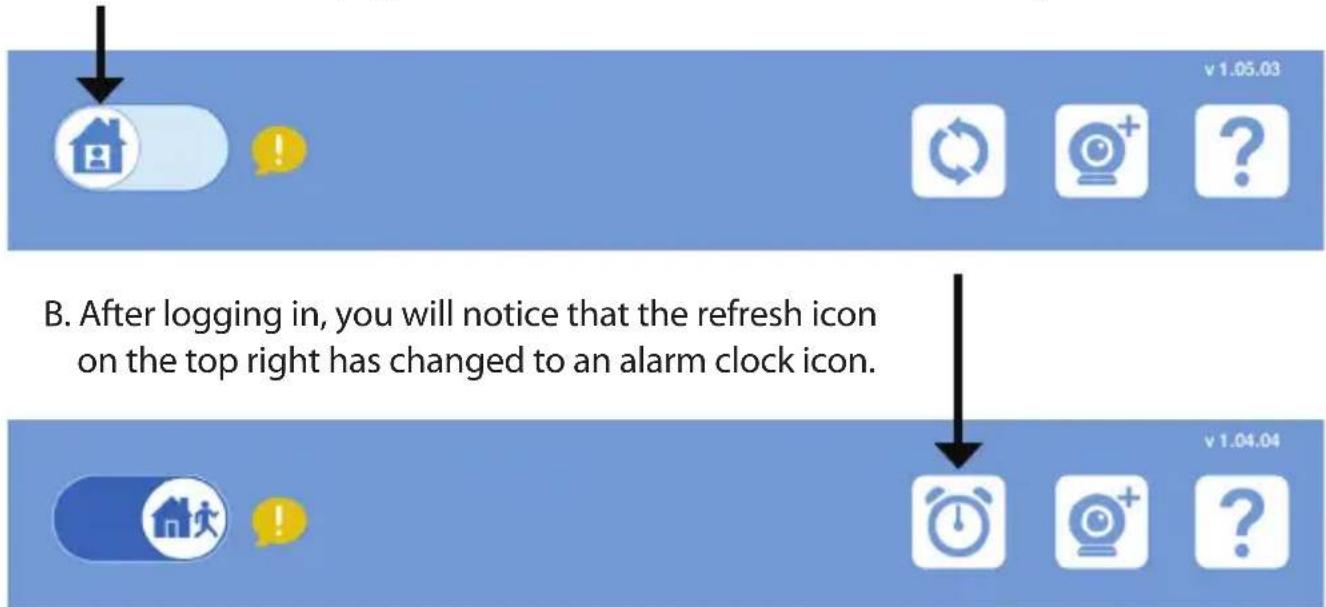
A. Go to the Home page and slide the Home icon switch to the right for remote access.
text_image
v 1.05.03 B. After logging in, you will notice that the refresh icon on the top right has changed to an alarm clock icon. v 1.04.04C. Tap on the Alarm Clock icon, and you will see the Push Notification setting. Tap on the Switch icon to activate push notifications. The switch icon will turn green, and you should begin to receive alerts as specified.

text_image
Push NotificationNote: If you do not receive alerts, go to the Configuration menu and adjust the sensitivity level of sound and motion detection as described on the previous page, question 10.
Notes
Notes
Notes
Notes
Notes
Technical Support
This guide is only for the first time configuration.
Refer to the user manual to learn more, or visit:
USA

http://support.dlink.com
Canada
http://support.dlink.ca
Camera Wi-Fi Network Details:
Your Camera Password:
D-Link®
Version 1.00(NA)_90x130
October 20, 2014
6DCS850LQ.02G
©2014 All rights reserved. D-Link and the D-Link logo are trademarks or registered trademarks of D-Link. All other third-party marks mentioned herein may be trademarks of their respective owners. Maximum wireless signal rate derived from IEEE Standard 802.11g and 802.11n specifications. Actual data throughput will vary. Network conditions and environmental factors, including volume of network traffic, building materials and construction, and network overhead, lower actual data throughput rate. Environmental conditions will adversely affect wireless signal range. Product specifications, size and shape are subject to change without notice, and actual product appearance may differ from that depicted on the packaging. Visit dlink.com (USA) or dlink.ca (Canada) for more details.
Caméra bébé Wi-Fi
natural_image
White D-Link remote control camera with pink lens and white base (no visible text or symbols)Pré-requis
natural_image
Vertical sequence of grayscale icons representing various electronic devices and components (no text or symbols)Caméra bébé Wi-Fi DCS-850L
natural_image
Black wireless router with two antennas and two blue Wi-Fi signal icons above it (no text or symbols on the device itself)
natural_image
White remote control camera with blue signal waves icon (no text or symbols)
natural_image
Wooden baby crib with heart-shaped backrest and wooden frame (no text or symbols)natural_image
Illustration of a wireless router connected to a globe with network signal icons (no text or symbols)

text_image
Available on the App Store
text_image
ANDROID APP ON Google play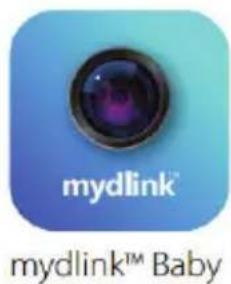
text_image
mydlink® mydlink™ Babytext_image
Diagram showing a mechanical or electrical device with labeled components and directional arrow, likely illustrating a measurement or control mechanism.
text_image
Diagram of a mechanical device with labeled parts and a numbered section marker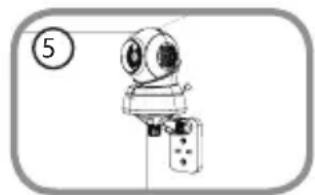
natural_image
Simple line drawing of a mechanical device with no text or symbols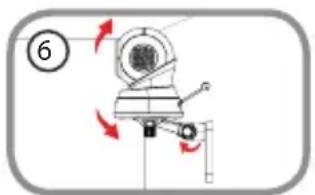
natural_image
Mechanical assembly diagram showing a rotating component with directional arrows (no text or symbols)text_image
Push NotificationAssistance technique
natural_image
Blank gray rectangle with black border (no text or symbols)D-Link®
Version 1.00(NA)_90x130
20 octobre 2014
6DCS850LQ.02G