
DCS8515LH - Surveillance Camera D-LINK - Free user manual and instructions
Find the device manual for free DCS8515LH D-LINK in PDF.
| Product Type | Indoor Surveillance Camera |
| Brand | D-Link |
| Model | DCS8515LH |
| Video Resolution | 1080p (1920 x 1080) - estimate |
| Field of View | 110° - estimate |
| Night Vision | Yes, up to 5 meters - estimate |
| Motorized Rotation | Pan (340°) and tilt (120°) - estimate |
| Connectivity | WiFi 802.11 b/g/n (2.4 GHz), Bluetooth (BLE) |
| Storage | microSD card (up to 256 GB - estimate) |
| Power Supply | USB mains adapter (5V DC) |
| Audio | Built-in speaker and microphone (two-way audio) |
| Motion Detection | Yes |
| App | mydlink (iOS/Android) |
| Voice Assistant | Compatible with Amazon Alexa, Google Assistant - estimate |
| Security | WPA2 encryption, secure connection |
| Mounting | Wall mount included, screw fixing |
| LED Indicator | Multicolor status LED (see manual) |
| Dimensions (L x H x D) | Approx. 11 x 7 x 7 cm - estimate |
| Weight | Approx. 200 g - estimate |
| Operating Temperature | 0°C to 40°C - estimate |
| Box Contents | Camera, mains adapter, USB cable, wall mount, screws and anchors, quick start guide |
Frequently Asked Questions - DCS8515LH D-LINK
User questions about DCS8515LH D-LINK
0 question about this device. Answer the ones you know or ask your own.
Ask a new question about this device
Download the instructions for your Surveillance Camera in PDF format for free! Find your manual DCS8515LH - D-LINK and take your electronic device back in hand. On this page are published all the documents necessary for the use of your device. DCS8515LH by D-LINK.
USER MANUAL DCS8515LH D-LINK
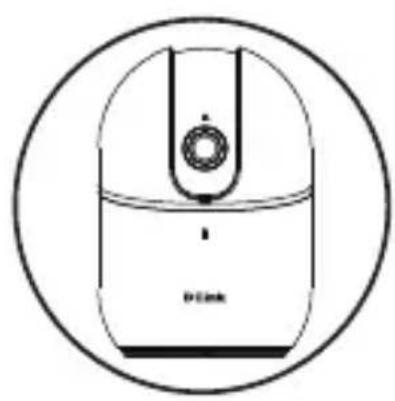
HD Pan & Tilt Wi-Fi Camera
Quick Start Guide
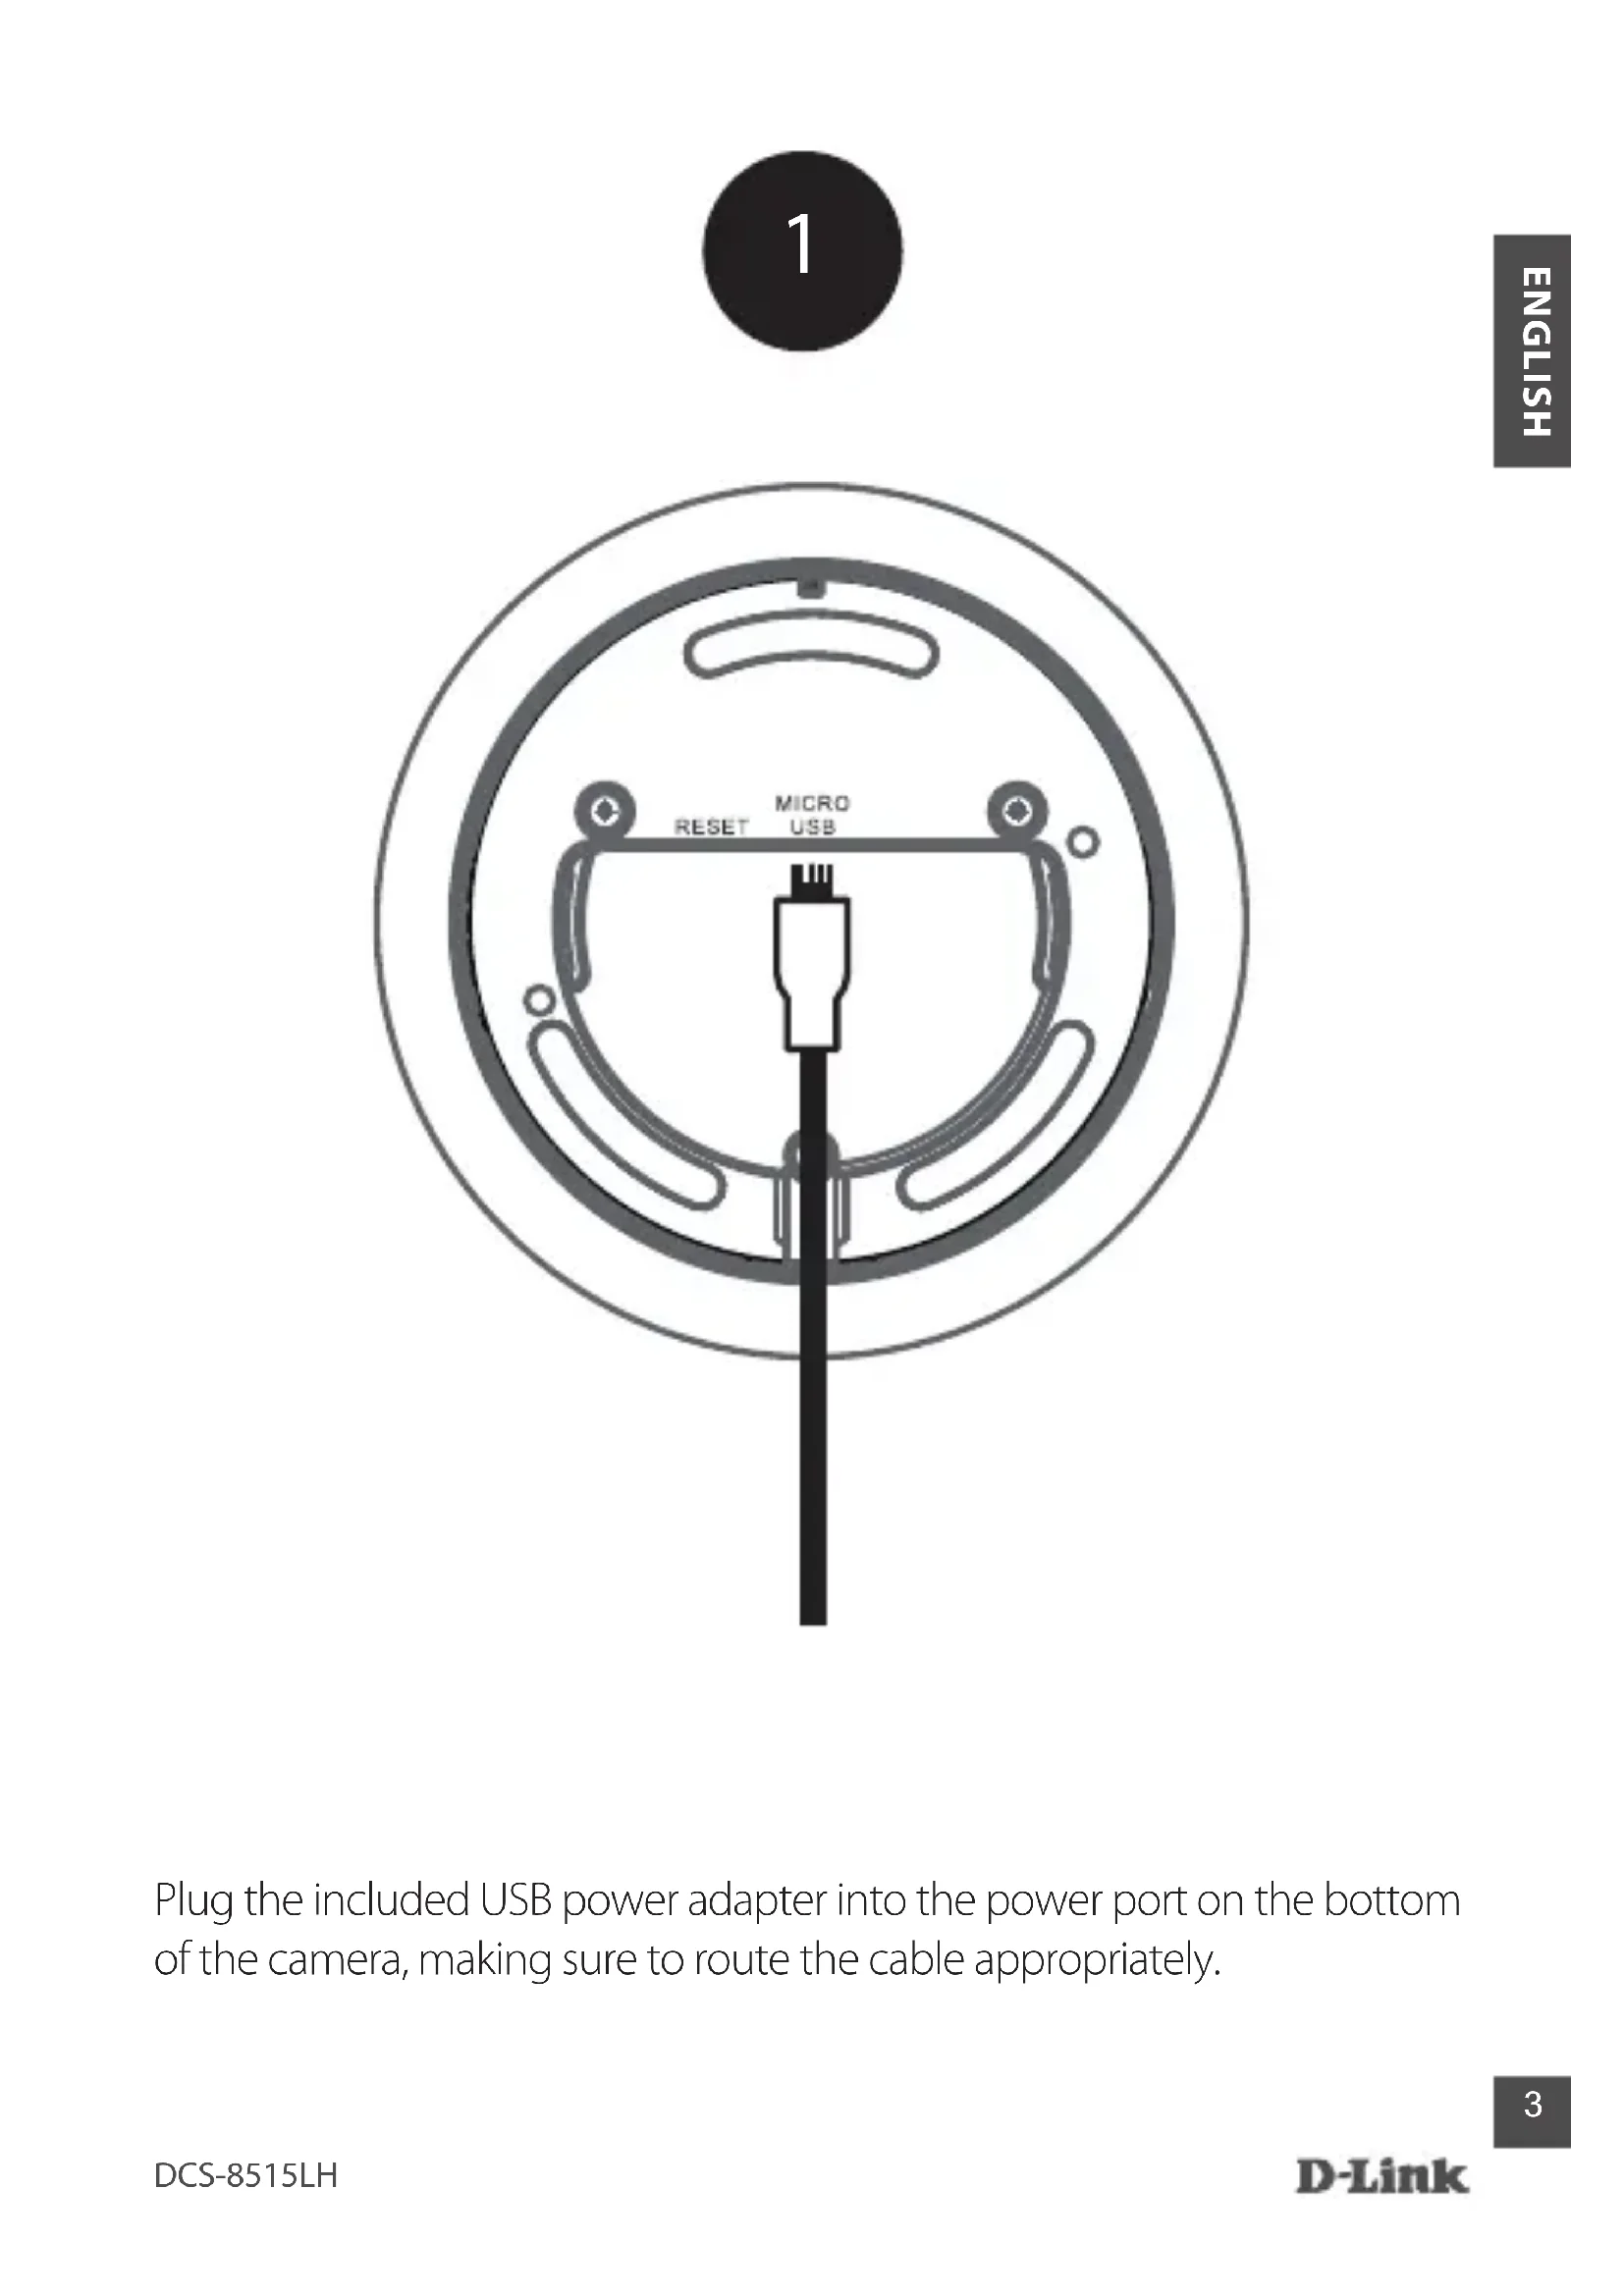
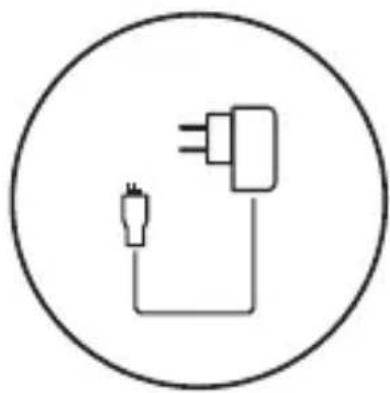
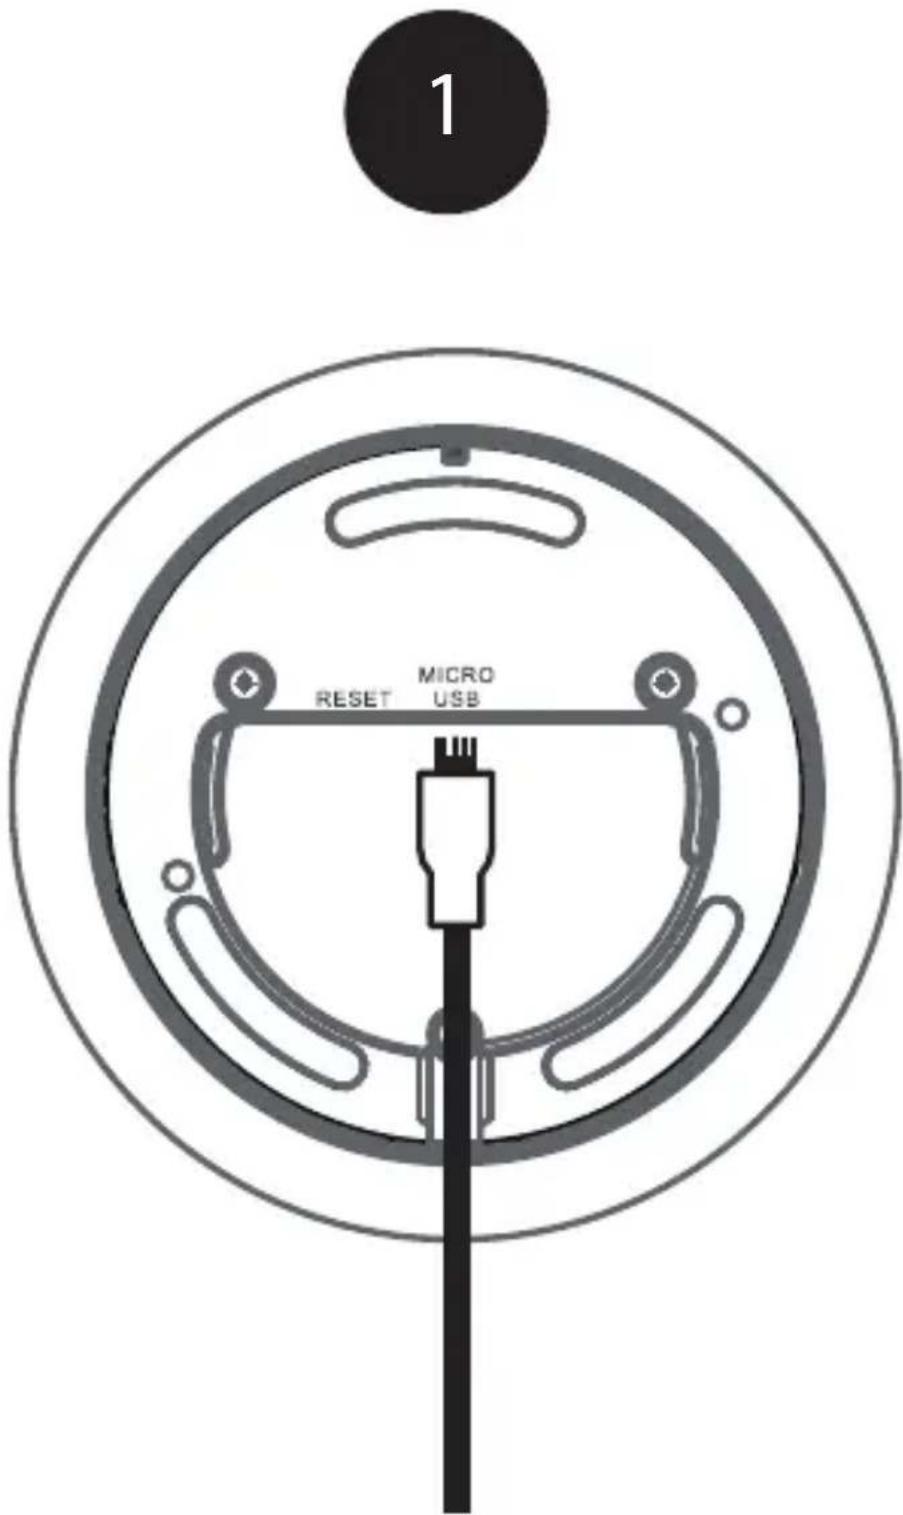
Plug the included USB power adapter into the power port on the bottom of the camera, making sure to route the cable appropriately.

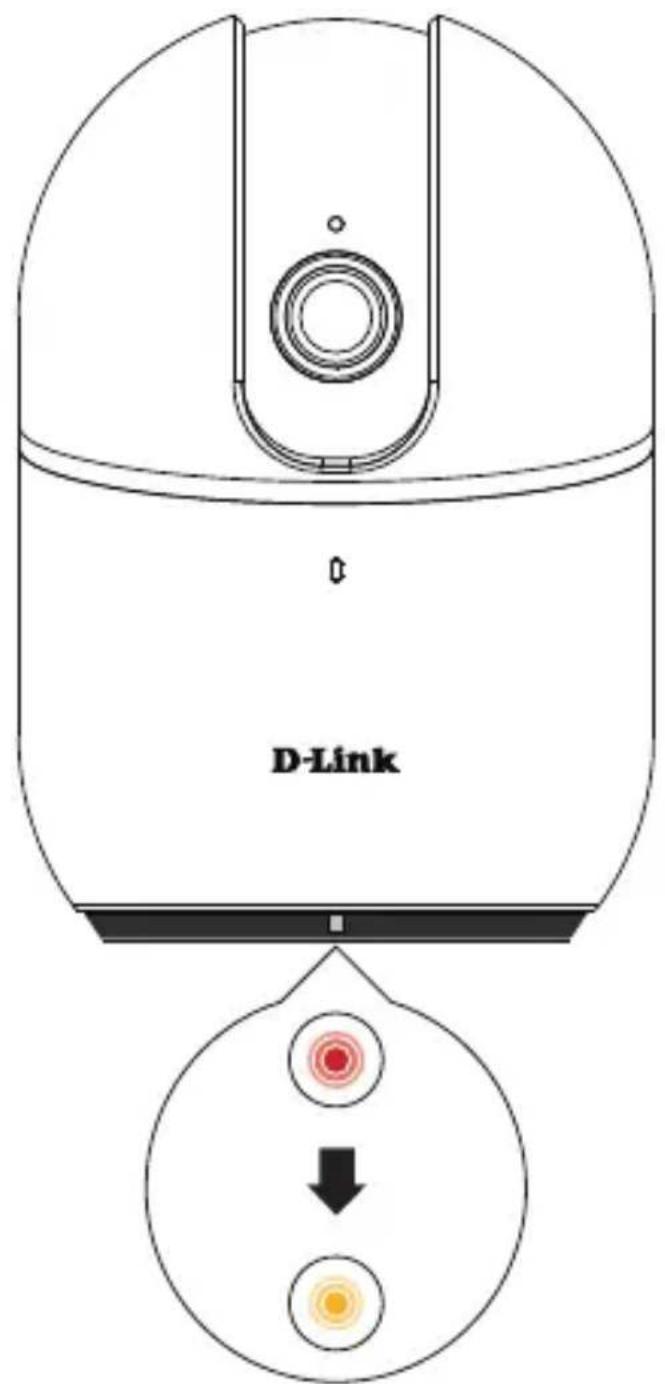
Once the camera has powered up, it will rotate left and right, up and down to calibrate itself. Wait until the LED at the front changes from red to blinking orange.


Scan the QR code above to download the mydlink app for your Android or iOS device.
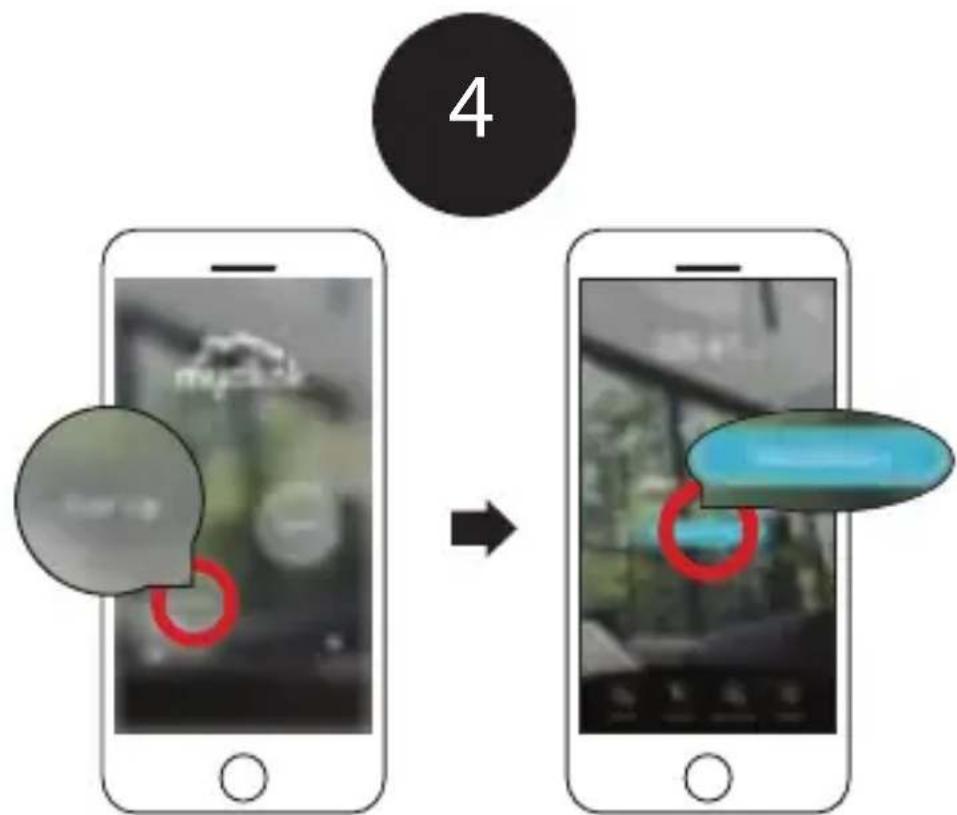
New Users:
Tap Sign Up to register for a mydlink account, then tap Add a Device to install your camera. Continue to follow the onscreen instructions.
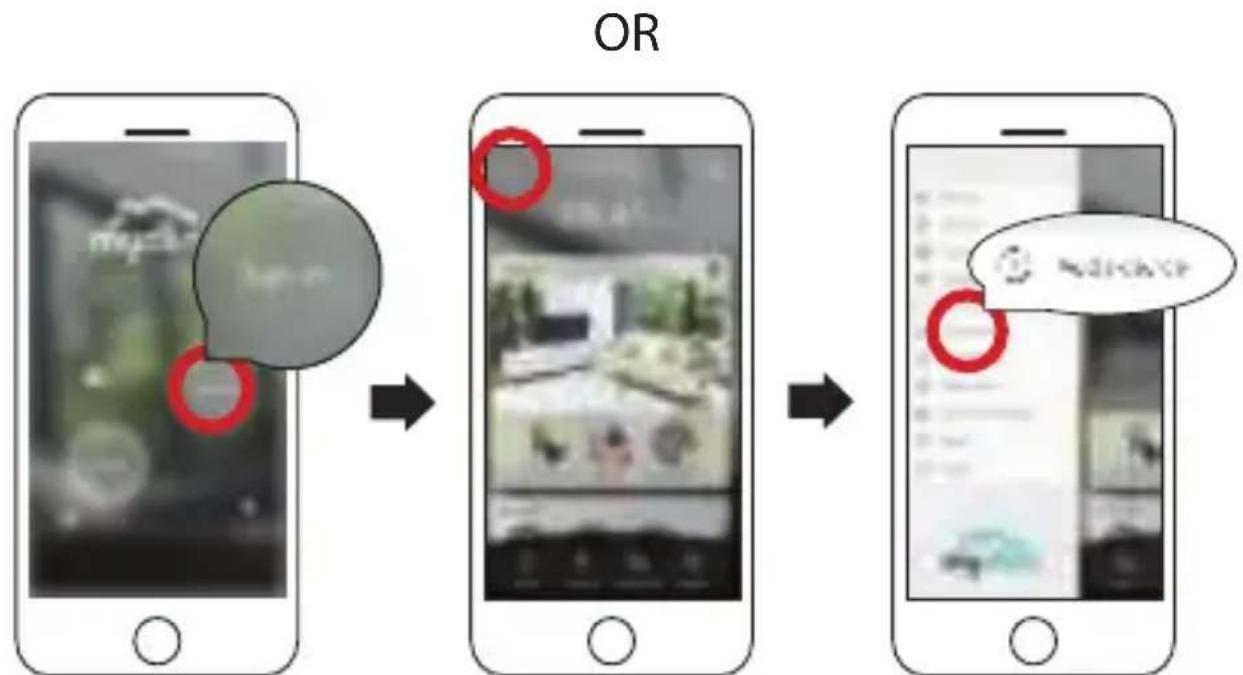
Existing Users:
Sign in using your mydlink account and tap the icon at the top-left, then tap Add a Device to start the setup wizard. Continue to follow the onscreen instructions.

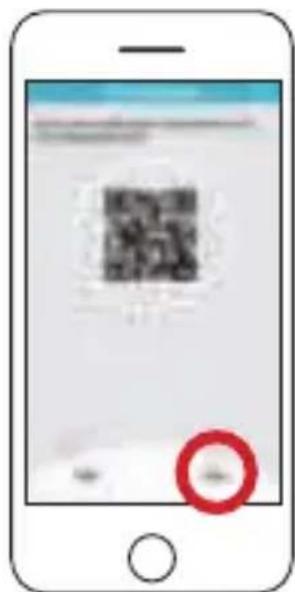
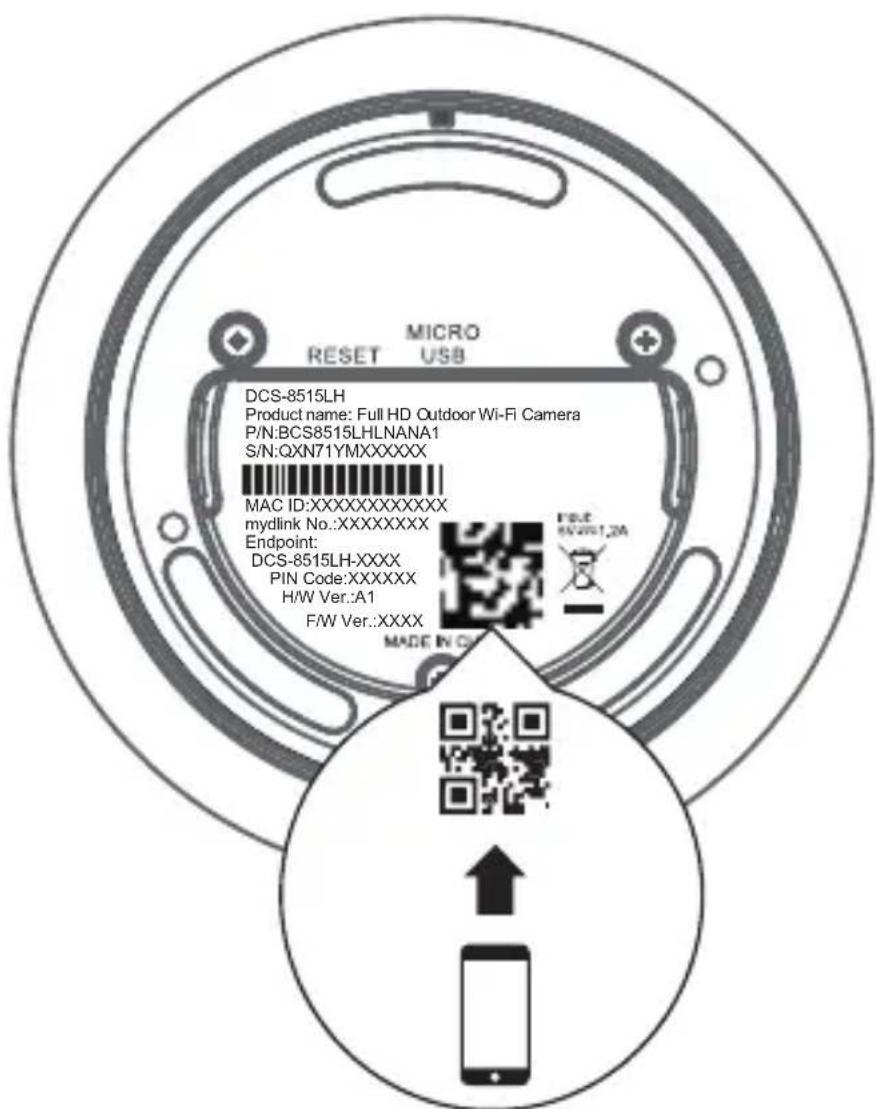
When prompted, select "Yes" to scan the QR code on the bottom of the camera, then continue to follow the onscreen instructions to complete the setup process.

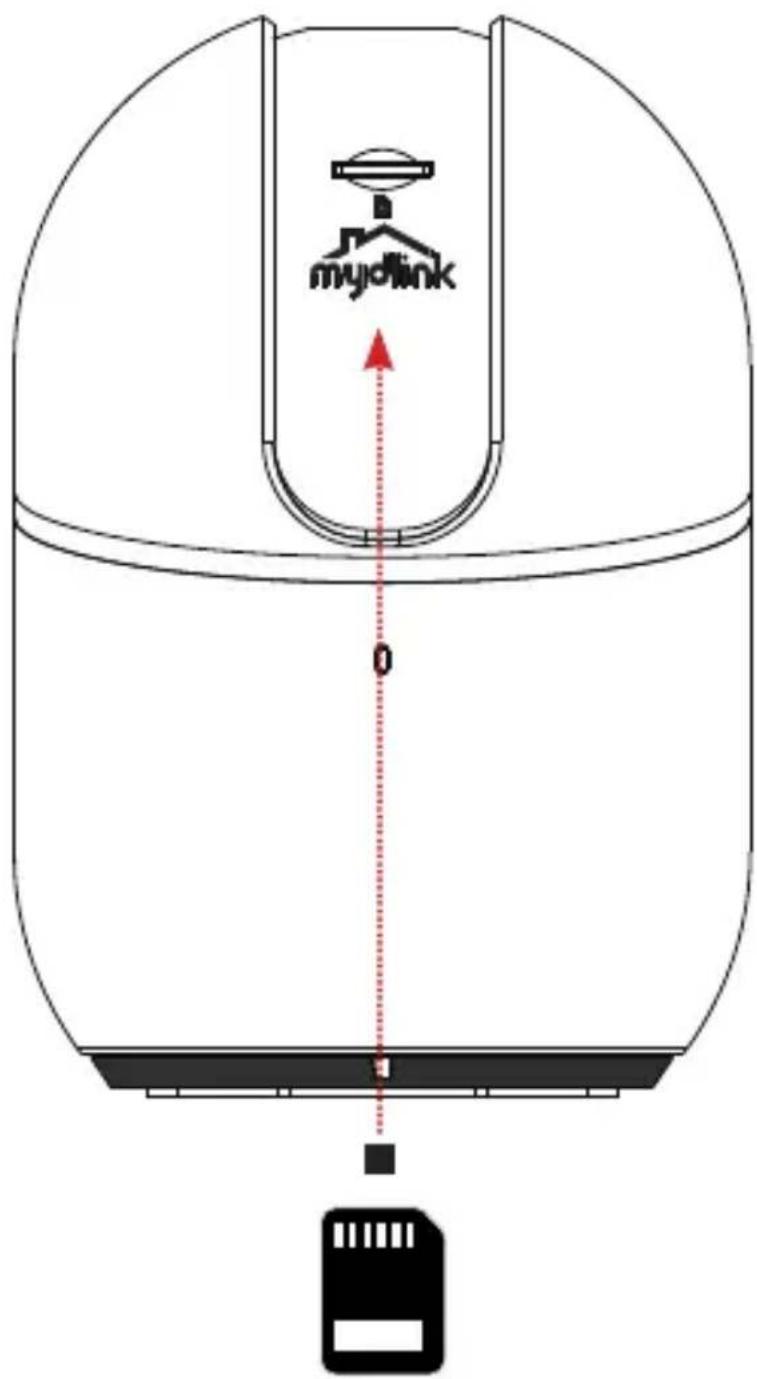
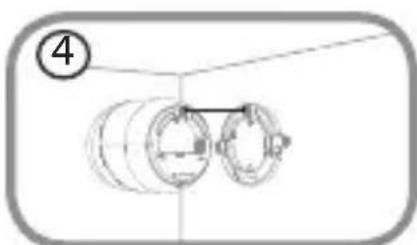
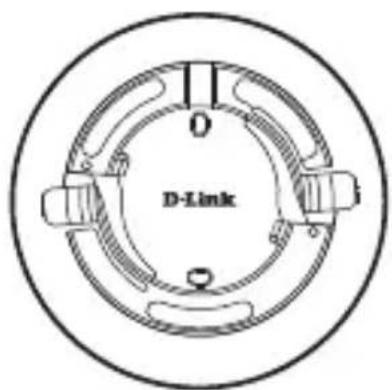
Please move the lens part up to hide the SD card slot. Where a microSD card can be inserted in order to save video recordings.
Note: Please use the mydlink app to tilt the camera up to reveal the slot.
Minimum Requirements
To install this product, you will need:
An 802.11 g/n wireless router
An Internet connection
- The latest version of the mydlink app from the App Store or Google Play. Please refer to the app's store page to check whether your device is compatible.
- An e-mail account (required to register for mydlink service)

Camera Mounting Instructions
Step 1:
Place the mount at the desired location, assuring that location of the power cord thread is also at the desired location. Use a pencil to mark the holes.

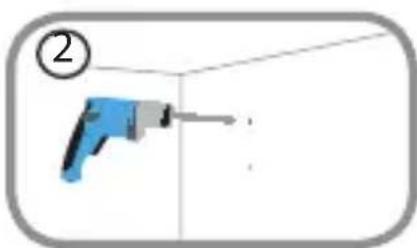
Step 2:
Using a 6 mm drill bit, drill two 25 mm deep holes over the pencil marks. For a plaster, drywall, or concrete wall, insert the plastic anchors to support the screws first.
Step 3:
Place the mount over the holes that are in the wall. Make sure to align the mount holes with the holes in the wall. Use the supplied screws to attach the mount to the surface of the wall.

Step 4:
Align the bottom of the camera to the threads on the mount. Assure that the camera is securely snapped into place.
Camera LED Information
DCS-8515LH
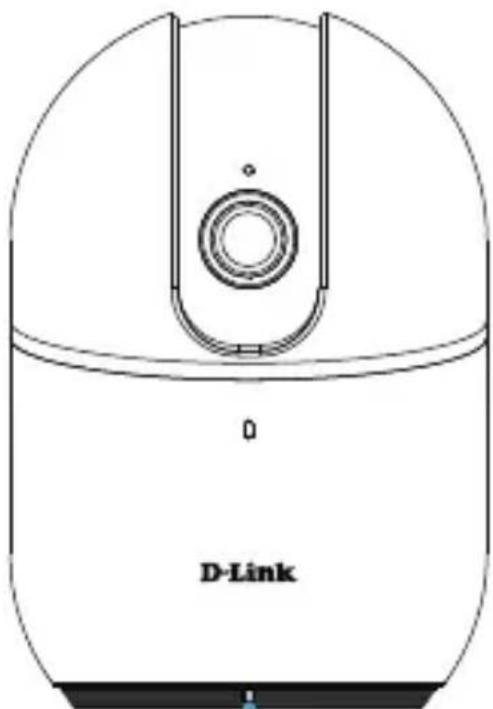
Status LED

System booting / Factory resetting

Firmware updating

Bluetooth enabled

BLE pairing / Ready for setup

Wireless connected

Data is being transferred


Brand : D-LINK
Model : DCS8515LH
Category : Surveillance Camera