TLM30 - Laser pointer STANLEY - Free user manual and instructions
Find the device manual for free TLM30 STANLEY in PDF.



User questions about TLM30 STANLEY
0 question about this device. Answer the ones you know or ask your own.
Ask a new question about this device
Download the instructions for your Laser pointer in PDF format for free! Find your manual TLM30 - STANLEY and take your electronic device back in hand. On this page are published all the documents necessary for the use of your device. TLM30 by STANLEY.
USER MANUAL TLM30 STANLEY
text_image
① 6.17 ft ②B
text_image
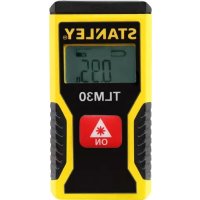
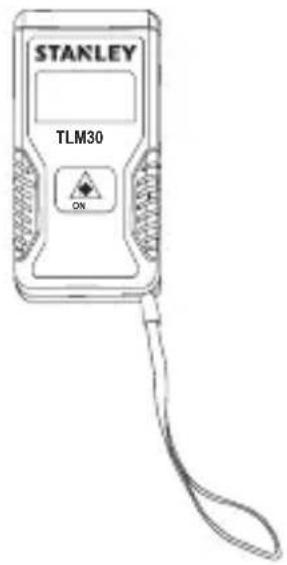
STANLEY TLM30 ON©
text_image
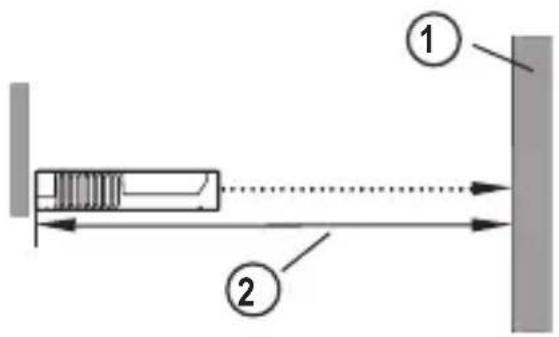
Diagram showing a mechanical or optical setup with labeled components 1 and 2, including a spring-like component and directional arrows.E
text_image
STANLEY LIMITED LASER 2 AMOUNTING R.Q. 100% CE REDACTED R.Q. 100% MATERIALS R.Q. 100%1
natural_image
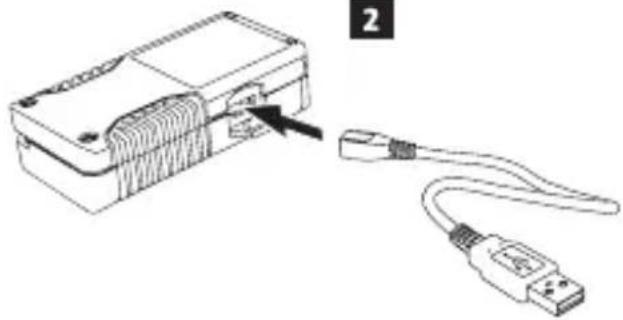
Line drawing of a device with a USB cable and connector, no text or symbols present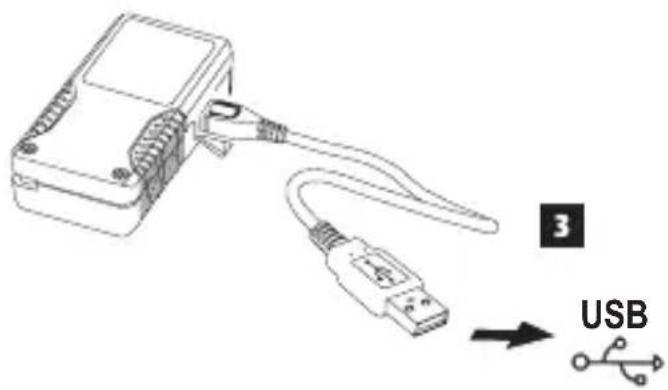
text_image
3 USBContents
- User Safety
- Setup
- Operation
- Specifications
- Warranty
- Error Codes
Retain all sections of this manual for future reference.
User Safety

WARNING:
Carefully read the Safety Instructions and Product Manual before using this product. The person responsible for the product must ensure that all users understand and adhere to these instructions.

WARNING:
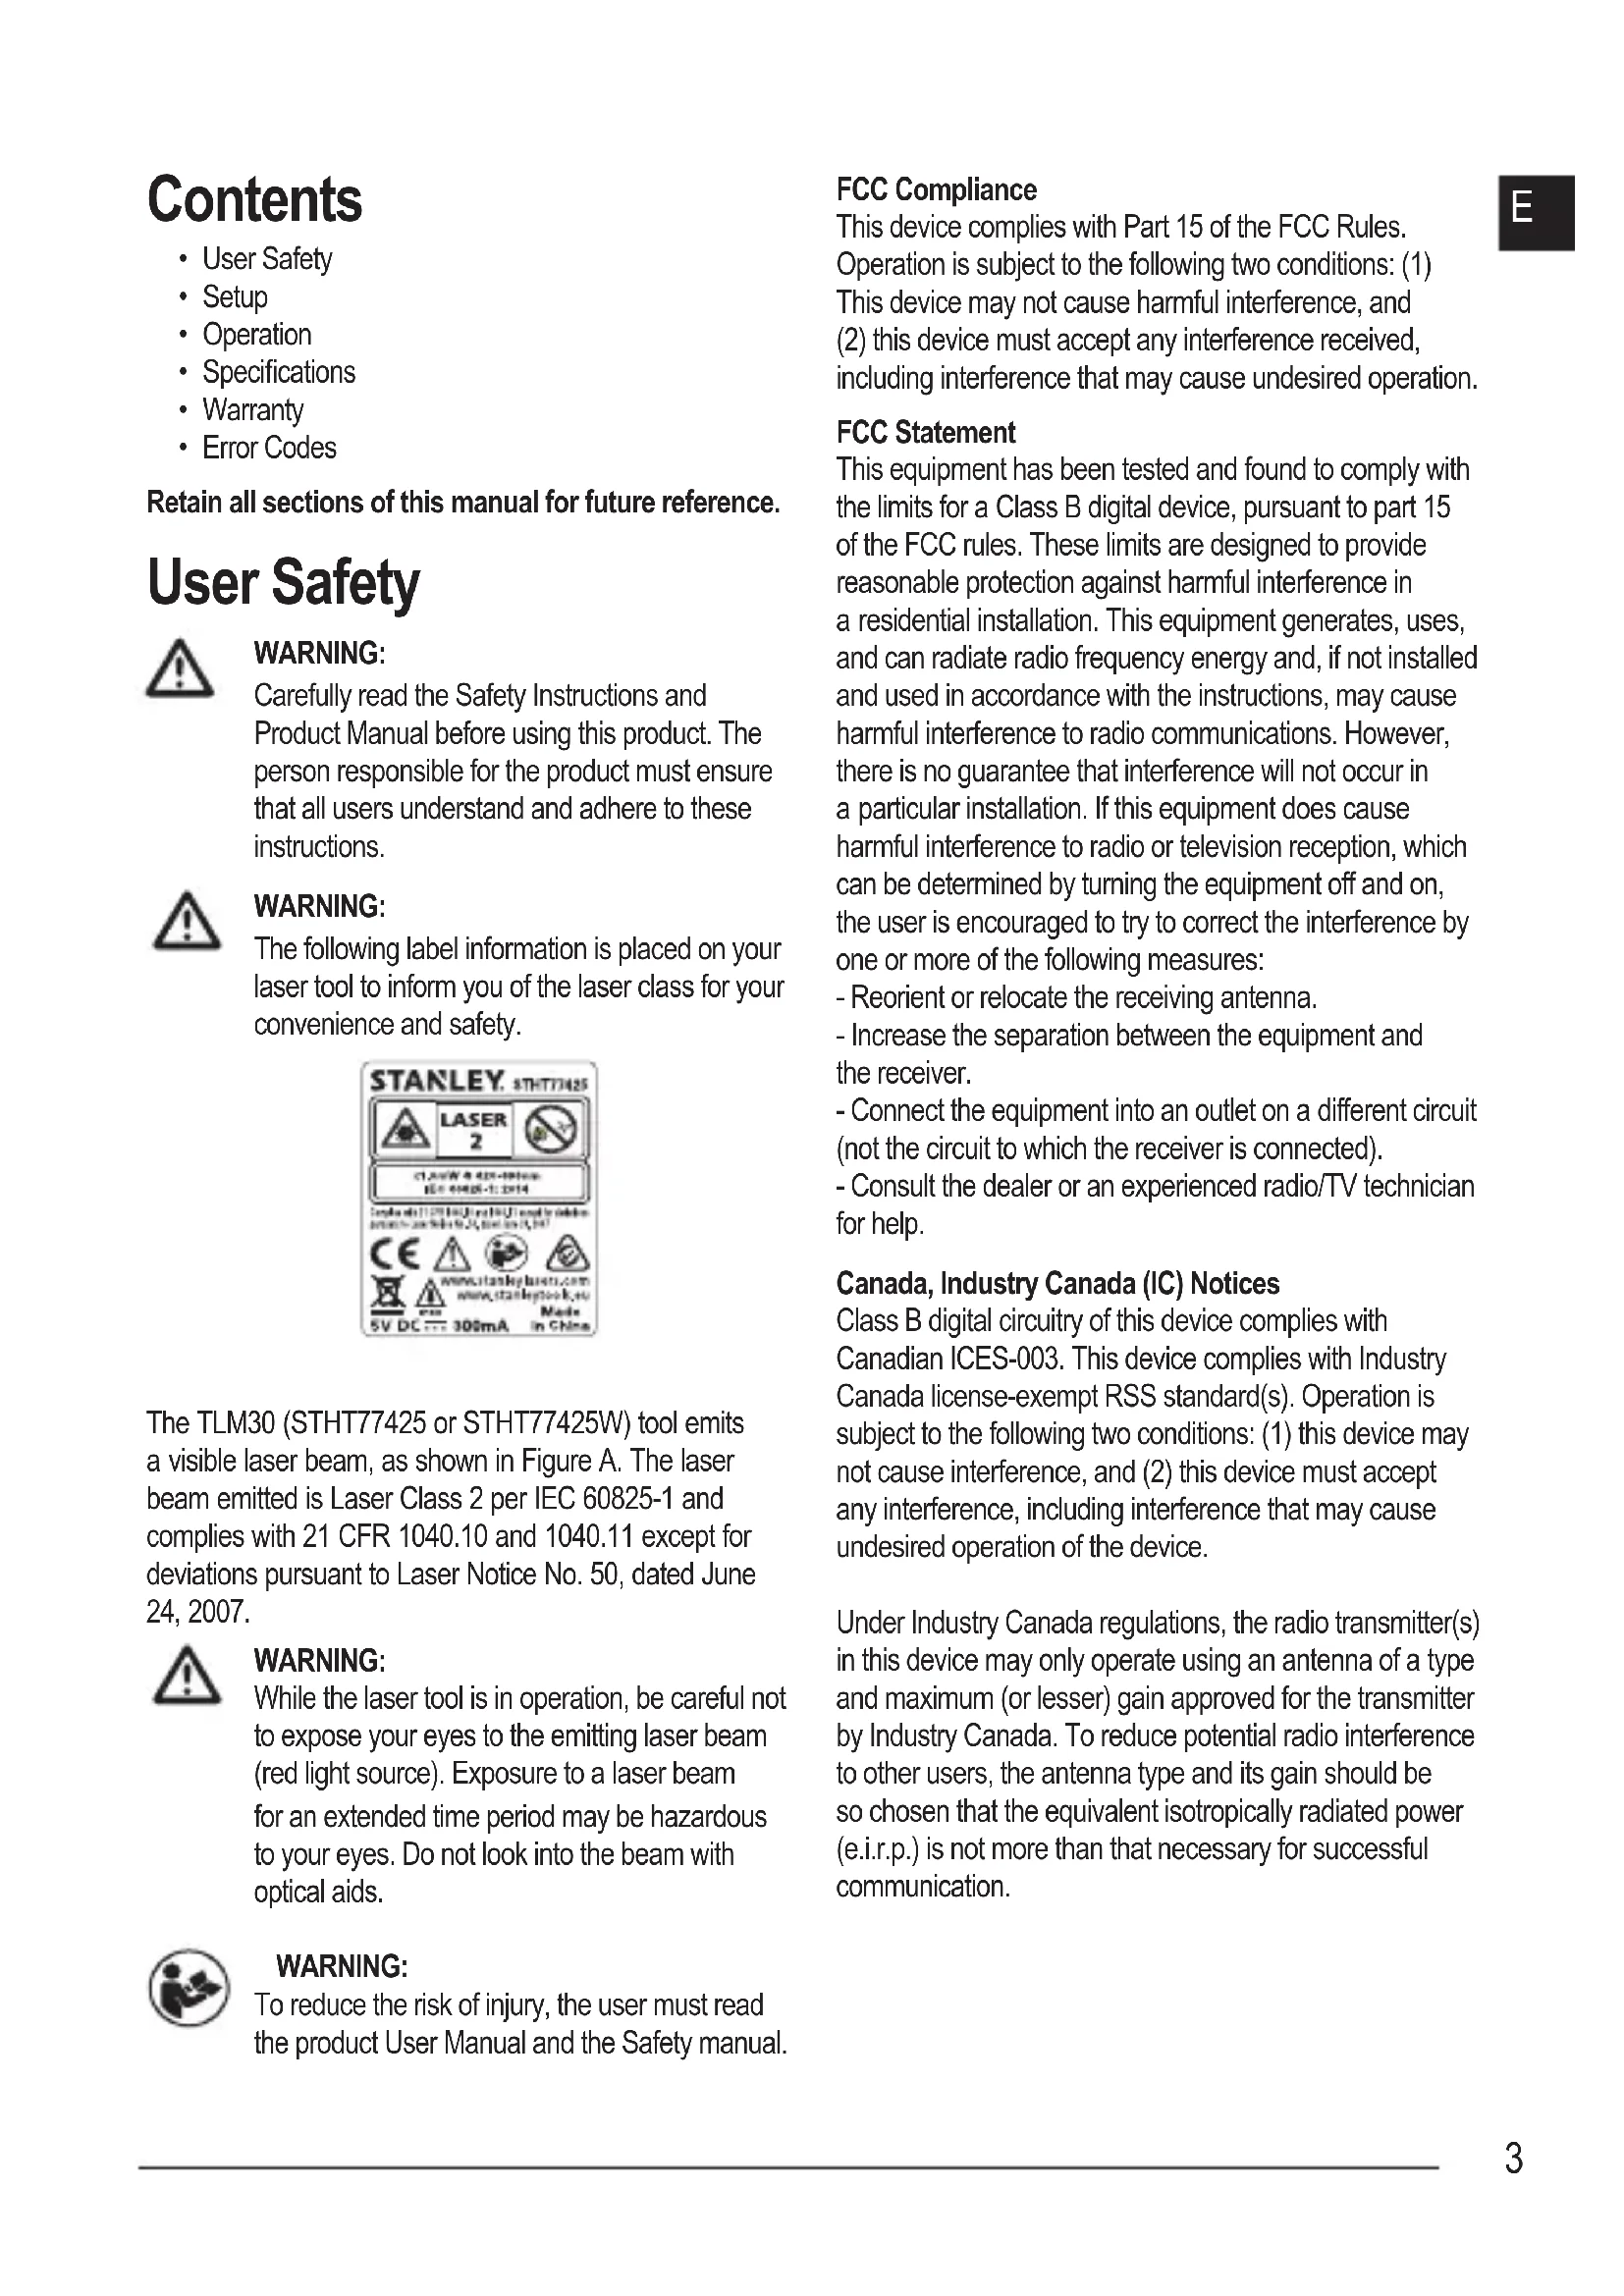
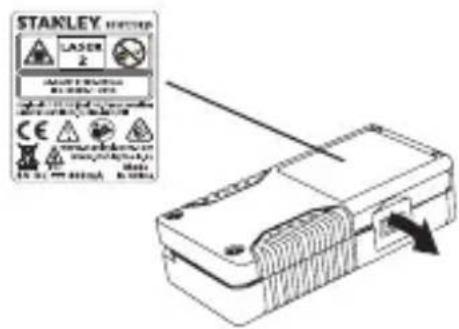
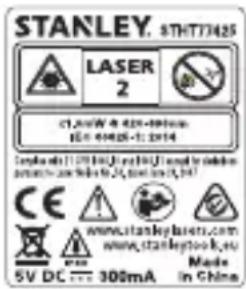
The following label information is placed on your laser tool to inform you of the laser class for your convenience and safety.
text_image
STANLEY. SHTT73425 LASER 2 CTAOW 8-429-000mm IEC: 69828-11-2014 Ce www.stanleylasts.com www.stanleptool.eu Made in China 5V DC 300mAThe TLM30 (STHT77425 or STHT77425W) tool emits a visible laser beam, as shown in Figure A. The laser beam emitted is Laser Class 2 per IEC 60825-1 and complies with 21 CFR 1040.10 and 1040.11 except for deviations pursuant to Laser Notice No. 50, dated June 24, 2007.

WARNING:
While the laser tool is in operation, be careful not to expose your eyes to the emitting laser beam (red light source). Exposure to a laser beam for an extended time period may be hazardous to your eyes. Do not look into the beam with optical aids.

WARNING:
To reduce the risk of injury, the user must read the product User Manual and the Safety manual.
FCC Compliance
This device complies with Part 15 of the FCC Rules. Operation is subject to the following two conditions: (1) This device may not cause harmful interference, and (2) this device must accept any interference received, including interference that may cause undesired operation.
FCC Statement
This equipment has been tested and found to comply with the limits for a Class B digital device, pursuant to part 15 of the FCC rules. These limits are designed to provide reasonable protection against harmful interference in a residential installation. This equipment generates, uses, and can radiate radio frequency energy and, if not installed and used in accordance with the instructions, may cause harmful interference to radio communications. However, there is no guarantee that interference will not occur in a particular installation. If this equipment does cause harmful interference to radio or television reception, which can be determined by turning the equipment off and on, the user is encouraged to try to correct the interference by one or more of the following measures:
- Reorient or relocate the receiving antenna.
- Increase the separation between the equipment and the receiver.
- Connect the equipment into an outlet on a different circuit (not the circuit to which the receiver is connected).
- Consult the dealer or an experienced radio/TV technician for help.
Canada, Industry Canada (IC) Notices
Class B digital circuitry of this device complies with Canadian ICES-003. This device complies with Industry Canada license-exempt RSS standard(s). Operation is subject to the following two conditions: (1) this device may not cause interference, and (2) this device must accept any interference, including interference that may cause undesired operation of the device.
Under Industry Canada regulations, the radio transmitter(s) in this device may only operate using an antenna of a type and maximum (or lesser) gain approved for the transmitter by Industry Canada. To reduce potential radio interference to other users, the antenna type and its gain should be so chosen that the equivalent isotropically radiated power (e.i.r.p.) is not more than that necessary for successful communication.
E
Setup
Attaching the Wrist Strap
- While facing the front of the tool, insert the thin end of the wrist strap through one of the holes in the lower right corner of the tool.
- Push the thin end of the wrist strap until it goes through the other hole.
- Separate the two wires, which make up the thin end of the wrist strap, to form a loop.
- Insert the thick end of the wrist strap all the way through the loop in the thin end, so the wrist strap is securely fastened to the tool (Figure B).
Charging the Battery
Fully charge the battery before initial use and whenever the tool has not been used for 6 months or longer.
- Locate the port cover on the side of the tool (Figure A #4).
- Using your finger, gently pull the port cover down (Figure E #1).
- Insert the small end of the USB Recharge Cable into the port on the side of the tool, making sure to insert the flat side of the cable into the flat side of the port (Figure E #2).
- Insert the USB end of the cable into a USB port in a computer or USB power outlet (Figure E#3).
- Wait approximately 2.5 hours for the battery to fully charge and then disconnect the USB Recharge Cable.
When the tool is ON, the battery level appears in the display window (Figure D #1).
Operation
- Point the laser at the top of the tool (Figure A #1) toward the wall whose distance you need to measure (Figure C #1).
- Click 📄 (Figure A #3) to turn the tool on and display a laser dot on the wall (Figure C #1).
-
When the bottom of the tool is positioned at the correct distance from the wall, click 📄 to take the measurement (Figure C #2).
-
View the measurement on the display window (Figure D #2).
Changing the Unit of Measure
Once the current measurement is taken, you can change the unit of measure from decimal ft (6.21 ft) to fractional ft (6'02"9/16), fractional ft to meters (1.894 m), meters to inches (74 9/16 in), or inches to decimal ft.
To change the unit of measurement, press and hold until you see the measurement change (2-3 seconds).
NOTE: If you continue to hold 📄 after the measurement changes, the tool will turn off.
Re-measuring
If you need to take a new measurement, click 📄.
- The previous measurement (Figure D#2) will be cleared from the display window.
- When you are ready to take the new measurement, click ON.
Turning Off the Tool
The tool can be turned off in either of these ways:
• After taking a measurement, press and hold 5 seconds (until the display window clears).
- If you do not use the tool for 45 seconds, it will automatically turn off.

Specifications
| Range 7in to 30ft (17.5cm to 9m) | |
| Measuring Accuracy* Typically ± 1/4in (± 6mm)* | |
| Resolution** 1/16in (1mm)** | |
| Laser Class Class 2 (IEC/EN60825-1: 2014) | |
| Laser Wavelength ≤ 1.0mW @ 620-690nm | |
| Auto Power Switch-off After 45s | |
| Battery Life Up to 3000 Measurementsor 30 days (if the tool is not used) | |
| Dimension (H x D x W) 2.44 x .69 x 1.25in (62 x 17.5 x 32mm) | |
| Weight | 1.12oz (31.75g) |
| Storage Temperature Range | 14° F ~ 140° F (-10°C ~ +60°C) |
| Operating Temperature Range | 32° F ~ 104° F (0°C ~ +40°C) |
| * Measuring Accuracy depends on the current conditions. Under favorable conditions (good target surface and room temperature) up to 30ft (9m).**Resolution is the finest measurement you can see. In inches, that is 1/16". In mm, that is 1mm. | |
Warranty
STANLEY warrants this product for a period of (2) years against deficiencies in material and workmanship. This LIMITED WARRANTY does not cover products that are improperly used, abused, altered, or repaired. Please call 866-786-5924 for more information or return instructions. Unless otherwise noted, STANLEY will repair without cost, any STANLEY product found to be defective, including parts and labor charges, or at STANLEY's option, will replace such tools or refund the purchase price, less the amount for depreciation, in exchange for the defective tool. THIS LIMITED WARRANTY EXCLUDES ALL INCIDENTAL OR CONSEQUENTIAL DAMAGES. Some states do not allow the exclusion or limitation of incidental or consequential damages, so these limitations may not apply to you. This LIMITED LIFETIME WARRANTY gives you specific legal rights that may vary from state to state. In addition to the warranty, STANLEY Lasers are covered by: 30-Day Money Back Guarantee. If you are not completely satisfied with the performance of your STANLEY Laser for any reason, you can return it within 30 days from the date of purchase with a receipt for a full refund.
IMPORTANT NOTE: The customer is responsible for the correct use and care of the instrument. Moreover, the customer is completely responsible for periodically checking the accuracy of the laser unit, and therefore for the calibration of the instrument.
Calibration and care are not covered by warranty.
| Code | Description Corrective Action | |
| --- | Received Signal Too Weak or Measuring Time Too Long | Use a target plate or change the target surface. |
| --- | Received Signal Too High The target is too reflective. Use a target plate or change the target surface. | |
| --- | Too Much Background Light Reduce the background light on the target area. | |
| --- | Laser Beam Interrupted Remove any obstacles in the path of the laser beam and repeat the measurement. | |
| --- | Insufficient Battery Recharge the tool's battery. | |
| 301 | Temperature Too High | Allow the tool to cool down to a temperature within the specified Operating Temperature Range. |
| Temperature Too Low Allow the tool to warm up to a temperature within the specified Operating Temperature Range. | ||
| 401 | Hardware Error Switch the tool on and off several times. If the hardware error still does not clear, return it to a Service Center or distributor. | |
Contenido
text_image
STANLEY 8TH77426 LASER 2 15.0mm @ 80% 900mm EC 0000000000 2016 Copyright: 05-34, 10-34, 14-16, 18-20 CE www.stanleybase.com www.starleytech.ca Sv DC 330mA Made in China© 2017 Stanley Tools
701 E. Joppa Road
Towson, Maryland 21286
U.S. & Canada Only
Made in China
P/N 097392
July 2017
www.2helpU.com