Watxer - Smartwatch i-Joy - Free user manual and instructions
Find the device manual for free Watxer i-Joy in PDF.
User questions about Watxer i-Joy
0 question about this device. Answer the ones you know or ask your own.
Ask a new question about this device
Download the instructions for your Smartwatch in PDF format for free! Find your manual Watxer - i-Joy and take your electronic device back in hand. On this page are published all the documents necessary for the use of your device. Watxer by i-Joy.
USER MANUAL Watxer i-Joy
Bluetooth Watch Instructions
Thank you for choosing our BT PHONE devices. You can read the manual, a comprehensive understanding of the use of equipment, in fact, with a taste of the function and simple method of operation.
This device is used as long as the brand of intelligent machines are adapted to use intelligent machines can synchronize phonebook and provides a variety of useful features and services to facilitate your work and leisure activities in the smart machine operation.
The Company reserves the right to make any prior notice in the case of the contents of this manual for the right to amend, without notice.
First, open the Bluetooth feature on your smartphone, search BT PHONE Equipment "U WATCH 2" and connect, BT PHONE will prompt *** (Connected) " while there will be a standby interface " 🔊 " icon indicates a successful connection has been your smartphone, connect after the success you can follow the instructions below BT PHONE operations:
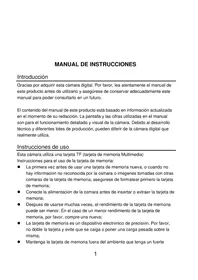
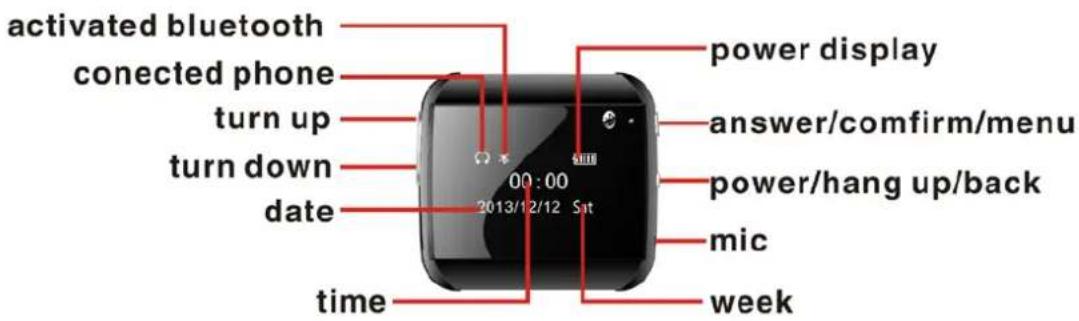
一、Key Description: There are four buttons on the left upper and lower volume keys, page up and down keys, top right of the Enter key, the answer key, bottom right of the switch button, back button, hold button.
text_image
activated bluetooth connected phone turn up turn down date 00:00 2013/12/12 Sat power display answer/comfirm/menu power/hang up/back mic time week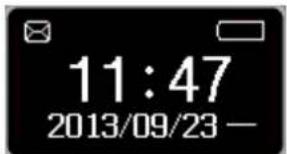
text_image
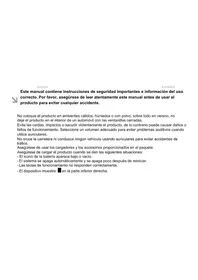
11:47 2013/09/23 —二、Standby screen displays: Time, day and date as the right
三、the main menu: Standby screen, press the Enter key to enter the main menu interface. Main menu interface: In this interface adjustment.Page up and down keys to select a different function, and then press the ENTER button to enter.
Main Menu Features:

text_image
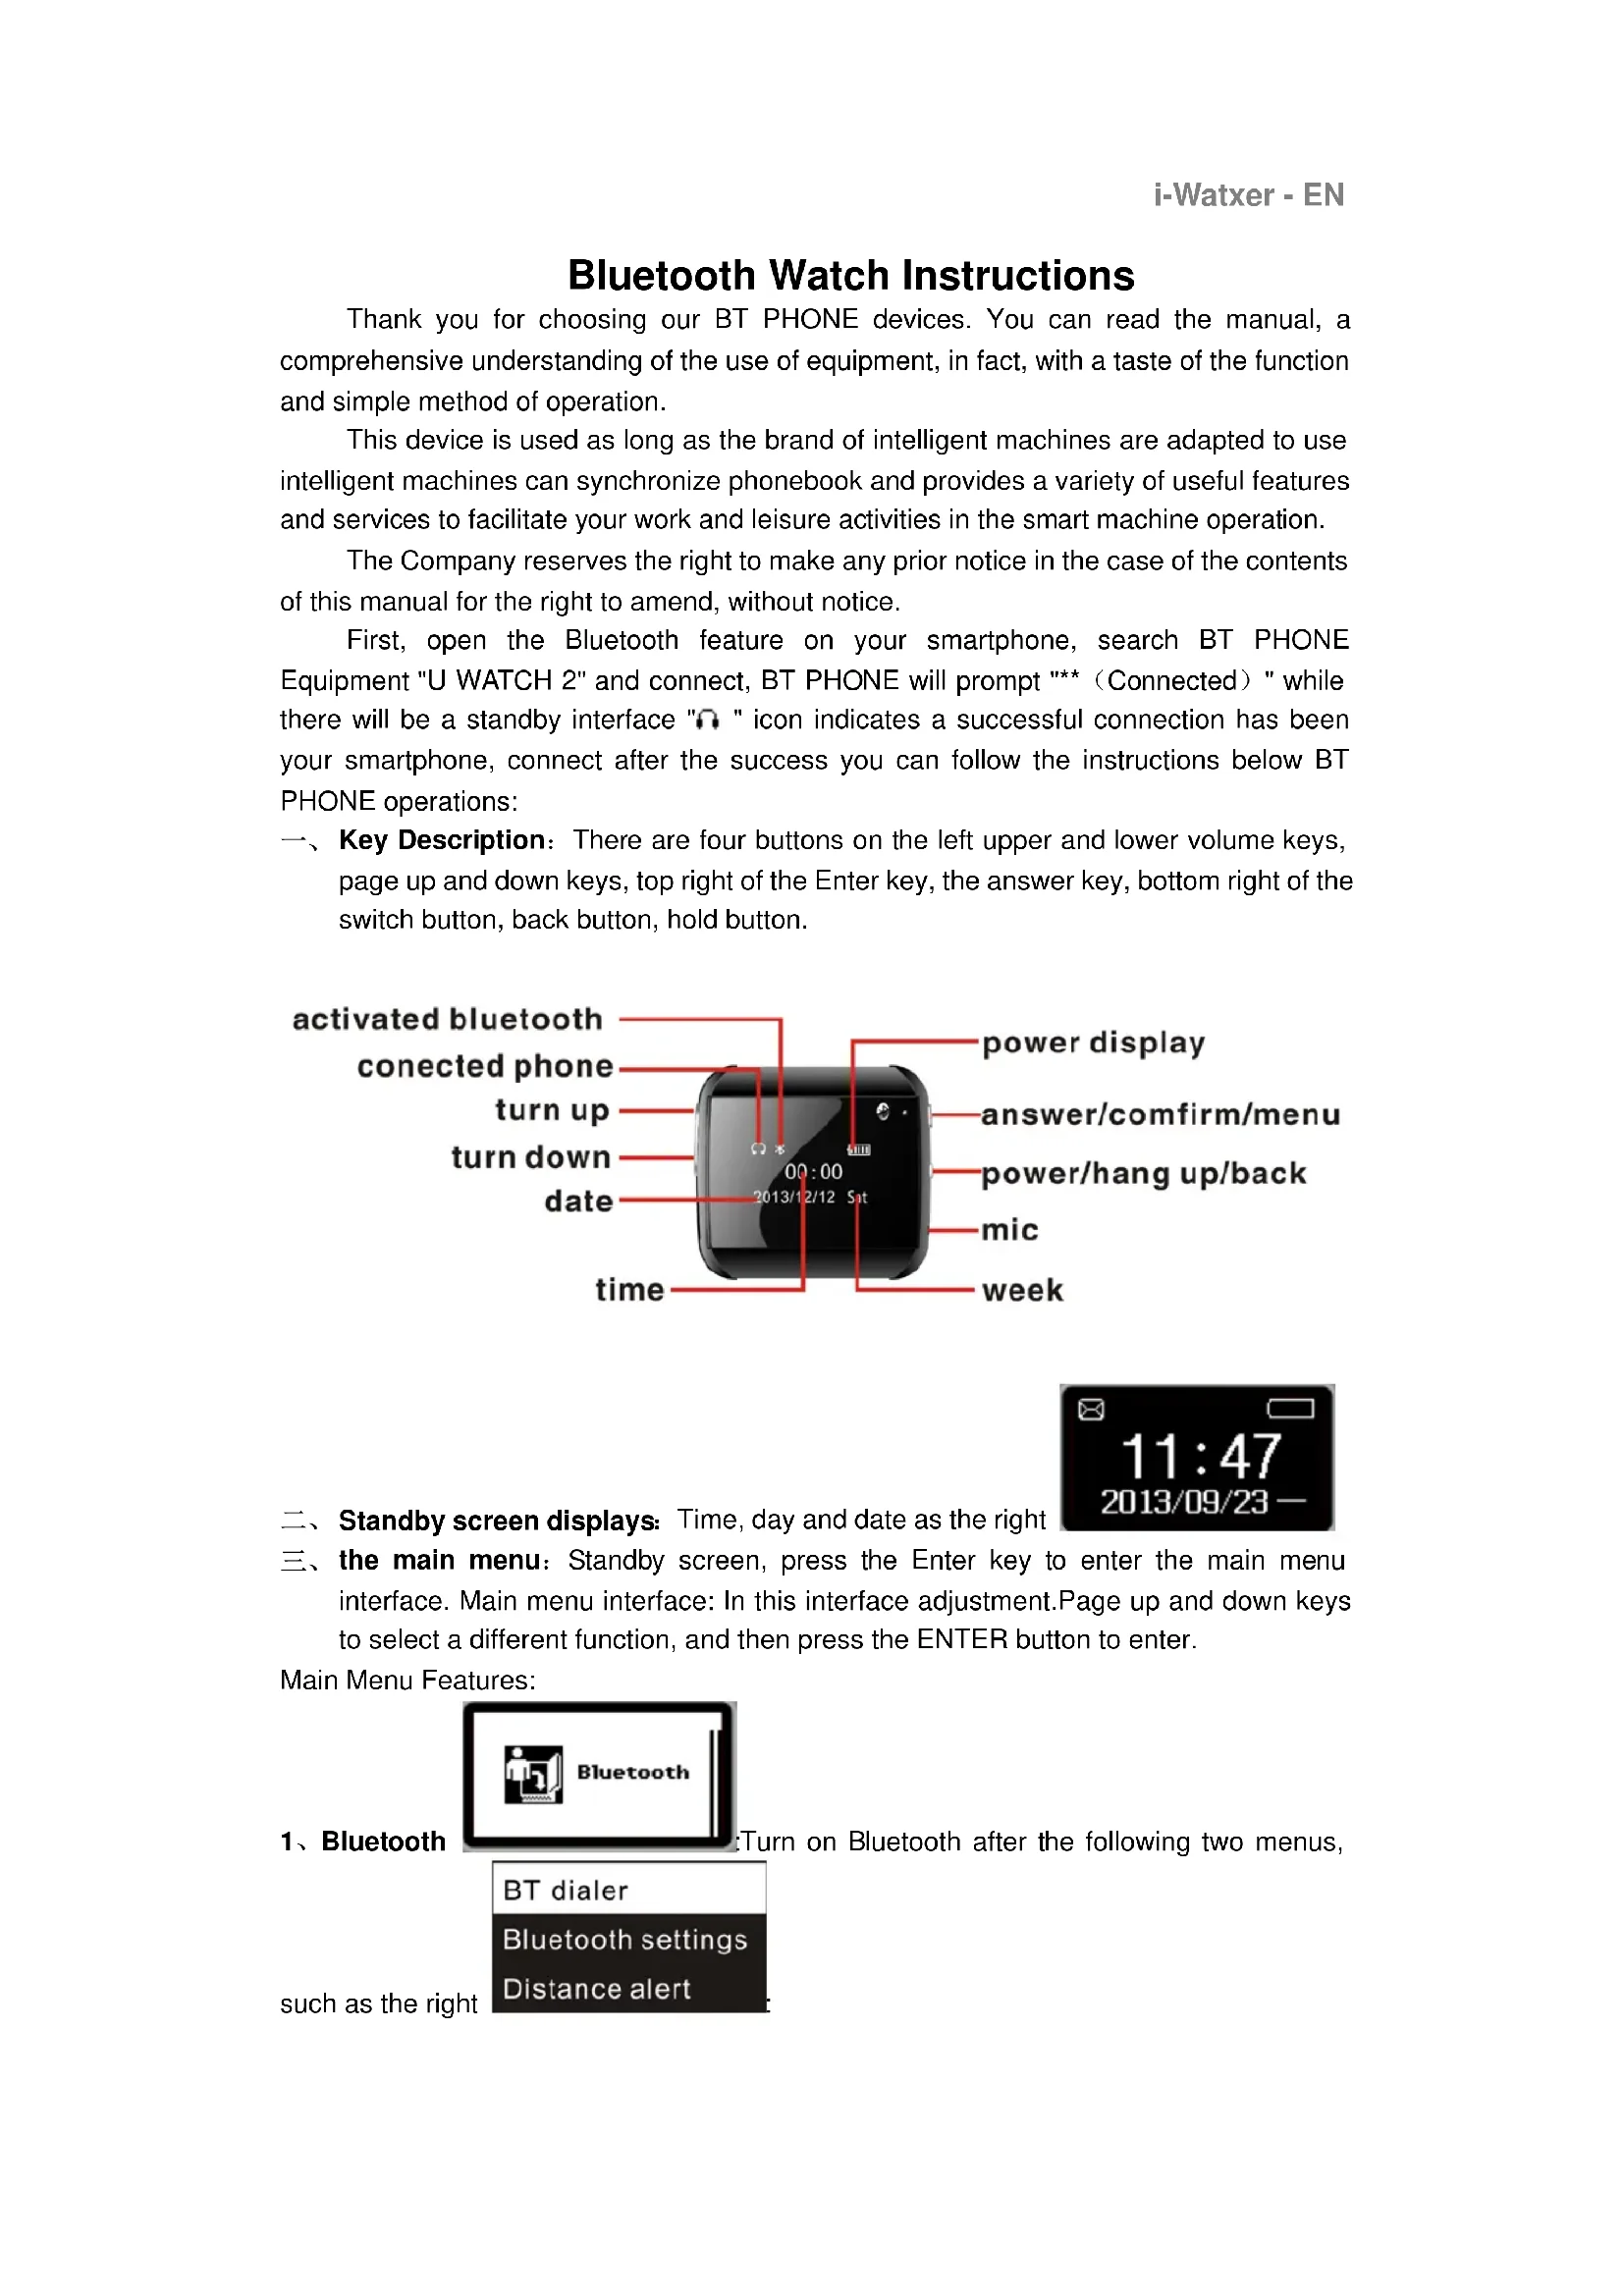
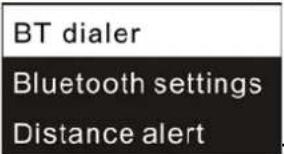
Bluetooth1、Bluetooth
Turn on Bluetooth after the following two menus,
such as the right
text_image
BT dialer Bluetooth settings Distance alert
text_image
Search new dev(1) BT dialer
1) You can search for Bluetooth devices;
2) Display can be connected Bluetooth device name, press the Enter key can connect / disconnect, remove, and help functions.

text_image
Power Off Visibility(2) Bluetooth settings
1) Press the Enter key can be turned on
or off Bluetooth, BT PHONE Bluetooth turned off by default, Bluetooth is turned on if the status bar of the main menu screen will display a small icon "×";
2) The machine can be searched can be turned on or off, default is on.
3) The local device name display: U WATCH 2.
(3) Distance alert: Press the Enter Key can be tuned on or off the alert, it will alert while you far away from the cell phone over 15 metres

text_image
Phonebook2、Phonebook
If there is no sync phone book, press the Enter

text_image
Not Connectedkey displays "not connected", such as the right
Now press the
Enter key for phonebook access, prompt "Loading", such as the right

text_image
Loading, Loaded successfully, you can view the phone book down keys.
Successful synchronization phonebook, press the Enter key to enter the contact list screen: Tap the contact can be a phone call functionality.

text_image
Remote notifi3. Remote Notification
Enter the remote notification feature, you
can see the latest mobile phone synchronization information, this feature only shows the latest news. It is suitable for smartphone of Andior OS only, Please interview the ftp://211.144.196.251 (user: 123456 password: 123456) and download the "
BTNotification.apk "AndroidPackage at the "Uwatch 2" document, and then install it in your smart phone(Notice: you have to install the Btnotification and open it before use the
watch)

text_image
BT music4. Bluetooth music
If a Bluetooth connection with another

phone, press the Enter key to enter the the OK button to play or pause music, volume key up or down when the music player can switch songs; To adjust the volume, you can press the Back key to return to the idle
text_image
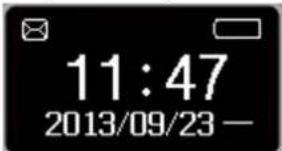
11:47 2013/09/23 —screen 2013/05/23, Then press the volume key up or down to adjust the other smart phones connected thereto adjusting the volume also can increase or decrease the volume of BT PHONE play music, and vice versa if not even prompt box will pop up on the

text_image
Not Connected"not connected."
NOTE: To ensure consistency with other phones Media Audio connection in order to play music!

text_image
Messaging- Information: If the remote device supports the MAP protocol (such as Samsung GLAXY 2, millet, 2, etc.), press the Enter key to enter, you can see the Inbox and Sent two menu two menu message list; if the remote phone does not support MAP protocol (go to the Inbox and Sent messages prompt "remote device does not support MAP"), the remote device is installed "Bluetooth notice" APK, remote notification view the latest messages.

text_image
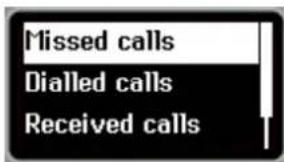
Call history- Call records : Press the Enter key to see: missed calls, dialed
text_image
Missed calls Dialled calls Received callscalls, received calls, and all calls, such as the right

text_image
Organizer7. Toolbox
:Open the Toolbox has the following menus, such as

text_image
Language Set Time Set Date Stopwatch Alarm About BT Watchthe right
(1) Language: Enter the interface to select language,, press the Enter key to select to select the appropriate language. Press the Return key to exit this function:
(2) Set time: There are two ways to set the time
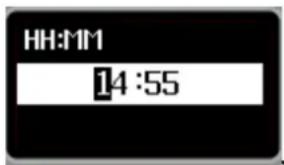
text_image
HH:MM 14:551) Press the Enter key to enter this interface
Switch button to
jump to different locations numeric setting, each location can press the volume keys up or down to adjust the specific numbers, setting completed, press the Enter key to save the settings.
2) Installed on the smart machine "Bluetooth notification" APK, when connected to the phone dialer, the dialer client will prompt "with the remote device's date and time synchronization?", Then press the Enter key can be time synchronized to the phone dialer side, so there is no need to manually adjust the time.
(3) Set date: There are two ways to set the date
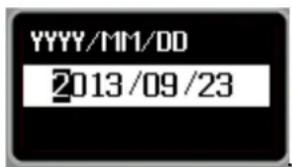
text_image
YYYY/MM/DD 2013/09/231) Press the Enter key to enter this interface
Press the switch
button to jump to different locations numeric setting, each location can press the volume keys up or down to adjust the specific numbers, setting completed, press the Enter button to save the settings;
2) Installed on the smart machine "Bluetooth notification" APK, when connected to the phone dialer, the dialer client will prompt "with the remote device's date and time synchronization?", Then press the Enter key can be synchronized to the phone dialer end date, so no need to manually adjust the date.
(4) Ringtone: enter ringtones function, Mute and ringtone 1-4 to select, simply choose the ringtone press the Enter key after the prompt above the "Saved" is set successfully.
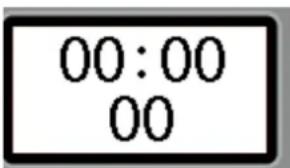
text_image
00:00 00(5) Stopwatch
Press OK to start timing or pause, press the
return key to exit this function.
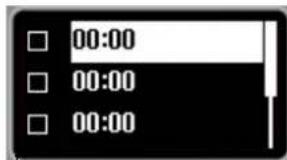
text_image
00:00 00:00 00:00(6) Alarm: Press the Enter key to enter the alarm interface
Alarm clock can be set to 5, press the volume up and down keys to select an option, press

text_image
Status Off Timethe Enter key to enter this list
1)、Alarm status: Press the Enter key to enter the selection and preservation of the interface, the default is off, press the Enter key you can choose to open or close, as the

text_image
Off Onright
Setup is complete press the Enter key to save the settings,
such as the right

text_image
Select Save
text_image
Off Time 00:002)、Set the time: Press the switch button to jump to different locations numeric setting, each location can press the volume keys up or down to adjust the specific numbers, setup is complete press OK to save the settings.
3) Ring type: Press the Enter key to enter the selection and save screen, press the up and down volume keys can be set once or daily (the default one) or a customized setup is complete press the OK button to save the settings.
4) Alarm tone: Press the Enter key to enter the alarm tone screen, press the up and down volume keys can be set to select the alarm tone, setup is complete press the Enter key to save the settings
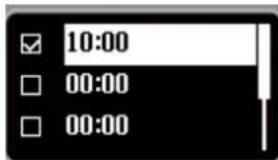
Note: Set the alarm is complete, set the alarm if opened, the list box will interface to select
text_image
10:00 00:00 00:00the tick, as shown
The status bar will be the standby interface
Alarm "☑," small icons; alarm sound, press the Enter key to stop the alarm.
(7) Power saving: Enter this function to adjust the luminance of display. In order to save power or not
(8) About Bluetooth Watch: Enter this function to display BT PHONE version information.
(9) Automatic Test: Enter this function, Bluetooth watch will be an automatic test features, including: backlit test, LCD test, test button, earpiece, speaker and microphone
test, the test is completed, this will disappear.
Conditions of Guarantee
- For the guarantee to be carried out, all products must be delivered to IJOY perfectly packed, preferably in its own original packing, with all accessories, user manuals and drivers that the packaging would originally contain. Otherwise, IJOY will not be held responsible for damages that might occur during transportation.
- To be able to carry out the guarantee it will necessary to have a copy of the proof of purchase, preferably with a copy of the original bill.
- The repair of the products will be carried out according to the problem reported by the client; therefore it is essential that the client indicates in a clear form and in the most specific way possible where the problem lies, to be able to solve it in the correct manner. In the case that there is not problem with the product a diagnosis and transportation charge can be applied.
- The client must have carried out a security copy of the data as during the reparation process there exists the possibility that such data may be lost and/or erased. In any case IJOY will not be held responsible for the loss of data contained in hard drives, as well as any other non -original accessory, might there be batteries , memory cards, CD's DVD's, etc.
- In the case that there is no possibility of repair of the product, it can be replaced by another one of similar or superior characteristics, taking into consideration the state in which the product is received, such as usage marks, scratches, etc. In any case the product returned to the customer will have been tested to be functioning correctly.
- The Guarantee will only cover errors caused by deficiencies in manufacturing, and does not therefore cover damage caused by mis-use, modifications or damages caused by accidents of any nature of caused by the client. The guarantee does not cover: Accessories, pieces exposed to normal wear and tea. The Guarantee will not be valid when the product is not used for the purpose for which it was originally conceived.
- In the case of TFT, there exists what are known as dead pixels or bright dots (due to the complexity of the manufacturing process), in such cases, there exists a maximum limit permitted by law (ISO 13406/02) that allows this not to be considered defective.
- The power supplies or chargers and batteries will have a guarantee limited to six months as long as they used within the established operating conditions for the correct usage have not been exposed to power surges.
- It will be necessary that the equipment has a legible serial number, that the guarantee seal has not been manipulated and in perfect state; that the equipment has all original seals in all components so that the guarantee is valid.
- The guarantee period starts in the moment of first purchase of the product. The reparation or substitution of the product will not imply an extension of the guarantee period.
- In the case that the product is not covered by the guarantee, a budget will be drawn up which has to be approved by the client. In the case that the budget is not approved by the client, the client must pay for the cost incurred in the transportation, manipulation and diagnosis of the product.
- Once the product is repaired after notifying the client, the client will have a period of ten working days to pick up the product. After this period of time, a daily storage charge will be applicable depending on the volume of the product.
i-Joy
C/ Mario Roso de Luna, 31 · P.I. Fin de Semana · 28022-Madrid (Spain)
Tel. +34 902 55 55 60
E-mail: rma@i-joy.es (Under warranty) | postventa@i-joy.es (Technical doubts)
Web: www.i-joy.es
DECLARATION OF CONFORMITY
Manufacturer Name:
I-JOY EUROPE INTERNATIONAL, S.L
We declare under our own exclusive responsibility, that the product:
Product: BT Watch
Manufacturing country: RPC
Is in compliance with the essential directives, norms and standards of the Directive 2004/108/CE of the European Parliament and of the Council of 15 ^th December 2004.
EN55022: 2010
EN55024: 2010
CE

text_image
IJOY INTERNATIONAL CIF: B-86300548Fernando Robles / Administrador Madrid, 31th October 2013