IAN 291533 - Faucet MIOMARE - Free user manual and instructions
Find the device manual for free IAN 291533 MIOMARE in PDF.
| Product type | Sink mixer tap |
| Brand | Miomare |
| Model | IAN 291533 |
| Intended use | Regulation of hot and cold water flow, installation on kitchen sinks |
| Compatible hot water systems | Pressure-resistant (central heating, instantaneous water heater, pressure water heater) |
| Incompatible hot water systems | Low-pressure water heaters, open electric storage heaters |
| Minimum flow pressure | 1.5 bar |
| Connections | G 3/8 |
| Delivery contents | Pre-assembled mixer with mounting kit, 2 flexible hoses, hex key, instructions |
| Material | Chrome-plated steel (estimate) |
| Minimum ambient temperature | 0°C |
| Operation | Lever for flow and temperature (left-right rotation) |
| Maintenance | Wipe after use, clean with soft cloth, descale the aerator |
| Wear parts | Cartridge (replaceable), aerator |
| Repairability | Cartridge and aerator replaceable by user |
| Warranty | 5 years from date of purchase |
| After-sales service | Eisl Sanitar GmbH |
| Disposal | Recyclable product, separate collection (packaging: yellow bin) |
Frequently Asked Questions - IAN 291533 MIOMARE
User questions about IAN 291533 MIOMARE
0 question about this device. Answer the ones you know or ask your own.
Ask a new question about this device
Download the instructions for your Faucet in PDF format for free! Find your manual IAN 291533 - MIOMARE and take your electronic device back in hand. On this page are published all the documents necessary for the use of your device. IAN 291533 by MIOMARE.
USER MANUAL IAN 291533 MIOMARE
Assembly instructions
DK
BLANDINGSBATTERITIL KØKKENVASK
Montagevejledning
FR BE
MITIGEUR D'ÉVIER
Notice de montage
NL BE
KEUKENKRAAN
Montagehandleiding
DE AT CH
KÜCHENARMATUR
Montageanleitung
IAN 291533
GB IE NI DK BE NL
OB IF NI
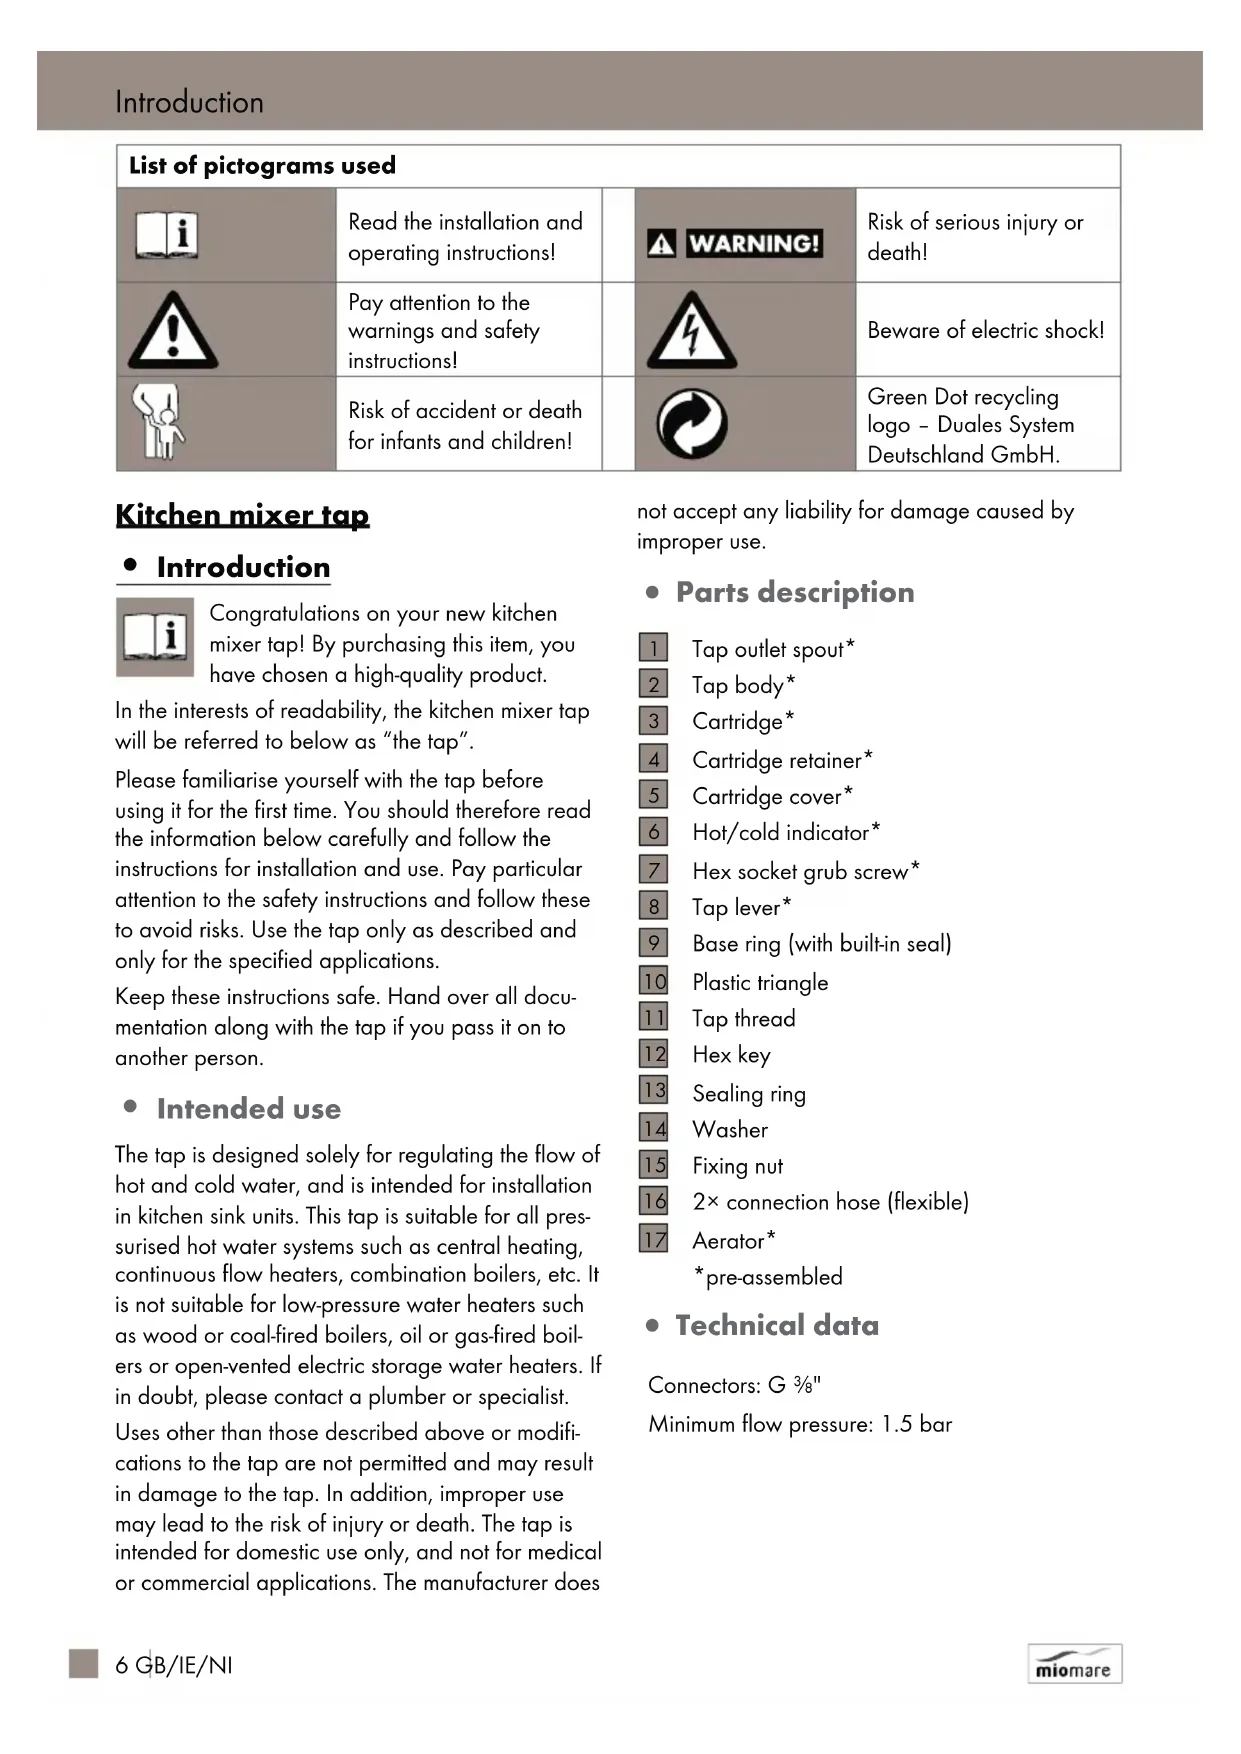
Before reading, unfold the page containing the illustrations and familiarise yourself with all functions of the device.
DK
GB/IE/NI Assembly, opertating and safety instructions Page 5
List of pictograms used
Introduction
Intended use
Parts description.. 6
Technical data.. 6
Package contents.. 7
Safety instructions.. 7
Installation
First use.. 8
Operation 8
Maintenance and cleaning.. 8
Cleaning the tap . 8
Replacing the cartridge . Page 8
Disposal
Information
Warranty and Service.. 10
| List of pictograms used | |||
| i | Read the installation and operating instructions! | WARNING! | Risk of serious injury or death! |
| ! | Pay attention to the warnings and safety instructions! | 4 | Beware of electric shock! |
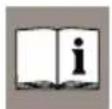
| Risk of accident or death for infants and children! | Green Dot recycling logo - Duales System Deutschland GmbH. | ||
Kitchen mixer tap
Introduction
Congratulations on your new kitchen mixer tap! By purchasing this item, you have chosen a high-quality product.
In the interests of readability, the kitchen mixer tap will be referred to below as "the tap".
Please familiarise yourself with the tap before using it for the first time. You should therefore read the information below carefully and follow the instructions for installation and use. Pay particular attention to the safety instructions and follow these to avoid risks. Use the tap only as described and only for the specified applications.
Keep these instructions safe. Hand over all documentation along with the tap if you pass it on to another person.
- Intended use
The tap is designed solely for regulating the flow of hot and cold water, and is intended for installation in kitchen sink units. This tap is suitable for all pressurised hot water systems such as central heating, continuous flow heaters, combination boilers, etc. It is not suitable for low-pressure water heaters such as wood or coal-fired boilers, oil or gas-fired boilers or open-vented electric storage water heaters. If in doubt, please contact a plumber or specialist.
Uses other than those described above or modifications to the tap are not permitted and may result in damage to the tap. In addition, improper use may lead to the risk of injury or death. The tap is intended for domestic use only, and not for medical or commercial applications. The manufacturer does
not accept any liability for damage caused by improper use.
- Parts description
1 Tap outlet spout*
2 Tap body*
3 Cartridge*
4 Cartridge retainer*
5 Cartridge cover*
Hot/cold indicator
7 Hex socket grub screw
8 Tap lever*
9 Base ring (with built-in seal)
10 Plastic triangle
11 Tap thread
12 Hex key
13 Sealing ring
14 Washer
15 Fixing nut
16 2× connection hose (flexible)
17 Aerator*
*pre-assembled
Technical data
Connectors: G 3 / 8
Minimum flow pressure: 1.5 bar
Package contents
1 Single-lever kitchen mixer tap (pre-assembled) including fastener set
2 %" flexible connection hoses
1 Hex key
1 Installation/operating instructions

Safety instructions
WARNING! RISK OF ACCIDENT OR DEATH FOR INFANTS AND CHILDREN! Children
must not play with the tap or carry out cleaning/user maintenance without supervision.
Do not let children play with the packaging film or parts of the packaging, otherwise they could end up becoming entangled or may swallow parts and choke.
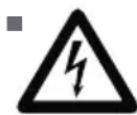
BEWARE OF ELECTRIC
SHOCK! Leaks or water discharge can lead to a risk of death by electric
shock. Carefully check that all connections are leak-tight and make sure that any wiring for electrical equipment near the sink is correctly and safely installed.
f in doubt, consult a specialist.
CAUTION! RISK OF SCALDING!
Make sure that the hot/cold indicator is fitted in the correct position to avoid accidental scalding.
When turning on the tap, use a cold lever setting before adjusting the water temperature.
CAUTION! PROPERTY DAMAGE
Improper installation and use of the tap may cause damage to property. Have a specialist perform the installation.
Turn off the water supply to your house before installation.
During installation, make sure that all seals are correctly positioned against the sealing surface.
Do not use the tap with low-pressure or small electric storage heaters.
Only use the tap when the ambient temperature is above 0^ . Shut off the water supply and empty the tap if there is a risk of freezing.
Do not use the tap if it shows signs of damage or its functionality is affected.
Leaks and water discharge can lead to significant property damage to buildings and household goods. You should therefore carefully check that all connections are leak-tight.
Before installation, familiarise yourself with all site conditions such as available water connections and shut-off mechanisms.
Do not carry out repairs yourself; hire a specialist instead.
Only use original spare parts to replace defective parts.
- Installation
Note: Familiarise yourself with the tap before installation by carefully reading these installation and operating instructions, particularly the safety instructions.
If incorrectly installed, the warranty will become invalid - particularly with regard to consequential damages.
CAUTION! Turn off the hot and cold water supply before starting the installation.
CAUTION! Do not twist or apply tension to the connection hoses (see Fig. A).
CAUTION! Only finger-fighten the connection hoses. Do not use pliers or a spanner as this may damage the connection hoses (see Fig. A).
Note: Assembling the plastic triangle is optional. If your washbasin or sink is the right shape and thickness, there is no need to fit the plastic triangle.
Follow these steps:
Unscrew the fixing nut 15 from the tap thread 11.
Screw the short end of the tap thread into the tap body 2.
From below, screw the two flexible connection hoses into the two corresponding hose inlets in the tap body until finger-tight. Do not use any tools to screw the connection hoses into the tap. Make sure that the connection hoses are straight and not pinched (see Fig. A).
Check that the seal in the base ring 9 is correctly seated in the appropriate groove.
Place the base ring onto the sink so that it surrounds the tap mounting hole with the seal lying against the sink.
Feed the fitted connection hoses through the base ring and into the mounting hole, then place the tap body on the base ring.
Feed the fixing nut, the washer 14, the sealing ring 13 and (if required) the plastic triangle 10 over the connection hoses from below. If using the plastic triangle, make sure that the smooth side is facing upwards so that it lies directly against the bottom of the sink when installed.
□Attach the tap to the sink by finger-tightening the fixing nut as far as it will go onto the tap base from below.
Screw the connection hoses onto the angled valves at your wall connection point. Make sure that both the connection hoses are correctly attached to the hot or cold water supply.
Once successfully installed, turn on the hot and cold water supply.
- First use
Make sure to carefully check that all connections are leak-tight after the first use.
The tap must be flushed to remove any impurities before using it for the first time.
To do this, follow the steps below:
Unscrew the aerator 17 anticlockwise from the tap outlet spout 1 (see "Maintenance and cleaning" section).
Turn on the main water supply and let the water run for two minutes to remove residue.
Finally, screw the aerator clockwise back onto the tap outlet spout.
Operation
Tilt the tap lever 8 forwards or push it backwards to regulate the strength of the water flow.
Turn the tap lever clockwise or anticlockwise to regulate the temperature of the water flow:
For cold water, turn the tap lever clockwise (to the right).
For hot water, turn the tap lever anticlockwise (to the left).
- Maintenance and cleaning
CAUTION! RISK OF DAMAGE! Follow the instructions below on properly cleaning and maintaining the tap to avoid damage. Never use petrol, solvents, harsh cleaning products or hard brushes for cleaning as these could damage the surface of the tap.
- Cleaning the tap
Dry your taps with a cloth after every use to prevent the build-up of limescale.
Wipe the tap clean with a soft, damp cloth and a mild detergent if necessary.
Unscrew the aerator 17 from the tap outlet spout 1 at regular intervals and remove any hard residue or foreign bodies. If the aerator is very dirty or damaged, replace it with a new one.
Note: You should be able to unscrew the aerator by hand. If this is not possible, protect the aerator by wrapping it in a thin, damp cloth and carefully unscrew it using a pipe wrench.
- Replacing the cartridge
Cartridges are consumable parts which must be replaced at regular intervals depending on water hardness and impurity levels. If the tap lever becomes more difficult to operate, this may be a sign that the cartridge needs to be replaced. You can obtain replacement cartridges directly from the specified service centre.
Follow these steps:
Carefully prise the hot/cold indicator 6 out of the tap lever 8 using a small flat-head screwdriver.
Loosen the hex socket grub screw 7 underneath by using the hex key 12 to turn it anticlockwise a few times. Do not unscrew the hex socket grub screw completely. Only loosen it far enough to easily remove the tap lever.
Remove the tap lever.
Unscrew the cartridge cover 5 anticlockwise by hand.
Unscrew the cartridge retainer 4 anticlockwise with a pipe wrench.
Remove the cartridge 3 from the tap body 2.
- Carefully insert the new cartridge into the tap body. Make sure that the seal under the cartridge is correctly seated and that the guides are placed in the openings provided.
Screw the cartridge retainer tight with a pipe wrench.
Screw the cartridge cover tight by hand.
Place the tap lever on the cartridge.
To attach the tap lever, tighten the hex socket grub screw by turning it clockwise with the hex key.
Put the hot/cold indicator in the tap lever. Make sure that it is correctly aligned:
left = red (hot water)
right = blue (cold water).
Note: If you over-tighten the cartridge retainer ring, the tap lever may be difficult to move. In this case, slightly loosen the cartridge retainer ring again.
- Disposal
Packaging can be disposed of with plastics in your recycling collection.
Contact your local authority for informa
tion on how to dispose of your worn-out tap.
Information
Potability of tap water
Contact the local authorities for information on the potability of water in your town or district. In general, the following recommendations apply with regard to tap water potability:
Do not use stagnant water to prepare meals or drinks, and especially not to prepare food for babies, as this may cause health problems. You can identify fresh water from the fact that it leaves the pipe noticeably cooler than stagnant water.
Let tap water run for a short while if the water pipe has not been used in more than four hours.
If you have a nickel allergy, do not use stagnant water from chrome-plated pipes for food or personal hygiene purposes. This type of water can contain high levels of nickel and trigger allergic reactions.
□Drinking water from pipes that contain lead must not be used to prepare baby food or to prepare food during pregnancy. Lead is released into the drinking water and is particularly hazardous to the health of pregnant women, babies and infants.
Warranty and Service
The warranty period is five years and begins on the day of purchase. Please keep your receipt as proof of purchase.
If defects do occur during the warranty period, defective taps may be returned freight forward to the service address specified, provided that the service department is contacted in advance. You will then receive a new or repaired tap free of charge.
After the warranty period has expired you may still send the defective tap to the address specified for repair. Repairs made after the warranty period has expired are subject to payment.
Note: Eisl Sanitär GmbH will replace defective taps or supply the respective replacement parts free of charge within the warranty period.
Eisl Sanitär GmbH is unable to refund the purchase price for defective taps.
This warranty does not limit your legal rights.
The warranty period will not be extended by repairs made under warranty. This applies also to replaced and exchanged parts. Complaints are often initiated by difficulties encountered during use. Many of these complaints can be resolved by telephone or email. Please contact the service centre set up for you before filing a warranty claim for the tap with the manufacturer:
GB/IE/NI:
Teknihall bvba
Brusselsstraat 33
BE-2321 Meer
Belgium
Tel.: +800-87934629*
Email: customerservice@eisl.at
- Toll-free number
IAN 291533
Please have the receipt and item number, e.g. IAN 12345 ready as your proof of purchase when making an enquiry.
Product description:
Kitchen mixer tap
Eisl Sanitär no.
NI182DISE-LIDL4
Signaturforklaring over anvendte piktogrammer Side 12
Indledning
Formalsbestemt anvendelse. 12
Beskrivelse af enkeltdele. Side 12
Tekniske data. 13
Leveringsomfang . 13