PerfectCare Compact GC7011 - Iron PHILIPS - Free user manual and instructions
Find the device manual for free PerfectCare Compact GC7011 PHILIPS in PDF.
User questions about PerfectCare Compact GC7011 PHILIPS
0 question about this device. Answer the ones you know or ask your own.
Ask a new question about this device
Download the instructions for your Iron in PDF format for free! Find your manual PerfectCare Compact GC7011 - PHILIPS and take your electronic device back in hand. On this page are published all the documents necessary for the use of your device. PerfectCare Compact GC7011 by PHILIPS.
USER MANUAL PerfectCare Compact GC7011 PHILIPS
Perform Task. Clean process regularly for post-station and pre-occurring life (10). Perform proper water quality, dust removal and pest control.
P
WICHNG
Frenn She d Emlakng for optimien Damaf und er large hunng
Eemfchens Ksser dehieres oer demnntarres Nsser 2
IMPORTANT
Peeiie i proceoe Cioe ene rme regu ar paro optimise vao yproingarle
y
TARKEEA
Aaa Caa Caa Caa Caa Caa Caa Caa Caa Caa Caa Caa Caa Caa Caa Caa Caa Caa Caa Caa Caa Caa Caa Caa Caa Caa Caa Caa Caa Caa Caa Caa Caa Caa Caa Caa Caa Caa Caa Caa Caa Caa Caa Caa Caa Caa Caa Caa Caa Caa Caa
()
一、募集资金基本情况
Laees
1
This iron has been approved by The Woolmark Company Pty Ltd for the ironing of wool-only products, provided that the garments are ironed according to the instructions on the garment label and those issued by the manufacturer of this iron. R1401. In the United Kingdom, Eire, Hong Kong and India, the Woolmark trademark is a certification trademark.
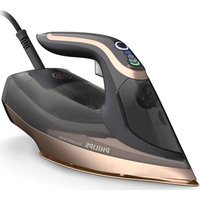
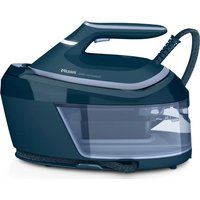
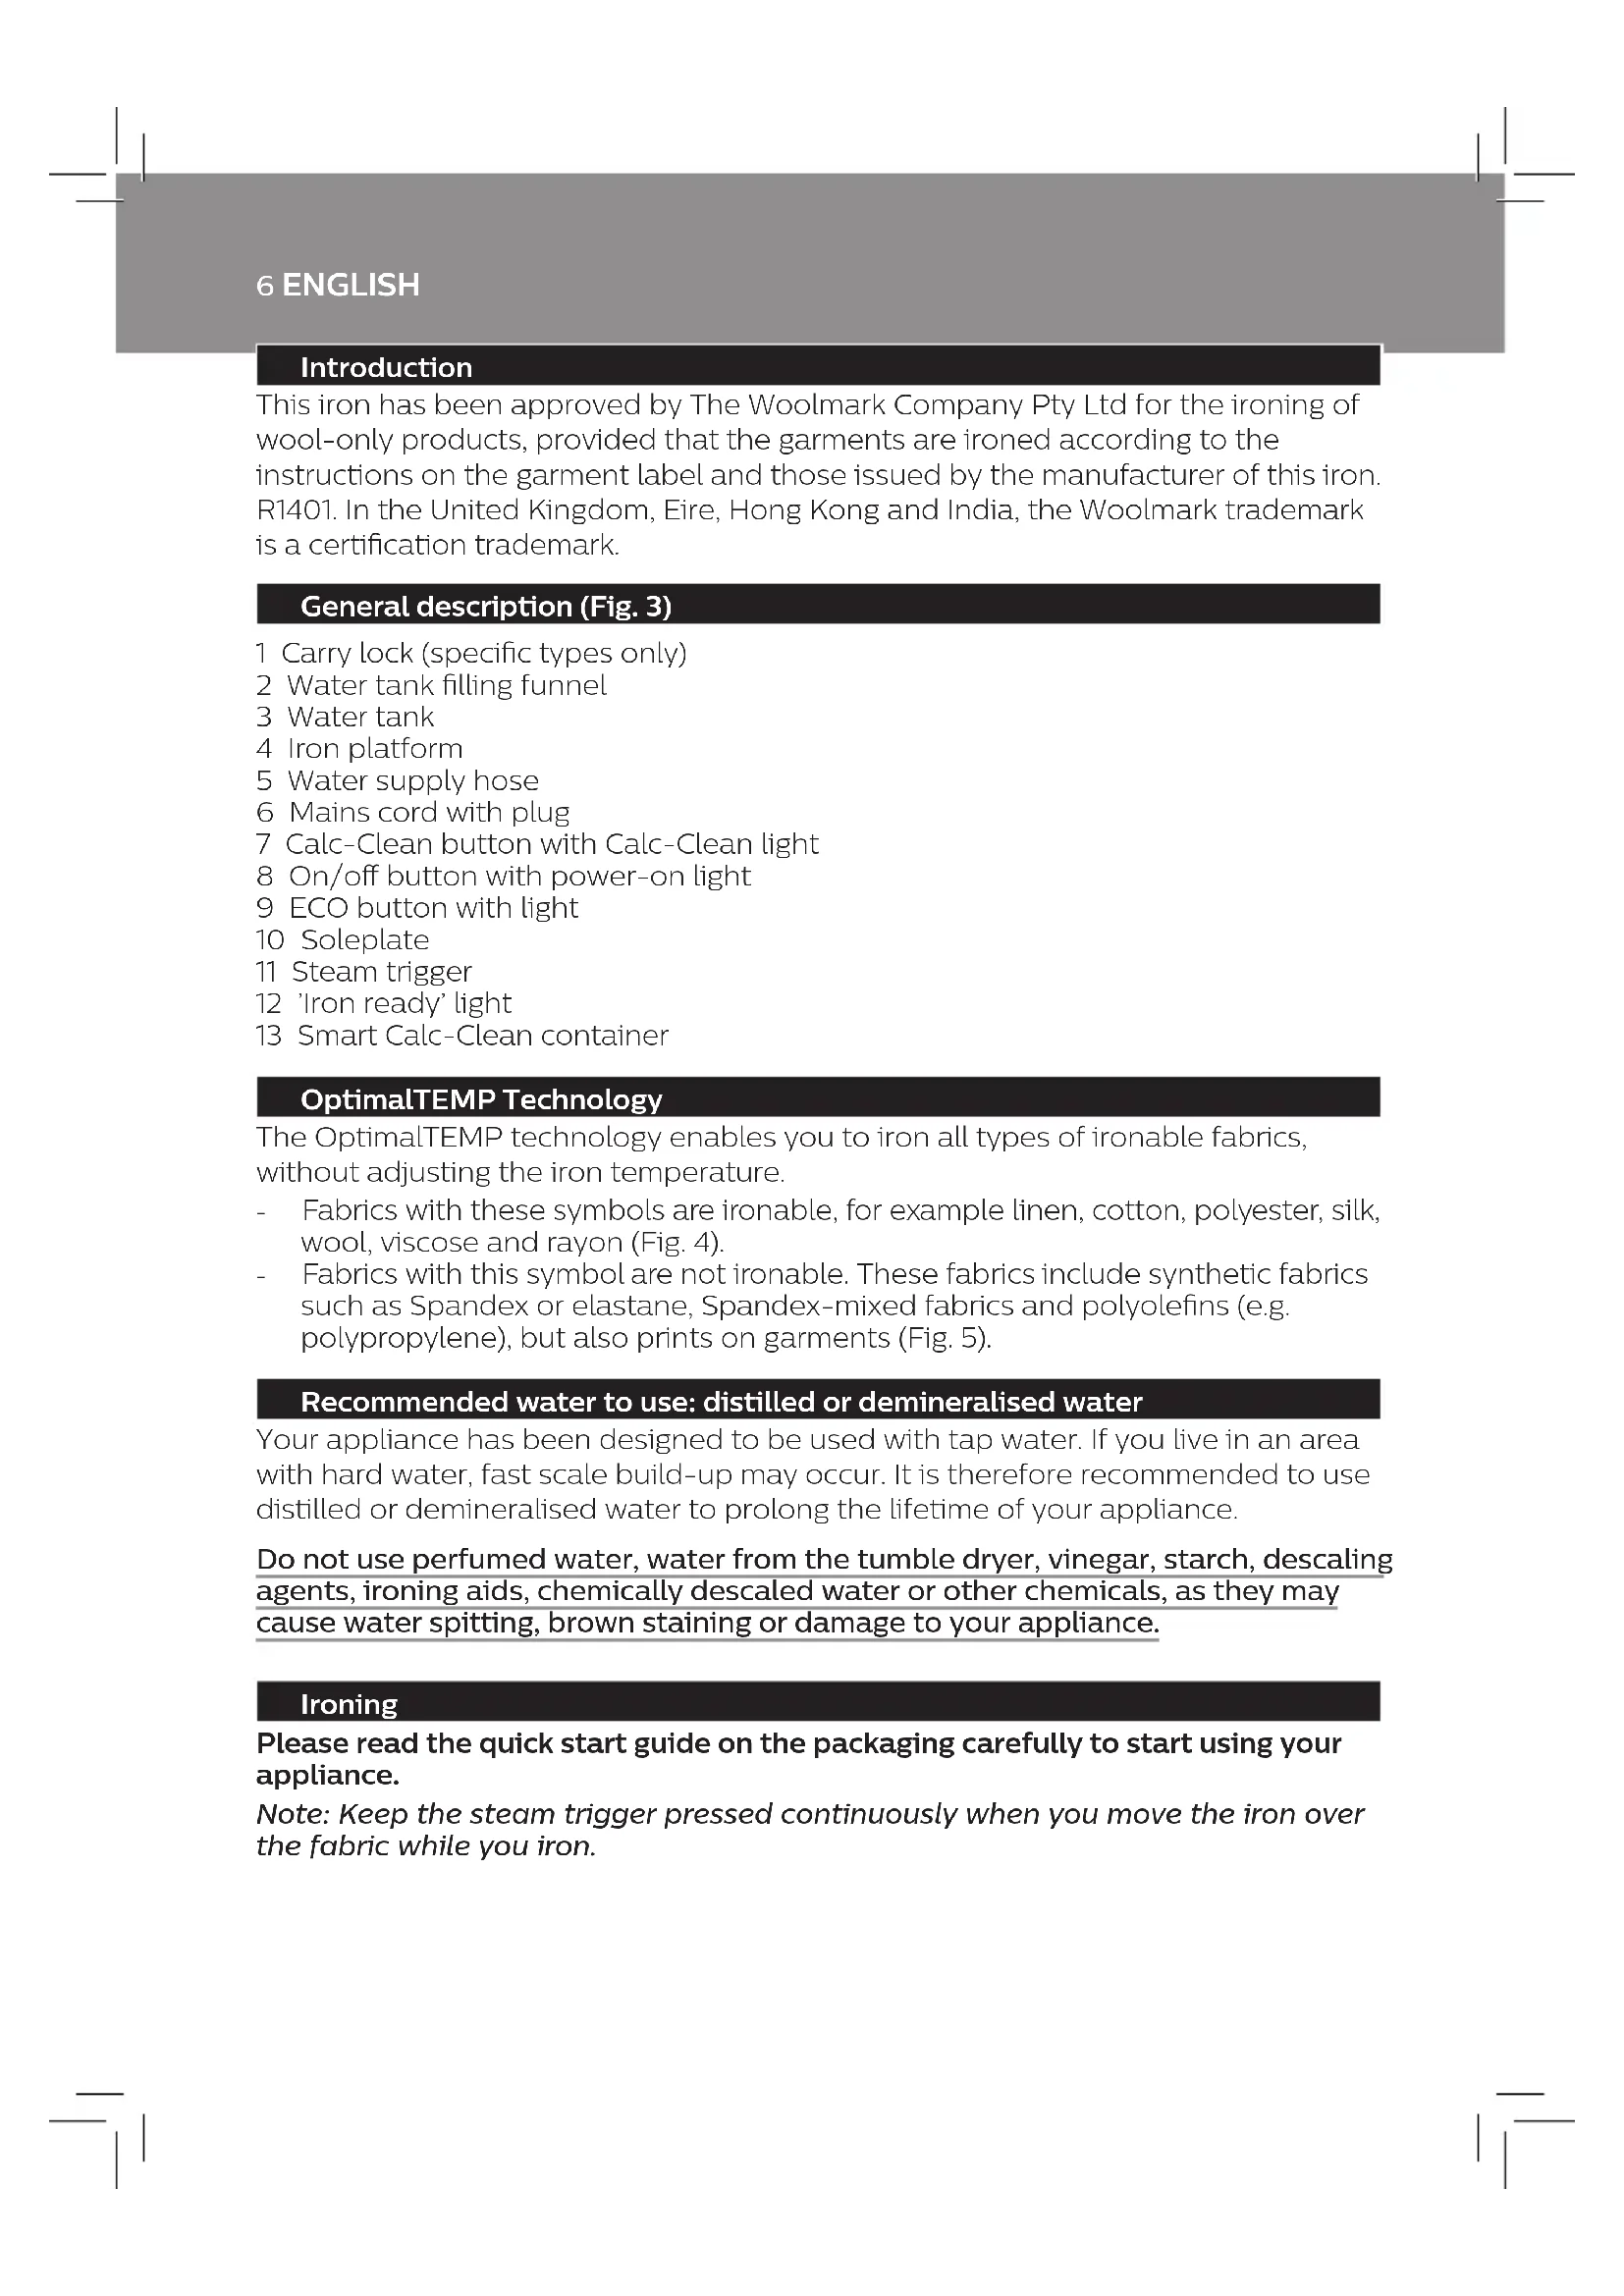
General description (Fig. 3)
1 Carry lock (specific types only)
2 Water tank filling funnel
3 Water tank
4 Iron platform
5 Water supply hose
6 Mains cord with plug
7 Calc-Clean button with Calc-Clean light
8 On/off button with power-on light
9 ECO button with light
10 Soleplate
11 Steam trigger
12 'Iron ready' light
13 Smart Calc-Clean container
OptimalTEMP Technology
The OptimalTEMP technology enables you to iron all types of ironable fabrics, without adjusting the iron temperature.
- Fabrics with these symbols are ironable, for example linen, cotton, polyester, silk, wool, viscose and rayon (Fig. 4).
- Fabrics with this symbol are not ironable. These fabrics include synthetic fabrics such as Spandex or elastane, Spandex-mixed fabrics and polyolefins (e.g. polypropylene), but also prints on garments (Fig. 5).
Recommended water to use: distilled or demineralised water
Your appliance has been designed to be used with tap water. If you live in an area with hard water, fast scale build-up may occur. It is therefore recommended to use distilled or demineralised water to prolong the lifetime of your appliance.
Do not use perfumed water, water from the tumble dryer, vinegar, starch, descaling agents, ironing aids, chemically descaled water or other chemicals, as they may cause water spitting, brown staining or damage to your appliance.
Ironing
Please read the quick start guide on the packaging carefully to start using your appliance.
Note: Keep the steam trigger pressed continuously when you move the iron over the fabric while you iron.
IMPORTANT - Cleaning and maintenance
Smart Calc-Clean System
Your appliance has been designed with a Smart Calc-Clean system to ensure that descending and cleaning is done regularly. This helps to maintain a strong steam performance and avoids dirt and stains coming out of the soleplate over time. To ensure that the cleaning process is performed, the steam generator gives regular reminders. Besides that, a second defence step to protect the steam generator from scale is integrated: the steam function gets disabled if descending is not done after 1 hour steam ironing once the reminder came up. After descending is done, the steam function will be restored. This takes place regardless of the type of water used.
Sound and light Calc-Clean reminder
- After 1 to 3 months of use, the light of the Calc-Clean button starts flashing and the appliance starts beeping to indicate that you have to perform the Calc-Clean process (Fig. 6).
- You can continue steam ironing for 1 hour while the Calc-Clean light flashes and the appliance beeps. After 1 hour, the steam function is automatically disabled. You have to perform the Calc-Clean process before you can continue steam ironing. (Fig. 7)
Performing the Calc-Clean process with the Calc-Clean container
Do not leave the appliance unattended during the Calc-Clean process.
Always perform the Calc-Clean process with the Calc-Clean container. Do not interrupt the process by lifting the iron up from the Calc-Clean container, as hot water and steam will come out of the soleplate.
1 Fill up the water tank halfway (Fig. 8).
Note: Make sure that the appliance is plugged in and switched ON during the Calc-Clean process.
2 Place the Calc-Clean container on the ironing board or any other even, stable surface (Fig. 9).
3 Place the iron stably on the Calc-Clean container (Fig 10).
4 Press and hold the CALC-CLEAN button for 2 seconds until you hear short beeps (Fig. 11)
Note: The Calc-Clean container has been designed to collect scale particles and hot water during the Calc-Clean process. It is perfectly safe to rest the iron on this container during the entire process.
5 During the Calc-Clean process, you hear short beeps and a pumping sound (Fig.12)
6 Wait approximately 2 minutes for the appliance to complete process. When the Calc-Clean process is completed, the iron stops beeping and the CALC-CLEAN light stops flashing (Fig. 13).
7 Wipe the iron with a piece of cloth (Fig. 14). Put the iron back on the base station.
Caution: The iron is hot.
As the Calc-Clean container becomes hot during the Calc-Clean process, wait approx. 5 minutes before you touch it. Then carry the Calc-Clean container to the sink, empty it and store it for future use (Fig 15).
8 ENGLISH
9 If necessary, you can repeat steps 1 to 8. Make sure that you empty the Calc-Clean container before you start the Calc-Clean process.
Note: During the Calc-Clean process, clean water may come out of the soleplate if no scale has accumulated inside the iron. This is normal.
For more information on how to carry out the Calc-Clean process, refer to the videos in this link: http://www.philips.com/descaling-iron.
Energy saving
Eco mode
By using the ECO mode (reduced amount of steam), you can save energy without compromising on the ironing result.
1 To activate the ECO mode, press the ECO button. The green ECO light goes on. (Fig. 16)
2 To deactivate the ECO mode, press the ECO button again. The green light goes off.
For the best results on tough fabrics you can use the TURBO mode.
1 Press and hold the on/off button for 2 seconds until the light turns white.
To deactivate the TURBO mode, press and hold the on/off button for 2 seconds again until the light turns blue.
Safety auto-off (specific types only)
The safety auto-off function automatically switches off the appliance if it has not been used for 5 minutes, to save energy.
Troubleshooting
This chapter summarises the most common problems you could encounter with the appliance. If you are unable to solve the problem with the information below, visit www.philips.com/support for a list of frequently asked questions or contact the Consumer Care Centre in your country.
Problem Possible cause Solution
| The iron does not produce any steam. | There is not enough water in the water tank. | Fill the water tank beyond the MIN indication. Press and hold the steam trigger until steam comes out. It may take up to 30 seconds until steam comes out. |
| You have not pressed the steam trigger. | Press and hold the steam trigger until steam comes out. | |
| The steam function has been disabled until you have performed the Calc-Clean process. | Perform the calc-clean process to restore the steam function (see chapter ‘IMPORTANT - Cleaning and maintenance’). | |
| The light of the Calc-Clean button flashes and/or the appliance beeps. | This is the Calc-Clean reminder. | Perform the Calc-Clean process within 1 hour after the Calc-Clean reminder is given (see chapter ‘IMPORTANT - Cleaning and maintenance’). |
| Problem Possible cause Solution | ||
| The light of the Calc-Clean button flashes and the appliance beeps every time I press the steam trigger. No steam comes out of the soleplate. | You have not done or have not completed the Calc-Clean process. | Perform the Calc-Clean process to enable the steam function again (see chapter 'IMPORTANT - Cleaning and maintenance'). |
| The appliance has switched off. | The safety auto-off function was activated. This happens automatically when the steam generator has not been used for more than 5 minutes. | Set the on/off switch to 'off' position and then to 'on' position. |
| The appliance produces a loud pumping sound. | The water tank is empty. Fill the water tank with water and press the steam trigger until the pumping sound becomes softer and steam comes out of the soleplate. | |
| Water droplets come out of the soleplate. | After the Calc-Clean process, remaining water may drip out of the soleplate. | Wipe the soleplate dry with a piece of cloth. If the light in the Calc-Clean button still flashes and the appliance still beeps, perform the Calc-Clean process (see chapter 'IMPORTANT - Cleaning and maintenance'). |
| The Calc-Clean process has not been completed. | You have to perform the Calc-Clean process again (see chapter 'IMPORTANT - Cleaning and maintenance'). | |
| Dirty water and impurities come out of the soleplate. | Impurities or chemicals present in the water have deposited in the steam vents and/or soleplate. | Perform the Calc-Clean process regularly (see chapter 'IMPORTANT - Cleaning and maintenance'). |
| Water flushes out of the soleplate. | You have accidentally started the Calc-Clean process (see chapter 'IMPORTANT - Cleaning and maintenance'). | Switch off the appliance. Then switch it back on again. Let the iron heat up until the 'iron ready' light lights up steadily. |
| The Calc-Clean process does not start. | You have not pressed the Calc-Clean button for 2 seconds until the appliance started beeping. | See chapter 'IMPORTANT - Cleaning and maintenance'. |
| The iron leaves a shine or an imprint on the garment. | The surface to be ironed was uneven, for instance because you were ironing over a seam or a fold in the garment. | Perfect Care is safe on all garments. The shine or imprint is not permanent and will disappear when you wash the garment. Avoid ironing over seams or folds or you can place a cotton cloth over the area to be ironed to avoid imprints. |
| The ironing board cover becomes wet or water droplets come out of the soleplate. | Steam has condensed on the ironing board cover after a long ironing session. | Replace the ironing board cover if the foam material has worn out. You can also add an extra layer of felt material under the ironing board cover to prevent condensation on the ironing board. |
| You may have an ironing board that is not designed to cope with the high steam rate of the steam generator. | Put an extra layer of felt material under the ironing board cover to prevent condensation on the ironing board. | |
| Steam continues to come out after I release the steam trigger. | Steam is generated in the soleplate. When you release the steam trigger, remaining water is transformed into steam. This is normal. | Release the steam trigger 2 to 3 seconds before you place the iron back on the iron platform or ironing board. |
| There is a strong gush of steam when I release the steam trigger after placing the iron on the iron platform. | When the iron is tilted upwards, remaining water is collected and converted into strong steam. This is normal. | Release the steam trigger 2 to 3 seconds before you place the iron back on the iron platform or ironing board. |
| Steam is weak. You do not press the steam trigger continuously. | Keep the steam trigger pressed continuously when you move the iron over the fabric. | |
| You use the ECO mode. For more steam, switch off the ECO mode by pressing the ECO button. The green ECO light goes off. | ||
| Steam does not come out immediately when I press the steam trigger. | Water is converted into steam in the soleplate. When you press the steam trigger, it will take 1 to 2 seconds until steam is generated and released. This is normal. | Keep the steam trigger pressed continuously when you move the iron over the fabric. |