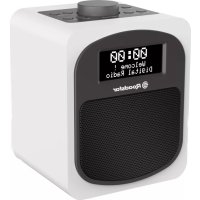
HRA600D+WH - Radio ROADSTAR - Free user manual and instructions
Find the device manual for free HRA600D+WH ROADSTAR in PDF.

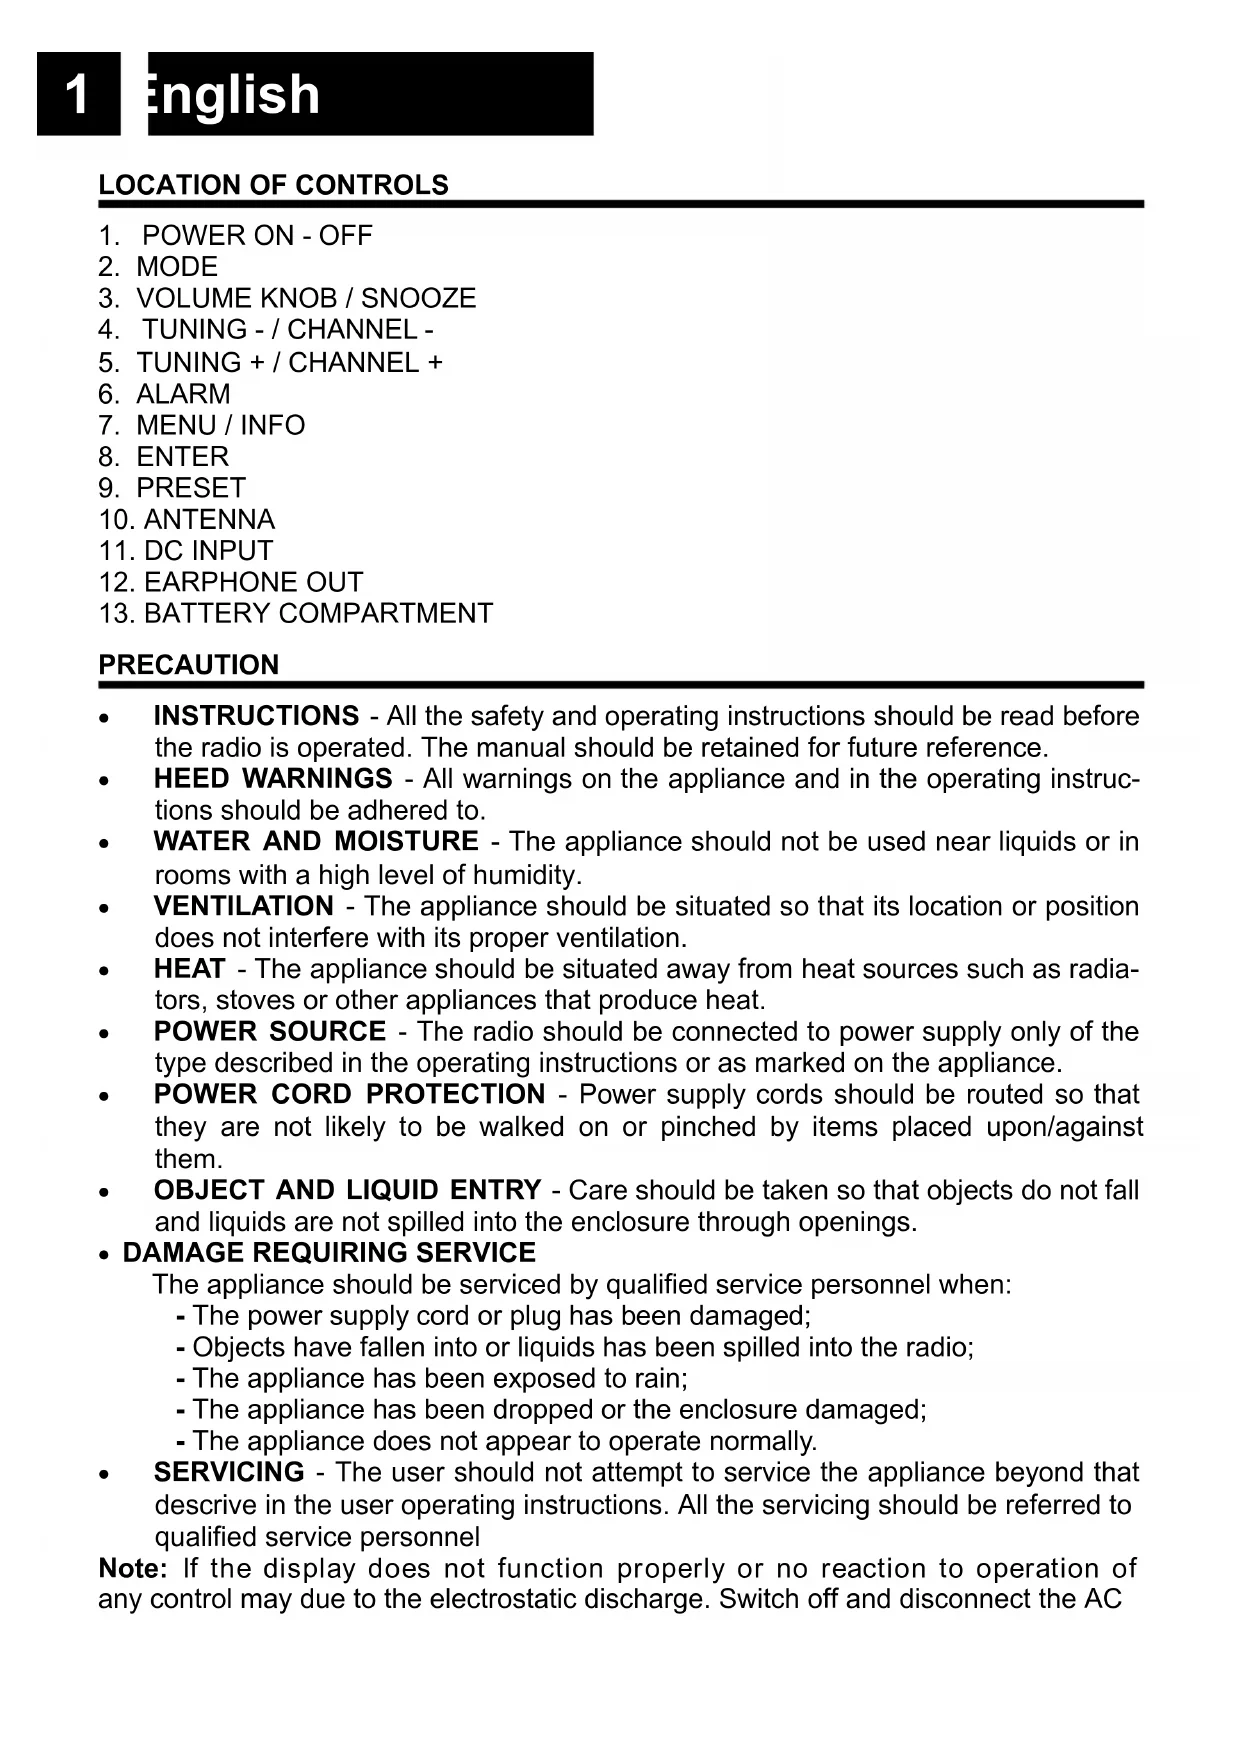


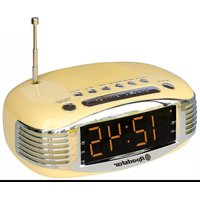
| Product type | DAB+/FM radio |
| Brand | Roadstar |
| Model | HRA600D+WH |
| AC power supply | 230 V ~ 50 Hz, DC input 6 V / 1 A |
| Battery power | 4 LR6 (AA) batteries |
| Frequency bands | DAB+ / DAB: Band III 174.928 - 239.200 MHz ; FM: 87.5 - 108 MHz |
| Number of presets | 10 for DAB, 10 for FM |
| Main functions | DAB+ and FM radio, auto scan, presets, dual alarm, sleep timer, clock, information display (radiotext, program type, signal strength) |
| Controls | Power On/Off, Mode, Volume/Snooze, Tuning -, Tuning +, Alarm, Menu/Info, Enter, Preset |
| Connectors | DC 6 V, 3.5 mm headphone jack output |
| Antenna | Adjustable telescopic antenna |
| Maintenance and cleaning | Unplug the device before cleaning; use a dry cloth; do not use liquids or aerosols |
| Safety | Do not expose to humidity, rain, or heat sources; ensure adequate ventilation; do not open the casing; have repairs carried out by a qualified technician |
| Spare parts and repairability | No user-serviceable parts; contact a qualified technician for any repairs |
| General information | 48-page manual available in several languages; specifications subject to change without notice |
Frequently Asked Questions - HRA600D+WH ROADSTAR
User questions about HRA600D+WH ROADSTAR
0 question about this device. Answer the ones you know or ask your own.
Ask a new question about this device
Download the instructions for your Radio in PDF format for free! Find your manual HRA600D+WH - ROADSTAR and take your electronic device back in hand. On this page are published all the documents necessary for the use of your device. HRA600D+WH by ROADSTAR.
USER MANUAL HRA600D+WH ROADSTAR
- INSTRUCTIONS - All the safety and operating instructions should be read before the radio is operated. The manual should be retained for future reference.
- HEED WARNINGS - All warnings on the appliance and in the operating instructions should be adhered to.
- WATER AND MOISTURE - The appliance should not be used near liquids or in rooms with a high level of humidity.
- VENTILATION - The appliance should be situated so that its location or position does not interfere with its proper ventilation.
- HEAT - The appliance should be situated away from heat sources such as radiators, stoves or other appliances that produce heat.
- POWER SOURCE - The radio should be connected to power supply only of the type described in the operating instructions or as marked on the appliance.
- POWER CORD PROTECTION - Power supply cords should be routed so that they are not likely to be walked on or pinched by items placed upon/against them.
- OBJECT AND LIQUID ENTRY - Care should be taken so that objects do not fall and liquids are not spilled into the enclosure through openings.
• DAMAGE REQUIRING SERVICE
The appliance should be serviced by qualified service personnel when:
- The power supply cord or plug has been damaged;
- Objects have fallen into or liquids has been spilled into the radio;
- The appliance has been exposed to rain;
- The appliance has been dropped or the enclosure damaged;
- The appliance does not appear to operate normally.
- SERVICING - The user should not attempt to service the appliance beyond that descrive in the user operating instructions. All the servicing should be referred to qualified service personnel
Note: If the display does not function properly or no reaction to operation of any control may due to the electrostatic discharge. Switch off and disconnect the AC
cord and remove all the batteries, then turn the power back on after a few seconds.
POWER SOURCES
AC POWER: You can power your portable stereo system by plugging the AC/DC adaptor into the DC plug (11) at the back of the unit and into a wall AC power outlet. Check that the rated voltage of your appliance matches your local voltage.
BATTERY POWER: To use the radio with batteries, disconnect the AC/DC adaptor and insert 4 × "LR6" batteries into the compartment (13).
Be sure that the batteries are inserted correctly to avoid damage to the appliance. Remove the batteries when the radio will not be used for a long period of time, as this will cause leakage to the batteries and subsequently damage to your radio.
TO USE THE RADIO
- Press the [Power] button (1) to power on;
- (The first time you power on the radio, the radio will scan the DAB radio stations automatically. It will display and play the first station after the scan is done);
- Select the band (DAB or FM) by pressing the [Mode] button (2);
- Adjust radio frequency to your desired station by pressing [Tuning -/+] buttons (4/5);
- Adjust the volume with the [Volume Knob] buttons (3) to the desired level;
- To power off the radio, press the [Power] button (1).
Note: For a better reception reorient the antenna (10).
TUNE DAB STATION
- To select the desired radio station use the [Channel -/+] button (4/5). Note: In case there is No DAB Service, press & hold the [Menu] button (7) and select "Full Scan" to start scanning.
FM STATION SCAN
- Use the [Tuning +/-] buttons (4/5) to fine tune the frequency in a step of 0.05 MHz.
- Press and hold the [Tuning +/-] buttons (4/5) to scan the previous/next available station.
PRESET
There are 10 presets available for DAB and 10 presets for FM.
- Set the desired radio station frequency as explained previously;
- Press and hold the [Preset] button (9) and it will display "Save to P1";
- Choose the number of preset by pressing [Channel -/+] button (4/5);
- Press the [Enter] button (8) until the display shows "Preset Stored".
RECALL A PRESET STATION
- Press the [Preset] button (9);
- Select the desired preset by pressing [Channel -/+] button (4/5);
- Confirm with the [Enter] button (8).
INFO
When the radio station is playing, press the [Info] button (7) repeatedly to cycle through the information broadcasted by the radio as follow:
UNDER DAB
- DLS (Dynamic Label Segmenting): Radio text broadcasted from the DAB station such as the news, songs being played...etc.
- PTY (Programme Type): shows which type of programme you are listening to, "Music", "Talk", "News" etc. If there is no information, it will display "Programme Type".
- Channel/Frequency: The frequency of DAB is displayed such as “11C 220.352MHz”.
• Audio info: The display shows the digital audio bit rate of the current reception. - Signal error: The signal strength is displayed graphically.
- Time/Date: The time and date are set automatically.
- Software version
UNDER FM
- RT (Radio text): Text broadcasted from the FM station
- Signal error: The signal strength is displayed graphically.
- Time/Date: The time and date are set automatically.
- Frequency: the FM frequency for the radio station in playing.
• Auto / Stereo: Automatic switching between mono and stereo reception.
Note: Time and date accuracy depends on the info broadcasted from the radio station.
NAVIGATE INTO THE MENU
In FM / DAB mode there is an option menu.
- Press and hold [Menu] (7) to access to the options.
- Press the [Tuning -/+] buttons (4/5) to navigate into the options.
- Press [Enter] (8) to select the options.
- Press [Menu] (7) to exit the menu.
SYSTEM SETTINGS
In FM / DAB mode, press and hold [Menu] (7) and use [Tuning -/+] (4/5) to select "System";
• Time: To set the desired time option:
- Set Time/Date;
- Auto Update;
- Set 12 / 24 Hours;
- Set Date Format.
- Backlight.
- Factory Reset.
- SW version: select this opinion to see the current software version.
- Sleep Timer.
CLOCK AND DATE SETTING
When the radio is ON:
- Press and hold [Menu] (7) to access to the menu;
- Press the [Tuning -/+] buttons (4/5) to select "System";
- Confirm with the [Enter] button (8);
- Press the [Tuning -/+] buttons (4/5) to select "Time";
- Confirm with the [Enter] button (8);
- Press the [Tuning -/+] buttons (4/5) to select "Set Time/Date";
- Confirm with the [Enter] button (8);
- Press the [Tuning -/+] buttons (4/5) to adjust the hour;
- Confirm with the [Enter] button (8);
- Press the [Tuning -/+] buttons (4/5) to adjust the minutes;
- Confirm with the [Enter] button (8);
- Repeat steps 10 and 11 to set the date.
SLEEP TIMER
The sleep timer switches the radio off automatically after an adjustable time.
When the radio is ON:
- Press and hold [Menu] (7) to access to the menu;
- Press the [Tuning -/+] buttons (4/5) to navigate into the options and select "System";
- Confirm with the [Enter] button (8);
- Press the [Tuning -/+] buttons (4/5) to select "Sleep" to enter into the Sleep timer setting with options 10/20/30/40/50/60/70/80/90/OFF;
- Confirm with the [Enter] button (8);
- Press the [Tuning -/+] buttons (4/5) to set the desired timer;
- Confirm with the [Enter] button (8);
Note: To remove the sleep timer repeat above steps and select "Sleep OFF".
ALARM SETTING
When the radio is ON:
- Press repeatedly the [Alarm] button (6) to select "Alarm 1" or "Alarm 2" setup;
- Confirm with the [Enter] button (8) to enter into the Alarm setting;
- Press the [Tuning -/+] buttons (4/5) to adjust the hour;
- Confirm with the [Enter] button (8);
- Press the [Tuning -/+] buttons (4/5) to adjust the minutes;
- Confirm with the [Enter] button (8);
- Press the [Tuning -/+] buttons (4/5) to choose the duration of the alarm;
- Confirm with the [Enter] button (8);
- Press the [Tuning -/+] buttons (4/5) to choose the alarm mode (Buzzer, FM or DAB);
-
Confirm with the [Enter] button (8);
-
Press the [Tuning -/+] buttons (4/5) to set the days as follow:
• Daily (Whole week).
• Once (One day of the week).
- Weekends.
• Weekdays (Monday to Friday).
5
English
- Confirm with the [Enter] button (8);
- Press the [Tuning -/+] buttons (4/5) to adjust the volume;
- Confirm with the [Enter] button (8);
- Press the [Tuning -/+] buttons (4/5) to select "Alarm ON" or "Alarm OFF";
- Confirm with the [Enter] button (8).
Note: To set the second Alarm, repeat all the steps with “Alarm 2” instead of “Alarm 1”.
ACTIVATE / DEACTIVATE ALARM SETTINGS:
In stand-by mode, press repeatedly the [Alarm] button (6) to select "Alarm ON" or "Alarm OFF".
ALARM OFF:
During Alarm on, press [Alarm] button (6) to deactivate the alarm sound (the Alarm setting remains) or press [Snooze] button (3) to postpone the alarm for 5 minutes.
FACTORY RESET
When the radio is ON:
- Press and hold [Menu] (7) to access to the menu;
- Confirm with the [Enter] button (8);
- Press the [Tuning -/+] buttons (4/5) to select "Factory Reset";
- Confirm with the [Enter] button (8);
- Press the [Tuning -/+] buttons (4/5) to select "yes";
-
Confirm with the [Enter] button (8).
-
Press the [Tuning -/+] buttons (4/5) to navigate into the options and select "System";
Power
Power Voltage: AC 230V \~ 50Hz.
Power Input: DC 6 V = 1A.
Radio Frequency Coverage
DAB+ / DAB:
BAND III 174.928MHz - 239.200MHz.
FM:
87.5 - 108 MHz.
Speaker
Output Power: 1 x 2 Wrms
General
Earphone Out: 3.5mm jack plug.
Specifications and design are subject to possible modifications without notice due to improvement.
WARNINGS

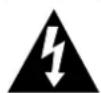




The exclamation point within the triangle is a warning sign alerting the user of important instructions accompanying the product.
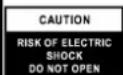
The lightening flash with arrowhead symbol within the triangle is a warning sign alerting the user of “dangerous voltage” inside the unit.
To reduce the risk of electric shock, do not remove the cover. No user serviceable parts inside the unit. Refer all servicing to qualified personnel.
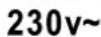
This unit operates on 230V \~ 50Hz. If the unit is not used for a long period of time, remove the plug from the AC mains.
Ensure all connections are properly made before operating the unit.
This unit must not be exposed to moisture or rain.
This unit should be positioned so that it is properly ventilated. Avoid placing it, for example, close to curtains, on the carpet or in a built-in installation such as a bookcase.
Do not expose this unit to direct sunlight or heat radiating sources.
natural_image
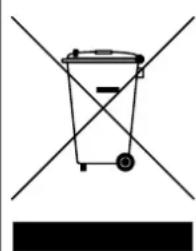
Simple line drawing of a trash bin with two crossed lines and a black bar below (no text or symbols)CORRECT DISPOSAL OF THIS PRODUCT
(Waste Electrical & Electronic Equipment)
This marking shown on the product or its literature, indicates that it should not be disposed with other household wastes at the end of its working life. To prevent possible harm to the environment or human health from uncontrolled waste disposal, please separate this from other types of wastes and recycle it responsibly to promote the sustainable reuse of material resources. Household users should contact the retailer where they purchased this product, or their local government office, for details of where and how they can take this item for environmentally safe recycling. Business users should contact their supplier and check the terms and conditions of the purchase contract. This product should not be mixed with other commercial wastes for disposal.
ORT DER BEDIENELEMENTE
- POWER ON - OFF (POWER EIN - AUS)
- MODE (MODUS)
- VOLUME KNOB / SNOOZE (LAUTSTÄRKEREGLER / SNOOZE)
- TUNING - / CHANNEL - (FREQUENZ - / CANAL -)
- TUNING + / CHANNEL + (FREQUENZ + / CANAL +)
- ALARM
- MENU / INFO
- ENTER (EINGABE)
- PRESET (VOREINSTELLUNGEN)
- ANTENNE
- DC BUCHSE
- KOPFHÖRERAUSGANG
- BATTERIEFACH
SICHERHEITSHINWEISE
natural_image
Simple line drawing of a trash bin with two crossed lines and a solid black bar below (no text or symbols)KORREKTE ENTSORGUNG DIESES PRODUKTS (Elektromüll)
Puissance: 1 x 2 Wrms.
Général
natural_image
Simple line drawing of a trash bin with two crossed lines and a solid black rectangle below (no text or symbols)COMMENT ÉLIMINER CE PRODUIT
natural_image
Simple line drawing of a trash bin with two crossed lines and a black bar below (no text or symbols)natural_image
Simple line drawing of a trash bin with two crossed lines and a solid black rectangle below (no text or symbols)natural_image
Simple line drawing of a trash bin with two crossed lines and a solid black rectangle below (no text or symbols)ELIMINAÇÃO CORRECTA DESTE PRODUTO (Resíduo de Equipamentas Eléctricos e Electrónicos)
natural_image
Simple line drawing of a trash bin with two crossed lines and a solid black rectangle below (no text or symbols)CORRECTE AFVALVERWERKING VAN HET PRODUCT (elektrisch en elektronisch afval)
Hereby, Roadstar Management SA declares that the radio equipment type HRA-600D+ is in compliance with Directive 2014/53/EU.
The full text of the EU declaration of conformity is available at the following internet address:
http://roadstar.com/images/ce/HRA-600D+.pdf
or by scanning the following QR Code.
http://roadstar.com/images/ce/HRA-600D+.pdf
http://roadstar.com/images/ce/HRA-600D+.pdf
http://roadstar.com/images/ce/HRA-600D+.pdf
http://roadstar.com/images/ce/HRA-600D+.pdf
http://roadstar.com/images/ce/HRA-600D+.pdf
http://roadstar.com/images/ce/HRA-600D+.pdf
MANUAL VER.1
13.07.2018
Roadstar Management SA, via Passeggiata 7 CH 6883 Novazzano (Switzerland)

- POWER SOURCES
- TO USE THE RADIO
- TUNE DAB STATION
- FM STATION SCAN
- PRESET
- RECALL A PRESET STATION
- INFO
- UNDER DAB
- UNDER FM
- NAVIGATE INTO THE MENU
- SYSTEM SETTINGS
- CLOCK AND DATE SETTING
- When the radio is ON:
- SLEEP TIMER
- ALARM SETTING
- 5
- English
- ACTIVATE / DEACTIVATE ALARM SETTINGS:
- ALARM OFF:
- FACTORY RESET
- Power
- Radio Frequency Coverage
- Speaker
- General
- WARNINGS
- CORRECT DISPOSAL OF THIS PRODUCT
- (Waste Electrical & Electronic Equipment)
- ORT DER BEDIENELEMENTE
- SICHERHEITSHINWEISE
- KORREKTE ENTSORGUNG DIESES PRODUKTS (Elektromüll)
- COMMENT ÉLIMINER CE PRODUIT
- ELIMINAÇÃO CORRECTA DESTE PRODUTO (Resíduo de Equipamentas Eléctricos e Electrónicos)
- CORRECTE AFVALVERWERKING VAN HET PRODUCT (elektrisch en elektronisch afval)
Brand : ROADSTAR
Model : HRA600D+WH
Category : Radio