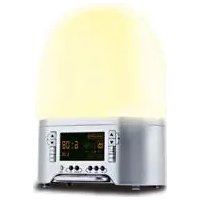
WL 460 - Light therapy MEDISANA - Free user manual and instructions
Find the device manual for free WL 460 MEDISANA in PDF.
Pick your language and provide your email: we'll send you a specifically translated version.
| Brand | Medisana |
| Model | WL 460 |
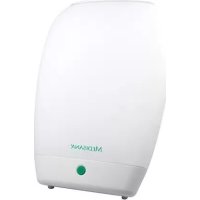
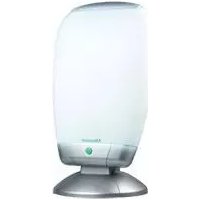
| Product type | Light therapy lamp |
| Dimensions (L x W x H) | 30 x 20 x 10 cm |
| Weight | 1 kg |
| Power supply | 230 V ~ 50 Hz |
| Power consumption | 20 W |
| Light intensity | 10,000 lux at 30 cm |
| Color temperature | 5,500 K |
| Main functions | Dawn simulation, adjustable intensity, integrated timer |
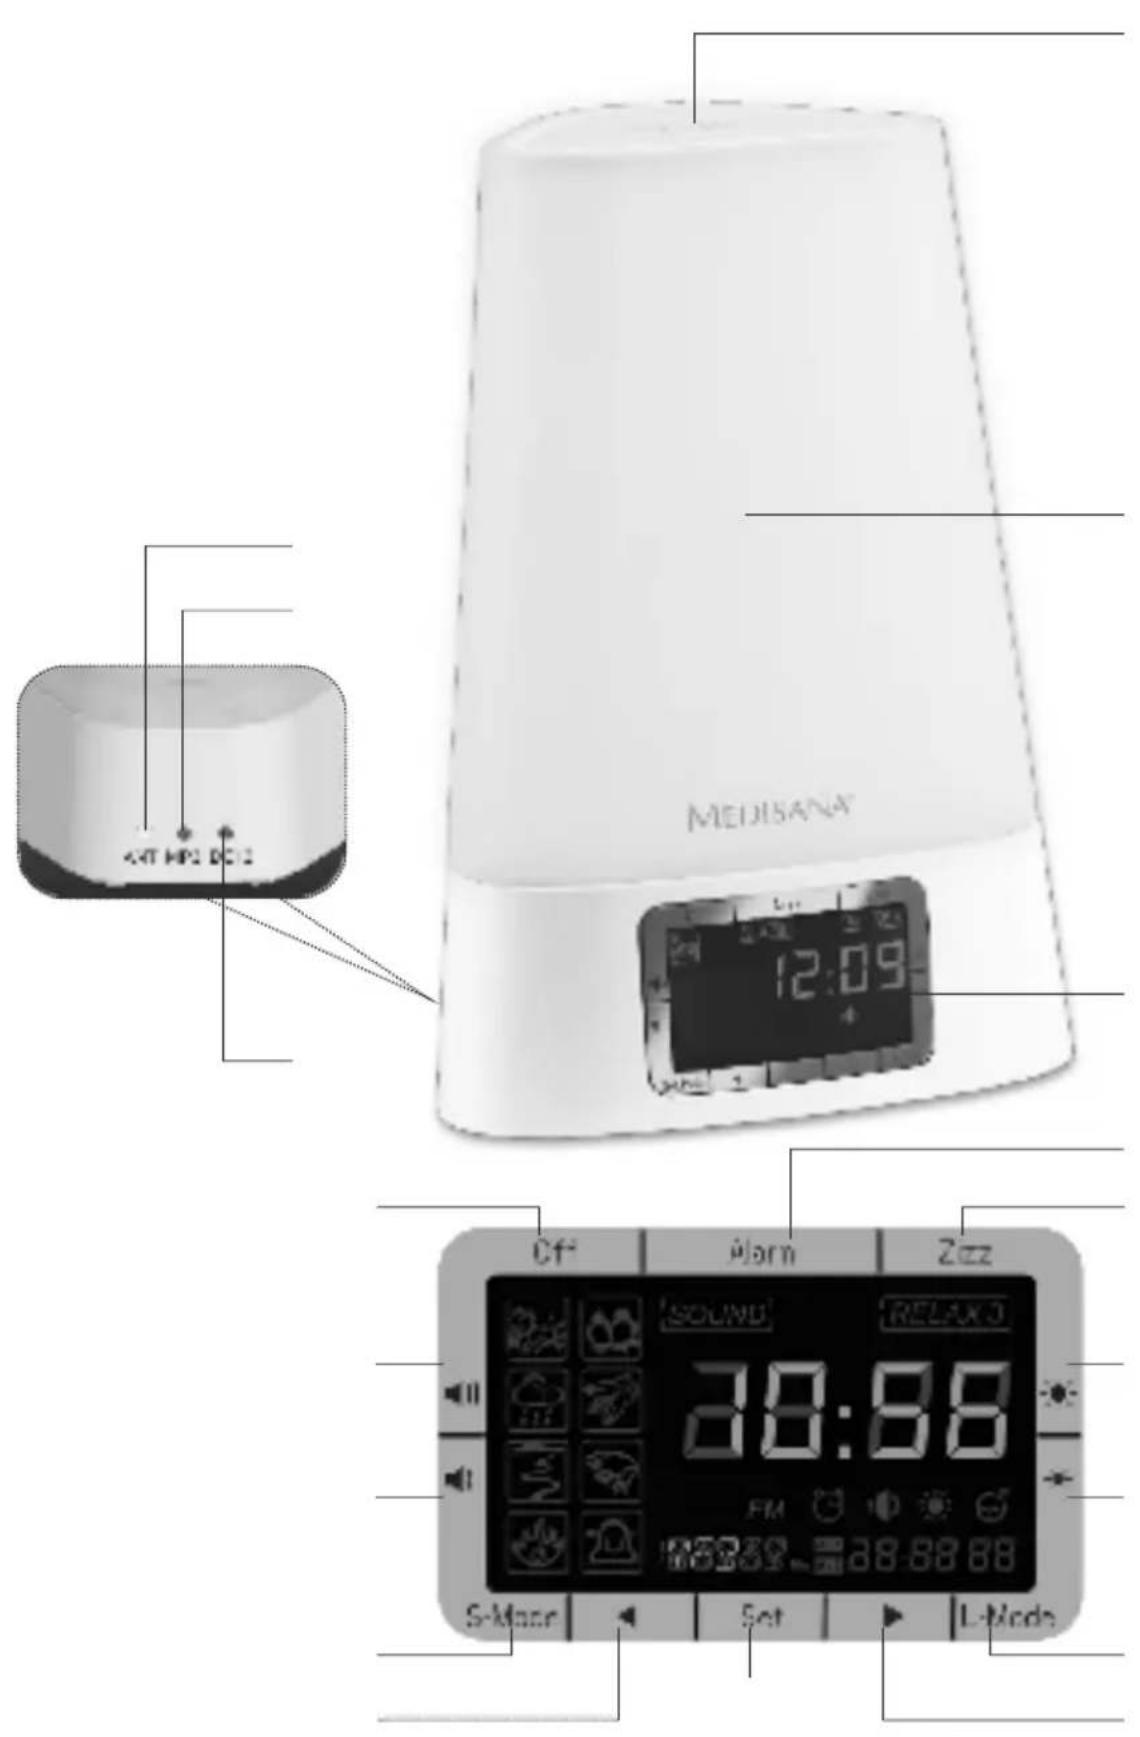
| Timer | 15 to 90 minutes in 15-minute increments |
| Intensity levels | 5 levels |
| Protection rating | IP20 |
| Housing material | ABS plastic |
| Care and cleaning | Clean with a soft, dry cloth; do not use abrasive products |
| Safety | Do not look directly at the light source; automatic shut-off in case of overheating |
| Spare parts and repairability | Replaceable bulb and power supply; parts available on request |
| Warranty | 3 years |
| Package contents | WL 460 lamp, power adapter, instruction manual |
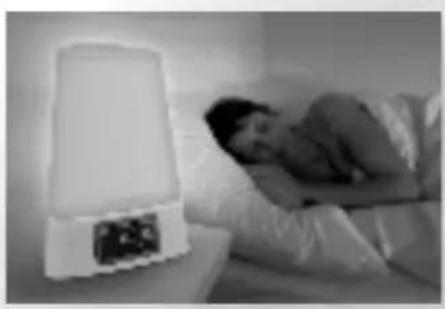
| Recommended use | 30 minutes per day in the morning |
Frequently Asked Questions - WL 460 MEDISANA
How to use the Medisana WL 460 light therapy lamp?
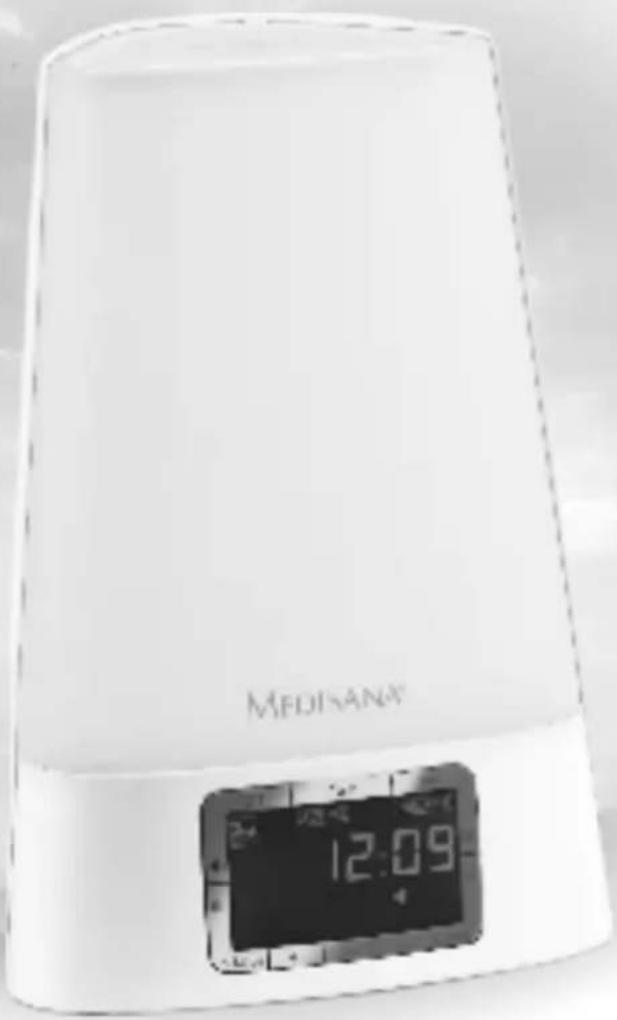
Place the lamp about 30 cm from your face, set the desired intensity and timer (15 to 90 min). Use it preferably in the morning for 30 minutes.
What light intensity does the WL 460 deliver?
The device delivers an intensity of 10,000 lux at a distance of 30 cm, which is the recommended dose for a light therapy session.
How to set the timer on the Medisana WL 460?
Press the timer button to select a duration from 15 to 90 minutes in 15-minute increments. The lamp will turn off automatically at the end of the set time.
Can I use the lamp in the evening?
It is not recommended to use light therapy in the evening as it may disturb sleep. Prefer morning use.
How to clean the WL 460 lamp?
Unplug the device and clean the housing with a soft, dry cloth. Do not use chemical or abrasive products and never immerse the lamp in water.
Is the lamp dangerous for the eyes?
The light is filtered to eliminate UV and is safe for the eyes. However, do not look directly at the light source while operating.
What are the benefits of light therapy?
Light therapy helps regulate the circadian rhythm, improves mood, and reduces symptoms of seasonal depression. Regular morning use is recommended.
Is the WL 460 lamp compatible with standard bulbs?
No, the device uses a specific integrated LED bulb. If defective, contact Medisana's after-sales service to obtain a replacement part.
What to do if the lamp does not turn on?
Check that the power adapter is correctly plugged in and that the wall outlet works. If the problem persists, the bulb or electronics may be defective; contact customer service.
Where can I download the full user manual for the WL 460?
You can download the manual in PDF format from the website notice-facile.com by selecting the desired language. The manual is available in several languages.
User questions about WL 460 MEDISANA
0 question about this device. Answer the ones you know or ask your own.
Ask a new question about this device
No questions yet. Be the first to ask one.
Download the instructions for your Light therapy in PDF format for free! Find your manual WL 460 - MEDISANA and take your electronic device back in hand. On this page are published all the documents necessary for the use of your device. WL 460 by MEDISANA.
USER MANUAL WL 460 MEDISANA

C


LOT


C E


LOT


CE


LOT


C


LOT


·


C


LOT


C E


LOT


C E


LOT


CE


LOT


C E


LOT


C


LOT


C