
T2 Road Warrior - Gaming chair CORSAIR - Free user manual and instructions
Find the device manual for free T2 Road Warrior CORSAIR in PDF.
| Product Type | Gaming chair for computer |
| Brand | CORSAIR |
| Model | T2 Road Warrior |
| Seat and backrest material | Perforated PU leather with double-layer custom color accents |
| Base material | Steel |
| Casters | 5 rollerblade-style casters for smooth movement |
| Height adjustment | 85 mm travel |
| Backrest recline | Up to 170° |
| Seat tilt | 17° |
| Armrests | 4D adjustable (forward/back, left/right, height, pivot) |
| Lumbar cushion | Included, height-adjustable |
| Headrest cushion | Included, two attachment positions |
| Maximum weight capacity | 150 kg |
| Tilt mechanism | Tilt lock, adjustable tilt tension |
| Power | None (non-electric chair) |
| Maintenance | Clean with a soft cloth and soapy water. Avoid harsh chemicals. |
| Safety | Do not sit on armrests. Do not use if parts are missing. Keep out of reach of children under 3 years. |
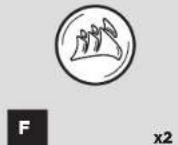
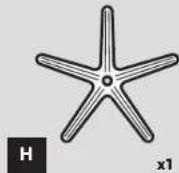
| Kit contents | Backrest, seat, base, gas lift, casters, lumbar and headrest cushions, hinge covers, rubber caps, screws, M8 Allen key, Phillips screwdriver |
| Warranty | 2 years (standard manufacturer warranty) |
Frequently Asked Questions - T2 Road Warrior CORSAIR
User questions about T2 Road Warrior CORSAIR
0 question about this device. Answer the ones you know or ask your own.
Ask a new question about this device
Download the instructions for your Gaming chair in PDF format for free! Find your manual T2 Road Warrior - CORSAIR and take your electronic device back in hand. On this page are published all the documents necessary for the use of your device. T2 Road Warrior by CORSAIR.
USER MANUAL T2 Road Warrior CORSAIR
Have a seat; you'll want to be here a while. The T2 ROAD WARRIOR features a wide seat, tall back and deep seat cushion, providing day-long comfort. Two-layer custom color accents and perforated PU leather seat and back make it easy to color-match your system or setup, while five rollerblade style wheels allow effortless movement on a wide range of flooring. Always have the best seat in the house with 85mm of adjustable height, 17^ of tilt and 170^ of recline, and avoid fatigue with 4D armrests adjustable in height, position and rotation. With the style, comfort and endurance you need, the T2 ROAD WARRIOR is with you for the long haul.
T2 ROAD WARRIOR Contents
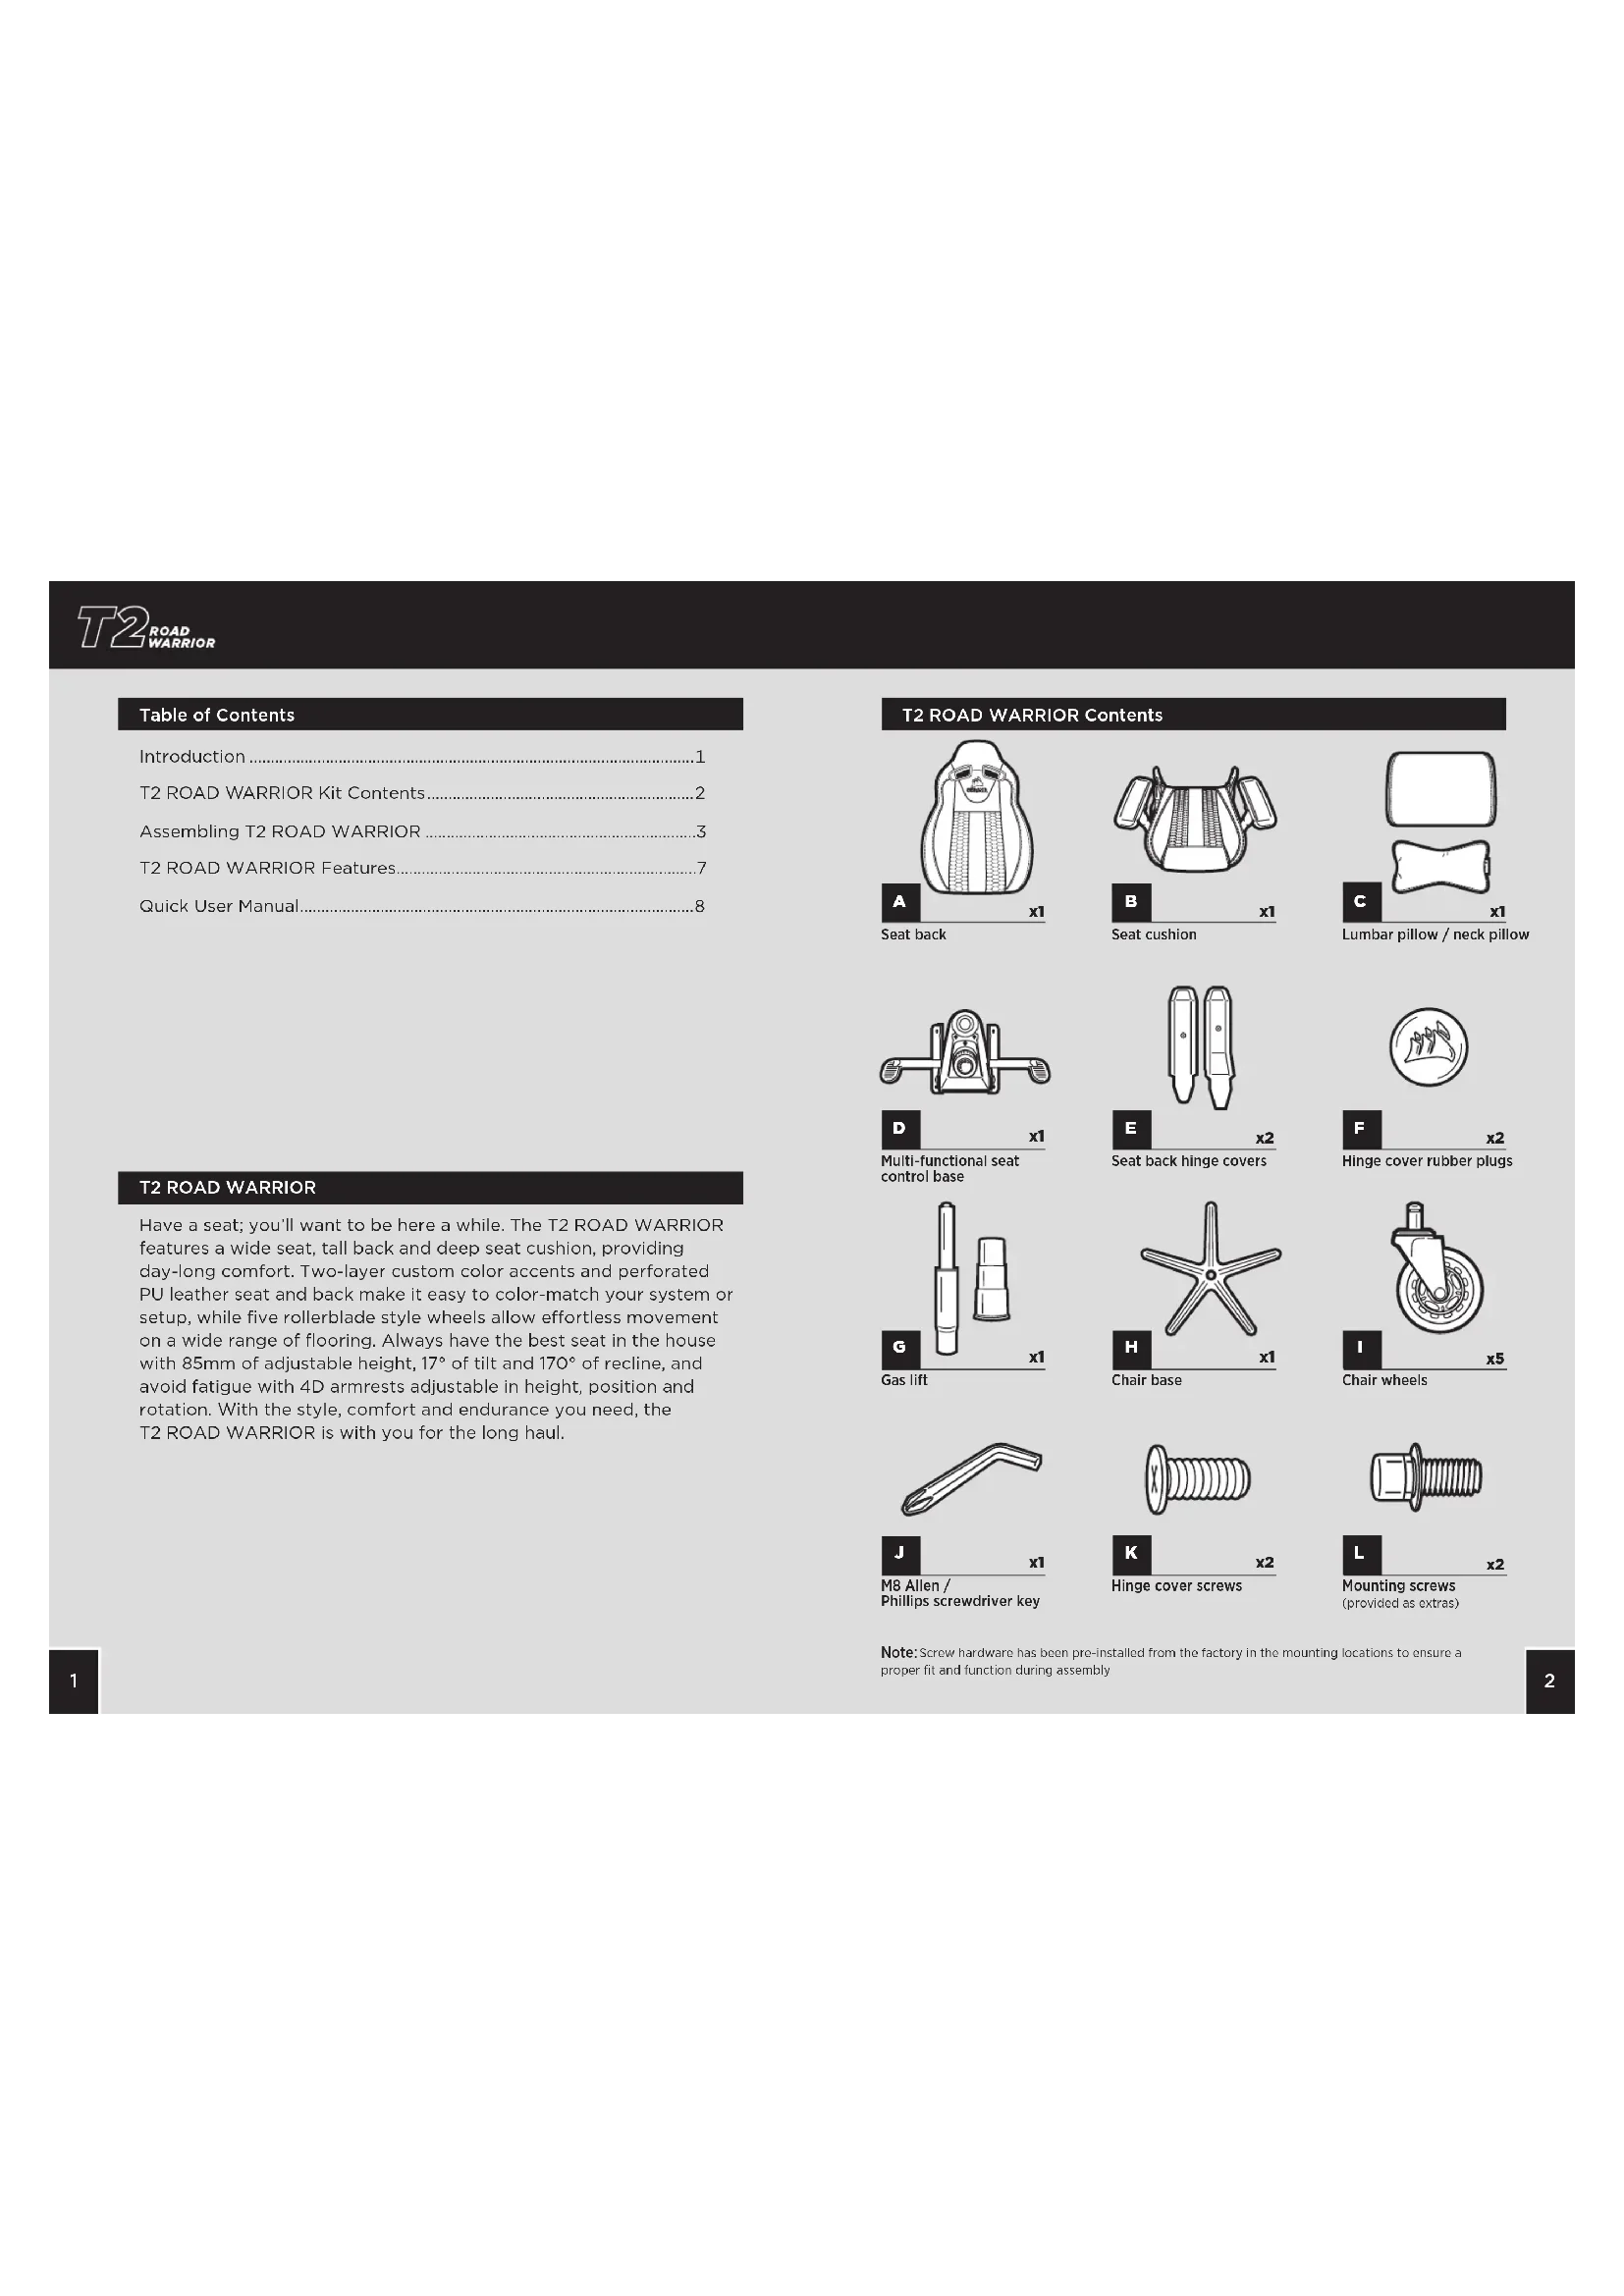
Seat back
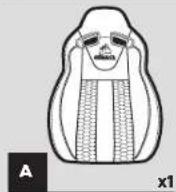
Seat cushion
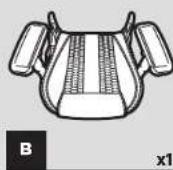
Lumbar pillow / neck pillow


Multi-functional seat control base

Seat back hinge covers
Hinge cover rubber plugs

Gas lift
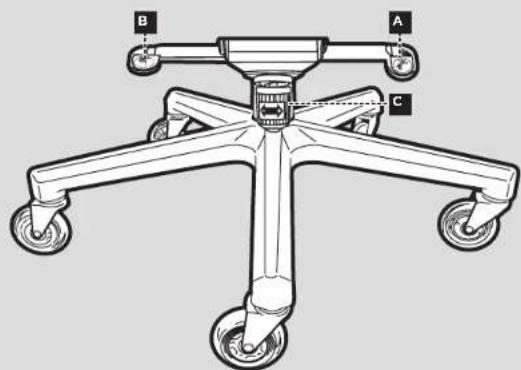
Chair base
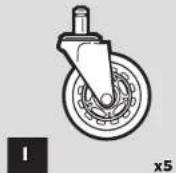
Chair wheels
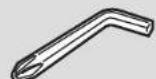

M8 Allen / Phillips screwdriver key
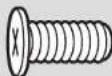
Hinge cover screws


Mounting screws
(provided as extras)
Note: Screw hardware has been pre-installed from the factory in the mounting locations to ensure a proper fit and function during assembly

T2 ROAD WARRIOR Assembly Instructions
WARNING: This furniture contains small parts that present a choking hazard for children under 3 years of age. These parts are for adult assembly only and should be permanently affixed to the furniture. Any unused parts should be stored or discarded properly.
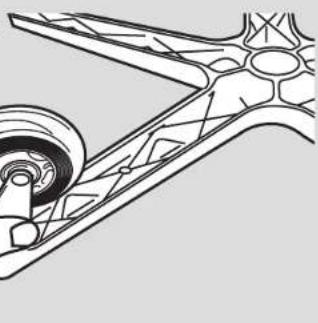
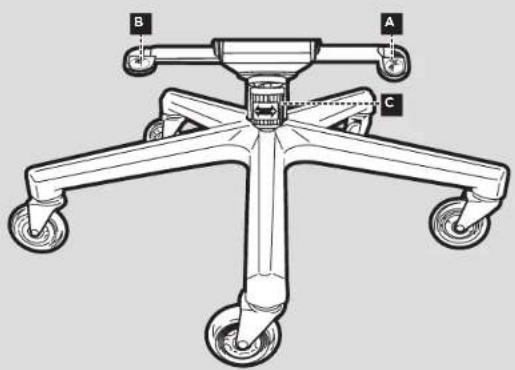
- Insert the chair wheels into the chair base by pressing the stud firmly into the holes on the bottom of the base.

-
Install the gas lift and gas lift cover into the top of the chair base by placing the larger end into the hole in the center of the chair base.
A. Place the gas lift cover over the gas lift with the larger opening facing down.
B. Remove the red protective cover from the top of the gas lift.
C. WARNING: The seat height adjustment will not function if the red protective cap is not removed from the gas lift. -
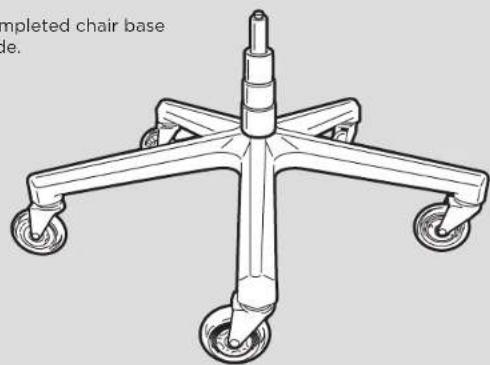
Place the completed chair base assembly aside.
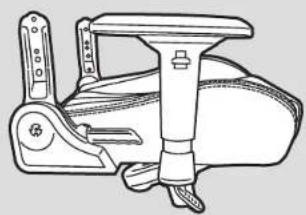
- Chair seat assembly.
A. Remove the four screws from the seat cushion bottom using the M8 Allen key provided.
B. Using the four screws from the seat cushion bottom, attach the seat control base to the seat cushion.
T2 ROAD 1 WARRIOR
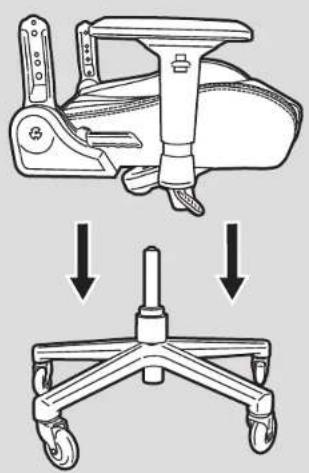
- Place the seat assembly onto the multi-functional seat control base by inserting the gas lift cylinder into the center hole in the seat control base.
A. Make sure the seat assembly is firmly pressed down into place before using the chair.
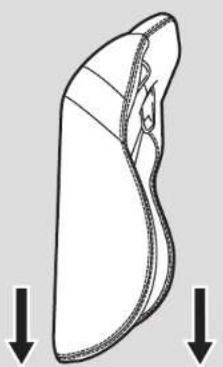
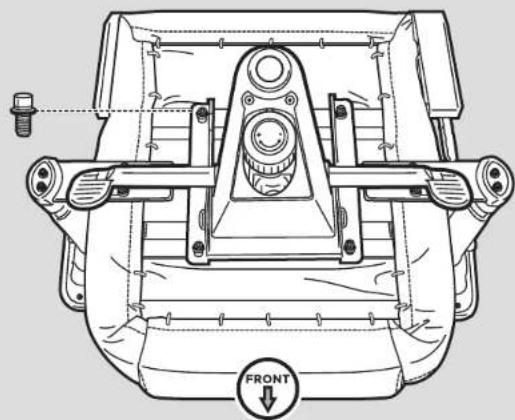
- Seat back to seat assembly.
A. Remove the screws from the seat back using the M8 Allen key provided.
B. TIP: Start with the right side of the chair with the recline mechanism. It is much easier to start on this side as the mount point is fixed in place. Do not tighten the screws down completely until you have both sides (all four bolts) started in the seat back.
C. Use the screws taken from the seat back to attach the seat cushion and the seat back together.
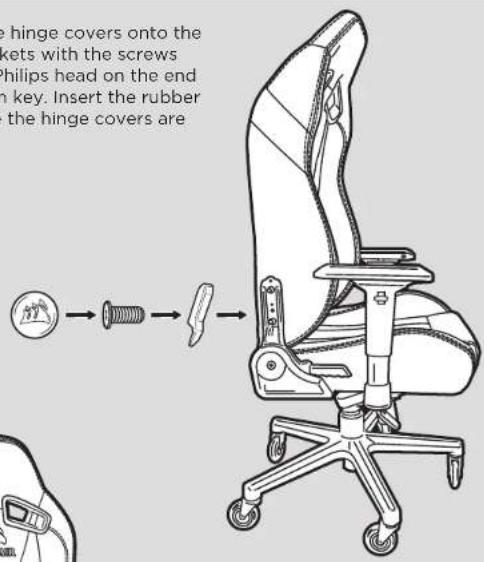
- Attach the hinge covers onto the hinge brackets with the screws using the Philips head on the end of the Allen key. Insert the rubber plugs once the hinge covers are fastened.
8.Congratulationson assembling your new T2 ROAD WARRIOR gaming chair. Enjoy!

Additional Features
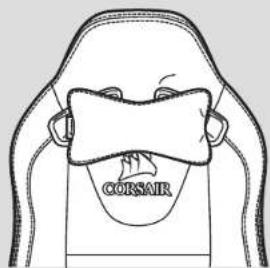
1. Attach Neck Pillow
A. The neck pillow has a snap attachment that allows the pillow to be installed in two different ways. You can slide the band over the top of the headrest for taller placement of the pillow or attach the pillow through the holes in the neck area for a lower placement of the pillow.
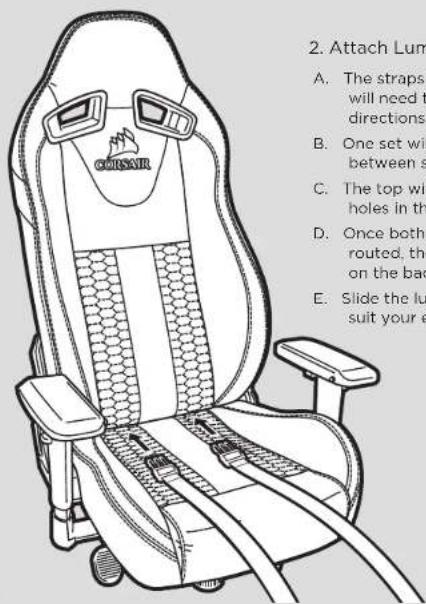
2. Attach Lumbar Pillow
A. The straps for the lumbar pillow will need to be run in two different directions.
B. One set will go through the opening between seat cushion and seat back.
C. The top will be routed through the holes in the shoulder area.
D. Once both sets of straps have been routed, they can be snapped together on the backside of the chair.
E. Slide the lumbar pillow up or down to suit your ergonomic needs.
User Manual
WARNING: Improper use of this chair may cause damage to this chair or result in personal injury. Please use this chair in a non-abusive manner.
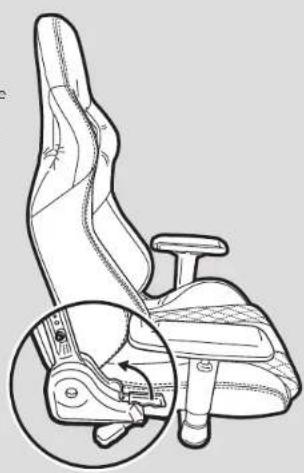
1. Adjustment levers
A.Tilt/anglelock
- Push the lever down to prevent the chair from tilting or to lock the chair seat angle. Pull the lever up to disengage the lock.
II. TIP: If you find that the chair angle does not disengage after pulling the lever, tilt the seat front and back to release the lock.
B. Height adjustment lever
- To lower the height of the chair, pull the lever up while weight is applied on the chair. To increase the height, pull the lever up while the chair is empty.
C. Tilt tension knob
I. Rotate this knob to increase (+) or decrease (-) the tilt tension.
II. TIP: If the chair tilts easily, you may want to increase the tension. Alternatively, decrease the tension if it you find it too hard to lean back while sitting on the chair.

2. Recline lever
A. Pull this lever up to recline the seat back forward or backward.
B. WARNING: Do not apply pressure to the seat back prior to pulling the recline lever. The sudden shift of weight may cause the chair to become unstable which may cause damage to the chair and/or result in personal injury.
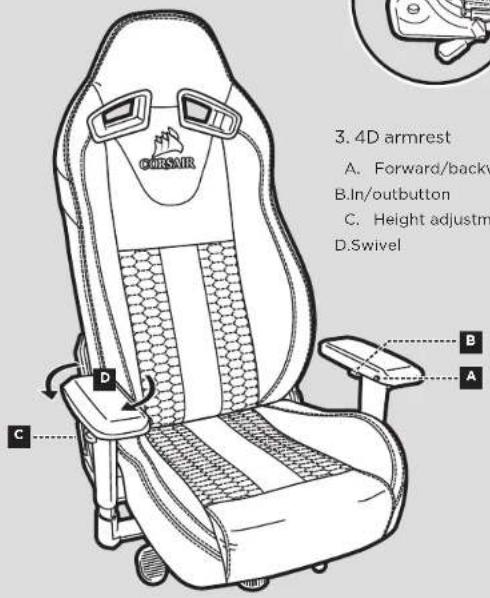
3.4D armrest
A.Forward/backward slide button B.In/outbutton
C. Height adjustment tab D.Swivel
Table of Contents
Introduction 10
Contenu du kit T2 ROAD WARRIOR 11
Montage du T2 ROAD WARRIOR 12
Caracteristiques du T2 ROAD WARRIOR 16
Manuel de l'utiliseur rapide 17
T2 ROAD WARRIOR
PykoBODCTBO noIb3ObaTeN
PNEyPKEKDEHnE: HenpaBnBHaA 3KcNpyataaMQeT npBcTe N nobpeKeHHo KpcSeI Hm CTb npHeHO nOlyeHHn TpaBMy. IcNoB3yTe 3To KpeCNO KcNIOHTeHbNO HO HA3aHHeHHo.
1.PbUarnperynnpOBkn
A. Φκκatop yrna Hακηοha Kpeça
1.ДЯТоTOYTO6bI HeNoCTbHAKHOHaKpeCnA HIN3aФHKcnpOBAbTyRyt HAKHOHa CnEHeBb, ONYCTePbUar BHN3.DJIaONKIOeHnHfHKcauNnNotHHTe pbNA BEPX.
II. NOCKA3K: Ecmblb06HApyKm, UTO yToN HAKHOHa KcE1a octanr aafKnCnpoBaHmNoePmeHNeHa pTuHa, HAKIOHTe CmDHe Bnpep n H3a3d, TOb6TOKNIWb fHKCaIuO.
B. Pbyar BepTnKaIbHoi perynipobKn
I.ДЯУHMENEHNBAICOTKpeCnA NOTHITe pUHAR BPEX, KORDA KpeCNo HAXOJNTCR NOHarpy3Ko.I.DRA YBENHEnHbICOTb KpeCnA NOTHITe pUHAR BPEX, npDEaPmTeBHO BCTAB CpeCnA.
C. PerynTOp KecTKn Kaahm
1. Bpaaaite 0TOT peryaTOp IyBENHnEHN (+) HmYbHsEHH (一) XeKTOCTKANAHHH.
II. NOCKA: E: cKNEO HAKNOBETCR CNIKKOM NERKO, Bbl MOKETE yBENMHTB KKTOKCTB. HAOBOPT: eCN nPn HNTONB0BAHN KPCNA BAM CNIKKOM TAKENO OTKNOBt CNNHKHaaad -yMeHBWITE XEKTCKTb.

T2 ROAD 1 WARRIOR
2.PbUar HAKNoHa cNINHKn
A. NIOYHHTAE 3OT BPOUAR BBPEX, YTO6B1 HAKNOHITb CINHHKpeCNA BpepeNIM H33d.
B.PNEPYNEKHEHHe HaabnteHa cnHKy KpeCn do TOro, KaK notaHTy pIbHARKaHNOA cnHKN. Pe3KeO N3MeHHe HecBa MoKet Cdenatb KpeCNo HEcyTOOHBM, VTO, BcBOO OeepEnb. MOKET PnPBeeCTK Eero NOBEXEHNIO (nn) CTbTbnnHO TpaBmI.

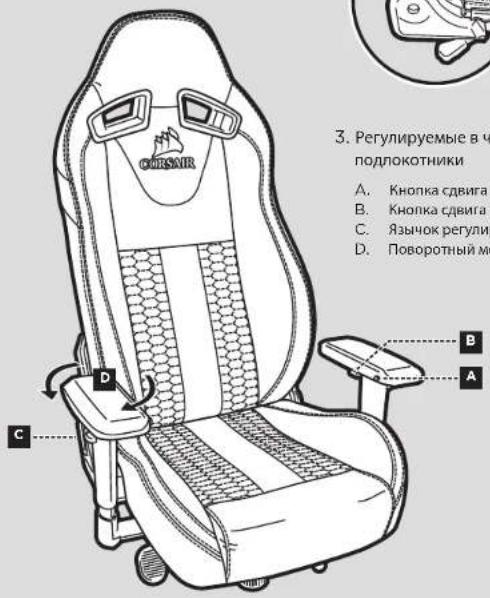
3.PerynnpyembleBtebipexHanpabneHnx noNOKOTHMK
A. Khonka cDwra Ha3a nn Bnepen
B. Khonka cDnurab CToPoHbI NmK ceHTpy
C. 3b40kpepynnpoBKn BbcOTbl
D. NObopoTHbIMexAHm3M
目录
Ⅱ.12.13.14.15.16.17.18.19.20.21.22.23.24.25.26.27.28.29.30.31.32.33.34.35.36.37.38.39.40.41.42.43.44.45.46.47.48.49.50.51.52.53.54.55.56.57.58.59.60.61.62.63.64.65.66.67.68.69.70.71.72.73.74.75.76.77.78.79.80.81.82.83.84.85.86.87.88.89.90.91.92.93.94.95.96.97.98.99.100
T2 ROAD WARRIOR
2. リルフローレバーネ

- T2 ROAD WARRIOR Contents
- T2 ROAD WARRIOR Assembly Instructions
- T2 ROAD 1 WARRIOR
- Additional Features
- Attach Neck Pillow
- Attach Lumbar Pillow
- User Manual
- Adjustment levers
- A.Tilt/anglelock
- Height adjustment lever
- Tilt tension knob
- Recline lever
- 3.4D armrest
- Table of Contents
- T2 ROAD WARRIOR
- PykoBODCTBO noIb3ObaTeN
- 2.PbUar HAKNoHa cNINHKn
- 目录
- リルフローレバーネ
Brand : CORSAIR
Model : T2 Road Warrior
Category : Gaming chair