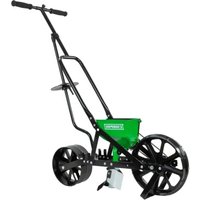
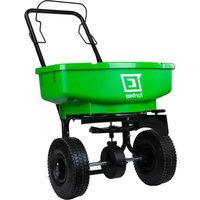
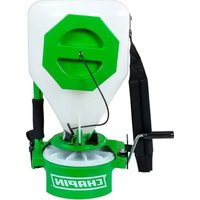
Garden Seeder W 6 Seed Plates 8701B - Gardening Chapin - Free user manual and instructions
Find the device manual for free Garden Seeder W 6 Seed Plates 8701B Chapin in PDF.
Frequently Asked Questions - Garden Seeder W 6 Seed Plates 8701B Chapin
User questions about Garden Seeder W 6 Seed Plates 8701B Chapin
0 question about this device. Answer the ones you know or ask your own.
Ask a new question about this device
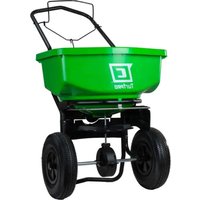
Download the instructions for your Gardening in PDF format for free! Find your manual Garden Seeder W 6 Seed Plates 8701B - Chapin and take your electronic device back in hand. On this page are published all the documents necessary for the use of your device. Garden Seeder W 6 Seed Plates 8701B by Chapin.
USER MANUAL Garden Seeder W 6 Seed Plates 8701B Chapin
text_image
1 YEAR LIMITED WARRANTY See website for warranty detail CHAPINChapin International, Inc
P.O. Box 549 700 Ellicott St.
Batavia, NY 14021-0549 U.S.A.
1-800-950-4458 www.chapinmfg.com
Model 8701B
WARNING
WARNING: IMPROPER USE OR FAILURE TO FOLLOW INSTRUCTIONS CAN RESULT IN PRODUCT FAILURE OR INJURIES. FOR SAFE USE OF THIS PRODUCT YOU MUST READ AND FOLLOW ALL INSTRUCTIONS BEFORE USING.
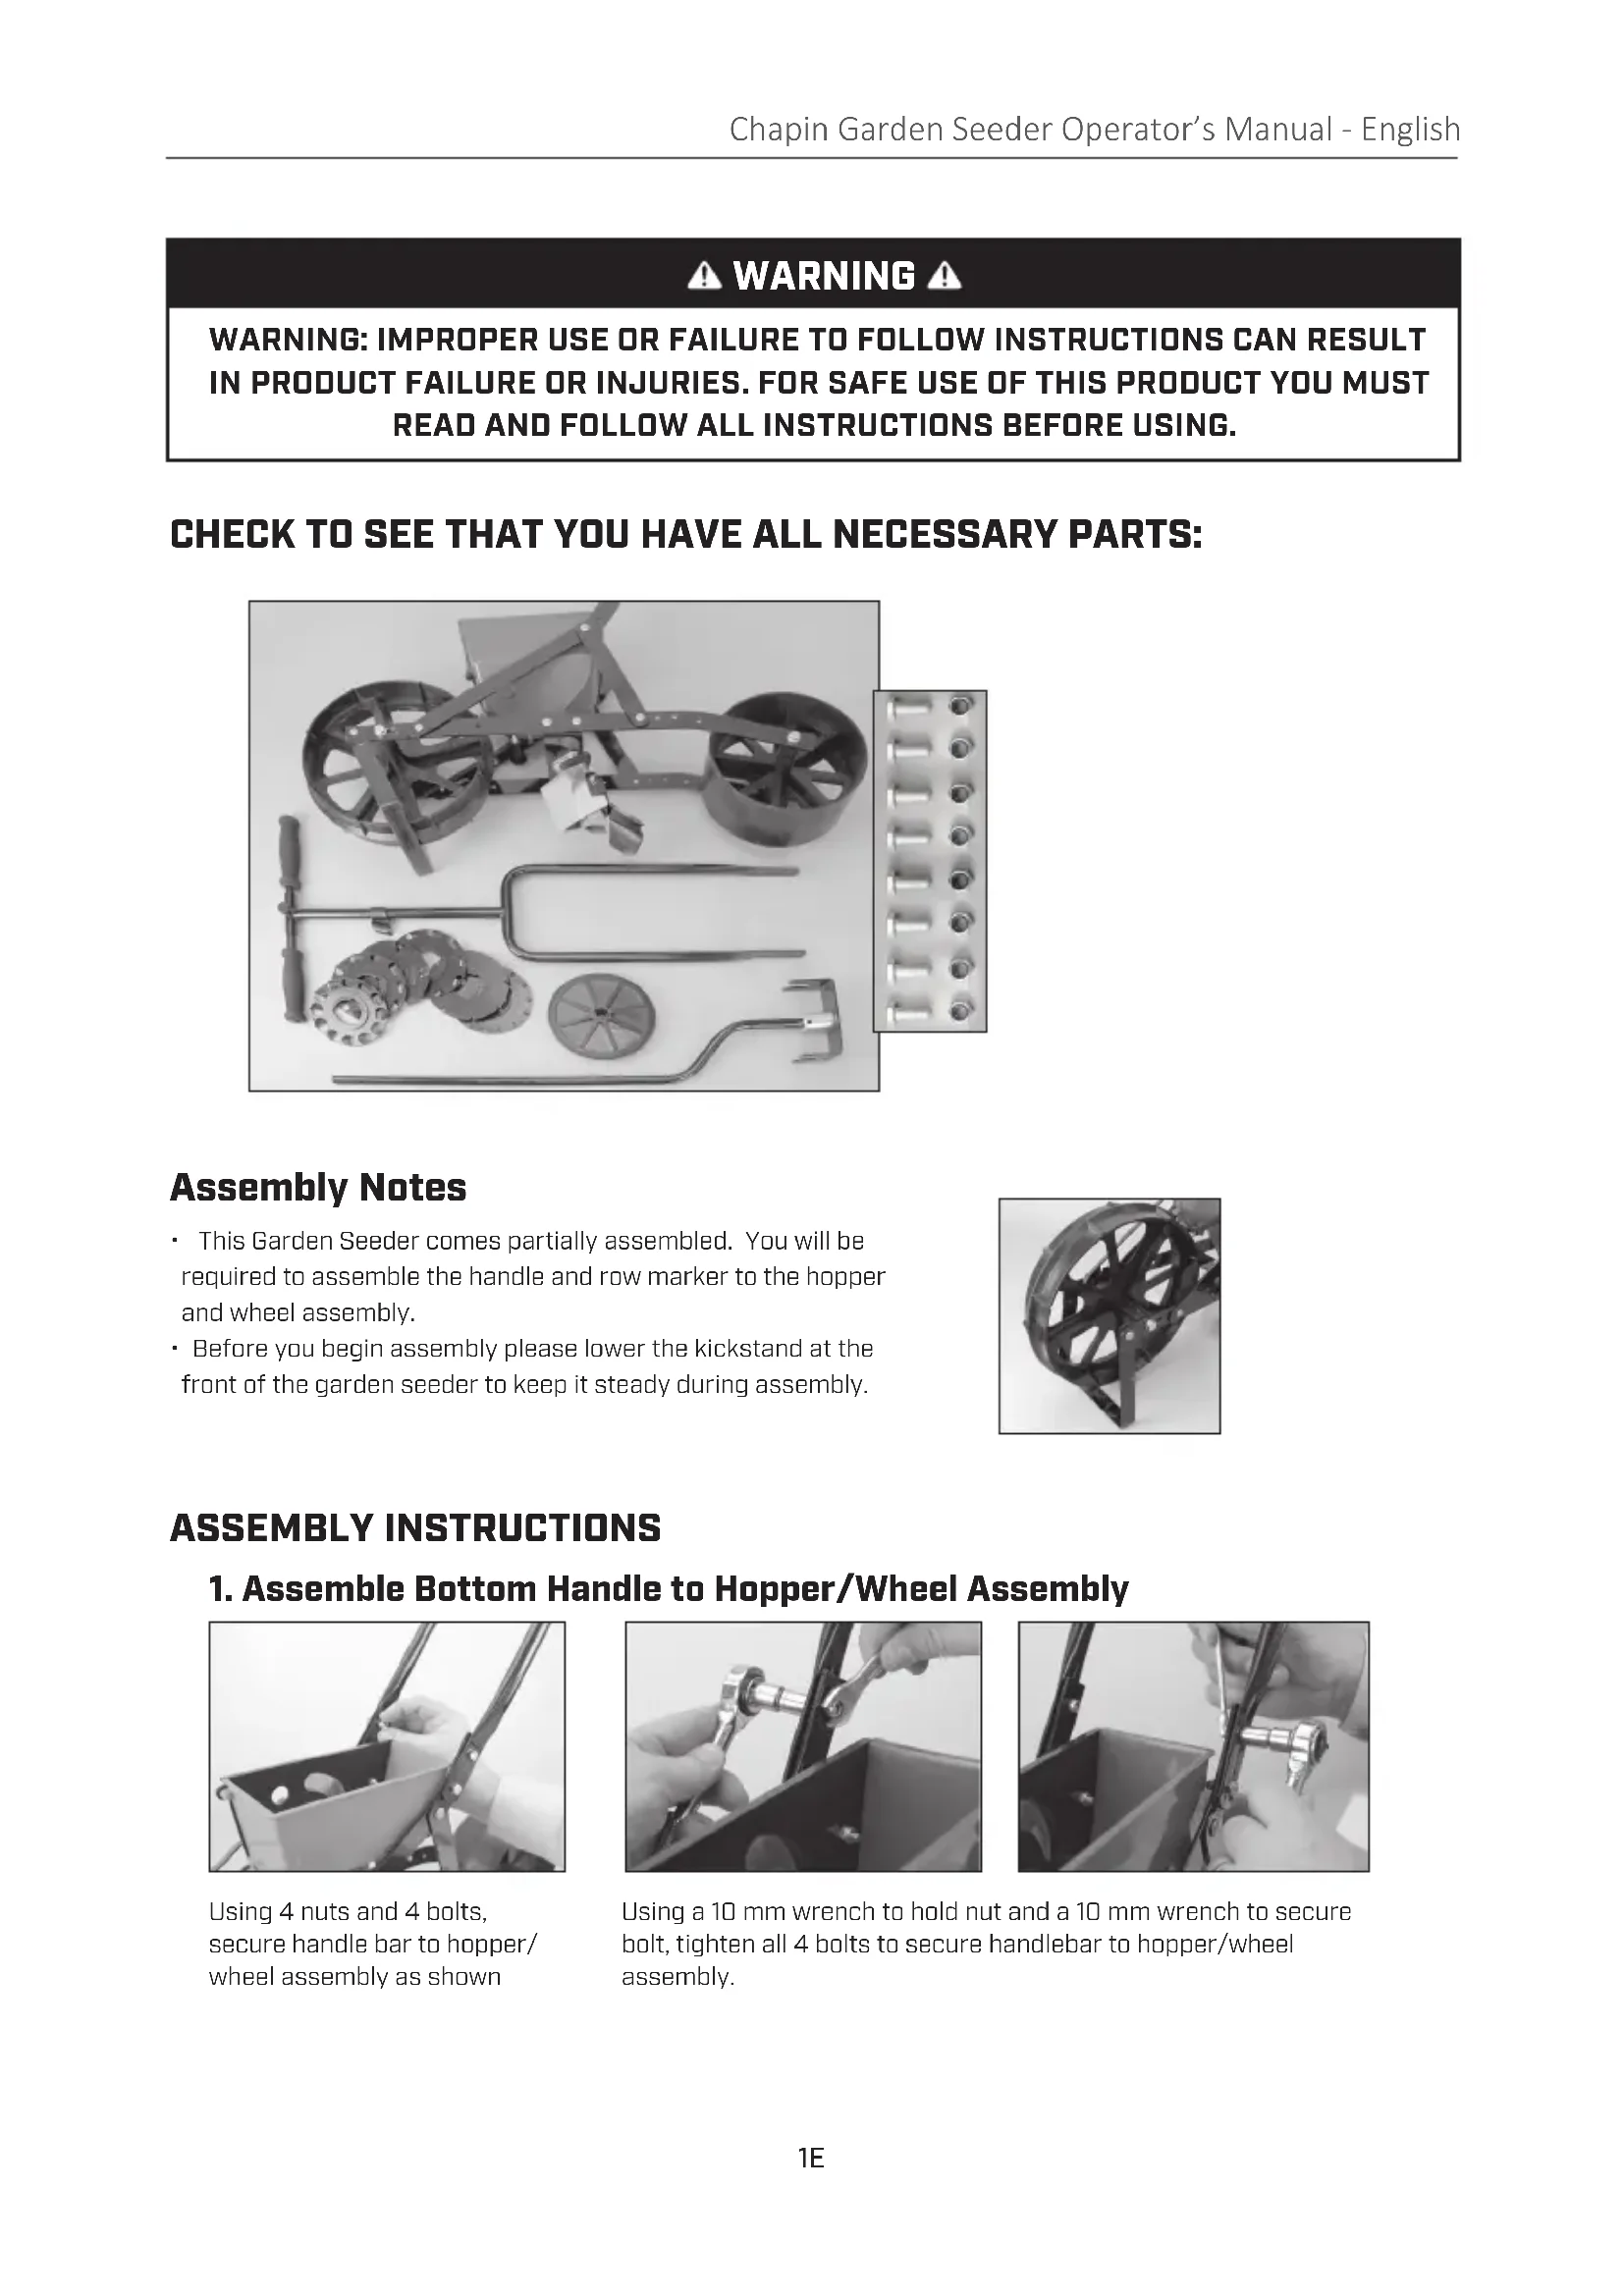
CHECK TO SEE THAT YOU HAVE ALL NECESSARY PARTS:
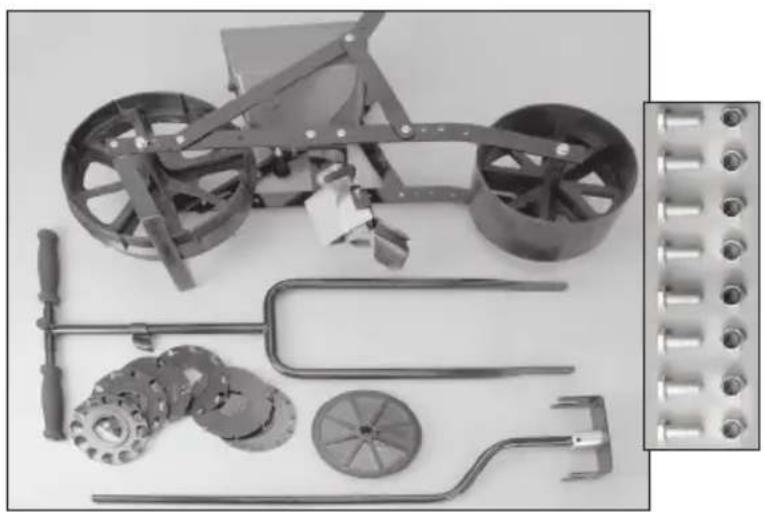
natural_image
Collection of mechanical components including a wheeled vehicle, gears, and tools (no text or symbols visible)Assembly Notes
- This Garden Seeder comes partially assembled. You will be required to assemble the handle and row marker to the hopper and wheel assembly.
- Before you begin assembly please lower the kickstand at the front of the garden seeder to keep it steady during assembly.
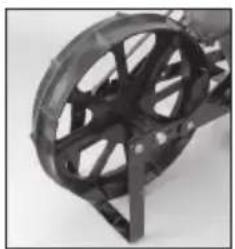
natural_image
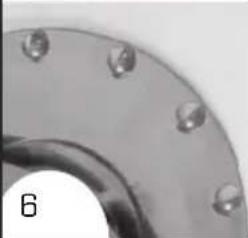
Close-up of a black mechanical component with radial grooves and a triangular base (no text or symbols visible)ASSEMBLY INSTRUCTIONS
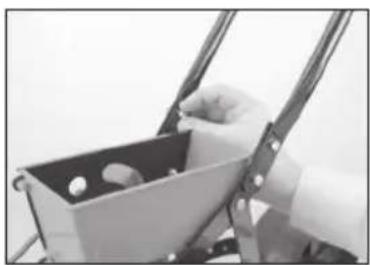
1. Assemble Bottom Handle to Hopper/Wheel Assembly
natural_image
Close-up of a hand holding a small object inside a metal frame (no visible text or symbols)Using 4 nuts and 4 bolts, secure handle bar to hopper/ wheel assembly as shown

natural_image
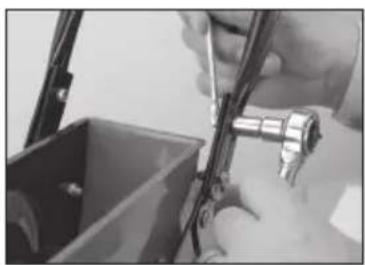
Close-up of hands using a wrench to adjust a mechanical component (no visible text or symbols)Using a 10 mm wrench to hold nut and a 10 mm wrench to secure bolt, tighten all 4 bolts to secure handlebar to hopper/wheel assembly.
natural_image
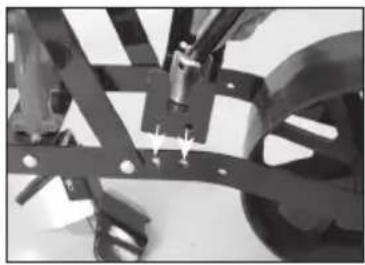
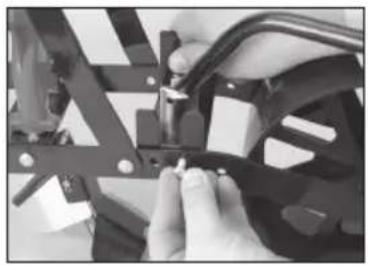
Close-up of hands using a tool to adjust or install a component, no visible text or symbols2. Row Marker Assembly
natural_image
Mechanical assembly with metal frames and mounting holes (no visible text or symbols)Align base plate of row marker with the 4 corresponding holes on the hopper/wheel assembly as shown.
natural_image
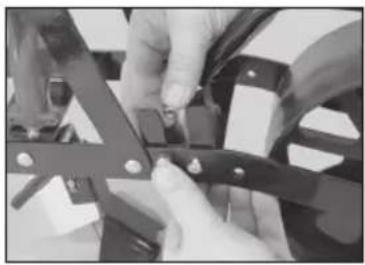
Close-up of hands assembling or adjusting a mechanical bracket (no visible text or symbols)Once holes are aligned, insert 4 bolts and secure with 4 nuts.
natural_image
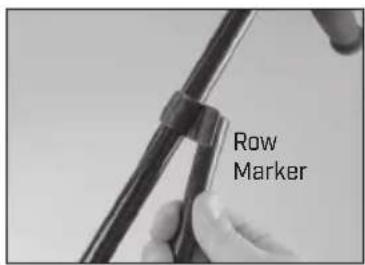
Close-up of hands assembling or adjusting a mechanical component with clamps (no visible text or symbols)Attach row marker clip to top of handle (below cross bar).
text_image
Row MarkerLock row marker into clip.
text_image
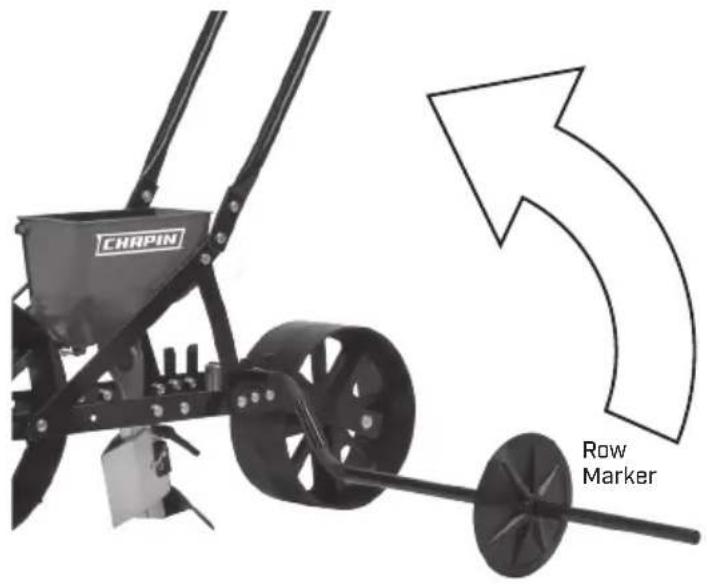
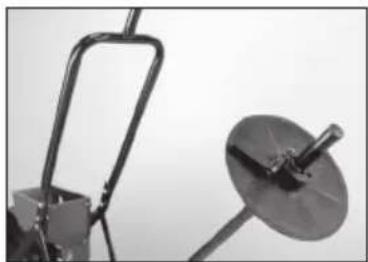
CHRPIN Row Marker3. Row Marker Blade Assembly
natural_image
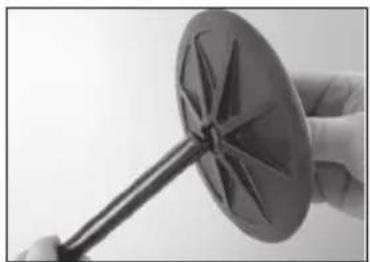
Close-up of a hand holding a metallic object with a star-like pattern, possibly a turbine or impeller (no text or symbols visible)Loosen nut on blade and slide it onto row marker pole.
natural_image
Close-up of a mechanical device with a curved bracket and a circular dish mounted on a stand (no visible text or symbols)Set length to desired row spacing.
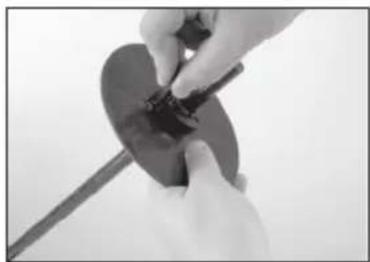
natural_image
Close-up of hands holding a circular object with a tool, no visible text or symbolsSecure blade with adjustable handle.
Your seeder comes with 2 adjustable handles for quick and easy adjustments on the Row Marker blade and the plow
natural_image
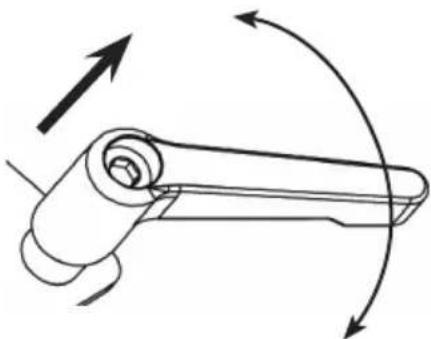
Diagram of a mechanical lever mechanism with rotational arrows indicating motion (no text or symbols)Adjustable handle:
Lift the handle to disengage and rotate freely for adjustment. Handle spins freely for positioning when not engaged.
GARDEN SEEDER MAINTENANCE
- Hopper should be wiped out with a clean cloth after each use. Accumulation of dust, dirt, or residue from seeds may cause the seed plates to stick and alter the accuracy of the planting of seeds.
- Static electricity may build up in the seed hopper and interfere with the planting of fine seeds. Under these circumstances please wash the hopper and seed plates with a mild dishwashing detergent and allow them to dry thoroughly.
- We recommend removing the seed plate and cleaning the hopper and seed plates thoroughly before storing the garden seeder.
OPERATING INSTRUCTIONS
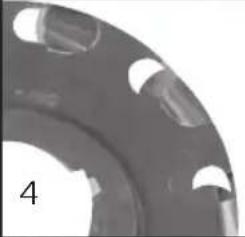
- One seed plate is in the hopper and the remaining 5 are in the storage bag. To replace the plate with the desired plate:
a. Remove the plate by holding the pulley and belt stationary with one hand while rotating the seed plate in the "OFF" direction, indicated by the arrow on the plate.
b. Push the seed plate off the hub through the hole.
- Select the desired seed plate. Use the Seed Plate Guide to determine the best seed plate based on the type and size of seed you're planting.
a. We suggest testing the seed plate with your seed before planting.
b. If more distance between seeds is required, place a piece of masking tape over every other hole or as required on the seed plate to achieve your desired distance.
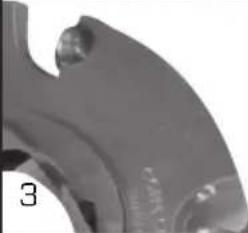
- Install the selected seed plate (make sure the hopper is completely empty before installing new plate)
a. Hold seed plate at an angle with the bottom against the straight wall inside the hopper
b. Line up the slots against the inside of the hopper and rotate approximately 12 " in the "ON" direction until the cam action locks the seed plate into place on the hub. Do not force the seed plate on.
- Set the planting depth with the wedge shaped ground opener located directly under the hopper.
a. Move the ground opener until the top edge is in line with the appropriate planting depth (refer to the planting instructions on the packaging of the seed you're plating for proper planting depth)
b. Tighten wing nut after adjustment is made and check the depth by moving the garden seeder forward a few inches.
- Pour seeds into the hopper. DO NOT fill the hopper above the FILL LINE indicated inside the hopper.
- Using the Row Marker
a. Mark the first row with strings and stakes.
b. Lower the row marker pole and adjust the row marker blades to the desired width for the next row.
c. Lift the kickstand over the front wheel and begin walking at a steady pace.
- Emptying the Hopper
a. Remove the drain plug from side of hopper.
b. If there are any remaining seeds in the hopper, lower the kickstand and tip the garden seeder forward until all seeds are removed.
Seed Plates Included:
| Plate # | Used For |
 | Baby Lima Beans, Peas |
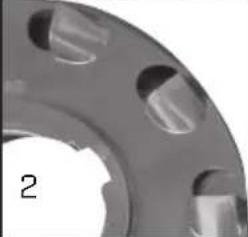 | Medium Beans, Medium Peas |
 | Sunflower, Cucumber, Corn |
 | Sweet Corn |
 | Small Beets, Radishes |
 | Brussels Sprouts, Rutabaga, Parsnips, Spinach, Cabbage, Broccoli, Rhubarb, Endive, Carrots, Cauliflower, Celery, Kale, Lettuce, Onions, Peppers, Turnips |
natural_image
Collection of mechanical components including a wheeled vehicle, gears, and tools (no text or symbols visible)natural_image
Close-up of a black mechanical component with radial grooves and mounting holes (no text or symbols visible)INSTRUCCIONES DE MONTAJE:
natural_image
Close-up of a hand holding a small container with two small items, next to a metal frame (no visible text or symbols)natural_image
Close-up of hands using a wrench to adjust a mechanical component (no visible text or symbols)natural_image
Close-up of hands using a tool to adjust or install a mechanical component (no visible text or symbols)natural_image
Mechanical assembly with articulated arms and mounting holes (no visible text or symbols)natural_image
Close-up of hands using a tool to adjust or install a mechanical component (no visible text or symbols)natural_image
Close-up of hands assembling or adjusting a mechanical component (no visible text or symbols)natural_image
Close-up of a hand holding a metallic windmill with a spoked blade (no text or symbols visible)natural_image
Close-up of a mechanical device with a curved bracket and a circular dish, no visible text or symbolsnatural_image
Close-up of hands holding a small circular object with a tool, no visible text or symbolsFije la hoja con la manija ajustable.
natural_image
Diagram of a mechanical lever mechanism with rotational arrows indicating motion (no text or symbols)Manija ajustable:
natural_image
Collection of mechanical components including a wheeled cart, gears, and tools (no text or symbols visible)natural_image
Close-up of a black mechanical component with a circular and angular feature (no visible text or symbols)natural_image
Close-up of a hand holding a metal tray with circular objects, no visible text or symbolsnatural_image
Close-up of hands installing a mechanical switch component into a container (no visible text or symbols)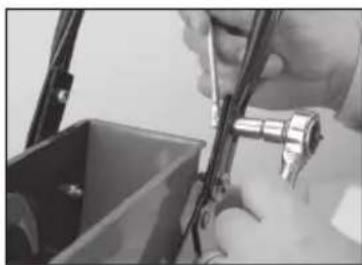
natural_image
Close-up of hands using a tool to adjust or install a mechanical component (no visible text or symbols)natural_image
Mechanical assembly with metal frames and bolts (no visible text or symbols)natural_image
Close-up of hands using a mechanical tool to adjust or install components (no visible text or symbols)natural_image
Close-up of hands assembling or adjusting mechanical components (no visible text or symbols)natural_image
Close-up of a hand holding a metallic wind turbine blade (no text or symbols visible)natural_image
Close-up of a mechanical device with a curved bracket and a circular dish mounted on a stand (no visible text or symbols)natural_image
Close-up of hands holding a small dark object with a string, possibly a tool or component (no visible text or symbols)natural_image
Diagram of a mechanical lever mechanism with rotational arrows indicating motion (no text or symbols)Poignée ajustable :
© 2022 Chapin International, Inc.