Viseo 160 W - Monitor PACKARD BELL - Free user manual and instructions
Find the device manual for free Viseo 160 W PACKARD BELL in PDF.



| Product Type | LCD Monitor |
| Brand | Packard Bell |
| Model | Viseo 160 W |
| Screen Size | 15.6 inches (40 cm) diagonal |
| Maximum Resolution | 1366 x 768 at 60 Hz |
| Display Technology | Active Matrix TFT LCD |
| Response Time | 8 ms |
| Contrast Ratio | 500:1 |
| Brightness | 250 cd/m² |
| Power Consumption | 25 W max |
| Power Supply | AC 100-240 V, 50/60 Hz |
| Video Connector | VGA (15-pin sub-D) |
| Input Signals | Analog RGB 0.7 Vp-p, 75 ohms, TTL sync |
| Plug & Play | DDC/CI |
| Compliance Standards | CE, EMC, CB, GOST-R, TCO'03 |
| Operating Temperature | +5°C to +35°C |
| Features | OSD menu, auto adjustment (AUTO button) |
| Safety | Do not open, surge protection |
| Recycling | WEEE compliant, do not dispose with household waste |
Frequently Asked Questions - Viseo 160 W PACKARD BELL
User questions about Viseo 160 W PACKARD BELL
0 question about this device. Answer the ones you know or ask your own.
Ask a new question about this device
Download the instructions for your Monitor in PDF format for free! Find your manual Viseo 160 W - PACKARD BELL and take your electronic device back in hand. On this page are published all the documents necessary for the use of your device. Viseo 160 W by PACKARD BELL.
USER MANUAL Viseo 160 W PACKARD BELL
Items reproduced are for illustration purposes only. Pictures are not contractual. The characteristics of this product are subject to change without notice.
To reduce the risk of fire or electric shock, do not expose this monitor to rain or moisture.
Place the monitor on a steady surface where it is not likely to fall.
To reduce eye fatigue, avoid using the monitor in direct sunlight or under bright lights.
To prevent electric shock do not remove screws or cover. Never open the monitor! There are no user-serviceable parts inside. Service should be done only by a qualified service person.
Input power source: In many European countries, the wall outlets are 230V, in a range from 200 to 240V. Please check if your monitor supports your country's voltage.
Do not place anything heavy on the power cord or any other cables. A Damaged power cord may cause fire or electric shock. If your power cord is damaged, do not use it. A replacement can be purchased at your local computer or electronics store.
Do not disassemble the monitor. The cover should be removed by qualified service personnel only.
Keep children and pets away from the monitor.
Do not allow liquids to spill into the cabinet.
Do not operate the monitor beyond the specified temperature and humidity range.
For proper operation, keep the monitor adequately ventilated.
Keep the monitor away from strong magnetic fields produced by transformers, motors, fans, or other devices.
When an irregular AC Voltage is supplied, a protective circuit may turn off the monitor (the power indicator will also go off). If this happens, turn off the power switch and wait at least 30 seconds before turning it on again.
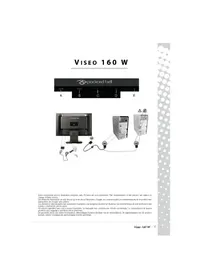
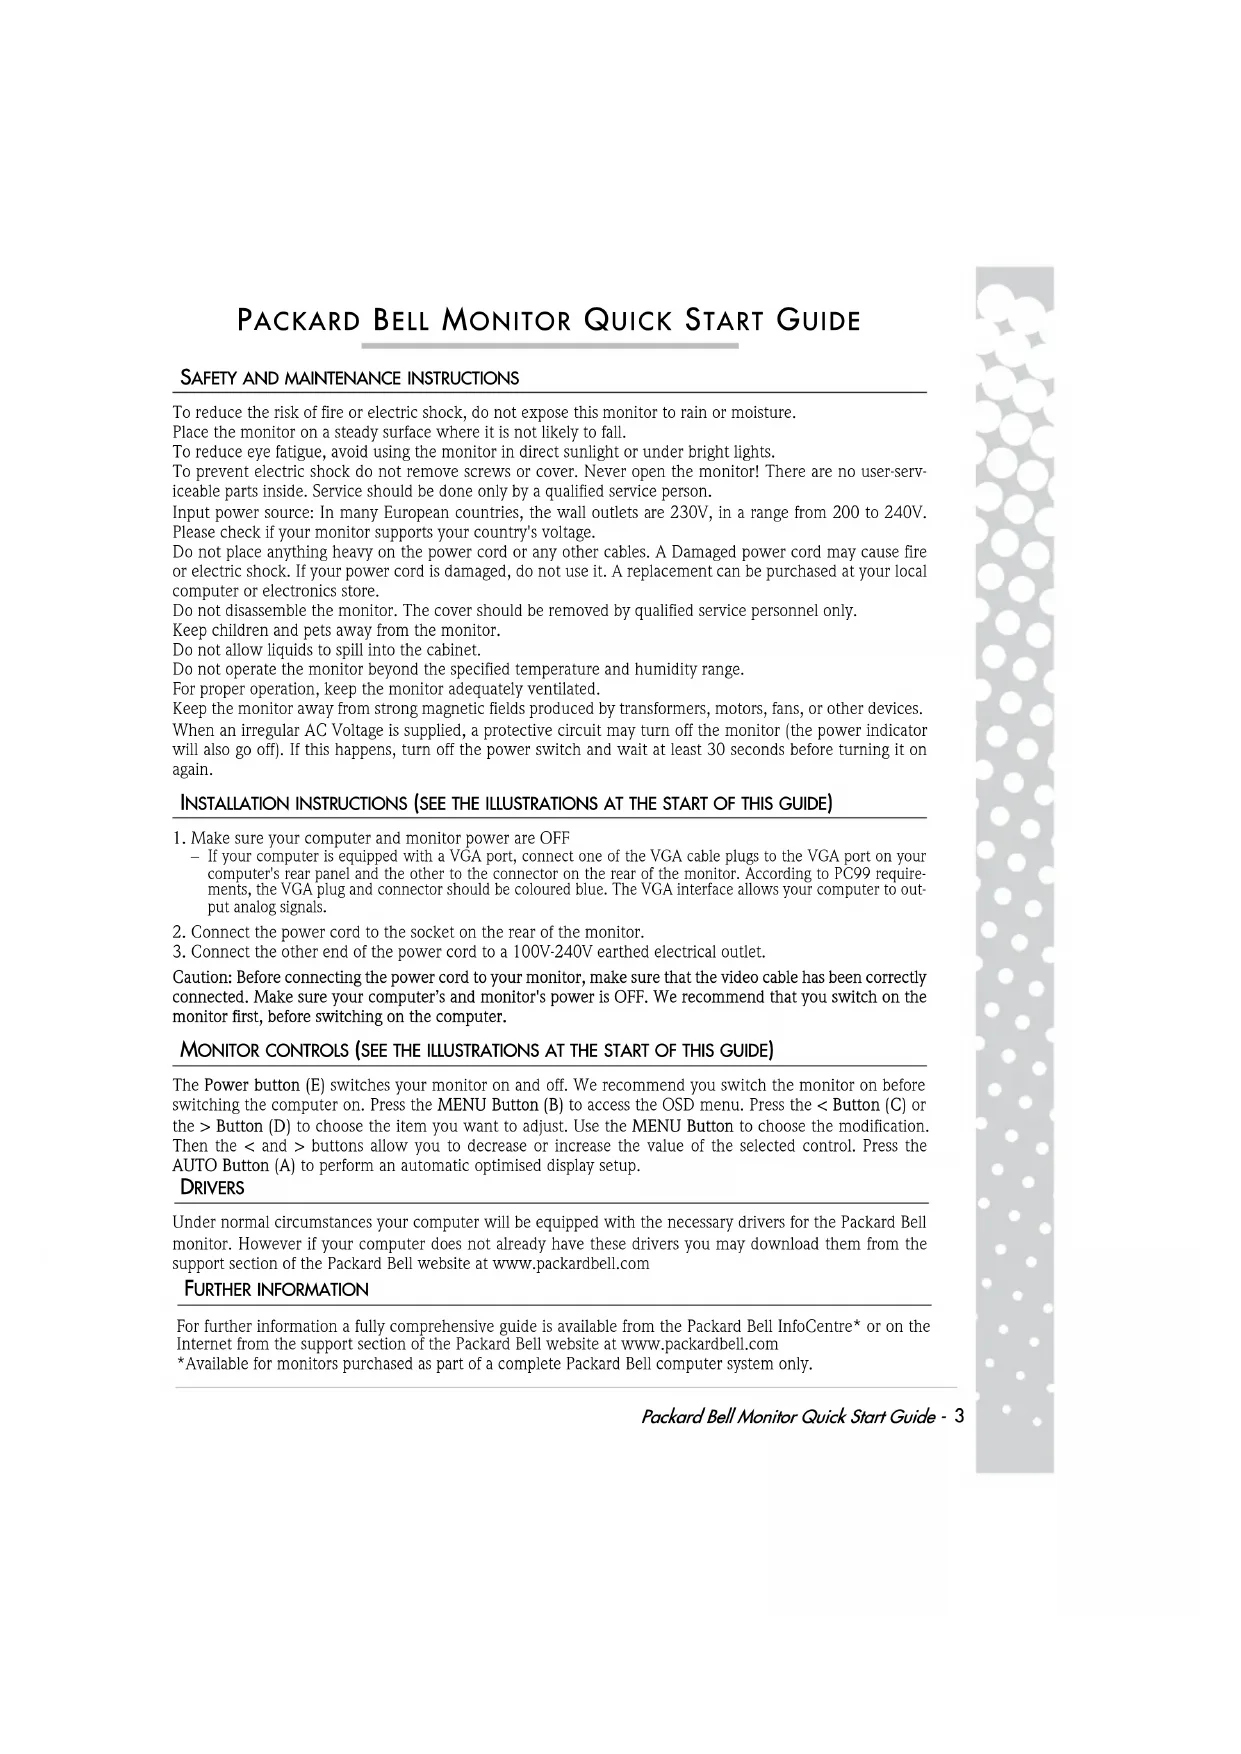
INSTALLATION INSTRUCTIONS (SEE THE ILLUSTRATIONS AT THE START OF THIS GUIDE)
- Make sure your computer and monitor power are OFF
- If your computer is equipped with a VGA port, connect one of the VGA cable plugs to the VGA port on your computer's rear panel and the other to the connector on the rear of the monitor. According to PC99 requirements, the VGA plug and connector should be coloured blue. The VGA interface allows your computer to output analog signals.
-
Connect the power cord to the socket on the rear of the monitor.
-
Connect the other end of the power cord to a 100V-240V earthed electrical outlet.
Caution: Before connecting the power cord to your monitor, make sure that the video cable has been correctly connected. Make sure your computer's and monitor's power is OFF. We recommend that you switch on the monitor first, before switching on the computer.
MONITOR CONTROLS (SEE THE ILLUSTRATIONS AT THE START OF THIS GUIDE)
The Power button (E) switches your monitor on and off. We recommend you switch the monitor on before switching the computer on. Press the MENU Button (B) to access the OSD menu. Press the < Button (C) or the > Button (D) to choose the item you want to adjust. Use the MENU Button to choose the modification. Then the < and > buttons allow you to decrease or increase the value of the selected control. Press the AUTO Button (A) to perform an automatic optimised display setup.
DRIVERS
Under normal circumstances your computer will be equipped with the necessary drivers for the Packard Bell monitor. However if your computer does not already have these drivers you may download them from the support section of the Packard Bell website at www.packardbell.com
FURTHER INFORMATION
For further information a fully comprehensive guide is available from the Packard Bell InfoCentre* or on the Internet from the support section of the Packard Bell website at www.packardbell.com
*Available for monitors purchased as part of a complete Packard Bell computer system only.
TROUBLE SHOOTING
Immediately unplug the monitor from the wall outlet and refer servicing to qualified service personnel under the following conditions:
If the power supply cord or plug is damaged
If liquid has been spilled or objects have fallen into the monitor
If the monitor has been exposed to rain or water
If the monitor has been dropped or the cabinet is damaged
Before you call a Packard Bell Authorised Service Provider, please check the following items:
I have no picture and the power indicator is not lit.
Check if the AC Power Cord is plugged in correctly on both ends and the power switch is on.
Check if the signal cable is plugged correctly into the computer and if the cable is not damaged.
I have no picture and the power indicator is lit.
Your computer may be in Power Down or Sleep mode. This is a temporary status in which your computer and monitor reduce power consumption. Try moving the mouse a little bit, or press the space key on your keyboard and wait for a few seconds.
It is also possible that the Brightness of your monitor has been set too high or too low. Use the brightness knob on the bottom of your screen to adjust the brightness.
Check if you are using a display mode that is supported by the monitor.
Turn the monitor off and back on to see if this resolves the problem.
Make sure that the computer is switched on.
The image is unstable.
Isolate and eliminate nearby sources of electric or magnetic fields.
Set your computer to a supported video mode; see the documentation included on the supplied CD for more information.
Try plugging the monitor into a different, earthed, power outlet, preferably on a different circuit.
Check the display settings of your computer. Make sure that a supported mode is selected.
The message "Check Cable" appears on the screen.
Make sure that the analogue video cable is correctly plugged into the Analogue Video port on the back of the monitor.
Make sure that the other end is correctly plugged into the VGA connector of your computer.
PRODUCT DISPOSAL


The 2002/96/EC Directive, known as Waste Electrical and Electronic Equipment (WEEE) Directive, requires that used electrical and electronic products must be disposed of separately from normal household waste in order to promote reuse, recycling and other forms of recovery and to reduce the quantity of waste to be eliminated with a view to reducing landfill and incineration.
The crossed-out dustbin logo is there to remind you that these products must be sorted separately for disposal. These rules concern all your Packard Bell products (computer, monitor, GPS, MP3 player, external hard drive) and also all accessories, such as keyboard, mouse, speakers, remote control, etc. When you have to dispose of such products, make sure that they are correctly recycled by checking with your local authority, or by returning the old equipment to your retailer when you replace it. For information, visit http://www.acer-group.com/public/Sustainability/sustainability01.htm
http://www.acer-group.com/public/Sustainability/sustainability04.htm
CE COMPLIANCE
This product, with the CE marking, complies with the:
– Electromagnetic Compatibility Directive 2004/108/EC
– Low Voltage Directive 2006/95/EC
– RoHS Directive 2002/95/EC
Directive 2005/32/EC of the European Parliament and of the Council with regard to Eco-design
Requirements.
For specific information regarding the European Standards this product complies with, please refer to your electronic user's guide.
PACKAGING
The packaging of this product complies with the:
– Packaging and packaging waste Directive 94/62/EC
Viseo 160 W MONITOR SPECIFICATIONS
| Input voltage | AC 100-240V,50/60 Hz |
| Picture | 15.6" (40cm) viewable (diagonal) |
| Display | Active matrix, Thin Film Transistor (TFT),liquid crystal display (LCD) |
| Maximum resolution | 1366x768 at 60Hz |
| Input signal | Analogue RGB positive 0.7Vp-p, 75 Ohm,separate and composite TTL level sync signals,through 15-pin D-sub connector |
| Response time | 8 ms |
| Power consumption | Maximum 25W |
| Contrast | 500 : 1 |
| Brightness | 250 cd/m2 |
| Operating temperature 5°C~ +35°C | |
| Plug & Play | DDC/CI |
| Safety & EMC | Complies to: CE/EMC,CB,GOST-R,TCO' 03 |
GUIDE DE PRISE EN MAIN DU MONITEUR PACKARD BELL
INSTRUCTIONS DE SECURITE ET DE MAINTENANCE
MISE AU REBUT DU PRODUIT

http://www.acer-group.com/public/Sustainability/sustainability01.htm
http://www.acer-group.com/public/Sustainability/sustainability04.htm
CONFORMITÉ AUX DIRECTIVES CE
http://www.acer-group.com/public/Sustainability/sustainability01.htm
http://www.acer-group.com/public/Sustainability/sustainability04.htm
CUMPLIMIENTO DE CE
http://www.acer-group.com/public/Sustainability/sustainability01.htm
http://www.acer-group.com/public/Sustainability/sustainability04.htm
CONFORMITÀ CE
http://www.acer-group.com/public/Sustainability/sustainability04.htm
CE-KOMPATIBILITÄT
http://www.acer-group.com/public/Sustainability/sustainability04.htm
CE-OVERENSSTEMMELSE
http://www.acer-group.com/public/Sustainability/sustainability01.htm
http://www.acer-group.com/public/Sustainability/sustainability04.htm
VOLDOET AAN CE
http://www.acer-group.com/public/Sustainability/sustainability01.htm
http://www.acer-group.com/public/Sustainability/sustainability04.htm
CE-OVERENSSTEMMELSE
http://www.acer-group.com/public/Sustainability/sustainability01.htm
http://www.acer-group.com/public/Sustainability/sustainability04.htm
CE-ÖVERENSSTÄMMELSE
http://www.acer-group.com/public/Sustainability/sustainability04.htm
CE-VAATIMUSTENMUKAISUUS
http://www.acer-group.com/public/Sustainability/sustainability01.htm
http://www.acer-group.com/public/Sustainability/sustainability04.htm
CONFORMIDADE CE
http://www.acer-group.com/public/Sustainability/sustainability04.htm
ΣΥΜΜΟΡΦΩΣΗ ΚΑΤΑ ΚΕ
http://www.acer-group.com/public/Sustainability/sustainability01.htm
http://www.acer-group.com/public/Sustainability/sustainability04.htm
http://www.acer-group.com/public/Sustainability/sustainability01.htm
http://www.acer-group.com/public/Sustainability/sustainability04.htm
PROHLÁŠENÍ O SHODĚ CE
http://www.acer-group.com/public/Sustainability/sustainability01.htm
http://www.acer-group.com/public/Sustainability/sustainability04.htm
ZHODA CE


- INSTALLATION INSTRUCTIONS (SEE THE ILLUSTRATIONS AT THE START OF THIS GUIDE)
- MONITOR CONTROLS (SEE THE ILLUSTRATIONS AT THE START OF THIS GUIDE)
- DRIVERS
- FURTHER INFORMATION
- TROUBLE SHOOTING
- PRODUCT DISPOSAL
- CE COMPLIANCE
- PACKAGING
- GUIDE DE PRISE EN MAIN DU MONITEUR PACKARD BELL
- INSTRUCTIONS DE SECURITE ET DE MAINTENANCE
- MISE AU REBUT DU PRODUIT
- CONFORMITÉ AUX DIRECTIVES CE
- CUMPLIMIENTO DE CE
- CONFORMITÀ CE
- CE-KOMPATIBILITÄT
- CE-OVERENSSTEMMELSE
- VOLDOET AAN CE
- CE-ÖVERENSSTÄMMELSE
- CE-VAATIMUSTENMUKAISUUS
- CONFORMIDADE CE
- ΣΥΜΜΟΡΦΩΣΗ ΚΑΤΑ ΚΕ
- PROHLÁŠENÍ O SHODĚ CE
- ZHODA CE
Brand : PACKARD BELL
Model : Viseo 160 W
Category : Monitor