Edge - Aquarium Fluval - Free user manual and instructions
Find the device manual for free Edge Fluval in PDF.
| Brand | Fluval |
| Model | Edge |
| Product type | Equipped aquarium with filter and LED lighting |
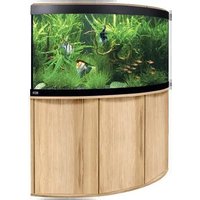
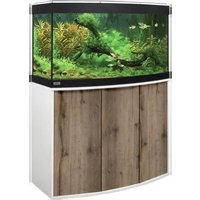
| Available capacities | 23 L and 46 L |
| Weight (when filled and decorated) | 23L: over 30 kg; 46L: over 56 kg |
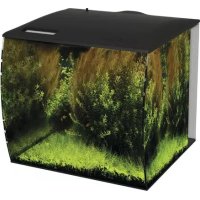
| Material | Glass |
| Power supply | Mains via supplied transformer (12V DC) |
| Lighting | Integrated LED, two modes: white+blue or blue only, with touch switch |
| Filtration | EDGE motor filter with filter media (carbon, foam, BIOMAX, pre-filter sponge) |
| Filter flow rate | Adjustable via a regulator (access through the lid) |
| Feeding door | Yes, located on the front lid |
| Compatible fish | Bettas, barbs, danios, goldfish, Caridina shrimp, cardinal tetras, snails |
| Water volume per fish | At least 3 L per cm of fish (excluding tail) |
| Weekly maintenance | 25% water change with gravel cleaner; addition of Fluval water treatment |
| Monthly maintenance | Cleaning of impeller and filter media (rinse with aquarium water) |
| Filter media replacement | Carbon bag: 2 to 4 weeks; foam and BIOMAX: 2 to 3 months; pre-filter sponge: 6 months |
| Repairability of LED lighting | Not repairable: replace entire lighting unit if LEDs reach end of life |
| Warranty | 2 years against material and manufacturing defects (except breakage, misuse) |
| Electrical safety | Drip loop required on each cord; disconnect before maintenance; do not use with damaged cord or plug |
| Recommended water temperature | Maximum 35°C (95°F) |
| Use | Household and indoor only |
Frequently Asked Questions - Edge Fluval
User questions about Edge Fluval
0 question about this device. Answer the ones you know or ask your own.
Ask a new question about this device
Download the instructions for your Aquarium in PDF format for free! Find your manual Edge - Fluval and take your electronic device back in hand. On this page are published all the documents necessary for the use of your device. Edge by Fluval.
USER MANUAL Edge Fluval
Cngtions on your purchase of the Flval EDGE. We are pleased that you have decided to explore the aquatic hobby, and we want your experience with the Flval EDGE to be a positive one. For a complete understanding of the aquanum, please read and follow these instructions for proper installation, maintenance and use. Failure to do so may result in loss of fish and/or damage to the unit.
SAVE THESE INSTRUCTIONS FOR FUTURE REFERENCE.
Please keep all packaging in the unlikely event that the unit needs to be returned. If damaged, please contact your dealer immediately before proceeding with setup.
FR
Chere clientele,
Your Fluvial EDGE aquarium and LED light are guaranteed for defective parts and workmanship for a period of two years from the date of purchase. This guarantee is valid with proof of purchase only. The guarantee is limited to repair or replacement only and does not cover consequential loss or damage to animate or inanimate objects. This guarantee is valid provided the aquarium is placed in a suitable location that is flat and level and has been installed in accordance with the installation instructions and care guide. This guarantee excludes aquarium breakage due to misuse, chips, stress cracks caused by improper support or other breakage. This guarantee is valid only under normal operating conditions for which the unit is intended. It excludes any damage caused by unreasonable use, negligence, improper installation, tampering, abuse or commercial use. The warranty does not cover wear and tear or parts which have not been adequately or correctly maintained. Failure of less than 5% of the total number of LEDs shall not be considered a defect under the terms of this warranty. THIS DOES NOT AFFECT YOUR STATUTORY RIGHTS.
FOR AUTHORIZED GUARANTEE REPAIR SERVICE:
For Authorized Warranty Service please return (well packaged and by registered post) to the address below enclosing dated receipt and reason for return. If you have any queries or comments about the operation of this product, please let us try to help you before your return the product to your retailer. Most queries can be handled promptly with a phone call. When you call (or write), please have all relevant information such as model number, age of product, details of aquarium set-up, as well as the nature of the problem.
CANADA: Bolf C. Hagen Inc..
20500 Trans Canada Hwy,Beie-D'Urfe,QC,H9X OA2
CANADA ONLY: 1-800-554-2436 between 9:00 a.m. and 4:30 p.m. Eastern Standard Time. Ask for Customer Service.
U.S.A. Rolf C. Hagen (U.S.A.) Corp., 305 Forbes Blvd, Mansfield, MA 02488
U.S.A ONLY: 1-800-724-2436 between 9:00 a.m. and 4:00 p.m. Eastern Standard Time. Ask for Customer Service.
UK: Rolf C. Hagen (UK) Ltd, Customer Service Department, California Drive, Whitwood Ind Est., Castleford, West Yorkshire W6 10SOH
U.K. only: Helpline Number 01977 521015
Between 9:00 a.m. and 5:00 p.m., Monday to Thursday (excluding Bank Holidays) and 9:00 a.m. and 4:00 p.m. on Friday.
To register your warranty on line or for more information on this and other products go to:
www.hagen.com
GARANTIE EDGE FLUVAL
VK: Rolf C. Hagen (UK) Ltd., Customer Service Department, California Drive, Whitwood Ind Est., Castleford, West Yorkshire WF10 SOH
IMPORTANT SAFETY INSTRUCTIONS
WARNING - To guard against injury, basic safety precautions should be observed, including the following:
1. READ AND FOLLOW ALL SAFETY INSTRUCTIONS and all the
important notices on the appliance before using. Failure to do so may result in loss of fish life and/or damage to this appliance.
- DANGER - To avoid possible electric shock, special care should be taken since water is employed in the use of aquarium equipment. For each of the following situations, do not attempt repairs yourself; return the appliance to an authorized service facility for service or discard the appliance.
A. If the appliance shows any sign of abnormal water leakage, immediately unplug it from the power source.
B. Carefully examine the appliance after installation. It should not be plugged in if there is water on parts not intended to be wet. If the appliance or any part of it falls into the water DO NOT reach for it. First unplug the unit before retrieving.
C. Do not operate any appliance if it has a damaged cord or plug. If cord is damaged, the luminaire should be destroyed.
If the external flexible cable or cord of this luminaire is damaged, it shall be exclusively replaced by the manufacturer or his service
agent or a similar qualified person in order to avoid a hazard. The light source of this luminaire is not replaceable; when the light source reaches its end of life the whole luminaire shall be replaced.
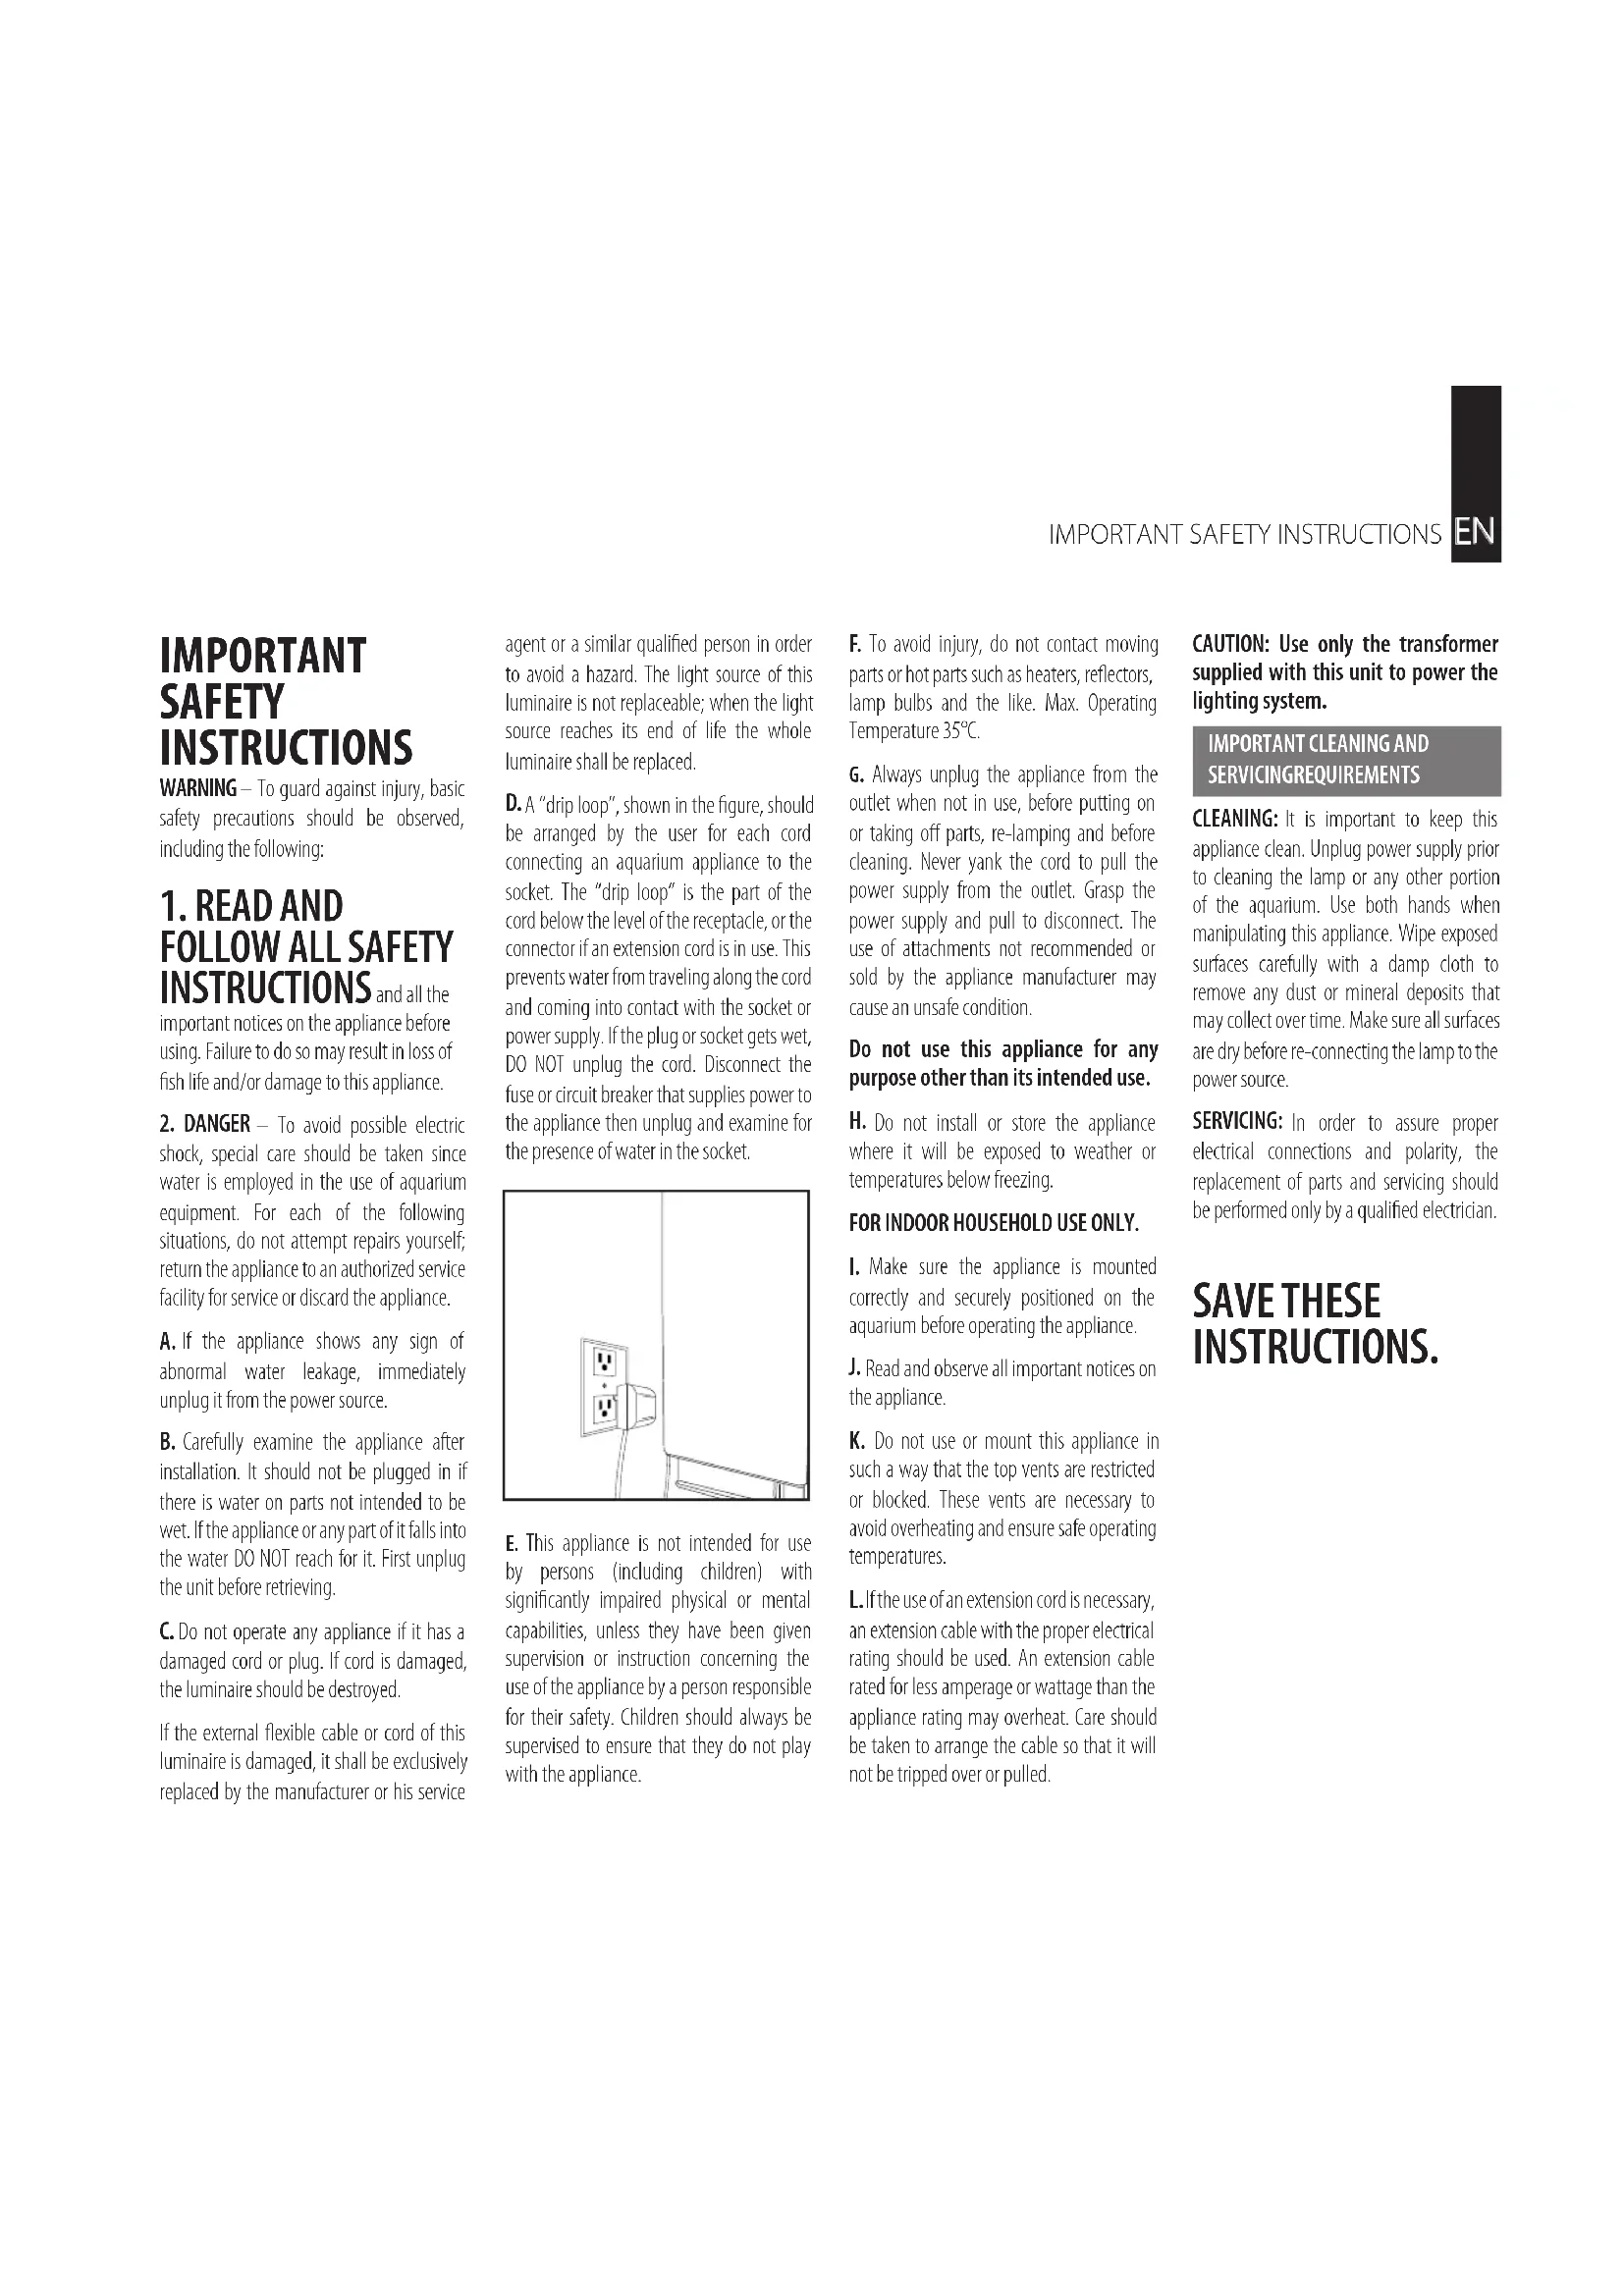
D. A "drip loop", shown in the figure, should be arranged by the user for each cord connecting an aquarium appliance to the socket. The "drip loop" is the part of the cord below the level of the receptacle, or the connector if an extension cord is in use. This prevents water from traveling along the cord and coming into contact with the socket or power supply. If the plug or socket gets wet, DO NOT unplug the cord. Disconnect the fuse or circuit breaker that supplies power to the appliance then unplug and examine for the presence of water in the socket.
E. This appliance is not intended for use by persons (including children) with significantly impaired physical or mental capabilities, unless they have been given supervision or instruction concerning the use of the appliance by a person responsible for their safety. Children should always be supervised to ensure that they do not play with the appliance.
F. To avoid injury, do not contact moving parts or hot parts such as heaters, reflectors, lamp bulbs and the like. Max. Operating Temperature 35^
G. Always unplug the appliance from the outlet when not in use, before putting on or taking off parts, re-lamping and before cleaning. Never yank the cord to pull the power supply from the outlet. Grasp the power supply and pull to disconnect. The use of attachments not recommended or sold by the appliance manufacturer may cause an unsafe condition.
Do not use this appliance for any purpose other than its intended use.
H. Do not install or store the appliance where it will be exposed to weather or temperatures below freezing.
FOR INDOOR HOUSEHOLD USE ONLY.
- Make sure the appliance is mounted correctly and securely positioned on the aquarium before operating the appliance.
J. Read and observe all important notices on the appliance.
K. Do not use or mount this appliance in such a way that the top vents are restricted or blocked. These vents are necessary to avoid overheating and ensure safe operating temperatures.
L. If the use of an extension cord is necessary, an extension cable with the proper electrical rating should be used. An extension cable rated for less amperage or wattage than the appliance rating may overheat. Care should be taken to arrange the cable so that it will not be tripped over or pulled.
CAUTION: Use only the transformer supplied with this unit to power the lighting system.
IMPORTANT CLEANING AND SERVICING REQUIREMENTS
CLEANING: It is important to keep this appliance clean. Unplug power supply prior to cleaning the lamp or any other portion of the aquarium. Use both hands when manipulating this appliance. Wipe exposed surfaces carefully with a damp cloth to remove any dust or mineral deposits that may collect over time. Make sure all surfaces are dry before re-connecting the lamp to the power source.
SERVICING: In order to assure proper electrical connections and polarity, the replacement of parts and servicing should be performed only by a qualified electrician.
SAVE THESE INSTRUCTIONS.
Preparing your Aquarium
- Carefully remove all components from the packaging and ensure that nothing is missing or damaged (refer to component list).
-
Thoroughly clean the aquarium, inside and out, with a damp cloth, using fresh water. NEVER USE SOAP OR DETERGENTS on anything being placed in the aquarium, as it can be harmful to the inhabitants.
-
The Fluval EDGE 23 L can weigh in excess of 30kg (70 lbs) and the Fluval EDGE 46L can weigh in excess of 56kg (125 lbs) once decorated and filled with water. The location of the aquarium is very important so choose a solid, level surface that cannot be damaged by water, which is away from any electrical equipment, direct sunlight, drafts, heat sources or high traffic areas.
- Remove any debris from the base unit and ensure that the anti-slip rubber feet are secured in place (ill.A).
- Place the base unit in position.
- Place the aquarium onto the base unit with the open space on top of the tank, to the rear.
Preparing your Filter
IMPORTANT: Set up your filter according to the instruction manual found in the EDGE filter box.
- Mount filter onto the rear column of the Fluval EDGE (ill.B).
- Connect rear column into the base unit, ensuring all electrical cords pass through
the opening at the back of the rear column, and the light unit is facing towards the front (ill. C).
3. Center aquarium so that the top opening is aligned with the rear column. When lowered, the lamps will sit directly over the open space of the aquarium (ill. D).
PreparingyourLightingSystem
Plug the transformer into the power socket and test the light unit by operating the ON/OFF switch before lowering onto aquarium (ill. E). Convenient touch-switch offers two different ON modes (blue and white, blue only), as well as OFF mode.
Decorating, adding water and inhabitants to your EDGE
DO NOT place hands, décor or introduce any inhabitants into the aquarium without removing at least 25% of the water volume as the displacement will over flow the aquarium water, and may cause damage to the unitorthesupportsurface.
Warning: Since water is employed with the use of an aquarium, do not place aquarium on surfaces that can be damaged by water.
- Rinse ornaments and gravel (sold separately) to remove any debris before adding to your aquarium.
- Add gravel to the aquarium.
-
Fill the aquarium up to half its height with room temperature water and decorate with plants, rocks, etc.
-
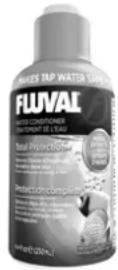
Add 1/2 capful (23 L), 1 capful (46 L), of Fluval Water Conditioner to eliminate traces of chlorine or other harmful metals contained in your tap water.
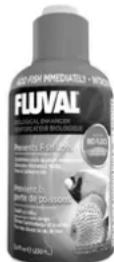
- Dose with Fluval Bio Enhancer. Bio Enhancer is a densely concentrated solution of good bacteria which helps the aquarium to mature more quickly. Add 15 ml (23 L), 25 ml (46 L), of Fluval Bio Enhancer on day 1 and then another 7.5 ml (23 L), 10 ml (46 L), the following 2 days.
(Sold separately)
- Add more water, leaving enough room to float the inhabitants in their plastic bag until they acclimatize to the temperature of the aquarium water. Simply float the bag in the aquarium to regulate water temperature in the bag and reduce the risk of stressing your inhabitants. It is not recommended to pour the water from the bag into your aquarium.
EDGE Friendly Species: Betta Splendens, Barbs, Danios, Goldfish, Crystal Red shrimps, Snails.
Allow a minimum of 3 litres of water for every 1cm of fish, excluding the tail. Fish are usually sold as juveniles, so you will need to allow some extra space for your fish to grow. Some tropical fish require
the use of an aquarium heater. Consult with your fish dealer for species' specific aquarium and heater requirements.
7. Once all gravel, decor and inhabitants have been added, top up the aquarium with water to 5mm above the top surface of the aquarium so that the water partly fills the raised section of the tank. (ill. F)
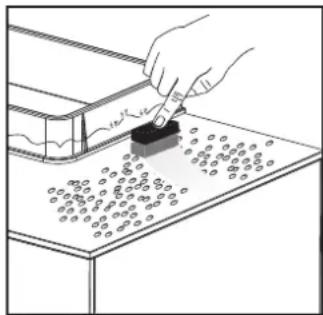
8. Start EDGE filter according to the directions mentioned in its manual. Hint: If air bubbles become trapped under the top glass plate, use an algae magnet to sweep the bubbles to the open area. (See ill below)
Attention: Do not move the Fluval EDGE when it is full of water.
- Place cover on top of aquarium, ensuring that the feed door is facing towards the front (ill.G). In addition to the feeding door, your canopy cover also features convenient filter flow regulator access as well as overhead grills.
Feeding your Fish
Once your fish has been introduced to the tank, avoid feeding it for 48 hours. Thereafter, it is essential that you DO NOT OVERFEED YOUR FISH.
The standard rule of thumb is to feed them only as much as they can completely consume in two minutes.
Fluval has a range of complete, balanced fish foods specially prepared using high quality ingredients including salmon oil, garlic and earthworm meal, which is irresistible to all fish. Fluval caters to the needs of different species. All recipes are rich in omega 3 & 6 fatty acids, a complete mix of stabilized vitamins and wheat germ, designed to help fight stress and increase fertility. A source of prebiotics is also included to help and support the immune system, contributing to their long term well-being. Natural color enhancers are used throughout to target specific common shades, such as red and yellow to bring out the natural colors of fish.
Maintenance
Do not use equipment that has come in contact with soap. Once a week, remove 25% of the water using a gravel cleaner. Replace with tap water, treated with a half capful of Fluval Water Conditioner, and of a similar temperature to your tank.
Once a month, remove the filter and take out the filter media for cleaning. Remove the pump from the base, pull out the impeller and clean off any algae build up from the impeller, impeller magnet and the impeller well.
Please refer to instruction manual for complete maintenance instructions. To enhance bacterial action, pour a dose of Fluval Water Conditioner onto your filter cartridges each time you change the media.
Keep spare replacement media for your Fluval EDGE Power Filter.
| MEDIA PURPOSE | REPLACEMENT SCHEDULE |
| Carbon Clean & Clear (3) (A1379) | Chemical Filtration: Eliminates toxic impurities, odors and discoloration |
| Foam Pad (1) (A1389) | Mechanical Filtration: Traps particles and debris |
| BIOMAX (1) (A1389) | Biological Filtration: Provides Optimum Biological Balance |
| Pre-Filter Sponge (1) (A1387) | Prevents small or baby inhabitants from being drawn into filter 6 months |
All these media help to create a healthy, clean and beautiful environment.
IMPORTANT: Do not rinse your media with tap water. Rinse them in a bowl with water taken from your aquarium. This way, you will not wash away the beneficial bacteria that have established, and your tank's biological balance will not have to start over from scratch. You can rinse your filter (minus the media) with tap water to clean off any sludge or deposits. Same applies to any other elements that need to be cleaned in your aquarium.
If there is any build-up that you want to remove from the walls of your aquarium, use an algae magnet (sold separately).

Note: Most water quality problems are caused by introducing too many inhabitants at one time or overfeeding. Add inhabitants 1-2 at a time and feed only what can be consumed within 2 minutes.
Below are some common problems that can arise with some helpful tips to assist you:
| PROBLEM | POSSIBLE CAUSE SOLUTION | |
| Cloudy Tank | This can typically occur during initial set-up as a result of the biological balance trying to establish itself in the aquarium or as a result of overfeeding. | Perform a partial water change (up to 25% of the water). Add in a dose of Fluval Tap Water Conditioner and a dose of Fluval Biological Enhancer. Reduce your feedings to once every two days until you see positive results. If this does not work, test your water by bringing a sample of the aquarium water, as well as a sample of the tap water to your local pet store. |
| Lethargic fish | This often results during initial set-up or at other times when the water quality is poor. When there are high levels of ammonia and nitrites, the fish tend to instinctively stay closer to the bottom and conserve their energy by moving less. It is hard for them to breathe in poor water conditions. | Perform a partial water change (up to 25% of the water). Add in a dose of Fluval Tap Water Conditioner and a dose of Fluval Biological Enhancer. Reduce your feedings to once every two days until you see positive results. If this does not work, test your water by bringing a sample of the aquarium water, as well as a sample of the tap water to your local pet store. |
| Smelly water | When there are high levels of ammonia, nitrites and nitrates, in addition to cloudy water, a foul smell can result. | Perform a partial water change (up to 25% of the water). Add in a dose of Fluval Tap Water Conditioner and a dose of Fluval Biological Enhancer. Reduce your feedings to once every two days until you see positive results. If this does not work, test your water by bringing a sample of the aquarium water, as well as a sample of the tap water to your local pet store. |
| Green Water | Green water is caused by the growth of algae. Algae is a plant that requires light and nutrients to grow. In order to prevent its growth, remove your tank from the light and make sure you are feeding a high quality fish food. | Perform a 25% water change every 4 days. Cut back on feeding, use a high quality fish food, dose with Fluval Biological Enhancer, as well as the Fluval Tap Water Conditioner with every water change. If the situation does not remedy itself within 3 weeks, it is possible that the green water is occurring for another reason. If you are not sure why you are having a problem with your aquarium, bring a sample of the aquarium water, as well as a sample of the tap water to your pet store so that they can test it to determine the cause and guide you to an appropriate course of action. Thereafter, you can obtain your own Fluval Test Kit to test the water at your convenience. |
| Filter Stopped or Noisy Filter | Dirty impeller or air locked in the flow tube. | Twist and remove the motor from base of the filter. Pull out the impeller (fan) and clean the magnet and impeller well. Check for trapped air in the flow tube. |