GUC3020DW6 - Network card / adapter IOGEAR - Free user manual and instructions
Find the device manual for free GUC3020DW6 IOGEAR in PDF.



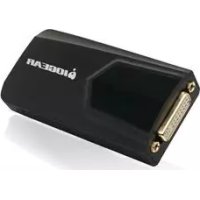
| Product Type | USB 3.0 to DVI External Video Card |
| Brand | IOGEAR |
| Model | GUC3020DW6 |
| Connectors | 1 DVI port (female), 1 Micro-USB 3.0 port |
| Included Adapters | DVI to HDMI adapter, DVI to VGA adapter |
| Power | USB bus powered (no external power) |
| Required Processor | 1.6 GHz minimum |
| Required RAM | 2 GB minimum, 4 GB recommended for multiple use |
| Required USB Port | Available USB 3.0 port |
| Operating System | Windows (compatible with supported versions) |
| Supported Resolutions | Up to 1920x1080 (depending on monitor) |
| Main Functions | Extend, mirror, screen rotation, video optimization, TV adjustment |
| Dimensions (approx.) | 80 x 50 x 20 mm |
| Weight (approx.) | 50 g |
| Package Contents | 1 video card, 1 USB 3.0 cable, DVI-HDMI and DVI-VGA adapters, driver CD, quick guide, warranty card |
| Warranty | 3-year limited warranty |
| Care and Cleaning | Clean with a dry, soft cloth. Avoid liquids and moisture. |
| Safety | Use only in a dry environment. Do not expose to extreme temperatures. |
| Spare parts and repairability | Not available. In case of failure, contact support. |
| General Information | Compliant with FCC (Class B) and CE standards. |
Frequently Asked Questions - GUC3020DW6 IOGEAR
User questions about GUC3020DW6 IOGEAR
0 question about this device. Answer the ones you know or ask your own.
Ask a new question about this device
Download the instructions for your Network card / adapter in PDF format for free! Find your manual GUC3020DW6 - IOGEAR and take your electronic device back in hand. On this page are published all the documents necessary for the use of your device. GUC3020DW6 by IOGEAR.
USER MANUAL GUC3020DW6 IOGEAR
© 2014 IOGEAR® Part No. M1249
IOEAR, the IOEAR logo, are trademarks or registered trademarks of IOEAR. Microsoft and Windows are registered trademarks of Microsoft Corporation. All other brand and product names are trademarks or registered trademarks of their respective holders. IOEAR makes no warranty of any kind with regards to the information presented in this document. All information furnished here is for informational purposes only and is subject to change without notice. IOEAR assumes no responsibility for any inaccuracies or errors that may appear in this document.
Table of Contents / Sommaire / Contenidos
Table of Contents / Sommaire / 3
Contenidos
Package Contents 4
System Requirements 4
Overview 5
Software Installation 6
Hardware Installation 7
Configuration 9
Federal Communications Commission 11
(FCC) Statement
CE Statement 11
Limited Warranty 12
1 x GUC3020DW6 USB 3.0 to DVI External Video Card
1 x USB 3.0 Type A to Micro-B cable
1 x DVI to HDMI adapter
1 x DVI to VGA adapter
1 x Driver CD
1 x Quick Start Guide
1 x Warranty Card
System Requirements
System OS:
Windows® Vista
- Windows® 7
- Windows® 8
- Windows® 8.1
Intel-Based Apple® computers running MAC OS X 10.6 or later
System Memory:
Minimum: 2GB
Recommended: 4GB or more when using multiple GUC3020DW6 units
System Hardware:
Available USB 3.0 Port
1.6GHz or faster processor
Display:
- DVI Display or projector with DVI connector
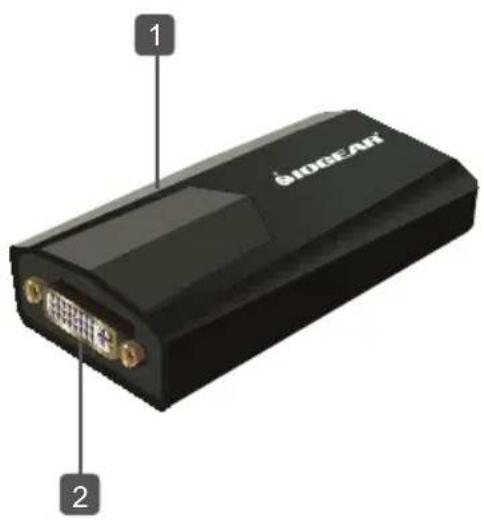
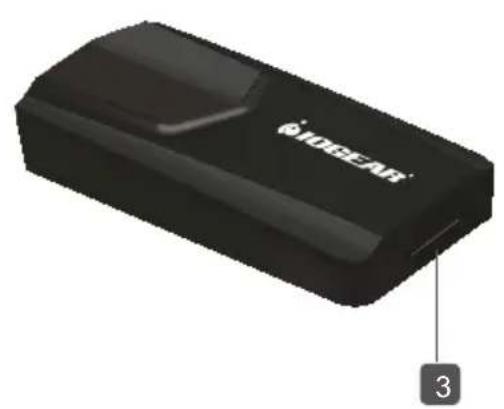
Overview
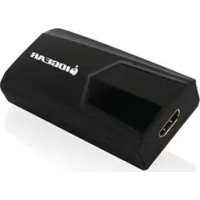
- LED Power Indicator
- DVI Connector
- USB 3.0 connector
Software Installation
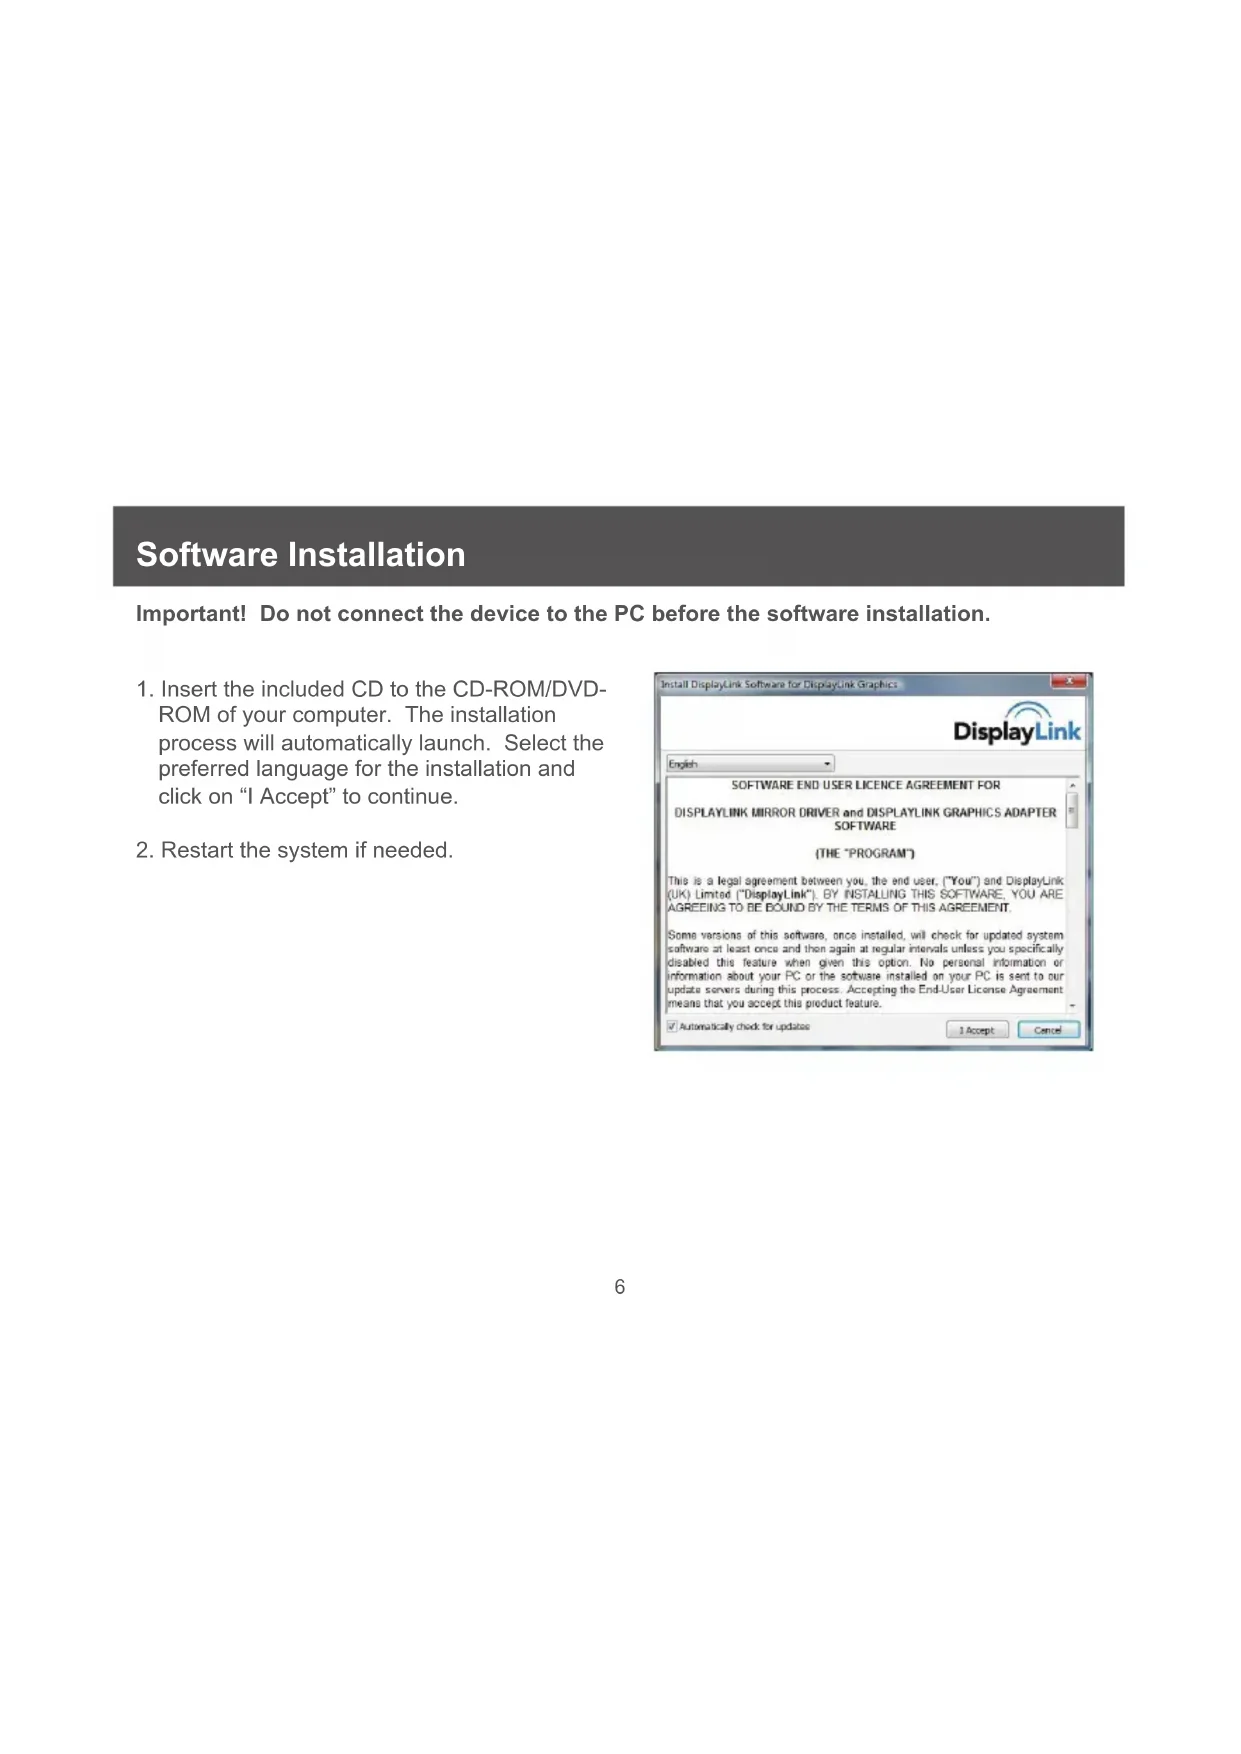
Important! Do not connect the device to the PC before the software installation.
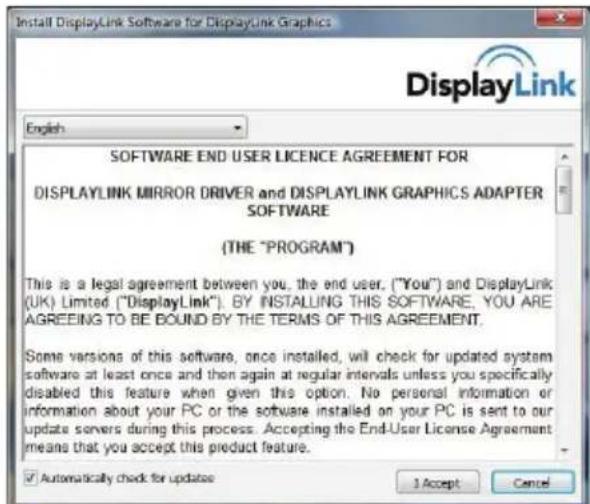
- Insert the included CD to the CD-ROM/DVD-ROM of your computer. The installation process will automatically launch. Select the preferred language for the installation and click on "I Accept" to continue.
- Restart the system if needed.
Hardware Installation
-
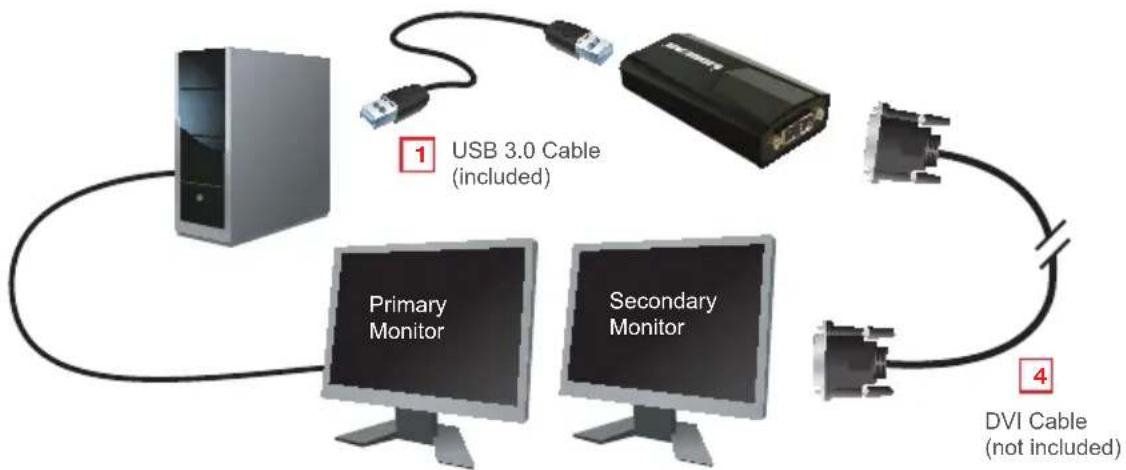
Connect the Micro-B end of the included USB 3.0 cable to the Micro-B port on the USB External DVI Video Adapter. Then connect the USB Type-A end of the cable to any available 3.0 USB port on the computer. Once plugged in, the Installing Device Driver Message will come out and the Windows User Account Control window opens.
-
The device will be installed automatically.
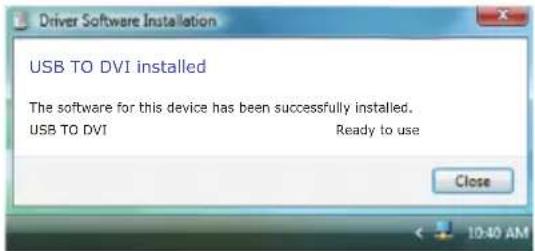
- You should able to see the display icon on the task bar.
Note: On some computers, you may need to reboot before using the device.
- Connect the male end of the DVI cable to the DVI port on the USB 3.0 External DVI Video Card. Then connect the other male end of the DVI cable to the DVI port on the monitor/ display.
Configuration
| Menu Sub-M Menu Description | ||
| Updates | Check Now | Connects to the Update Server to check for latest driver versions and download them, if available. |
| Configure | Opens the Update Options window where you can configure automatic updates. | |
| Screen Resolution Displays a list of avai | able resolutions. | |
| Screen Rotation | No rotation No rotation | |
| Rotated Left Rotates the extended or mirrored display by 270 degrees. | ||
| Rotated Right Rotates the extended or mirrored display by 90 degrees. | ||
| Upside-Down Rotates the extended or mirrored display by 180 degrees. | ||
| Extend to | Right Extends the display to the right of the main display. | |
| Left Extends the display to the left of the main display. | ||
| Above Extends the display to the above of the main display. | ||
| Below Extends the display to the below of the main display. | ||
| Extend Extends your desktop onto the secondary display | ||
| Set as Main Monitor Sets the secondary | display as the main display. | |
| Notebook Monitor Off | Switches off the display of an attached notebook and makes the external display primary. | |
| Menu Sub-M Menu Description | ||
| Mirror | Copies what is on the main display and reproduces it on the secondary display. | |
| Off Switches off the secondary display. | ||
| Optimize for Video | Configs the secondary display for optimum full screen video performance output. Note: Text may appear less clear | |
| Fit to TV | Opens a GUI to change the size of the Windows desktop so it fits on a TV screen. | |
| Advanced Configuration Opens the Display Settings window. | ||
Federal Communications Commission (FCC) Statement
This equipment has been tested and found to comply with the limits for a Class B digital device, pursuant to Part 15 of the FCC Rules. These limits are designed to provide reasonable protection against harmful interference in a residential setting. This product generates, uses, and can radiate radio frequency energy and, if not installed and used as directed, it may cause harmful interference to radio communications. Although this product complies with the limits for a Class B digital device, there is no guarantee that interference will not occur in a particular installation.
CE Statement
This device has been tested and found to comply with the following European Union directives: Electromagnetic Capability (2004/108/EC), Low Voltage (2006/95/EC) and R&TTED (1999/5/EC).
Limited Warranty
WE'RE HERE TO HELP YOU!
NEED ASSISTANCE SETTING UP THIS PRODUCT?
Make sure you:
- Visit www.iogear.com for more product information
- Visit www.iogear.com/support for live help and product support
Warranty Information
This product carries a 3 Year Limited Warranty. For the terms and conditions of this warranty, please go to http://www.iogear.com/support/warranty
Register online at http://www.iogear.com/register
Important Product Information
Product Model
Serial Number

- © 2014 IOGEAR® Part No. M1249
- Table of Contents / Sommaire / Contenidos
- System Requirements
- System OS:
- System Memory:
- System Hardware:
- Display:
- Overview
- Software Installation
- Hardware Installation
- Configuration
- Federal Communications Commission (FCC) Statement
- CE Statement
- Limited Warranty
- WE'RE HERE TO HELP YOU!
- NEED ASSISTANCE SETTING UP THIS PRODUCT?
- Make sure you:
- Warranty Information
- Important Product Information
Brand : IOGEAR
Model : GUC3020DW6
Category : Network card / adapter