PMP400 - Mp3 player Yarvik - Free user manual and instructions
Find the device manual for free PMP400 Yarvik in PDF.
Frequently Asked Questions - PMP400 Yarvik
User questions about PMP400 Yarvik
0 question about this device. Answer the ones you know or ask your own.
Ask a new question about this device
Download the instructions for your Mp3 player in PDF format for free! Find your manual PMP400 - Yarvik and take your electronic device back in hand. On this page are published all the documents necessary for the use of your device. PMP400 by Yarvik.
USER MANUAL PMP400 Yarvik
Maxm Media Player 4 GB
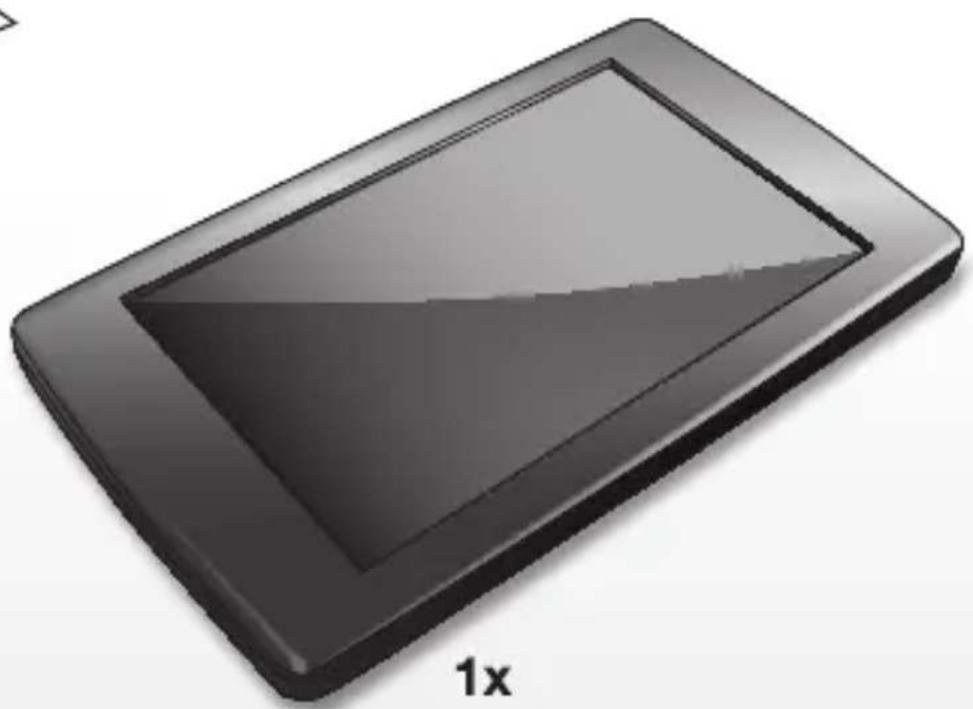
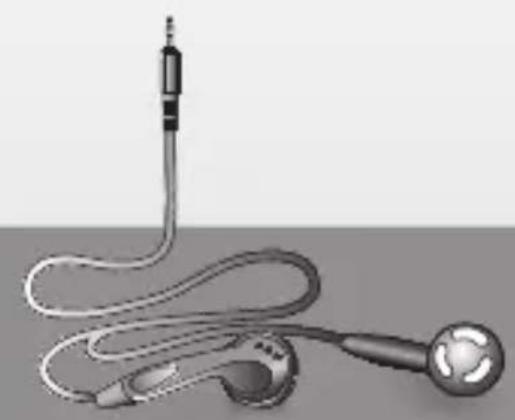
1x
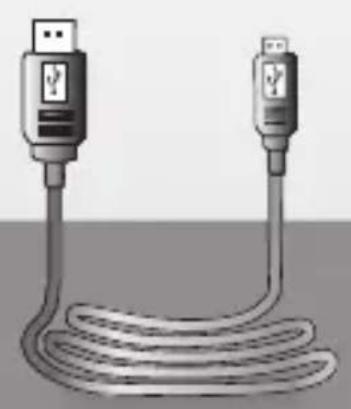
1x
1x
Please visit our website for CE declaration: www.yarvik.com


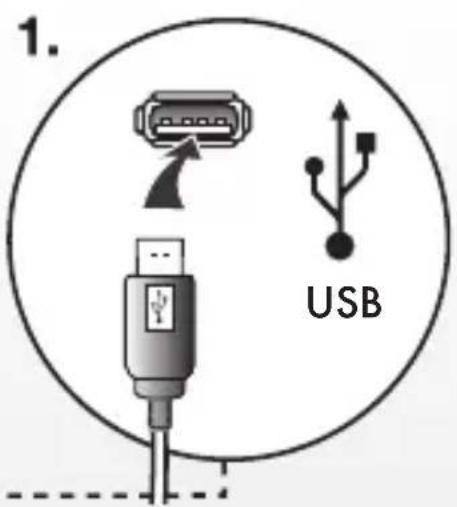
2.
3.
English
Starting the player
Power on: Slide and hold the player's power switch to the 1 position for approximately 3 seconds to power on.
Power off: Slide and hold the power switch to the position for approximately 3 seconds to power off. The system will power off automatically when the battery is depleted.
Lock/Unlock
In any mode, slide the power switch to the position to lock the player in order to prevent unintended operation.
Operating instructions:
Music
Choose the "Music" option in the main menu; then click the corresponding icon to enter into Music interface.
Function description:
In the "Play list", you can search for files/folders by clicking /; then select the songs you want to play by clicking the file name or
Options: Current play (Resume play)/All music/ Artist/Album/My Favorite/Record/Dir List/ MediaLib Update
Remark: you can click to add the chosen item to your favourites folder after confirmation.
During music playback, click to enter a submenu; there are 5 options:
a. Repeat mode: Once/Repeat/All/All Repeat/Intro.
b. Play mode: In Order/Shuffle.
c. MSEQ: 3D/Bass/LEQ.
d. EQ Sel: Normal/MSEQ/Rock/Pop/Classic/Bass/Jazz/User EQ.
e. User EQ setup: Slide the ball up and down to adjust the numeric value.
Click / to adjust the volume.
Click / to jump to the previous/next song; press and hold to scan backward/forward through the song.
Click to play, and click to pause playback.
A-B replay
When playing music, click the icon once. The screen will display the letter "A-". Confirm this as the starting point of the replay segment by clicking the icon once again, and point "B" will appear. Confirm the ending point of the replay segment and the replay icon A-B is set. Replay between A and B will now begin. Click the icon again to cancel A-B replay.
Lyrics synchronisation
When a song is being played that is in the same folder as the corresponding lyrics file (.LRC), the lyrics will automatically be shown in the Music mode interface. The player supports lyrics files in LRC format.
Lyrics can be added as follows:
-
Choose an MP3 or WMA file, for example "lovemusic.mp3".
-
Download a lyrics file from the Internet.
Lyrics files have the file name extension LRC, for example "lovemusic-2007.lrc". -
Rename the lyrics file to match the name of the corresponding music file, for example "lovemusic.lrc".
-
Copy both files into the same folder on the player.
-
Start playback of the music file. The lyrics will be displayed on the screen in synch with the music as it is being played. Click the screen and hold for about 2 seconds; the lyrics will disappear.
Video
Choose the "Video" option in the main menu; then click the corresponding icon to enter the Video interface.
- Click to adjust the window size.
- Click / to select previous or next item; click and hold to rewind or fast forward.
- Click to play; click again to pause playback.
- Click 0 + / 0 to adjust the volume.
- Click to set the break point. Then you can quit to listen to music. Switch back to video mode and click again to continue playing the rest of the video you were watching.
Remark: You can click to delete the chosen file after confirmation.
Photo
Choose the "Photo" option in the main menu. The "Flash" folder will appear on the screen. Click it to enter the Photo interface.
- Click / to select previous/next picture.
- Click the selected picture name to view it.
- Click / to zoom in/out.
- Click D to rotate the picture.
Remark: Click to delete. You will be asked to confirm before it is actually deleted.
eBook
Choose the "eBook" option in the main menu. The "Flash" folder will appear on the screen. Click it to enter the eBook interface.
- Click / to turn the pages.
- Click to display the sub-menus:
a. Page jump
Click / to adjust the digits. Click / to adjust the numeric value. Click "yes/no" for final confirmation.
b.Bookmark
Click "Bookmark" to add a bookmark so you can find a particular location again more easily. c. Loadmark
Click "Loadmark" and select the bookmark; this will take you directly to the bookmark you saved. d.Delmark
Double-click the mark you want to delete.
e. Set font
There are 3 options: Font small, Font mid, Font big. Double-click to choose. f. Set color
There are 3 options: Green, Blue, Red. Double-click to choose.
g. Browser mode
There are 2 options: Auto mode, Manual mode. Double-click to choose.
h. Flip time
There are 5 options: 10s, 15s, 20s, 25s, 30s. Double-click to choose
- Click to quit the read mode.
Remark: Click to delete. You will be asked to confirm before it is actually deleted.
Radio
Choose the "Radio" option in the main menu, and then click the corresponding icon to enter the Radio interface.
- Click / to adjust the volume.
- Click to display the sub-menus:
a. Manual search: click / to search for stations manually.
b. Auto search: Broadcast stations will be searched and saved automatically.
c. Preset mode: Select and listen to your previously saved stations.
d. Stereo switch: Double-click to switch between stereo and mono.
a. Reception area: Double-click to switch between China/Japan/USA/Europe.
4. Click, and then click to save. Click to turn pages.
5. Click saved station; then click to delete the saved station. You will be asked to confirm before it is actually deleted.
6. FM recording Click to enter the FM recording interface.
a. Click to start recording.
b. Click to pause, and click again to continue recording.
c. Click to stop recording.
d. Click to set the quality and volume.
7. Click to quit.
Record
Choose the "Record" option in the main menu, and then click the corresponding icon to enter the Record interface. For further instructions please refer to FM recording.
Other
Choose the "Other" option in the main menu, and then click the corresponding icon to enter the Other interface.
- StopWatch: Click "Start" to start, and click
"Pause" to pause (this function can also be accessed by clicking . Click "Clear" to clear the recording.
- Calendar: Click to adjust the digit: year or month. click / to adjust the numeric value.
- Explorer: All files and folders will be shown.
Settings
Choose the "Settings" option in the main menu, and then click the corresponding icon to enter the Settings interface.
- Display setting
There are 5 options: Light time, Brightness, Light mode, Move style, Photo browse. Double-click the option to confirm your choice.
a. Light time
There are 6 options: 5s, 10s, 15s, 20s, 30s, Always on.
b. Brightness
There are 5 options: One, Two, Three, Four, Five. c.Light mode
There are 2 options: All dark, Penumbra. d. Move style
There are 5 options: Left In Right Out, Double Move, Up In Down Out, Transps, Scale. e. Photo browse
There are 4 options: Turn off, 5 sec, 10 sec, 15 sec.
- System setting
There are 4 items: Upgrade, Restorable, Calibration OK, Tilt sensor.
a. Upgrade
When clicked, the firmware will be scanned automatically and you will be told whether you need to upgrade.
b. Restorable
Click to restore all options. The "Restorable?" dialogue will pop up for confirmation. If you click "yes", everything will be restored to the factory default settings.
c. Calibration OK
Click every white "+" on the screen twice. The calibration will be performed and exit automatically. Remark: Calibration can only be saved after a normal power off.
3. Time Setting
There are 2 options: Time and Date.
a. Click "Time" to enter the time setting interface. Click / (left/right) to set the hour and minute. Click "yes" to save, or click "no" to cancel.
b. Click "Date" to enter the date setting interface. Click / (left/right) to set the year, month and day. Click "yes" to save, or click "no" to cancel.
4. Language
This player supports multiple languages.
Double-click for confirmation.
5. System information
Show product name, Major version ID, Hardware ID, Local memory size, Card memory size, etc.
6. Auto shutdown time
There are 6 options: 3 minutes, 5 minutes, 10 minutes, 15 minutes, 20 minutes, No automatic shutdown. Double-click to confirm.
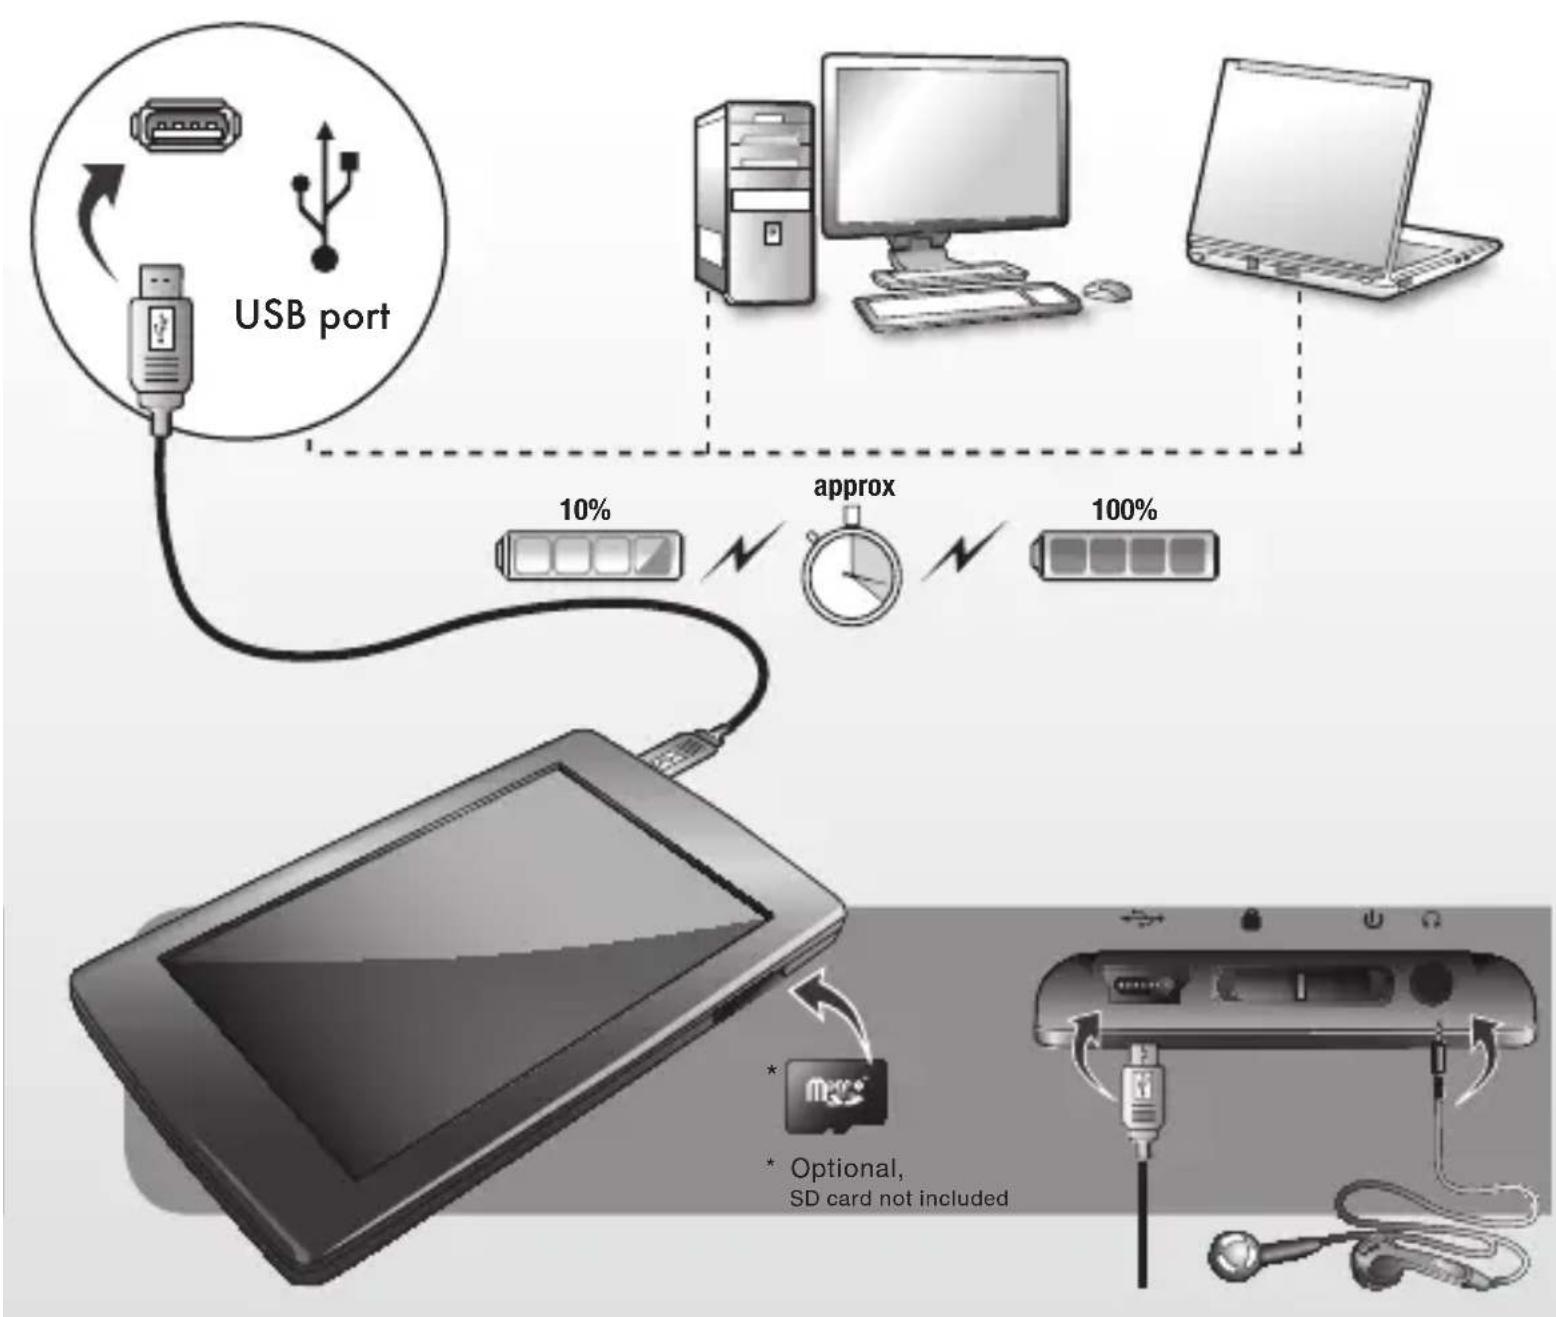
microSD card operations
1. Insert microSD card
Insert the microSD card into the player.
To remove the microSD card, press it in. It will then pop out.
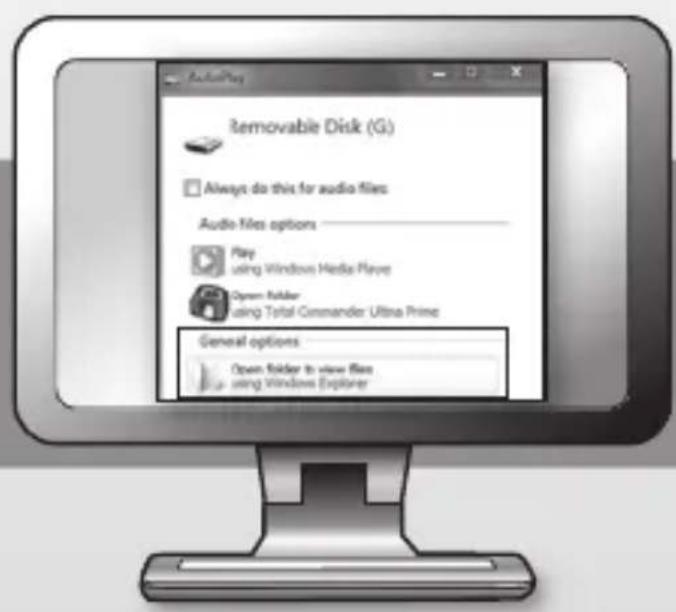
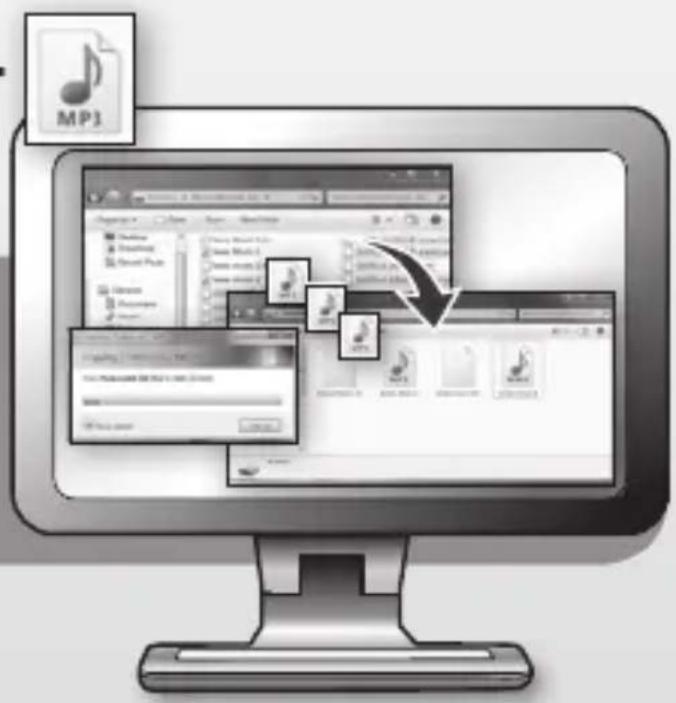
2. Connect microSD card to PC
With the microSD card inserted, 2 movable disks will be shown in "my PC". You can now use the disk just like any other portable disk.
- Operations when there is no connection to PC Enter "Explorer" interface, then you can choose between "flash Memory" and "MicroSD".
Double-click "MicroSD". All the files saved on the card will be displayed. Double-click again to play.