
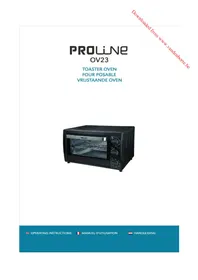
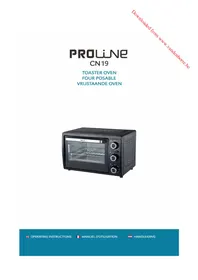
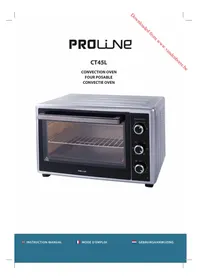
CK185 - Electric oven PROLINE - Free user manual and instructions
Find the device manual for free CK185 PROLINE in PDF.
| Product type | Electric oven |
| Brand | Proline |
| Model | CK185 |
| Power supply | 220-240 V ~50 Hz |
| Temperature range | 70 °C to 230 °C |
| Timer | Mechanical, 0 to 60 minutes |
| Cooking functions | Off, lower heat, grill (top), mixed (bottom+top) |
| Included accessories | Cooking grid, baking tray, crumb tray |
| Cleaning | Exterior surface: damp cloth; removable parts: warm soapy water |
| Safety | Grounding required, hot surfaces, do not immerse |
| Door material | Glass (estimated) |
| Use | Domestic, indoor |
Frequently Asked Questions - CK185 PROLINE
User questions about CK185 PROLINE
0 question about this device. Answer the ones you know or ask your own.
Ask a new question about this device
Download the instructions for your Electric oven in PDF format for free! Find your manual CK185 - PROLINE and take your electronic device back in hand. On this page are published all the documents necessary for the use of your device. CK185 by PROLINE.
USER MANUAL CK185 PROLINE
IMPORTANT SAFETY INFORMATION
This appliance must be EARTHED.
We have designed and made this appliance to meet European safety standards, but as with any appliance, you must take care to stay safe and get the best results.
Read all instructions and save them for future reference.
- Check that the voltage marked on the appliance rating plate matches your local mains supply, the manufacturer accepts NO responsibility for damage or injury caused by connecting to the wrong voltage.
- Connecting to the wrong voltage will void the warranty.
- Do not disconnect from the mains by pulling on the mains cord; grasp the plug itself to remove it.
- Remove the plug to turn the power off when the appliance is not in use, left unattended and before cleaning. Allow to cool down before storing the appliance.
The plug shall be the main disconnect device and shall remain operable at all times. - A short power-supply cord is provided to reduce the risk of a tripping hazard.
- Do not immerse the product, its mains cord or plug in water.
- Do not allow the appliance to be exposed to rain or moisture.
- This appliance is not intended for use by persons (including children) with reduced physical, sensory or mental capabilities, or lack of experience and knowledge, unless they have been given supervision or instruction concerning use of the appliance by a person responsible for their safety.
Children should be supervised to ensure that they do not play with the appliance. - Close supervision is required when the product is being used by children, or infirm persons.
- Keep out of reach of small children to ensure that they do not play with the appliance.
- This appliance is intended for indoor use only, do not use outdoors.
- Do not use an appliance for any purpose other than its intended use.
- Do not touch hot surfaces. Use handles or knobs at all times.
- To protect against electric shock do not immerse cord, plugs, or appliance in water or
other liquid. - Do not attempt to dislodge food when toaster is in operation; wait for the appliance to cool.
- Unplug from outlet when not in use and before cleaning. Allow to cool before cleaning the appliance.
- Do not operate the appliance with a damaged cord or plug or after the appliance malfunctions or has been damaged in any way. Consult the retail store where you bought the appliance for advice.
- Do not use metallic objects such as Knives, Forks, Spoons ETC as they can get hot or cause electric shock.
- Do not insert over-sized food as this could cause a fire hazard.
- Do not let cord hang over edge of the surface, or touch hot surfaces.
- Do not place appliance on or near hot gas or electric burner, or in a heated oven.
- Do not use the appliance near any vessel containing liquid such as a sink unit.
- To disconnect from the mains, remove the plug from wall outlet.
GB
- Do not use accessories not recommended by the manufacturer to avoid danger of fire, electric shock or personal injury.
- Do not place foil wrapped articles in the oven.
- Remove all protective wrapping prior to placing bread in the oven.
- This appliance is NOT intended to be operated by means of an external timer or separate remote control system.
CAUTION: Hot surfaces.
The temperatures of accessible surfaces are liable to get hot when in use.
WARNING:
- This appliance is intended for domestic use only. Commercial or any other use may invalidate the warranty and might be dangerous.
- If the supply cord is damaged, it must be replaced by the manufacturer, its service agent or similarly qualified person to avoid a hazard.
- Do not use this appliance within reach of a bath or a sink or any vessel containing water or liquids. If the appliance is dropped in water do not reach for it, switch off and disconnect at the mains and drain the water before retrieving the appliance, do not use the appliance again until it has been checked by a qualified service agent.
- Accessible surfaces get hot during operation, use handles and knobs at all times.
PRODUCT INTRODUCTION
- Door handle
- Housing
- Temperature knob
- Function knob
- Time knob
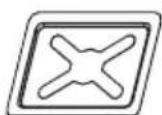
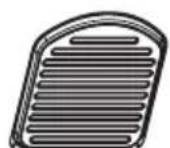
- Crumb tray
- Baking tray
- Baking rack

6
7
8
CONTROL SETTINGS
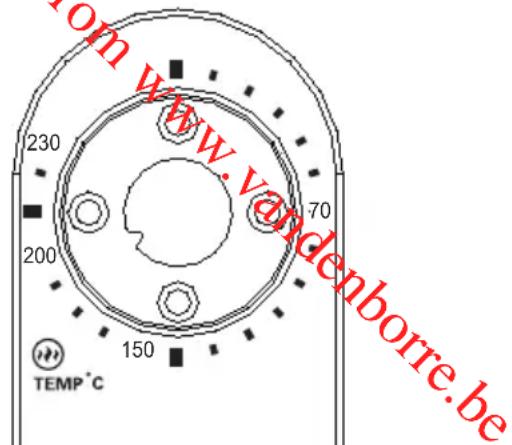
TEMPERATURE SETTING
Turn the temperature knob clockwise to the desired temperature. The temperature can be set from 70^ to 230^ .
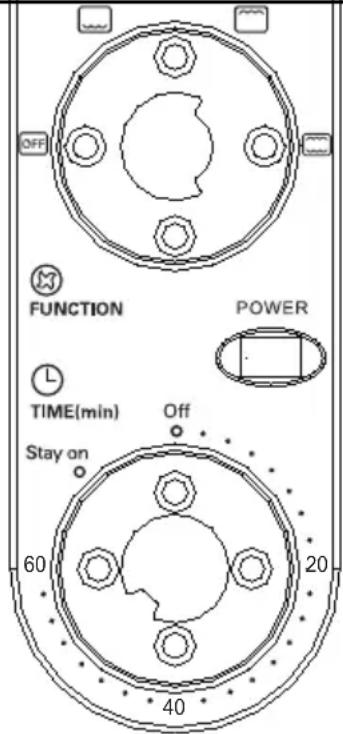
FUNCTION SETTING
The oven provides four functions for versatile cooking.
- OFF: No function is selected.
- Bake: The lower heating elements are working when the function is selected.
- Broil: The upper heating elements are working when the function is selected.
- Toast: The upper and lower heating elements are working when the function is selected. It is perfect for baking pizza, bread and cookies and toasting pork, steaks and toast.
TIME SETTING
The timer can be set up to 60 minutes. The oven will not work without the timer being set.
When the timer knob is set to the Off position, the oven will shut off.
To set the required operating time, turn the timer knob clockwise. The red indicator light will come on. After the time has elapsed, a bell sound will be heard.
Adjusting Time
Timer can be changed during cooking. Turn the timer knob to the required time.
Stay On
If you want to use the oven without time control, turn the timer knob to the STAY ON position. The oven will work unless the timer knob is set to the Off position.
BEFORE FIRST USE
- Remove all packaging materials and wipe the outside of the appliance with a damp cloth.
- Wash the rack and trays in warm soapy water. Dry thoroughly before using.
- Place the oven on a stable flat surface. Be sure that no other appliances are plugged into
GB
the same circuit with the oven.
- Position the oven at least 2 inches (5cm) away place objects on top of the oven.
- Make sure the crumb tray is properly installed
from any surrounding object. Do not before using.
OPERATION
For the first time use, set the temperature knob to function knob to the position and turn the t
NOTE: The oven may smoke during the process last no more than 10 to 15 minutes.
to the maximum temperature, set the timer knob to 15 minutes.
This is normal for a new oven and will
General Instructions
- Place the baking rack in position that will accommodate the height of the food to be cooked.
- Place the food on the rack, making sure you always use an ovenproof container and never use plastic or cardboard containers in the oven.
- Never use glass or ceramic pans or lids.
- DO NOT let juices run to the bottom of the oven. Use the baking tray and crumb tray when cooking.
- Set the temperature as suggested by the recipe or as desired.
- Securely shut the oven door and set the cooking time to start cooking.
- After cooking, always remove food with oven mitts. Food and oven are very hot.
Baking Function
Use the baking function for foods such as less tender cuts of meat, soups and stews.
- Place the baking rack to the desired height.
- Turn the function knob to
- Turn the timer knob to the cooking time you want to bake the food.
- Turn the temperature knob to desired temperature.
Broiling Function
The broiling function is ideal for fish, beef, steak, vegetables, etc.
- Place the baking rack to the desired height.
- Turn the function knob to
- Turn the timer knob to the cooking time you want to broil the food.
- Turn the temperature knob to desired temperature.
Toasting Function
GB
Use the toasting function for foods such as corn
- Place the baking rack to the desired height.
- Turn the function knob to
- Turn the timer knob to the cooking time you
- Turn the temperature knob to desired temperature.
bread, cookies and heating food.
want to toast the food.
CLEANING AND MAINTENANCE
- Unplug the appliance from the mains socket and allow it to cool completely before cleaning.
- Clean the outside of the appliance with a damp cloth. Never use metal polish.
- Wash all the removable parts in mild soaped water. Rinse and dry thoroughly before use.
SPECIFICATIONS
Ratings: 220 - 240V 50 / 60Hz 1300W
We apologise for any inconvenience caused by minor inconsistencies in these instructions, which may occur as a result of product improvement and development.
Kesa Electricals UK, HU1 3AU 07 / 07 / 2010
INFORMATIONS DE SECURITÉ
Specifications:220-240V,50/60Hz CA 1300 W
Kesa Electricals UK, HU1 3AU 07 / 07 / 2010
BELANGRIJKE VEILIGHEIDSVOORZORGEN
TIME (min) = TIJD (min)
Off = Uit
Kesa Electricals UK, HU1 3AU 07 / 07 / 2010
IMPORTANT INFORMAZIONI SULLA SICUREZZA
m = 311
Kesa Electricals UK, HU1 3AU 07 / 07 / 2010
DULEZITE BEZPECNOSTNI POKYN
Tento spotbrebič musí byt UZEMNÉNY.
Tento spotbrebijsme navrhli a vyrobili tak,aby stejne jako o kaźdy jiny spotbrebi, je tbrea o nej Čtete veskeré poukyny a uschovejte je pro nahlé
Kesa Electricals UK, HU1 3AU 07 / 07 / 2010
DÔLEŽITÉ BEZPEČNOSTNÉ INFORMÁCIE
Toto zariadenie musi byt' UZEMNENE.
Time () = C as (min.)
STAY ON = Stále zap.
Off = Vypnute
POWER = Vypinač
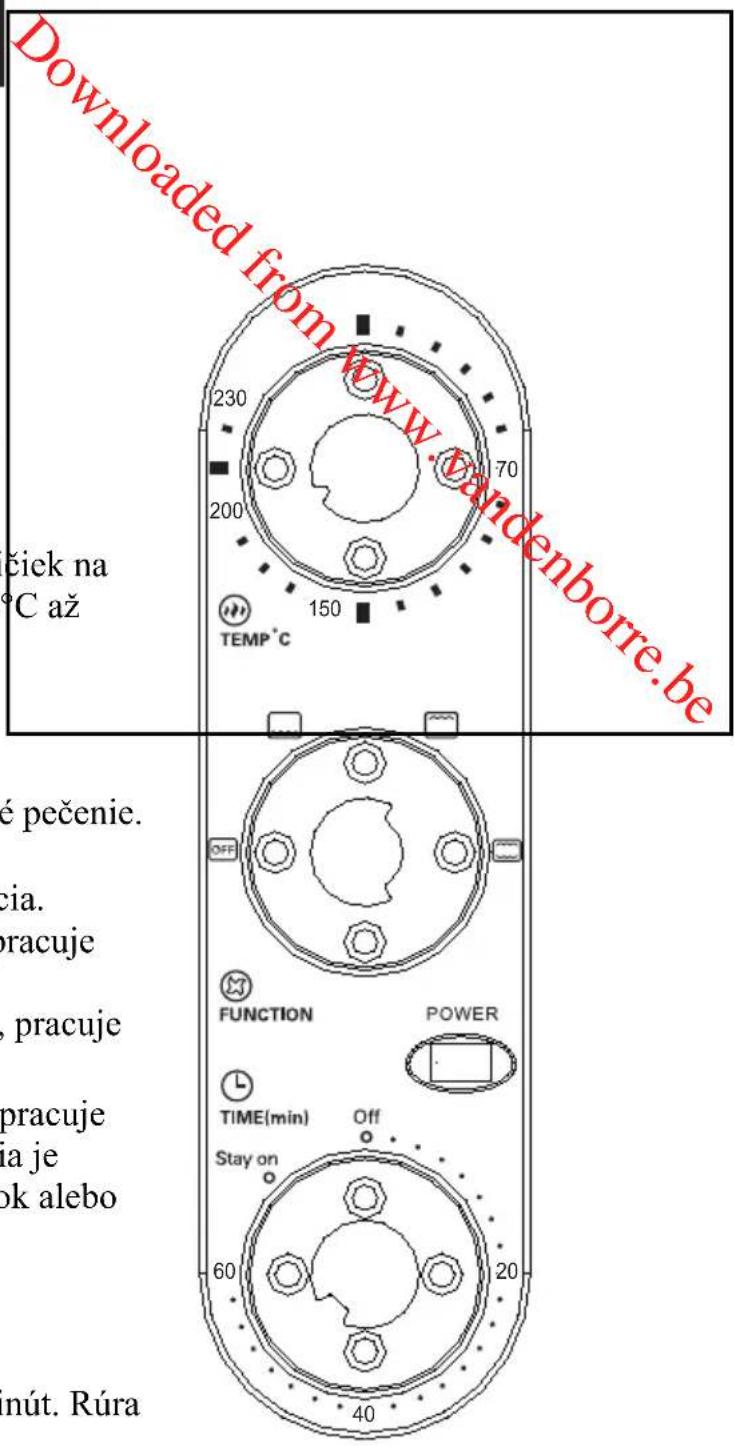
OVLÁDAČE PRE NASTAVENIE
NASTAVENIE TEPLOTY
Otocte ovladac teploty v smere hodinovych ruciciek na zelianu teplotu. Teplotu je mozné nastavit' na 70^ az 230^ .
NASTAVENIE FUNKCIE
Kesa Electricals UK, HU1 3AU 07 / 07 / 2010
(Annotations in control diagram)
TEMP ^ = TEMP ^
FUNCTION = FUNCION
POWER = ENCENDIDO
TIME (min) = TIEMPO (min)
Stay on = Permanecer encendido
Off = Apagado
AJUSTE DE FUNCIONES
Kesa Electricals UK, HU1 3AU 07 / 07 / 2010
TR
ÖNEMLIGUVENLIK BILGILERİ
Bu cihaz TOPRAKLANMALIDIR..
Kesa Electricals UK, HU1 3AU 07 / 07 / 2010

- IMPORTANT SAFETY INFORMATION
- This appliance must be EARTHED.
- GB
- WARNING:
- PRODUCT INTRODUCTION
- CONTROL SETTINGS
- TEMPERATURE SETTING
- FUNCTION SETTING
- TIME SETTING
- Adjusting Time
- Stay On
- BEFORE FIRST USE
- OPERATION
- General Instructions
- Baking Function
- Broiling Function
- Toasting Function
- CLEANING AND MAINTENANCE
- SPECIFICATIONS
- INFORMATIONS DE SECURITÉ
- BELANGRIJKE VEILIGHEIDSVOORZORGEN
- IMPORTANT INFORMAZIONI SULLA SICUREZZA
- DULEZITE BEZPECNOSTNI POKYN
- DÔLEŽITÉ BEZPEČNOSTNÉ INFORMÁCIE
- OVLÁDAČE PRE NASTAVENIE
- NASTAVENIE TEPLOTY
- NASTAVENIE FUNKCIE
- AJUSTE DE FUNCIONES
- TR
- ÖNEMLIGUVENLIK BILGILERİ
Brand : PROLINE
Model : CK185
Category : Electric oven