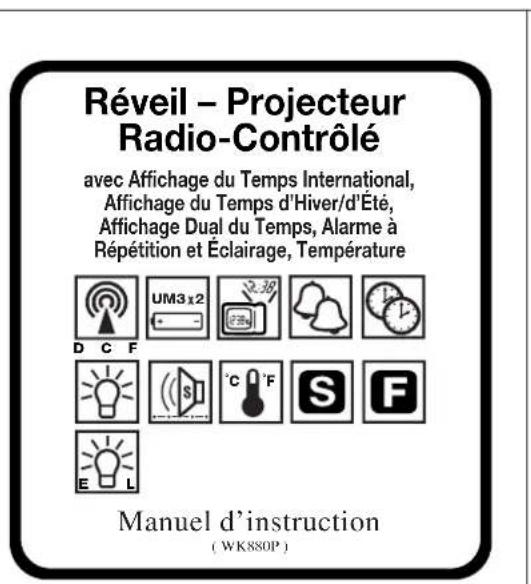
WK310T - Clock Cresta - Free user manual and instructions
Find the device manual for free WK310T Cresta in PDF.
| Product Type | Radio-controlled Projection Clock |
| Brand | Cresta |
| Model | WK310T |
| Dimensions (approx.) | 15 x 10 x 5 cm |
| Weight (approx.) | 300 g |
| Power Supply | 2 AA (LR6) batteries + AC adapter (not included, 5 V DC) |
| Display | Backlit LCD with projection onto wall or ceiling |
| Radio-controlled Reception | DCF 77 (Germany), automatic search every hour |
| Time Functions | Hour, minute, second, calendar (day, month, year), day of the week (5 languages) |
| 12/24 h Display | Selectable |
| Alarms | 2 independent alarms with snooze function (4 min) |
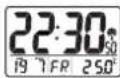
| Temperature | Indoor display in °C or °F |
| Time Zones | Local time and dual time manually adjustable |
| Projection | Time projection onto surface, focus via wheel, 180° rotation |
| Backlight | Automatic (light sensor), continuous or off |
| Calendar Languages | German, Italian, French, Spanish, English |
| Maintenance | Clean with a soft, dry cloth. Do not use abrasive products. |
| Used Batteries | Do not dispose of with household waste. Recycle at collection points. |
| Package Contents | Clock, AC adapter, instruction manual |
Frequently Asked Questions - WK310T Cresta
User questions about WK310T Cresta
0 question about this device. Answer the ones you know or ask your own.
Ask a new question about this device
Download the instructions for your Clock in PDF format for free! Find your manual WK310T - Cresta and take your electronic device back in hand. On this page are published all the documents necessary for the use of your device. WK310T by Cresta.
USER MANUAL WK310T Cresta
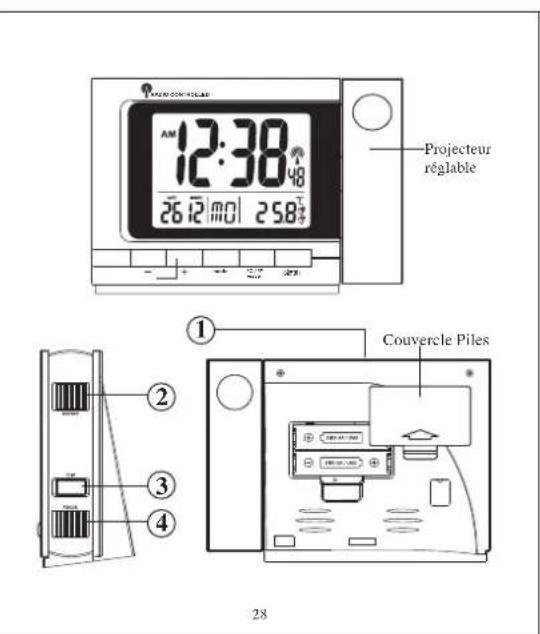
m = 311
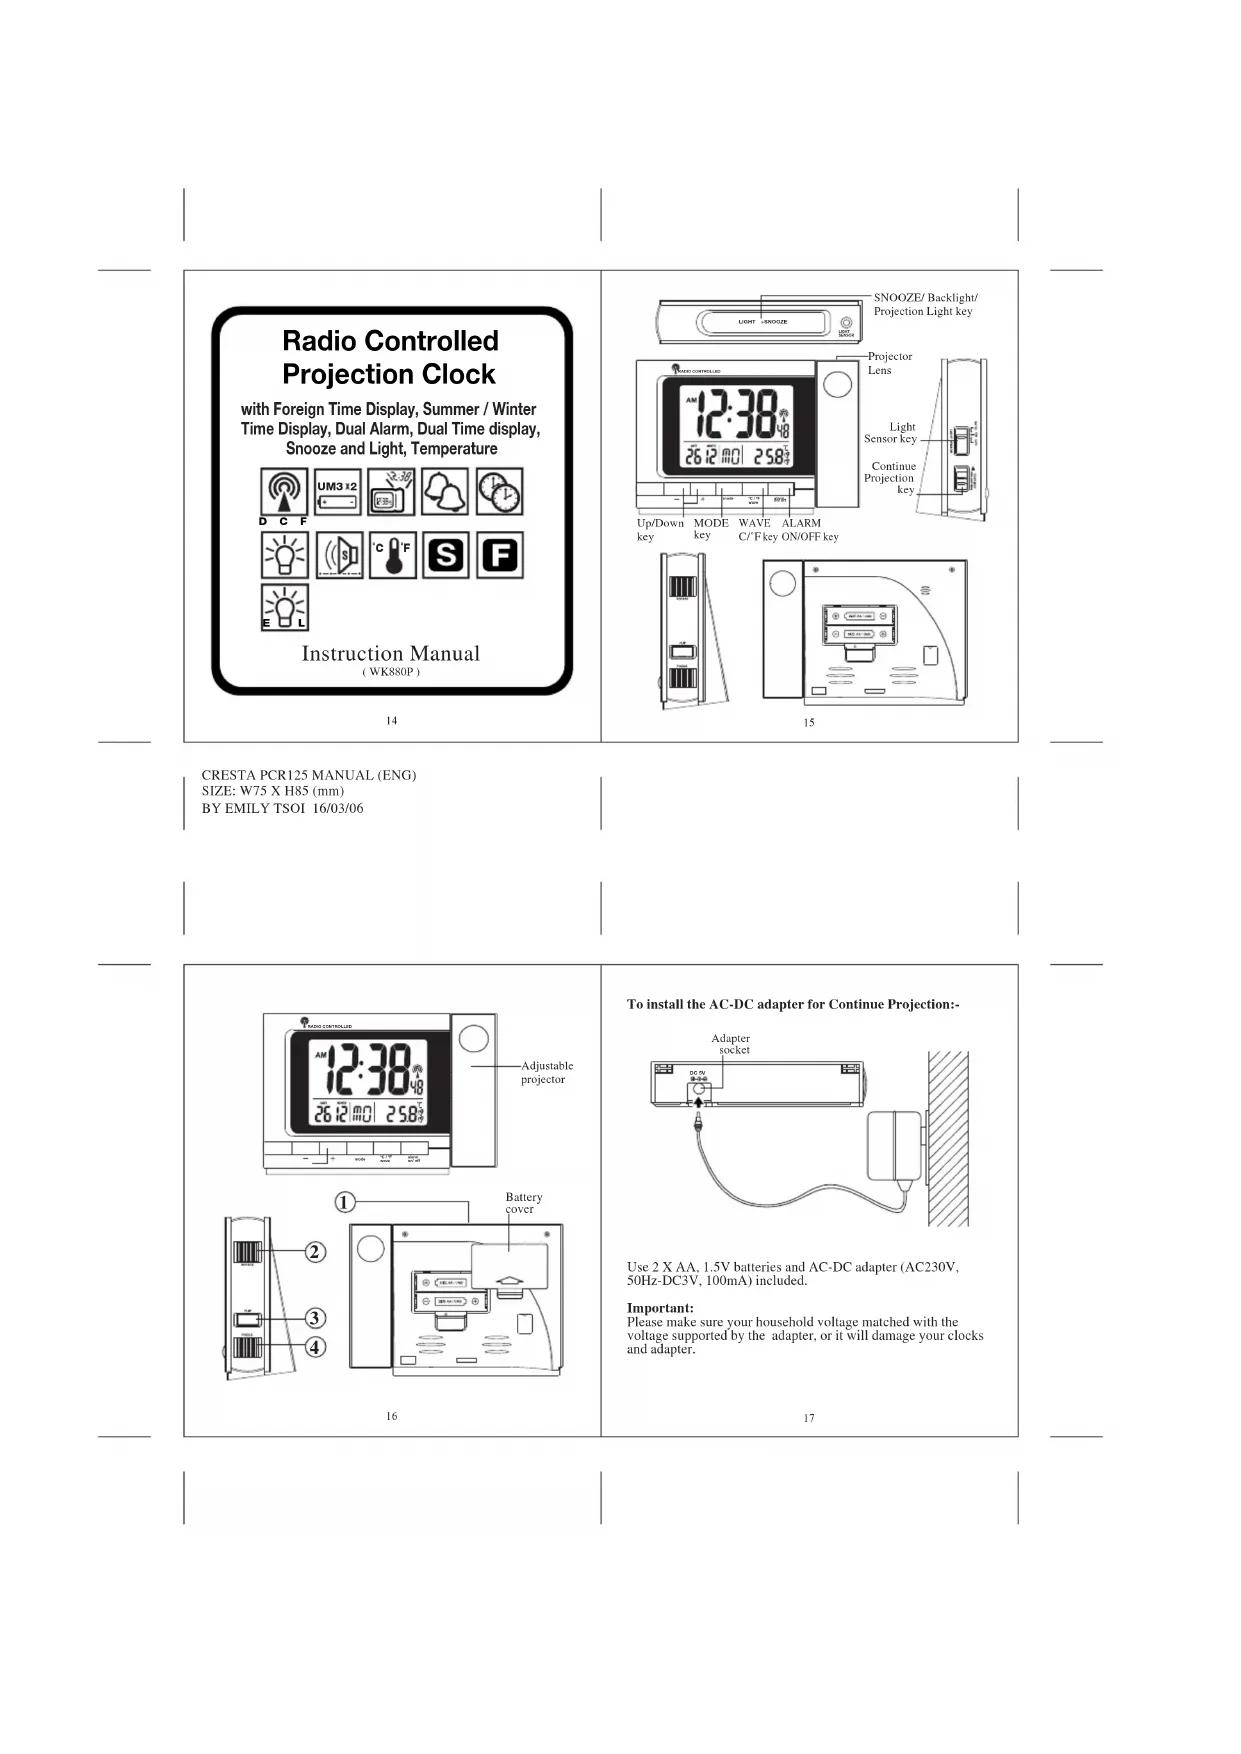
Continue
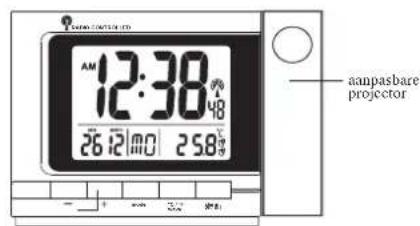
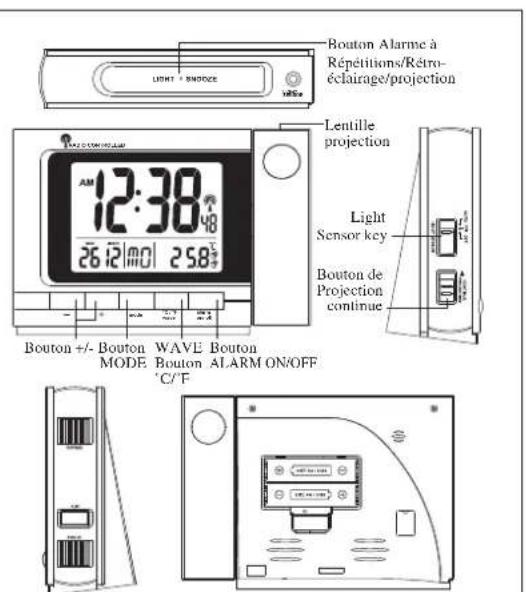
projectie
toots
Up/Down MODE WAVE ALARM
tocttoct
ON/OFF tocts
loets
4
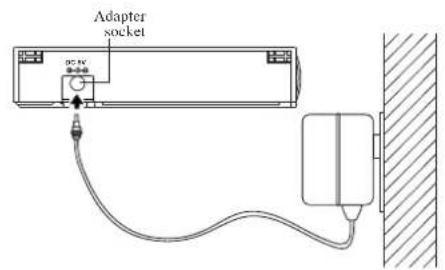
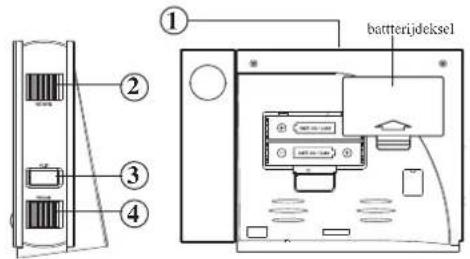
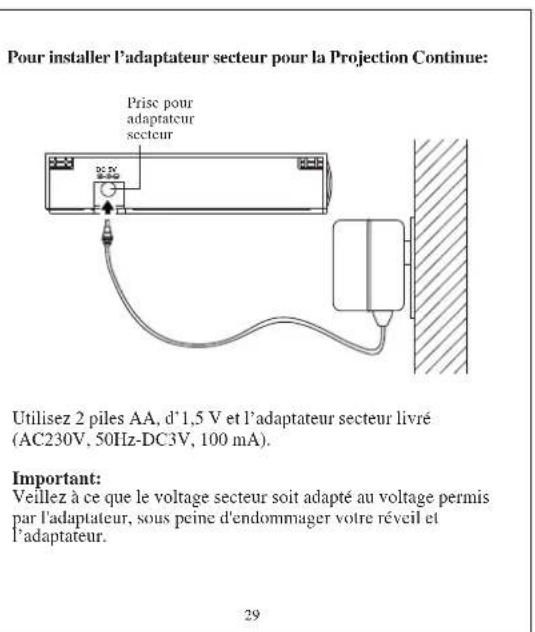
To install the AC-DC adapter for Continue Projection:-
Use 2 X AA. 1.5V batteries and AC-DC adapter (AC230V, 50Hz-DC3V, 100mA) included.
Important:
Please make sure your household voltage matched with the voltage supported by the adapter, or it will damage your clocks and adapter.
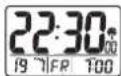
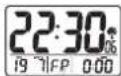
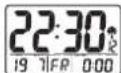
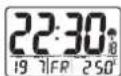
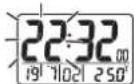
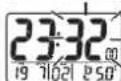
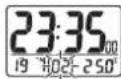
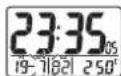
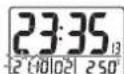
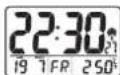
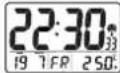
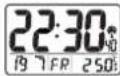
| INDICATOR | STANDING FOR | INDICATOR | STANDING FOR |
| RADIO SIGNAL | RADIO SIGNAL WEAKLY | ||
| D | DATE | 27 | REPEAT ALARM INDICATION |
| FOREIGN TIME INDICATION | M | MONTH | |
| PM | PM (12 HR DISPLAY ONLY) | SUMMER TIME INDICATION | |
| AM | AM (12 HR DISPLAY ONLY) | G | DEGREE CELSIUS |
| ALARM 1 | F | DEGREE FAHRENHEIT | |
| ALARM 2 | GAIN TIME | DUAL TIME |
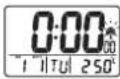
*After the batteries are installed, the LCD will turn on and beep for 2 seconds. The clock will automatically search the radio signal. It takes about 3-5 minutes to finish this process. If the radio signal is received, the date & time will be set automatically with radio control signal icon J turns on.
If the clock fails to receive the time signal, it will be in Time/Temperature display with the icon turns off. Then user can set the time manually.
*Radio-controlled signal will be scheduled to receive every hour.


18
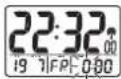
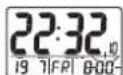
Selecting Temperature/Alarm 1/Alarm 2/Dual time Display
*Press MODE will display the ALARM 1 time:
*!Press MODE again will display the ☐ Alarm 2 time:
*iPress MODE again will display the Dual Time:
*Press MODE again will display the Temperature:
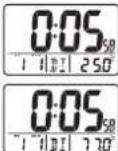
Manual Time Setting
The system date and time can be set by pressing MODE for 3 seconds in Time/Temperature display with the [ ] icon turn off.
19
Setting the Time
*Press MODE: [the hour digits are blinking] and can be set by pressing
UP or DOWN key.
*Press MODE again: the minute digits are I blinking and can
be set by pressing
UP or DOWN key.
*Press MODE again: the year digits are
blinking and can be set by pressing U.
or DOWN key.
*Press MODE again: the month digits are blinking and can be set by pressing UP or DOWN key.
*Press MODE again:the date digits is
blinking and can be set by pressing UP.
or DOWN key.
*Press MODE one last time: the normal time display appears.
20
N.B.:1. If no key is pressed within 30 seconds, it will exit the Manual Time Setting Mode and go back to Time / Temperature Display without the data update. 2. During any setting mode, press and hold UP or DOW key for 2 seconds for fast setting.
Calendar
To change the weekday display from one language to another language, press DOWN key for 3 seconds - the display will show the current language (GE for German display, EN for English display).
①"GE" for German ②"IT" for Italian ③"FR" for French ④"SP" for Spanish ⑤"EN" for English
Press & Hold DOWN key for 2 seconds will toggle to the other languages.
Setting the Alarm time
ALARM1 setting
-In the ALARM Display.
*Press MODE for about 3 seconds: the hour digits are blinking and can be set by pressing UP or DOWN key. *Press MODE again: the minute digits are blinking and can be set by pressing UP or DOWN key.
*iPress MODE again, the Alarm time is set and [ ] icon will turn on.
21
ALARM2 setting
-In the ALARM2 Display,
*Press MODE for about 3 seconds: the hour digits are blinking and can set by pressing UP or DOWN key.
a)Press MODE again: the minute digits are blinking and can be set by pressing UP or DOWN key.
串 Press MODE again, the Alarm time is set and [ ] icon will turn on.
Enable Alarm 1/Alarm 2:
*Press ALARM will enable ALARM 1 with [ ] icon turns on.
Press ALARM again will enable ALARM 2 with [ ] icon turns on.
*PrrsALARMagainwillcnbleboth ALARM1andALARM2with[]and []icons to turn on.
密 Press ALARM again will disable both ALARM 1 and ALARM 2 with [ ] and [ ] icons to turn off.
22
Activating the Alarm
When the ALARM 1/ALARM 2 is ringing, the relative alarm icon [ ] / [ ] will be flashing.
-
Press ALARM key to turn the alarm off.
-
Press button ①- alarm stops and the backlight will turn on for
15 seconds with deleted, the repeat alarm indicator (z^) flashing. The alarm sounds again after 4 minutes.
- If the alarm is not turned off, it will stop automatically after
4 minutes.
Foreign Time Display & setting
IPress and hold UP key for 3 seconds, the icon “ 一 ” will turn on.
IPress and hold MODE for 3 seconds in Foreign Time &
Temperature display. The Foreign time can be set as described above by pressing UP or DOWN key.
*Press MODE key again to confirm the setting of foreign time
*Press and hold UP key for 3 seconds to choose between local and foreign time display.
Setting the Dual Time
The dual time can be set by pressing MODE
for 3 seconds in Dual Time Display. The
hour will flash for input.
*Press MODE: the hour of dual time display
I digits are blinking and can be set by pressing
UP or DOWN key
23
*Press MODE again: the minute of dual time. display digits are
blinking and can be set
by pressing UP or
DOWN key.
*Press MODE again to confirm the setting.
Light ON/OFF
*iPress button- normal light Back light will come on and turn off automatically after 5 seconds.
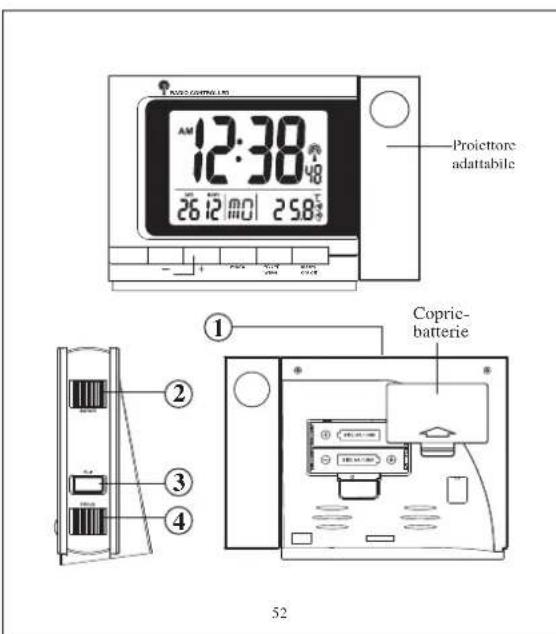
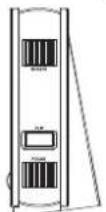
Projection Light and its adjustment
*Press button [SNOOZE / LIGHT]- Projection light will
come on and turn off automatically after 5 seconds.
*When insert adapter and turn on the "Continue - Projection"
button, projection light will turn on continuously until the button
is switched off or the AC adapter is pulled off.
*Turn the 4 [FOCUS] key knob to adjust the focus of
projection image.
*Press [FLIP] key to rotate the projection image in 180°
orientation clock wise.
*Turn the 2 [ROTATE] key knob to rotate the image manually.
LIGHT SENSOR BUTTON
When plug-in adapter, and the button is at position
*Autothe light sensor function is activated and the LED
backlight will turn on automatically when it is dark
*ON"the LED backlight will turn on whatever the environment is.
OFF flight sensor function is off.
Temperature function
Press C^ / F to select the temperature display between Celsius or Fahrenheit.
Receiving the DCF Time CODE
The projection clock will automatically receive the DCF time code every hour.
Besides, you can force the clock to receive the signal by pressing
"Wave" for 3 seconds. It will take 3-5 minutes to receive the radio signal. It the time signal is received, the [ ] icon will be on otherwise it will be off.

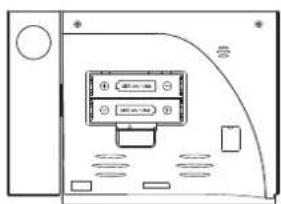
Attention! Please dispose of used batteries in an ecologically safe manner.
24
25
26
27
CRESTA PCR125 MANUAL (FR)
SIZE: W75 X H85 (mm)
BY EMILY TSOI 16/03/06
CRESTA PCR125 MANUAL (ITALIAN)
SIZE: W75 X II85 (mm)
BY EMILYTSOI 16/03/06